
Finally after nearly 5 years of work (on and off) I’ve published my Caterham Duratec Cooling video to YouTube.

This video was the result of some pretty off the cuff comments made when I was first building my Caterham kit car. I posted about how the cooling worked on my car (after I’d done a load of research to figure it out) but people said that was ok, but wouldn’t it be good to have an animation. Which led me to 5 years of work… and ultimately this video!
Over the years Caterham have used many different cooling systems. And then lots of owners tweak theirs to suit their needs, especially if they’re racing or putting their cars on track a lot. So this video is just about my car’s cooling. If you own a Caterham, you car may be different.
How I did it…
You can read a bit more about the workflow I used to create the animations here – though be warned its mostly aimed at people who are into the 3D CAD software, Blender.
As my video projects go this has been both a mammoth job and a damp squib. I created nearly 50 animation sequences for the video, but in the end it resulted in just a little less than 8 minutes of video time.
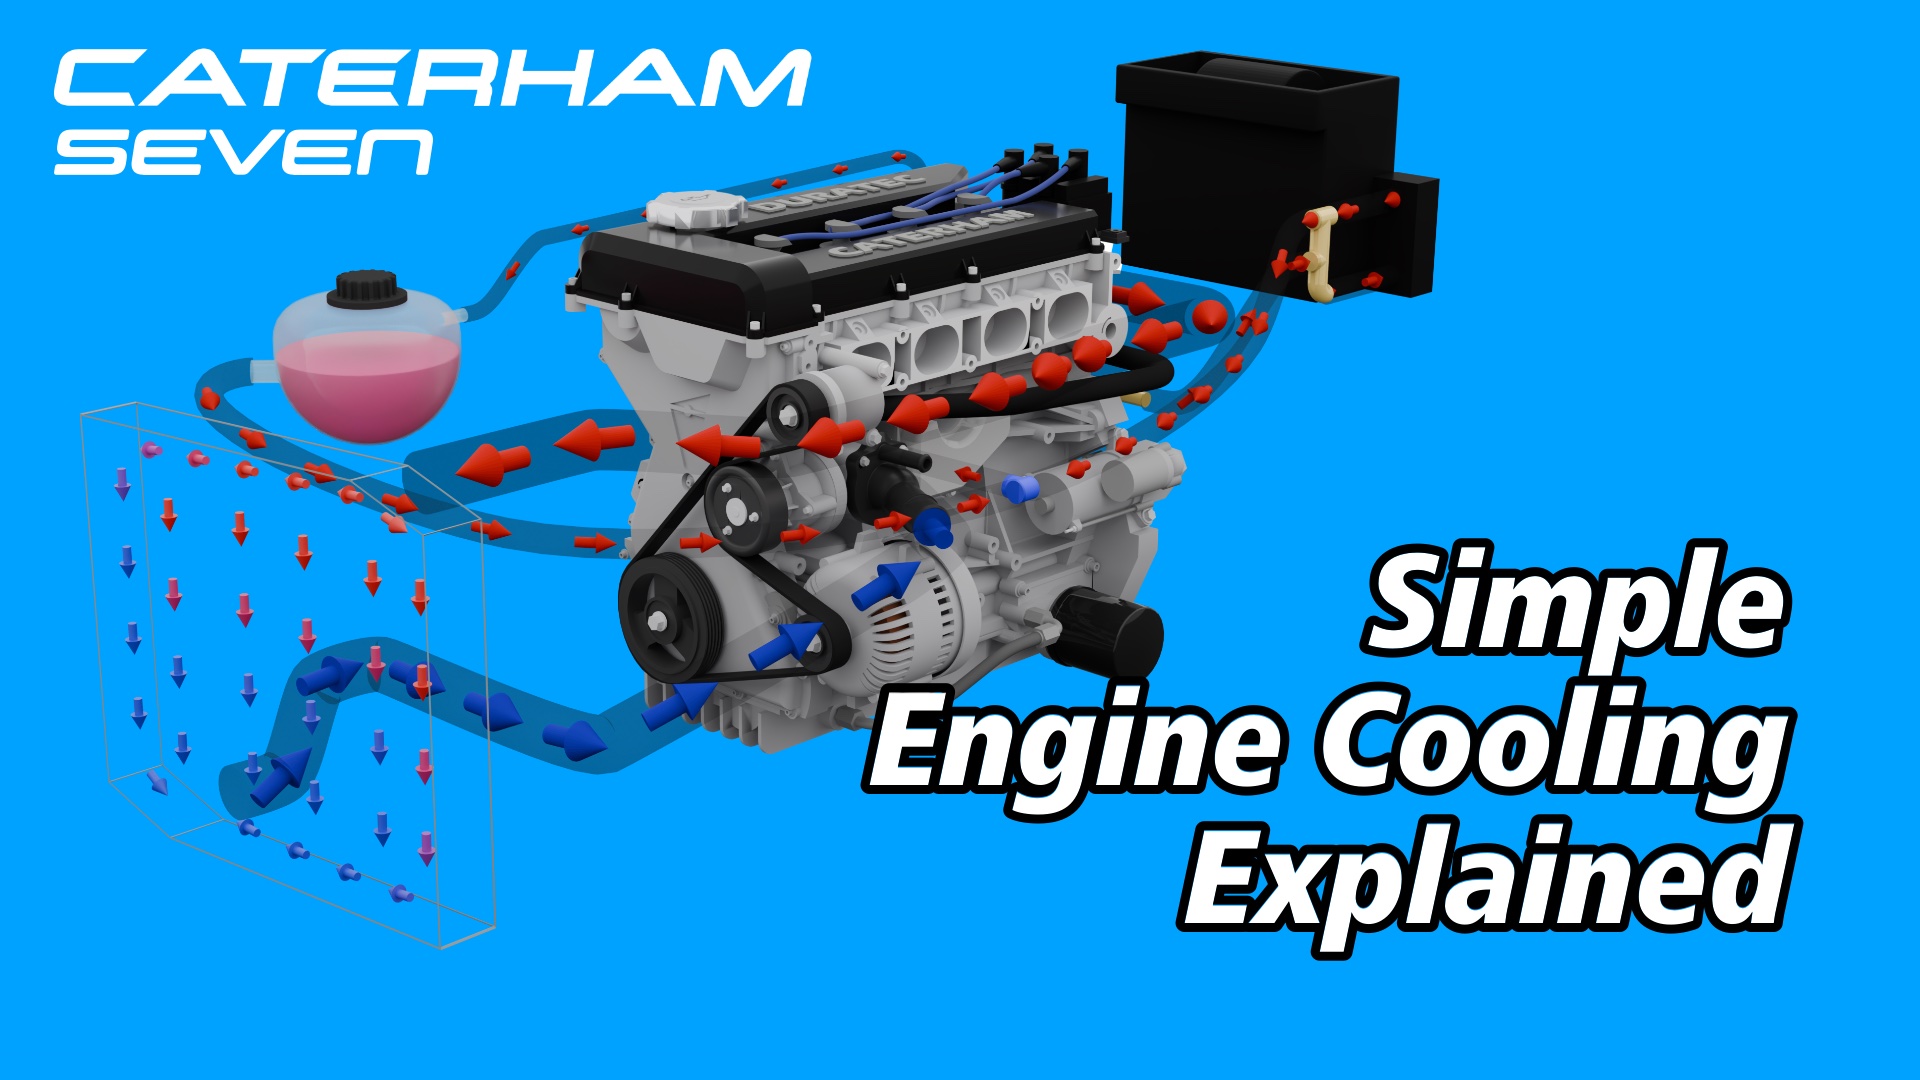
I did have bigger plans for the video, and the first voice–over was nearly 25 minutes, but I couldn’t justify the time it would have taken to create more animations and I needed to get this video released so I could get back to some other projects. So it is what it is… a simple video showing how the cooling works on my 2.0L Ford Duratec Caterham internal combustion engine.
TDLR;
For those interested the video is built up from:
- A 3D model of a S3 Caterham R500 (not strictly my car but good enough for this animation) downloaded from GrabCad (and paid for).
- A 3D model of a Duratec Engine – downloadable from many sites. This isn’t a very accurate model of a Duratec engine, but it served my purposes. I did move some of the more obviously wrong component positions in the model, like the alternator wasn’t in the right place for my car’s configuration
- 3D models of lots of other stuff that I did myself, including:
- Water and oil coolant hoses (Bézier curves and geometry nodes). Each of the animated hoses is constructed from a Bézier curve which is animated using Geometry Nodes (GN). The GN configuration allows me to turn on and off the animation as well as set the density of the arrows (arrows/metre), speed (metres/second) and hose diameter.
- Main coolant radiator (modelled top/bottom plates and then geometry nodes for the cooling matrix)
- Cabin heater (simple model)
- Exhaust headers (Bézier curve and geometry nodes)
- Thermostat (3D models, Bézier curves, geometry nodes). This was a few weeks work to get modelled, rigged and animated – so it opens and closes with the springs and actuators working correctly. It took this long mainly because I was learning a lot about Blender at the time
- Thermostat housing
- Water pump impeller
- Expansion tank
- etc etc
- All of the above was then animated using the Blender Python API (again see here).
- The 50-ish animations were constructed with a Python function to perform the appropriate hiding of various parts of the models and then to animate a camera rig around the models. Each animation was then sent to a render farm.
- Each rendered frame took somewhere between 20 seconds (Linux 27 core CPU and 4070 Nvidia graphics card) and a minute (Mac Book Pro M1 Max). There were about a total of 10,000 frames in the 50 animations and nearly 250,000 keyframes generated by the Python.
- Flamenco Render Farm. I ran 2 Macs and 2 Linux PCs to do the rendering. An old iMac27 was used as the render manager (though this was overkill for the simple job it needed to do)
- NAS. The Flamenco render manager and workers sent PNG’s to a local NAS (Network Addressed Storage) device.
- Once each render job was done, I used Flamenco to take all the rendered PNG stills and create a ProRes 4444 video (I used ProRes to maintain alpha transparency)
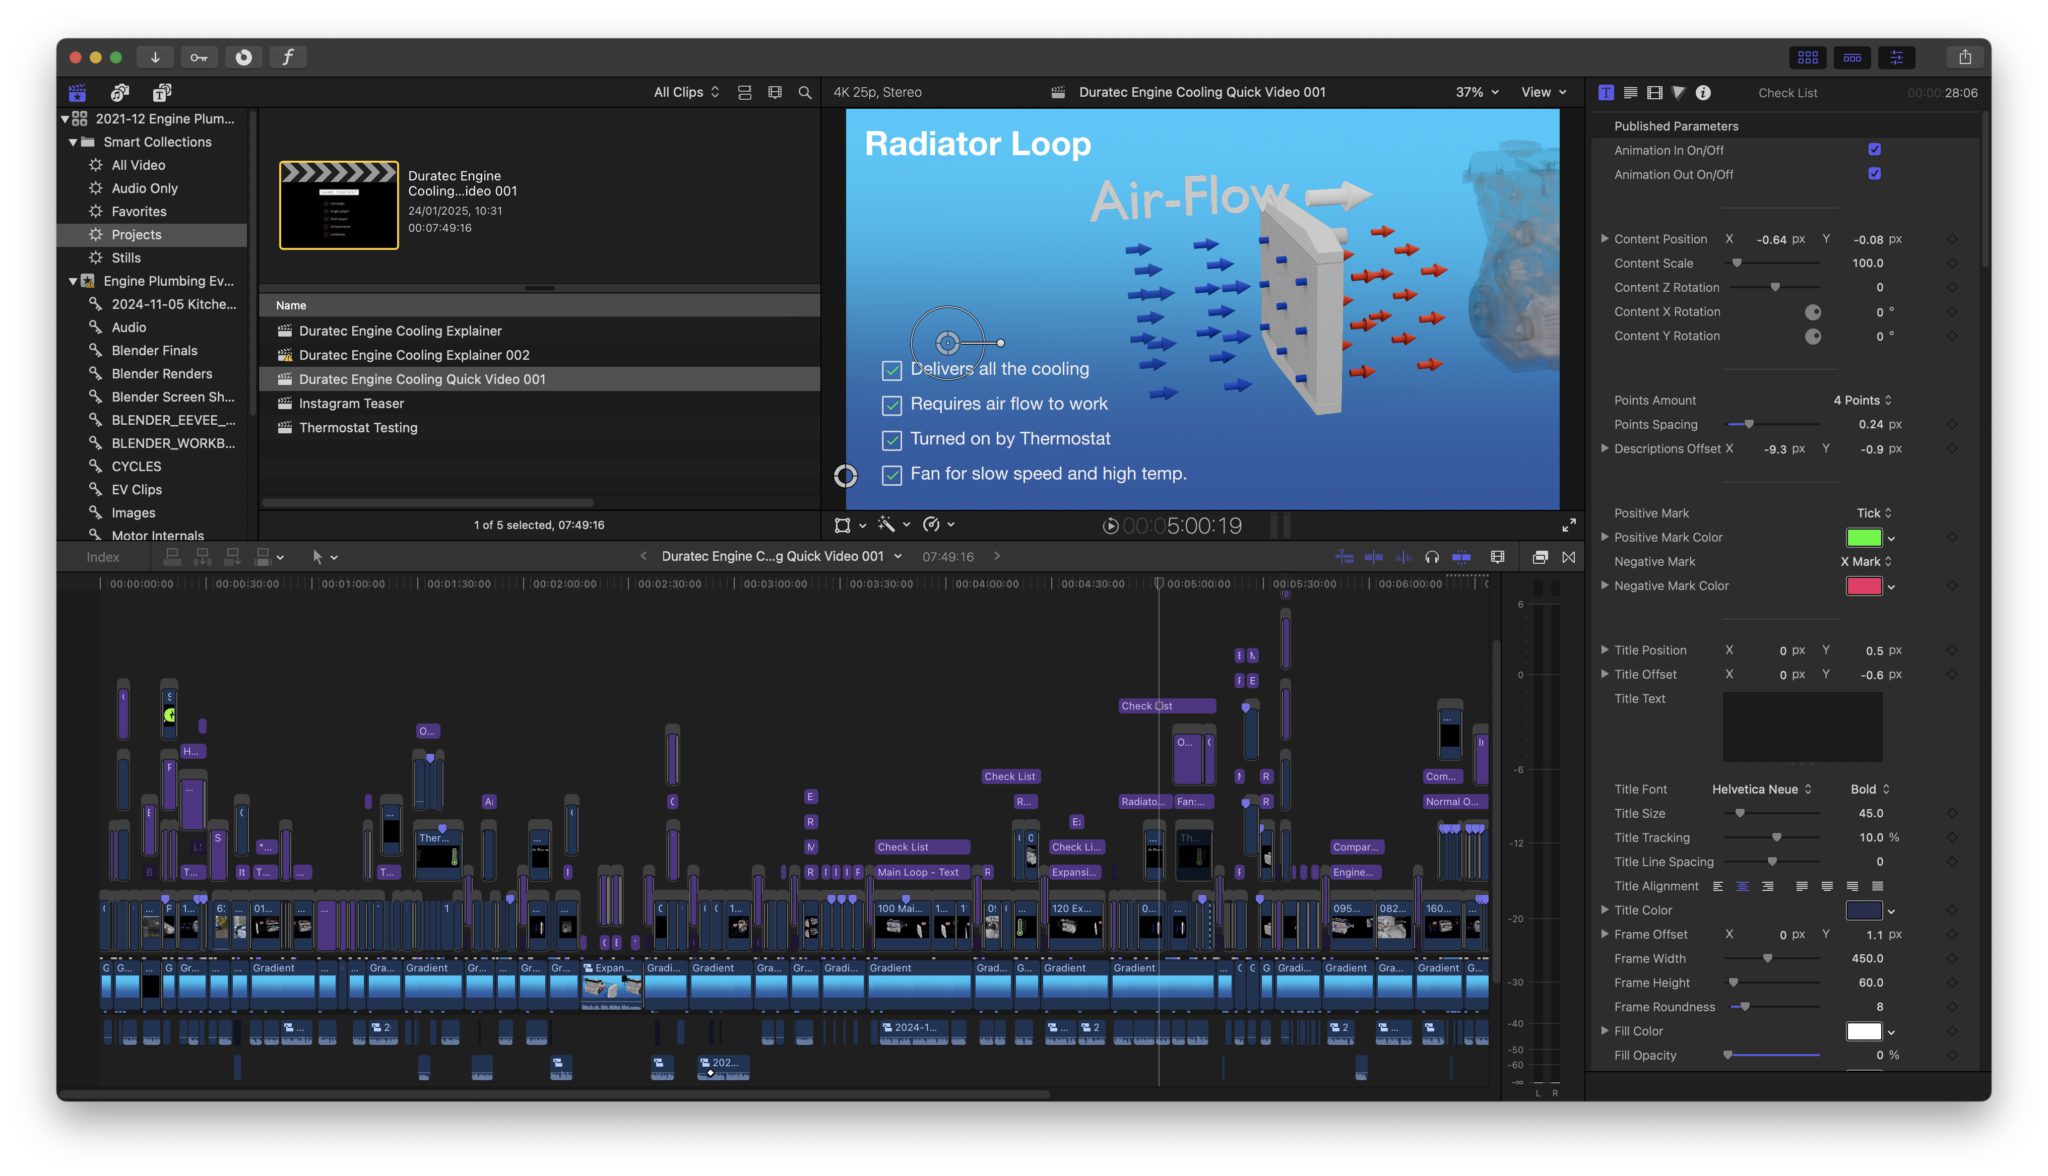
- Once the 50 animations were rendered (and they were each rendered many many many times to get them right) then they were imported into Final Cut Pro
- Apple Motion was used to create the thermometer Motion Template that can be seen in parts of the video.

Leave a Comment