
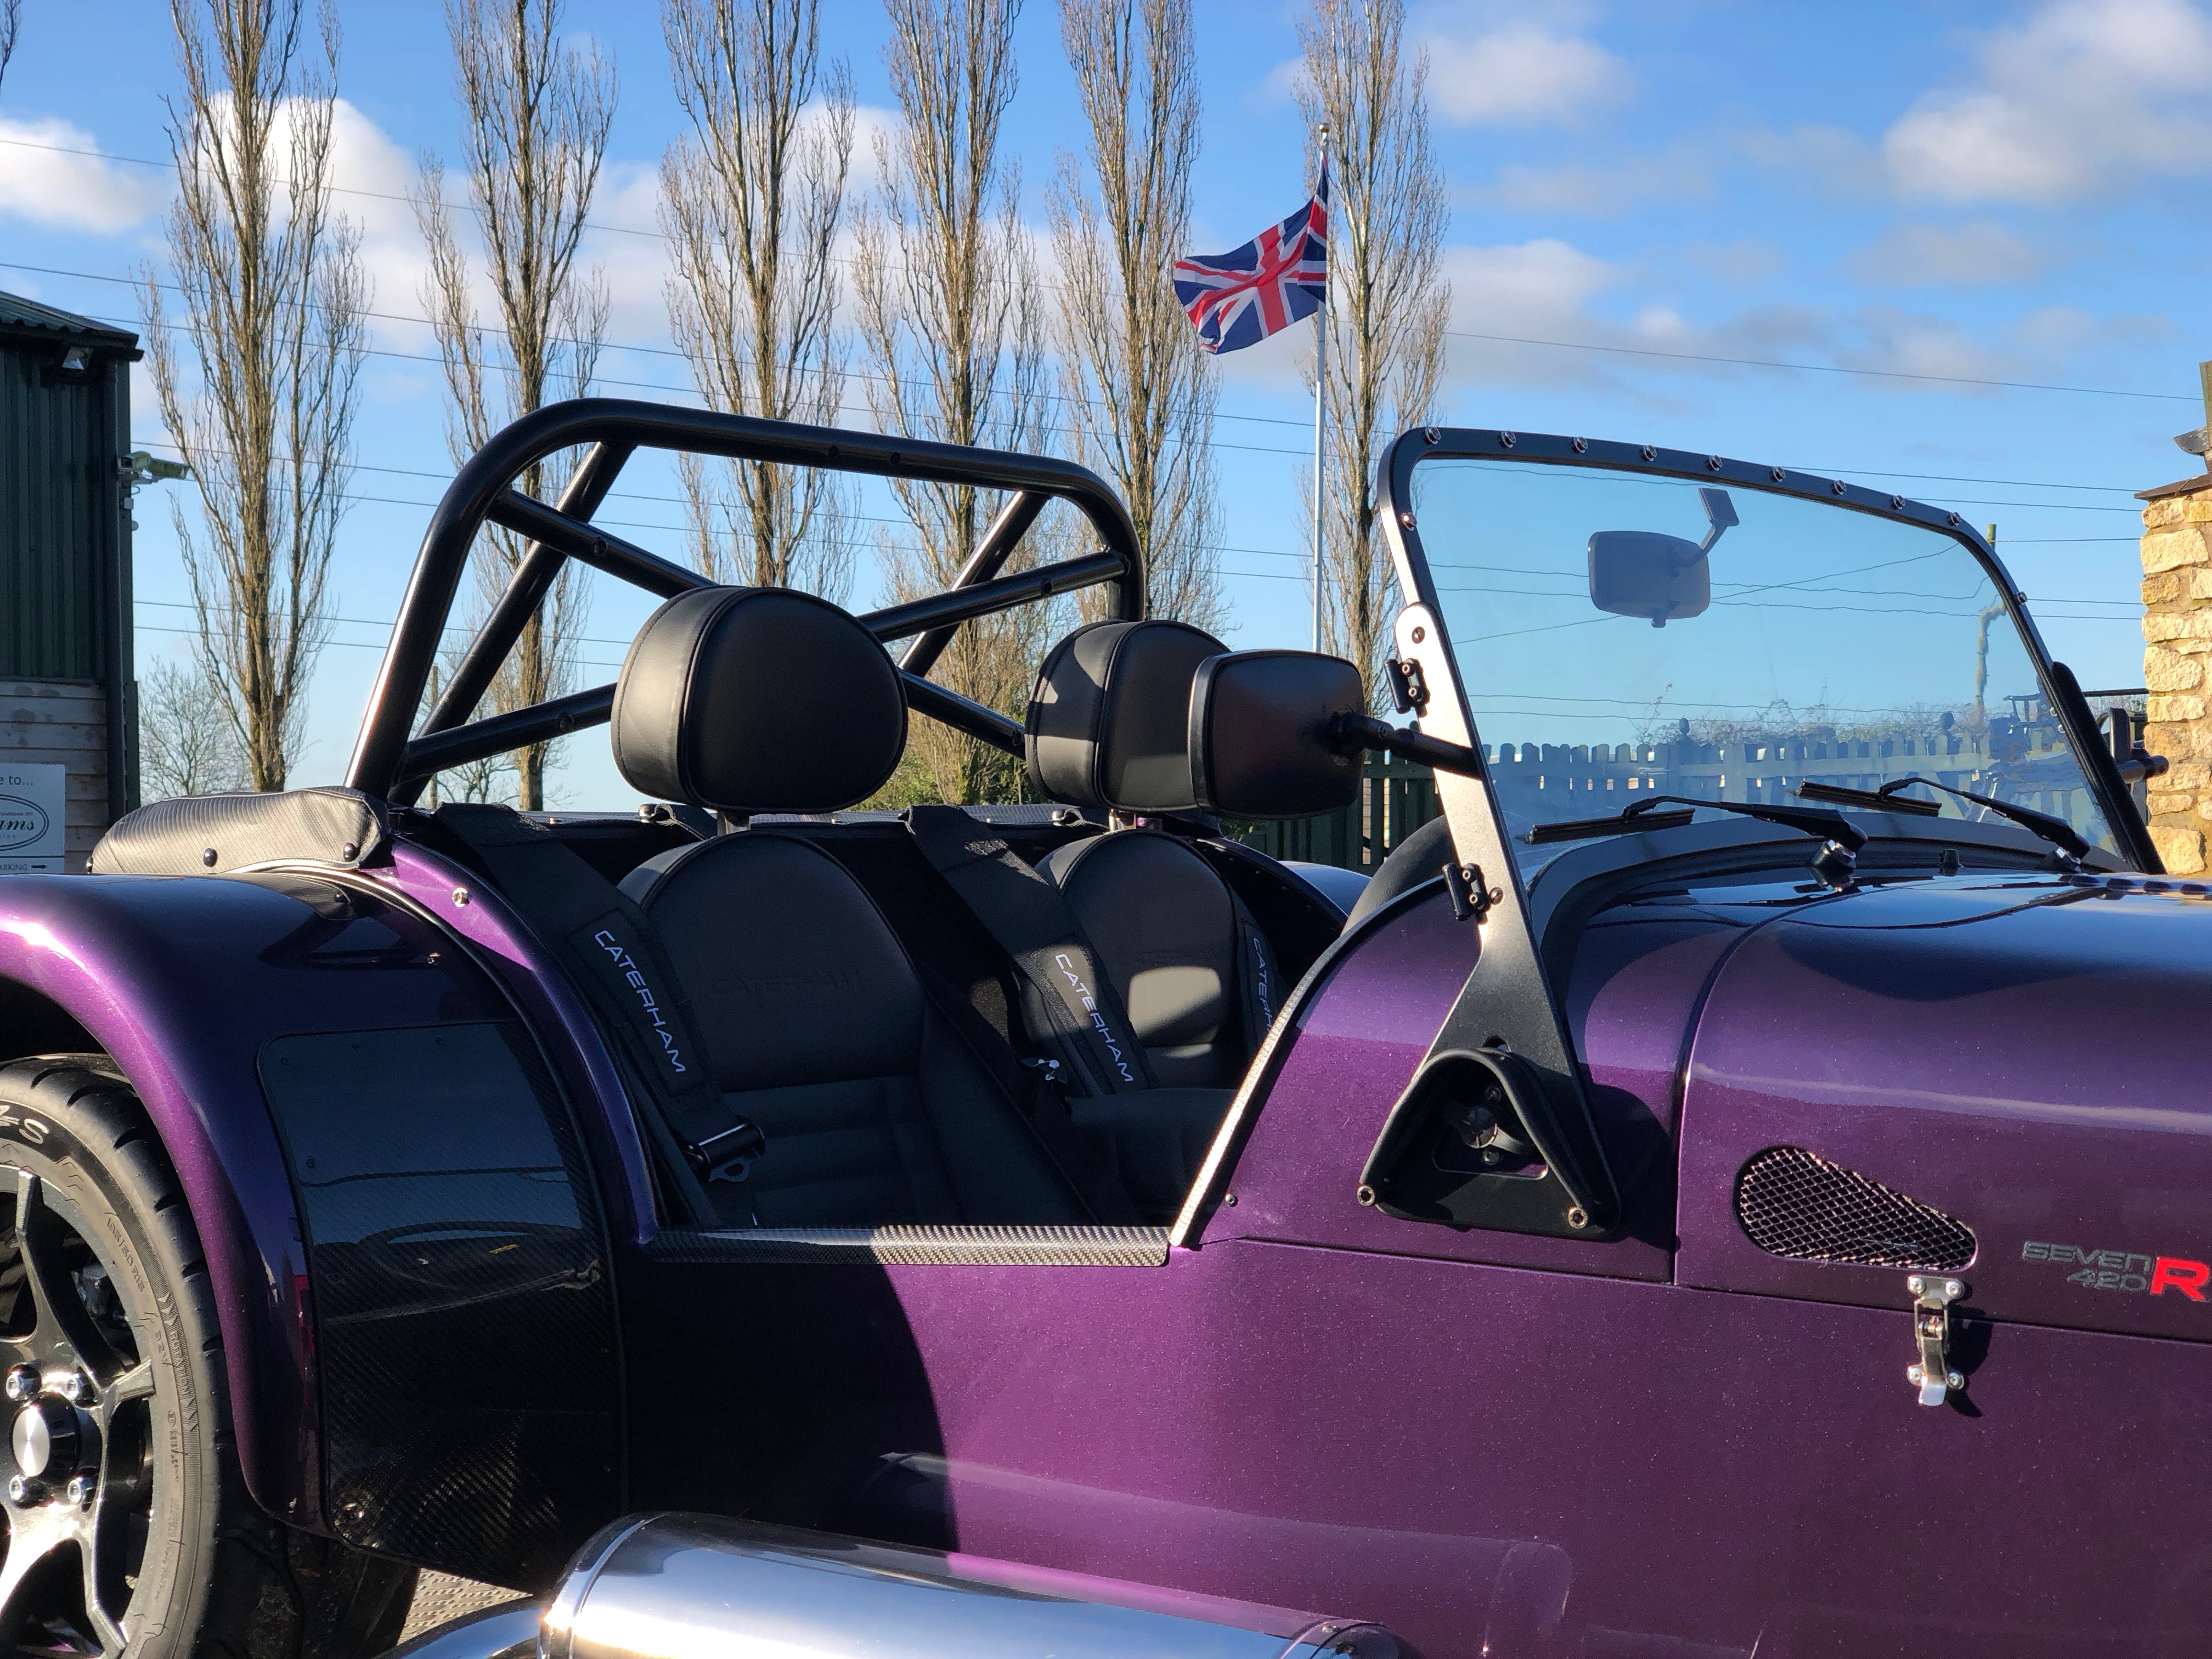
Uh oh – its crunch time! Somebody else that knows way more than I do, is going to take a look at my handiwork and tell me how much my ignorance is going to cost me.
The Post Build Check is taking place today, Wednesday after I’d finished my Big Push last Sunday. For those of you that are only casually following… firstly, shame on you. Secondly, the Post Build Check is where the dealer you buy the kit through will give the car a thorough once over. The PBC is included in the cost of the kit and is meant to check on whether the car is fit for IVA. It’s not a guarantee that the the car will pass IVA test, but in my opinion it’s a must-do part of the build.
However, since Sunday, I had got itchy fingers and couldn’t resist adding some IVA trim pieces that I didn’t think the PBC would need to remove.
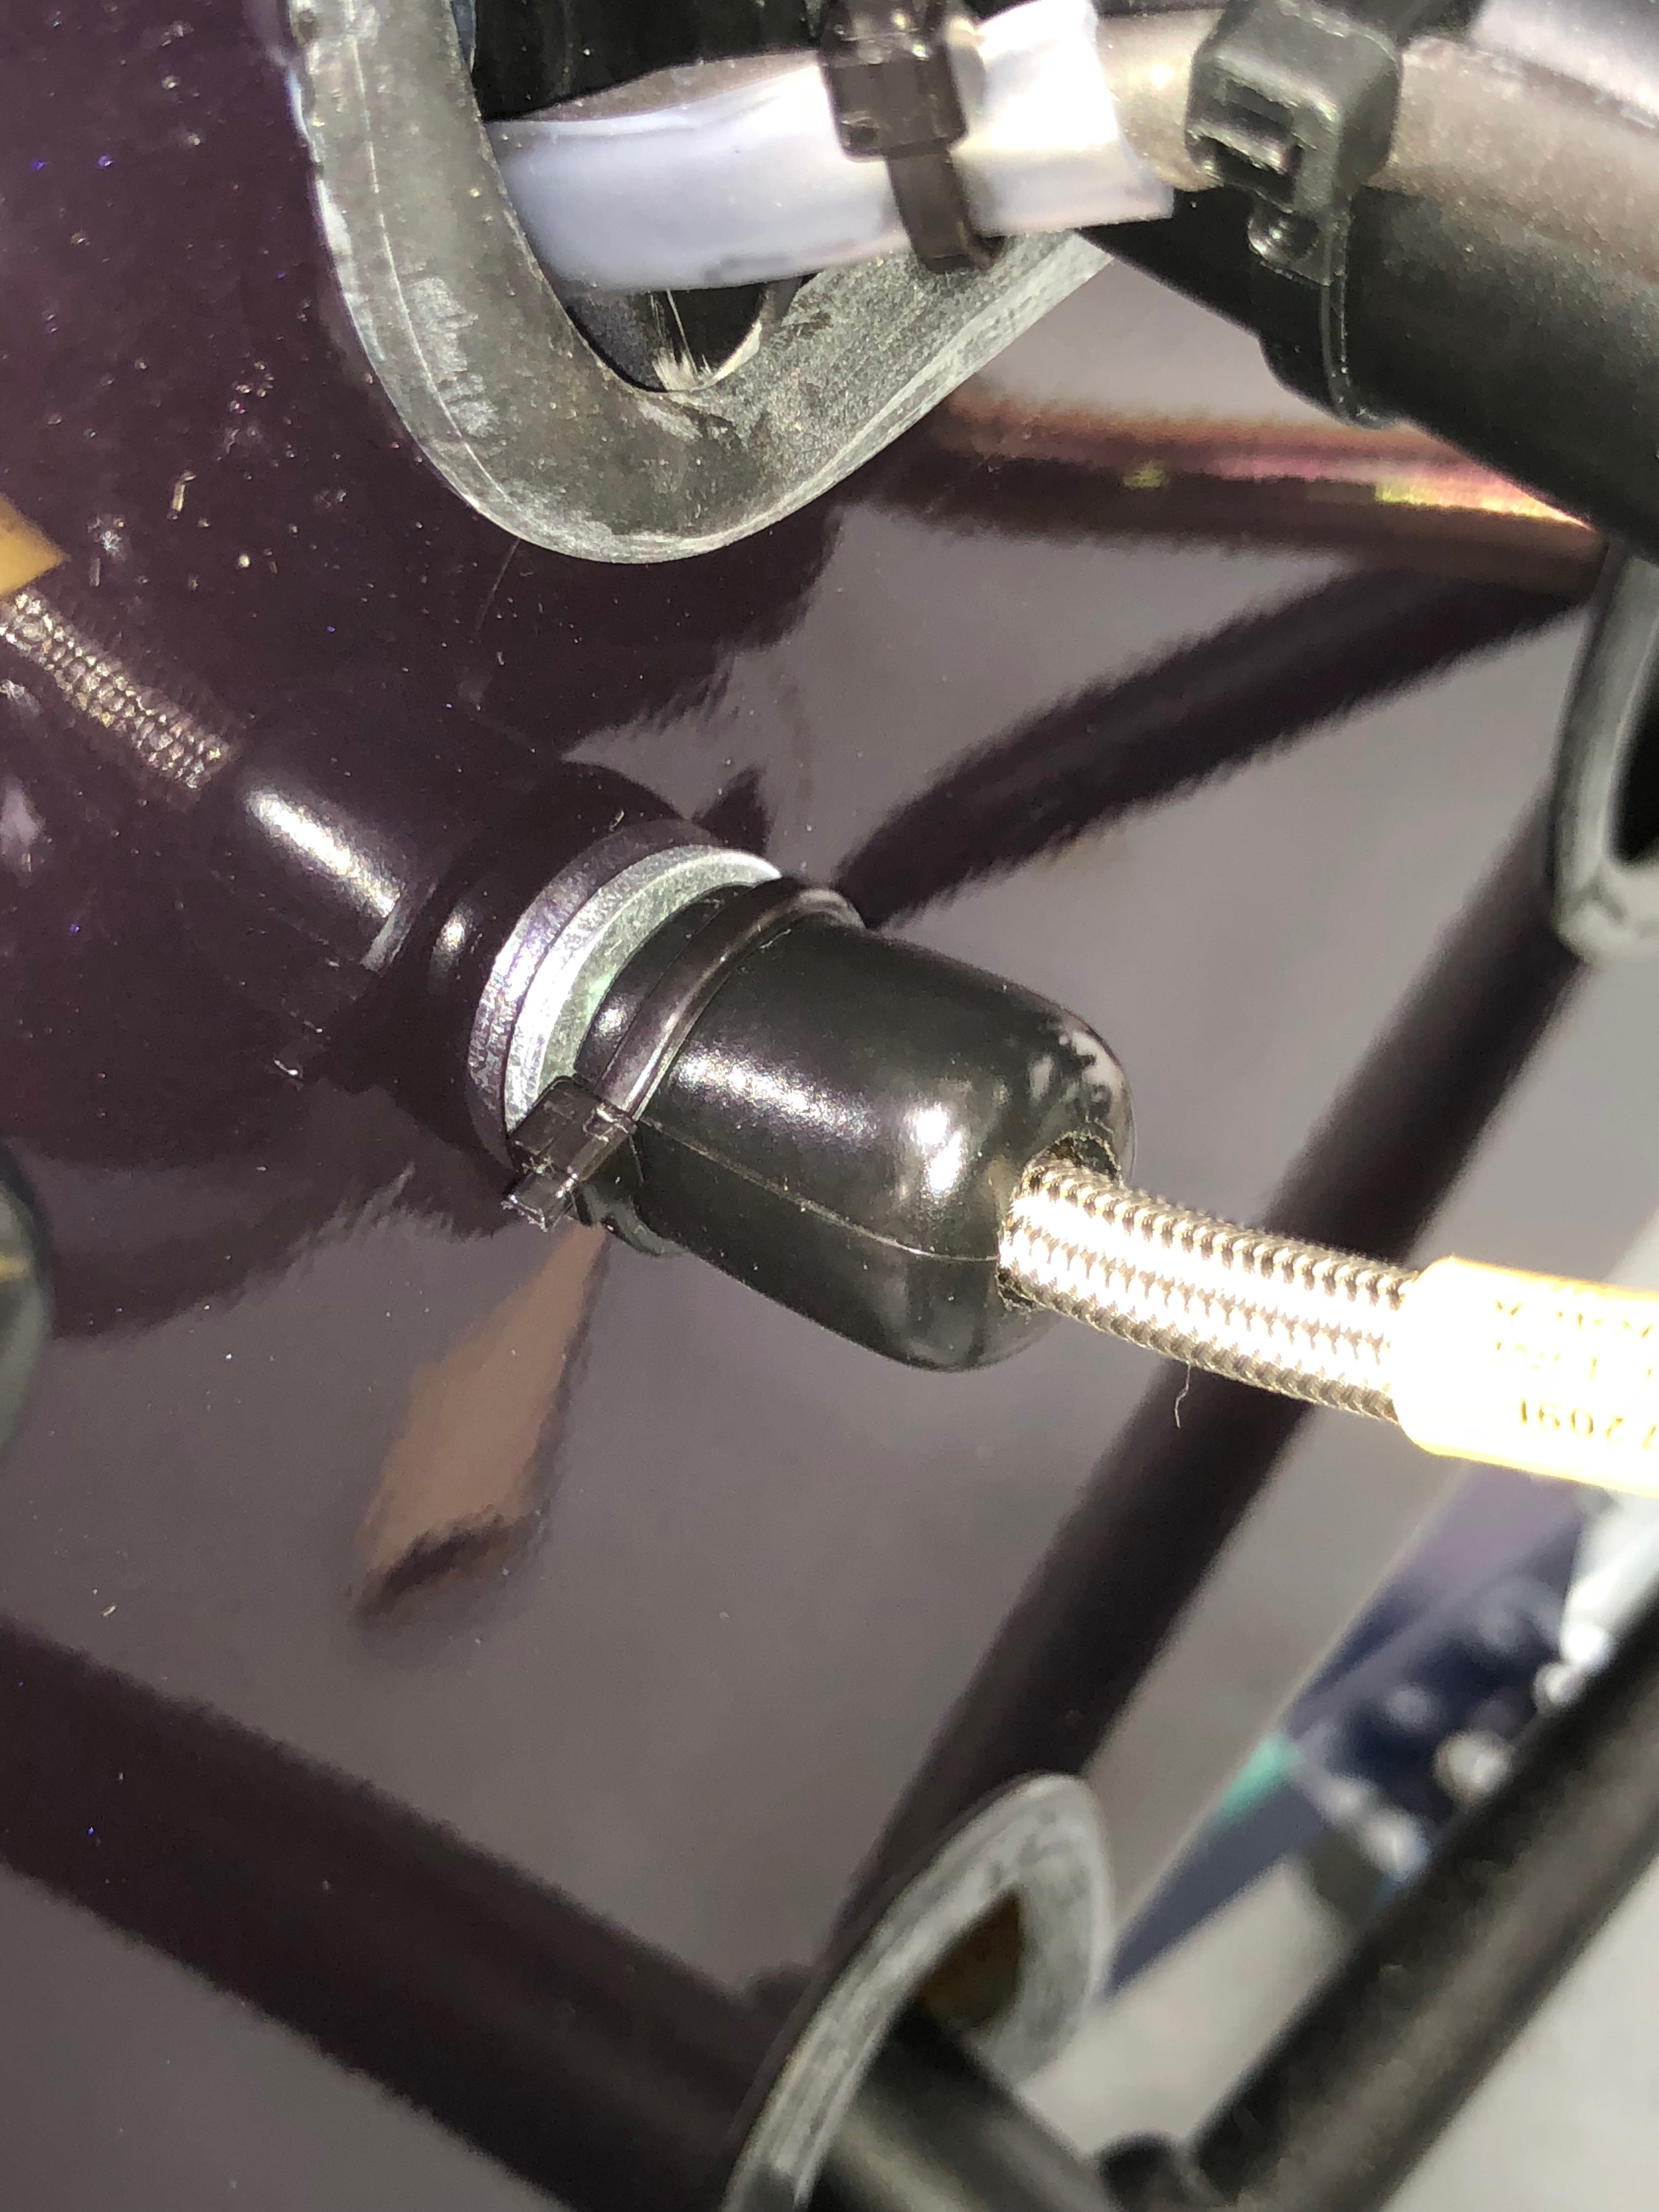
Exhaust Rear Mounting – IVA Treatment
All the rear exhaust bracket nuts/studs/bolts need to have caps on them…
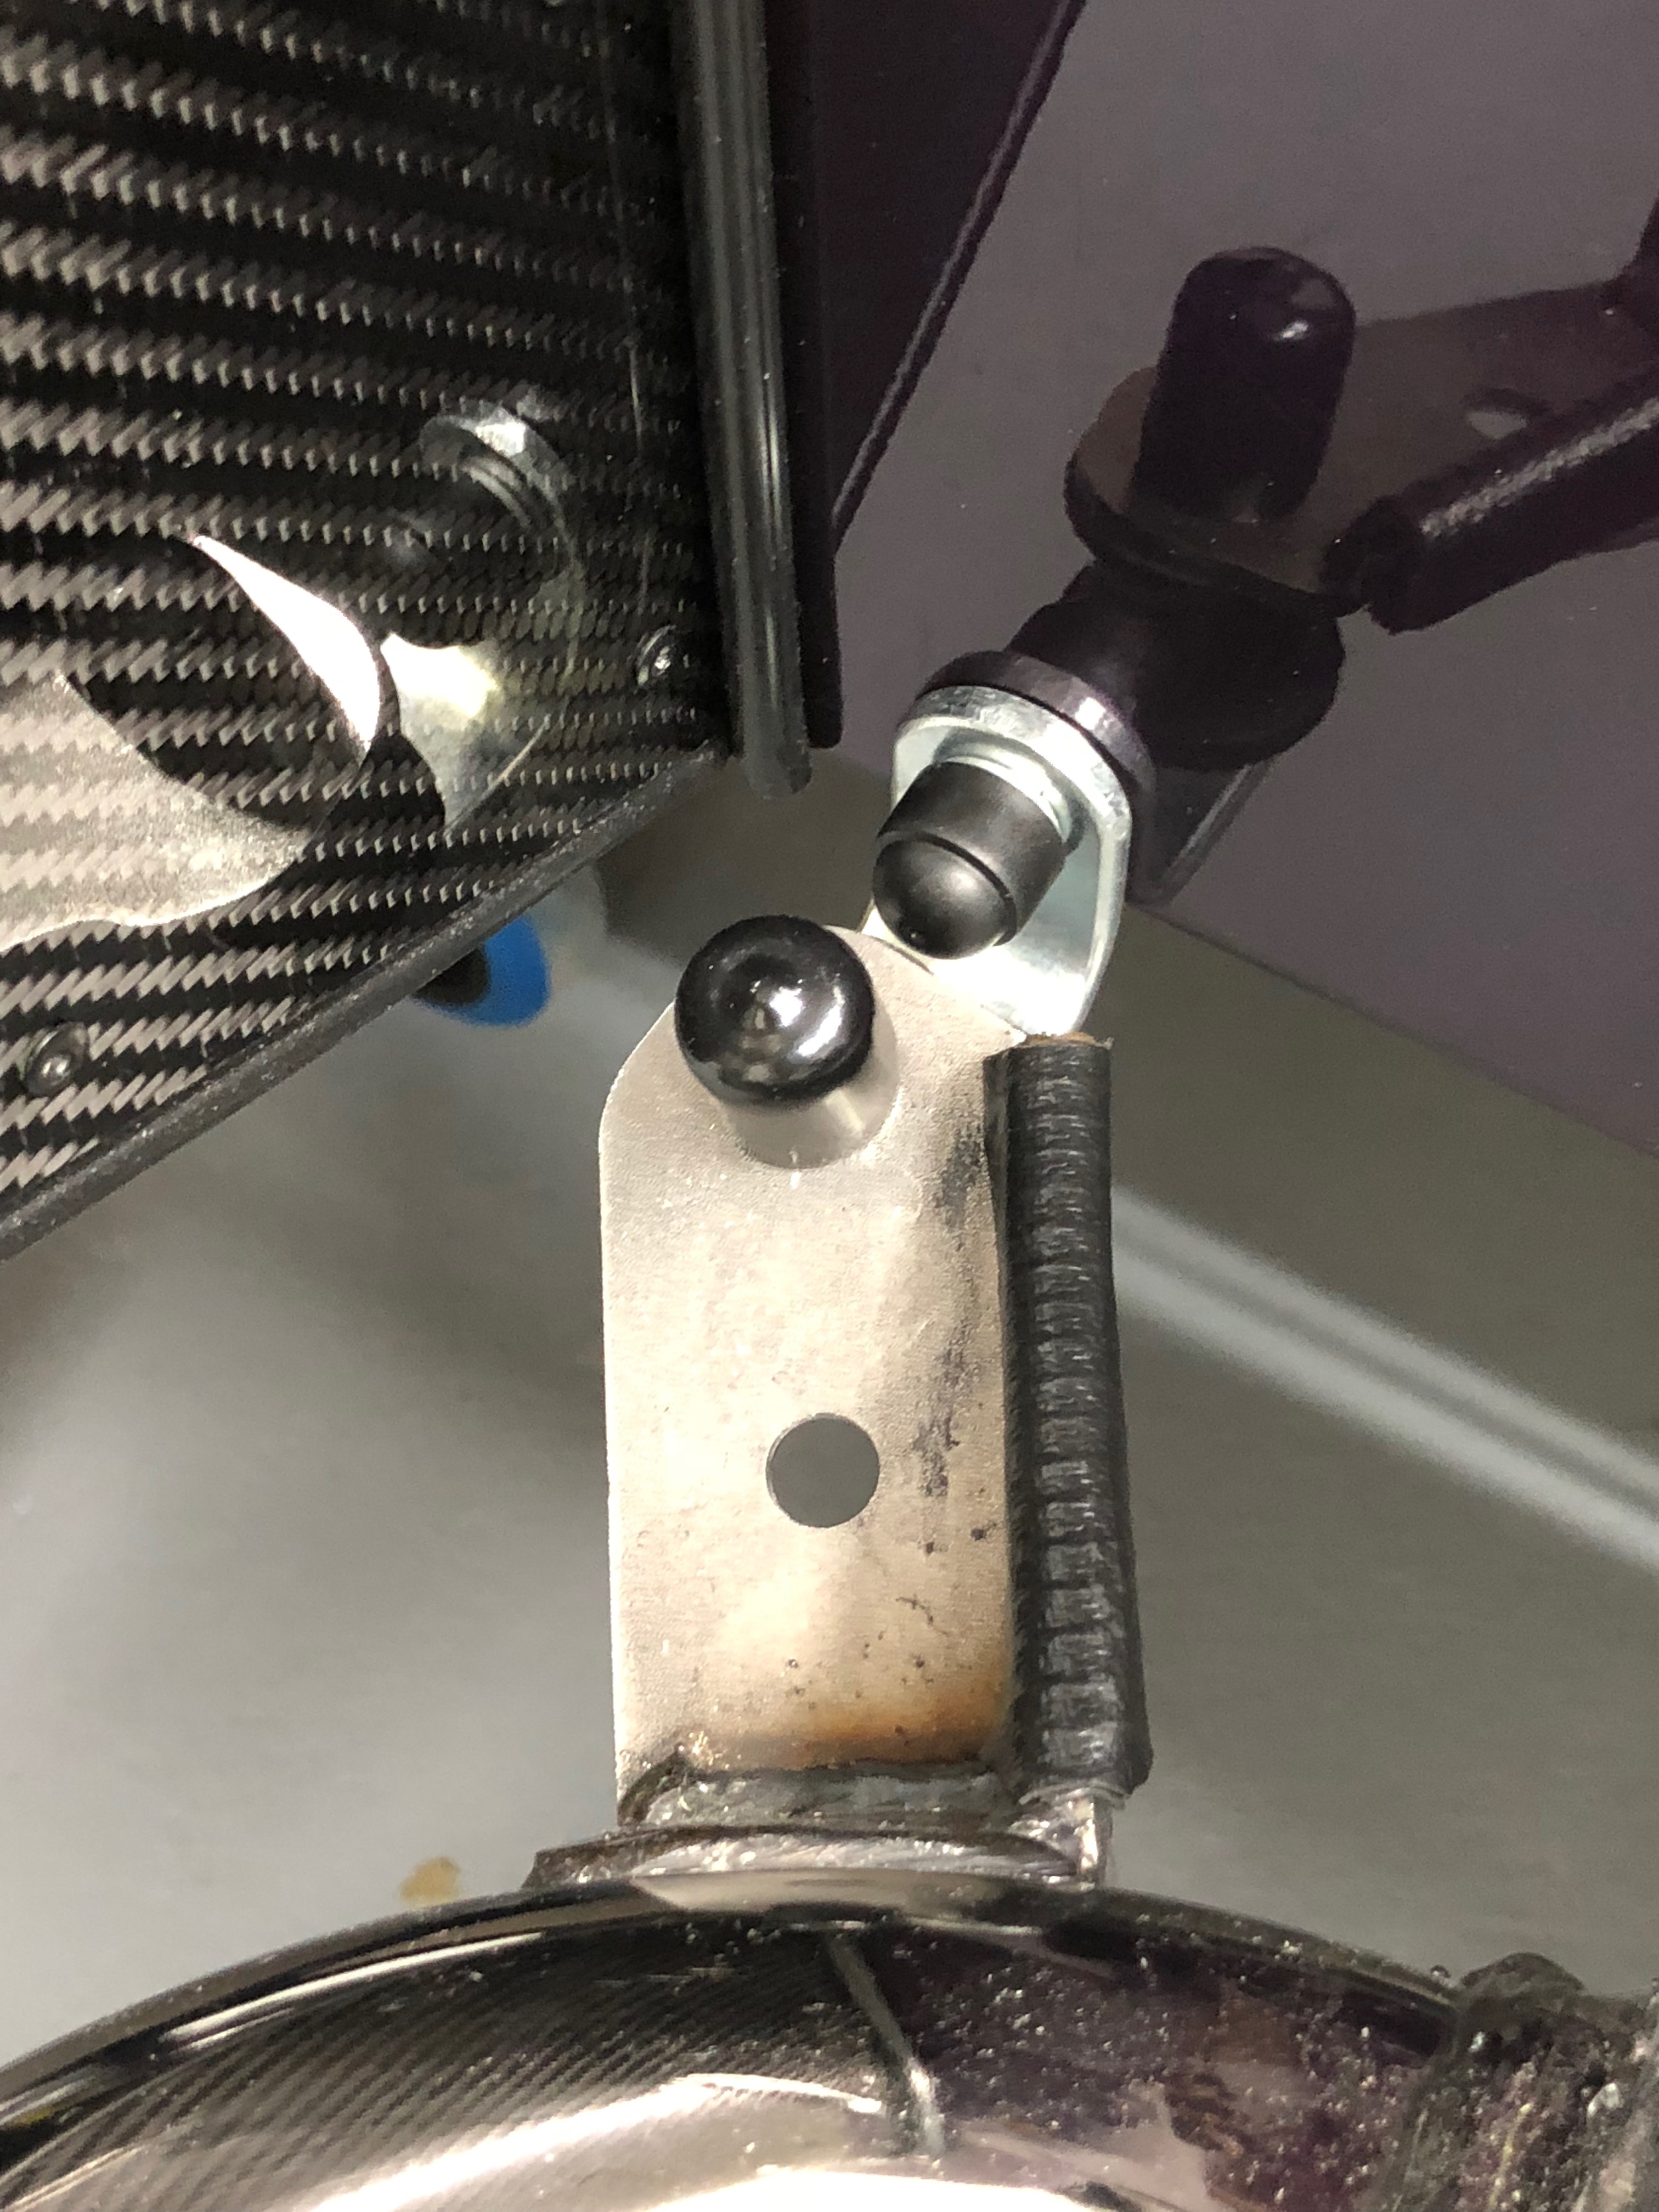
Front Brake Hose to Bodywork – IVA Treatment
I also added a soft cap to the front flexible brake hose body work fixings. The cap is supplied as part of the IVA trim. As others have done, I drilled a hole in the top, ran a slit down the side and cable-tied it all back together.
Oops – Don’t Tip a Caterham That Way Up!
One practical tip I’ve not heard discussed anywhere but I bet is something the old-hands chuckle about when a Newbie tells them what happened…
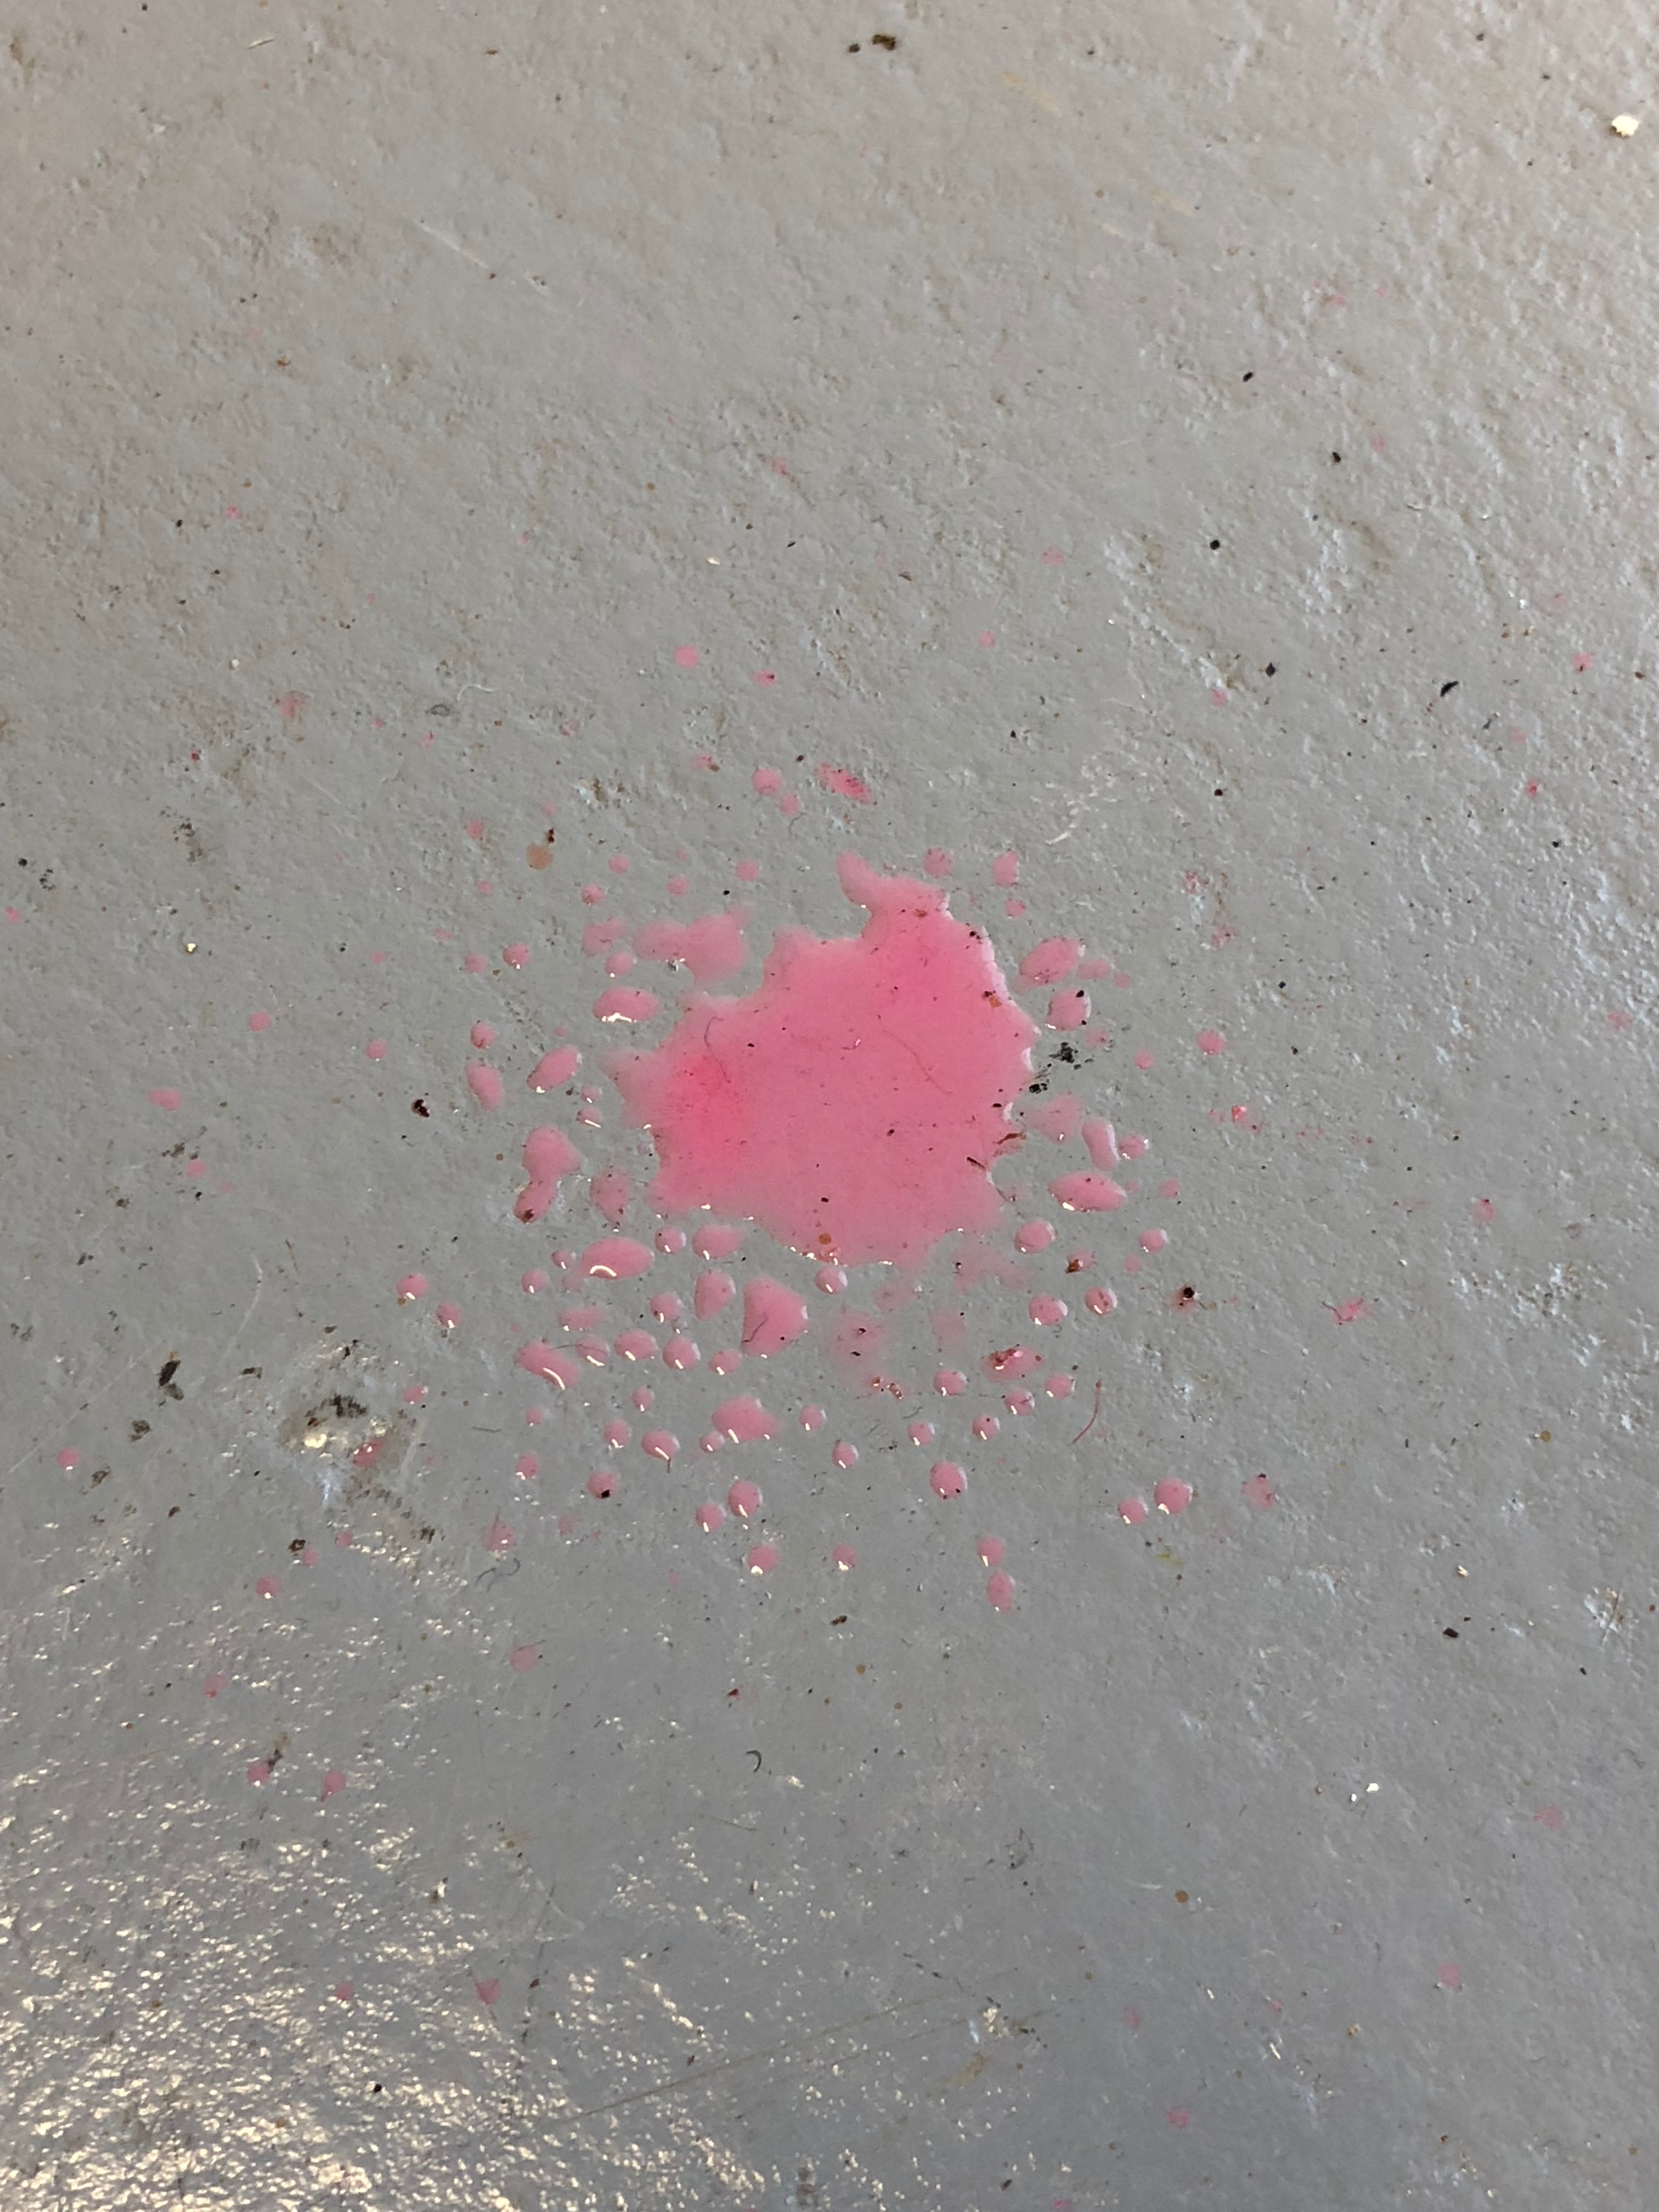
If you tip a Caterham on it’s nose then the washer fluid dribbles out the washer nozzle.
As part of the process of dropping the car onto it’s wheels, ready for the PBC pickup, I dropped the front of the car off it’s wheely stands and left the rear still up in the air. I then went and did something else around the house only to come back into the garage to find washer fluid all over the floor.
Rear of the car up high and the front down low, the washer bottle in the boot is higher than the washer nozzle in front of the windscreen. It’s just then a matter of gravity.
Mental note to self… in the future bung up the washer bottle nozzle if you drop the car nose first, or drop the rear first.
I guess there may not be a problem if the washer bottle is placed in the engine bay, like they used to do, but it certainly seems to be a problem when the washer bottle is in the boot,
PBC Pickup
Back to today though…
The plan was set for Williams to come and pickup the car first thing in the morning. Then, one the car is loaded, I’d follow them over to spend some time with the technician as he/she takes a look at the car.
Having read the guidance notes on the DVLA website again… it seems that it would have been possible to drive the car to Williams. The guidance is that you have to have a pre-booked appointment for the purpose of completing tasks associated with the IVA check. Then you can drive it on the road to those appointments. So while that is technically possible, Williams is about 15 miles from our house and I wasn’t keen to test my ability to put the car together without someone else checking it first. Perhaps I could have driven it back from Williams after the PBC but I’d have had to have got someone to take me over there first. Decision made – let them trailer it both ways.
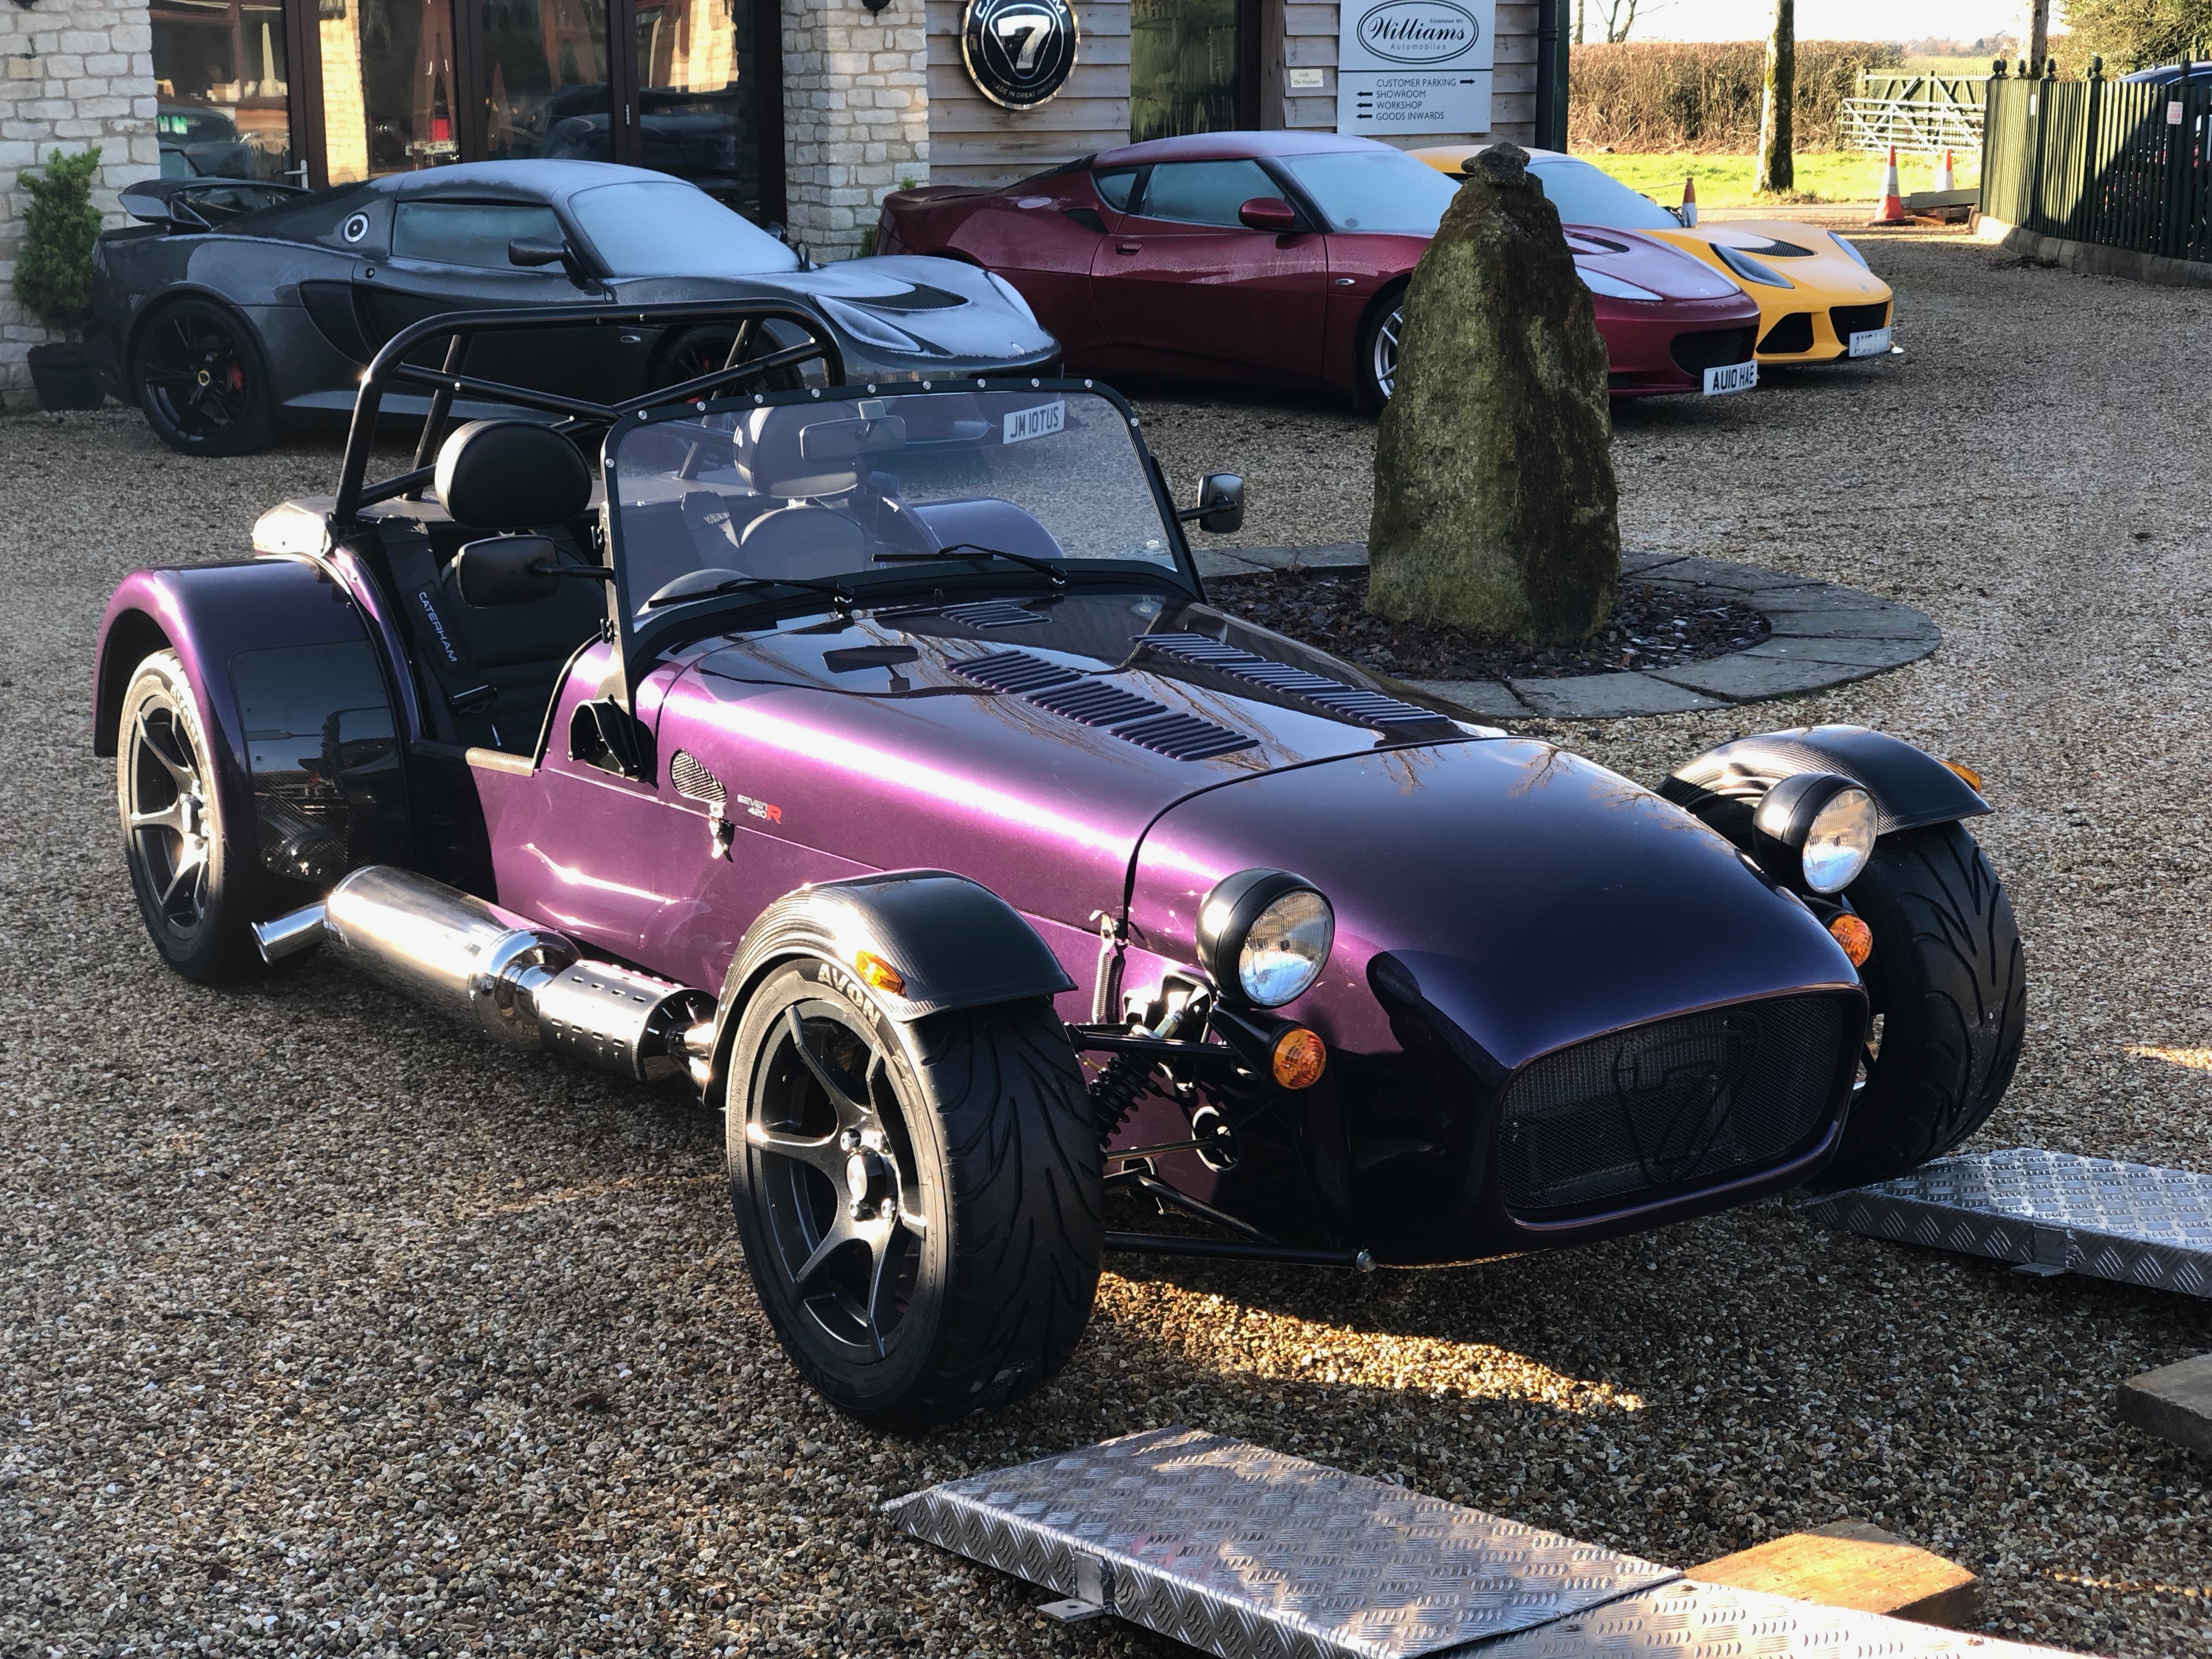
So, I opened the garage door and let the Purplemeanie loose.
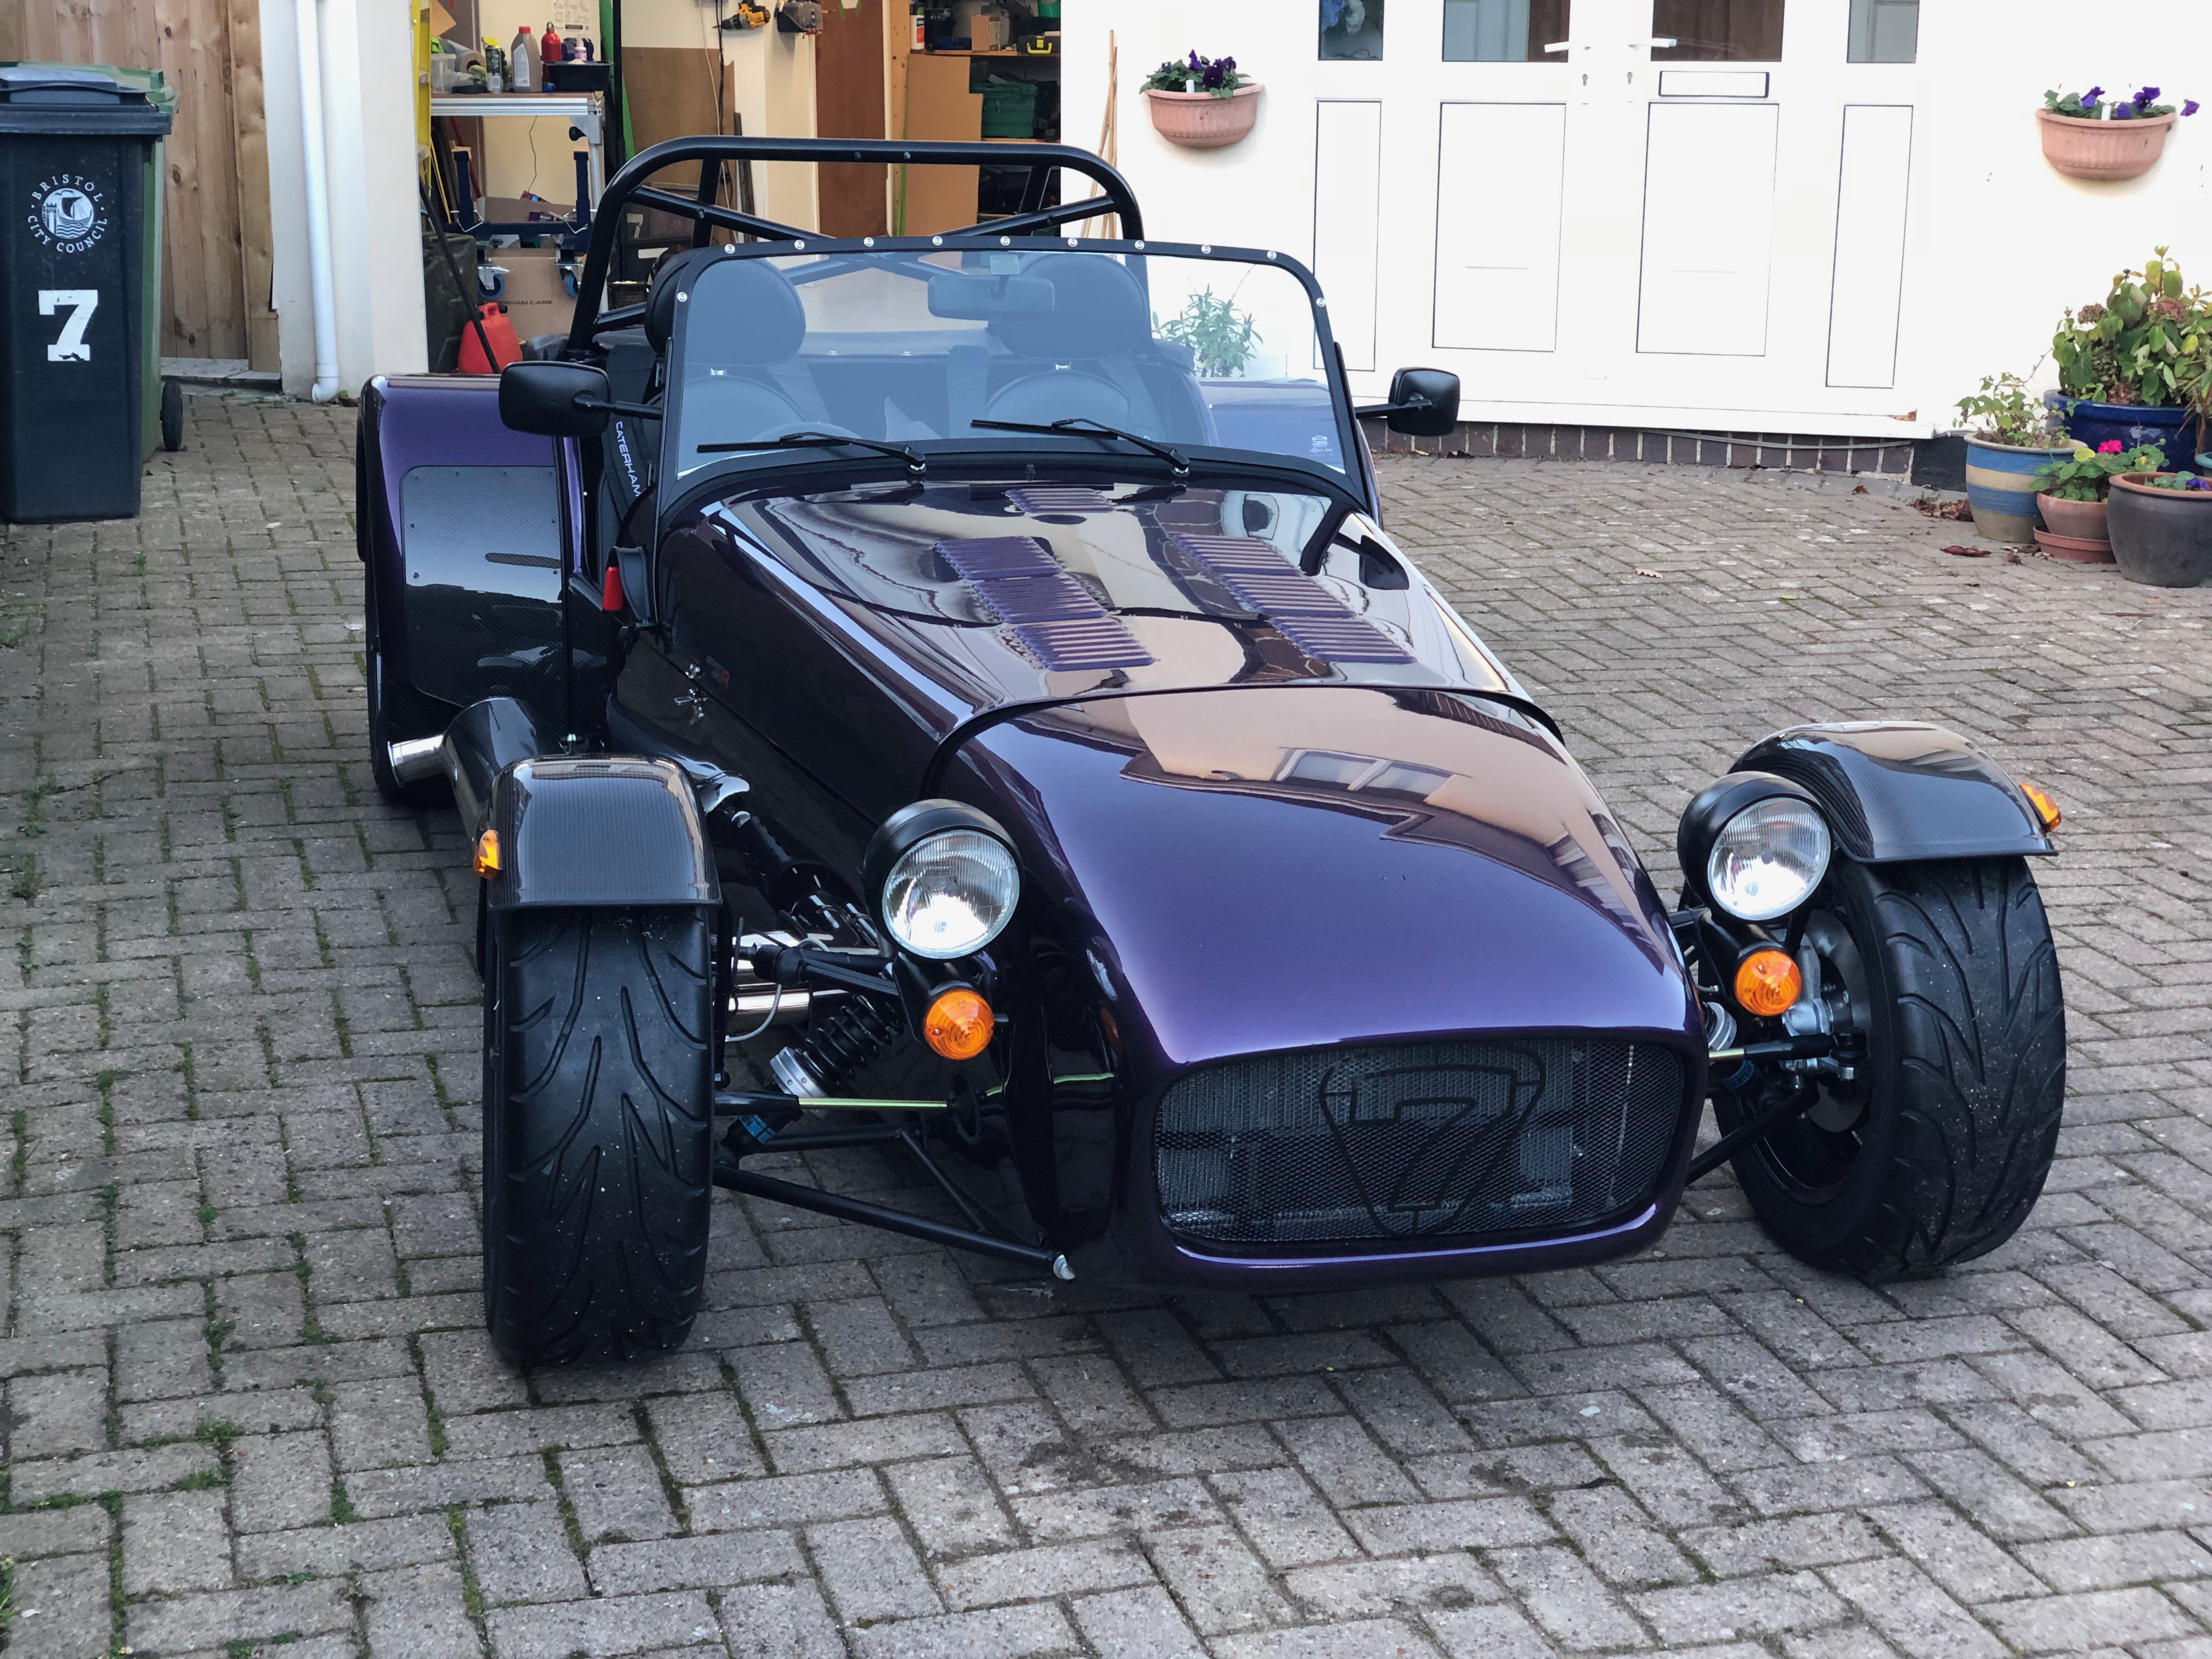

Once the car was outside I could see that I was going to have to take a look at the jubilee clips holding all the coolant pipework in place.
Here’s some video of it running…
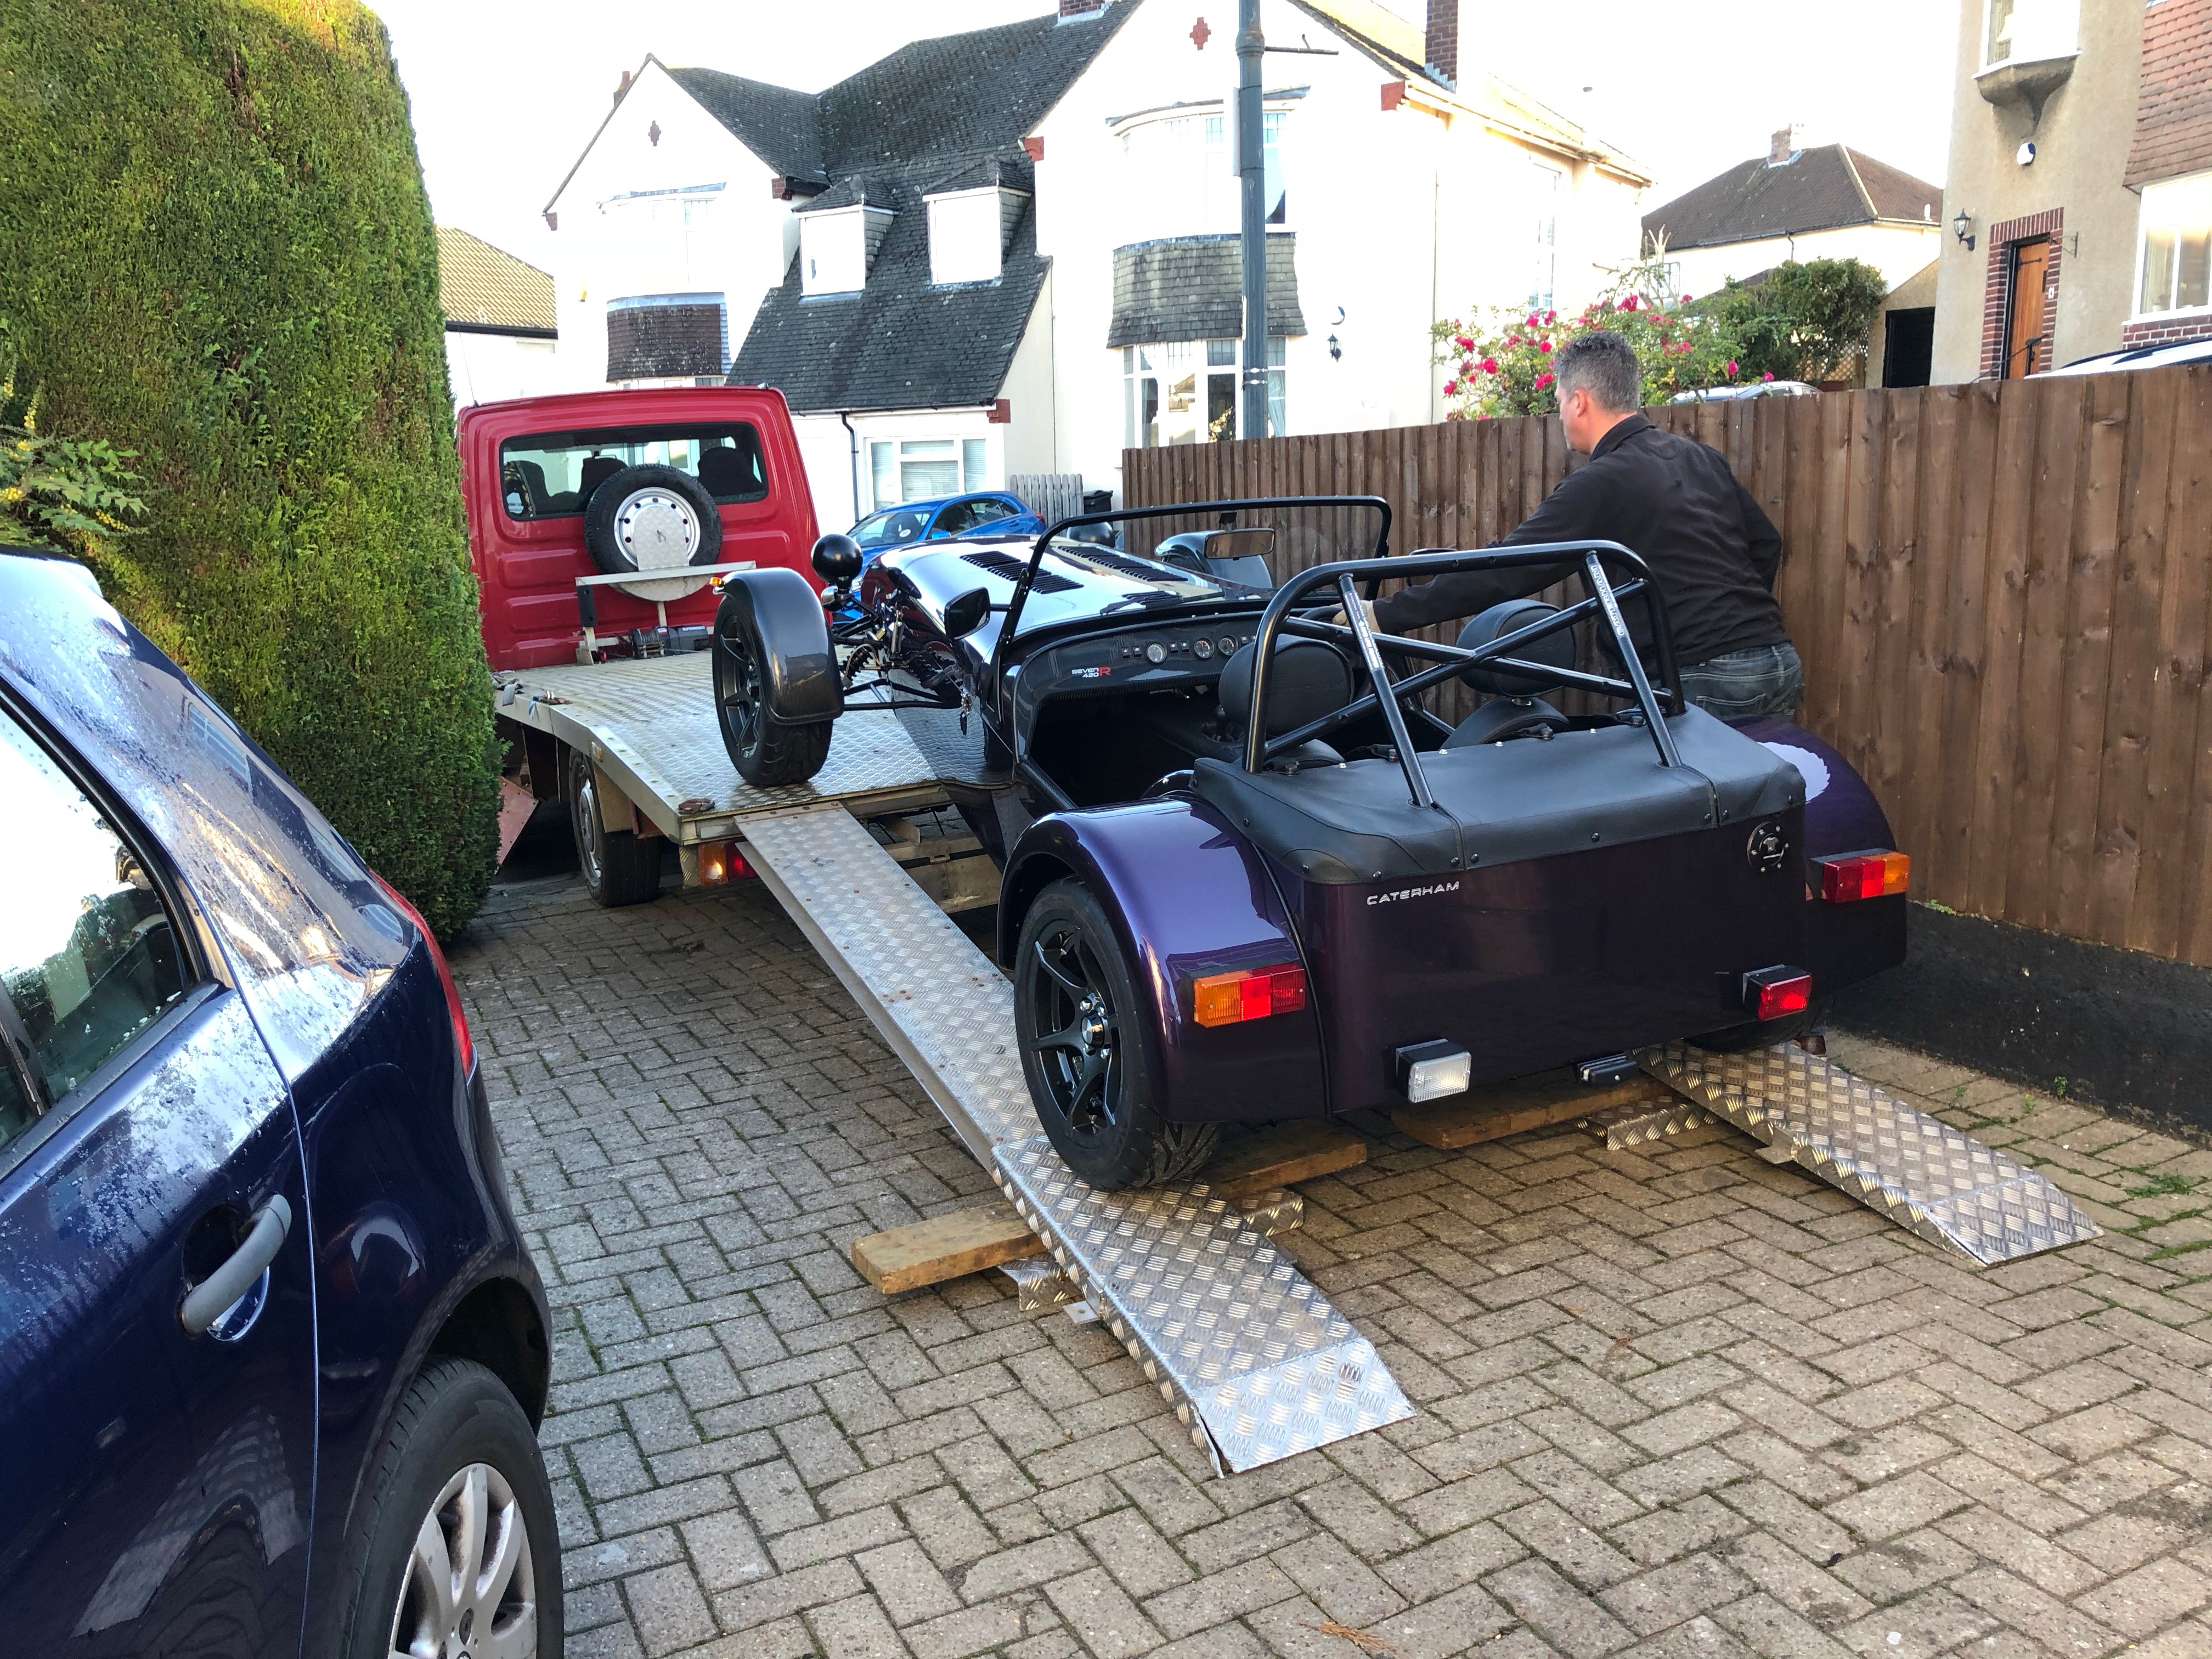
Tony from Williams arrived on time and got to sticking the car onto their low loader…
Unloading At Williams
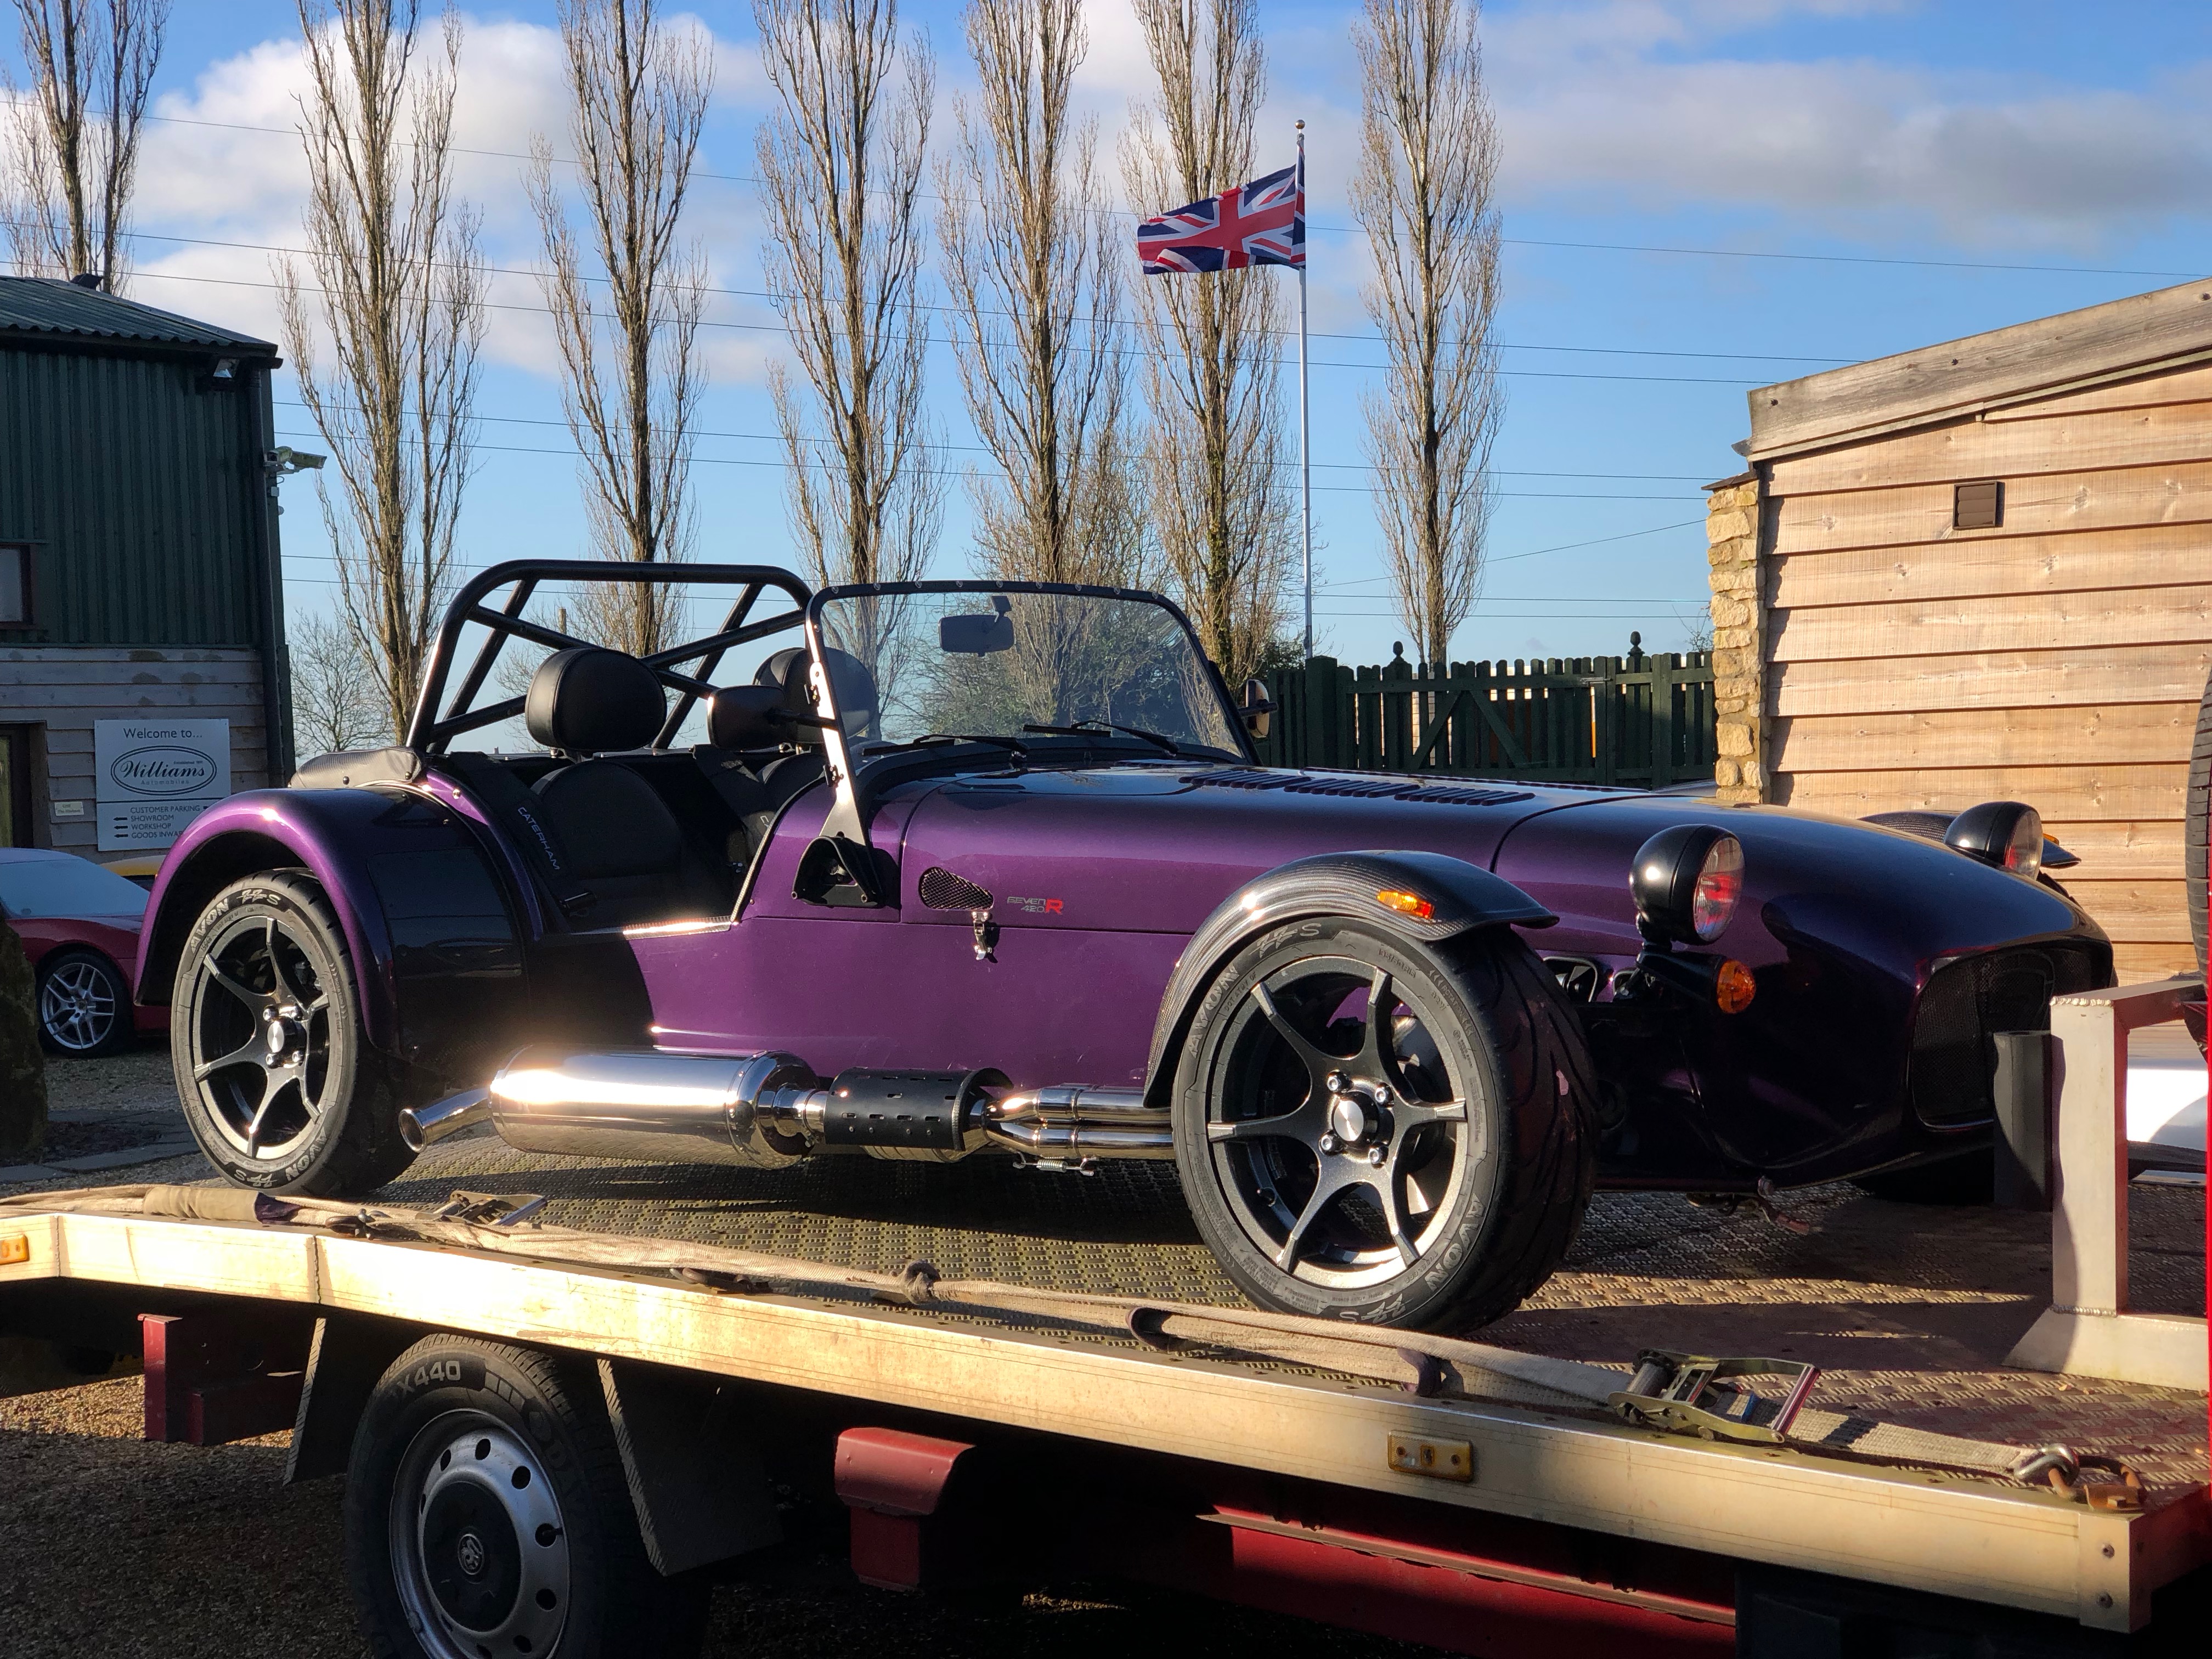
It was still a crisp autumn morning when we arrived at Williams…

In the Shop
The technician working on my car was Tom and he got the car into the shop and onto a ramp once he’d finished off an early morning job. He then came and got me from the showroom and we had a look over the car on the ramp.
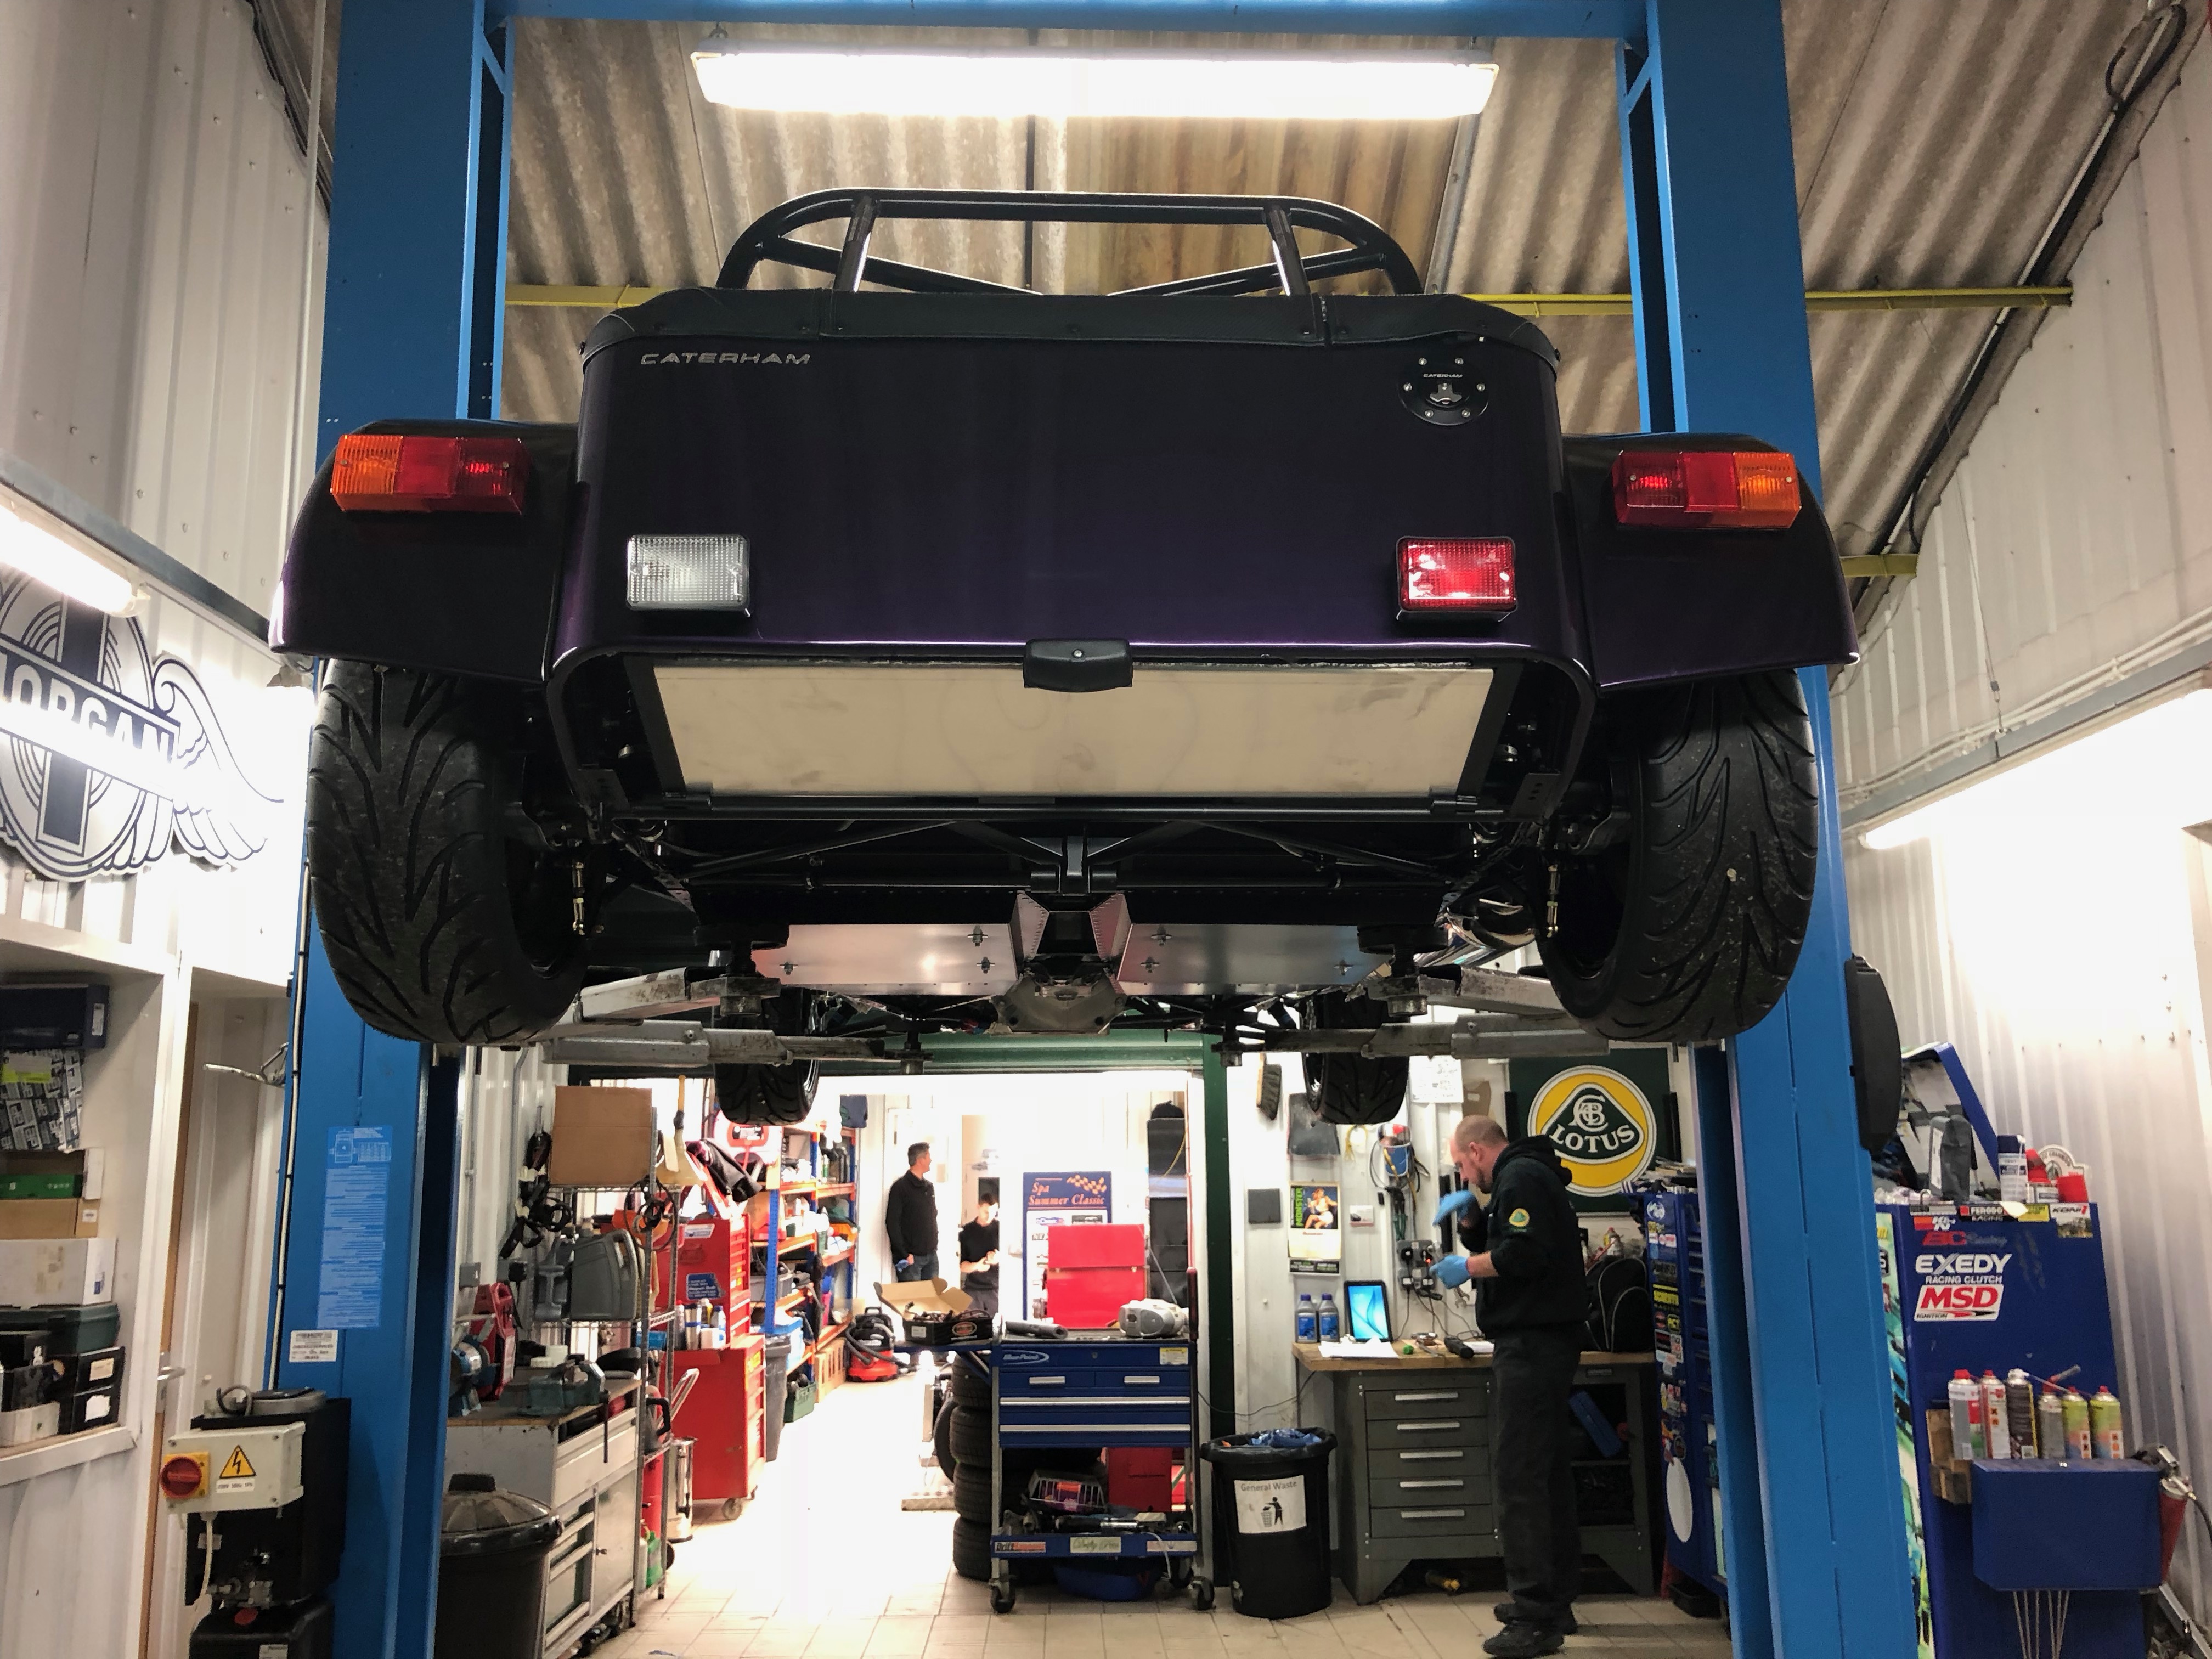
Here are the things we discussed…
PBC – Wheels
For the eagle-eyed amongst you, you’ll have noticed that in my haste to get everything done, I’d got the front-left and rear-right wheels switched – the tyres are directional and I got them reversed.
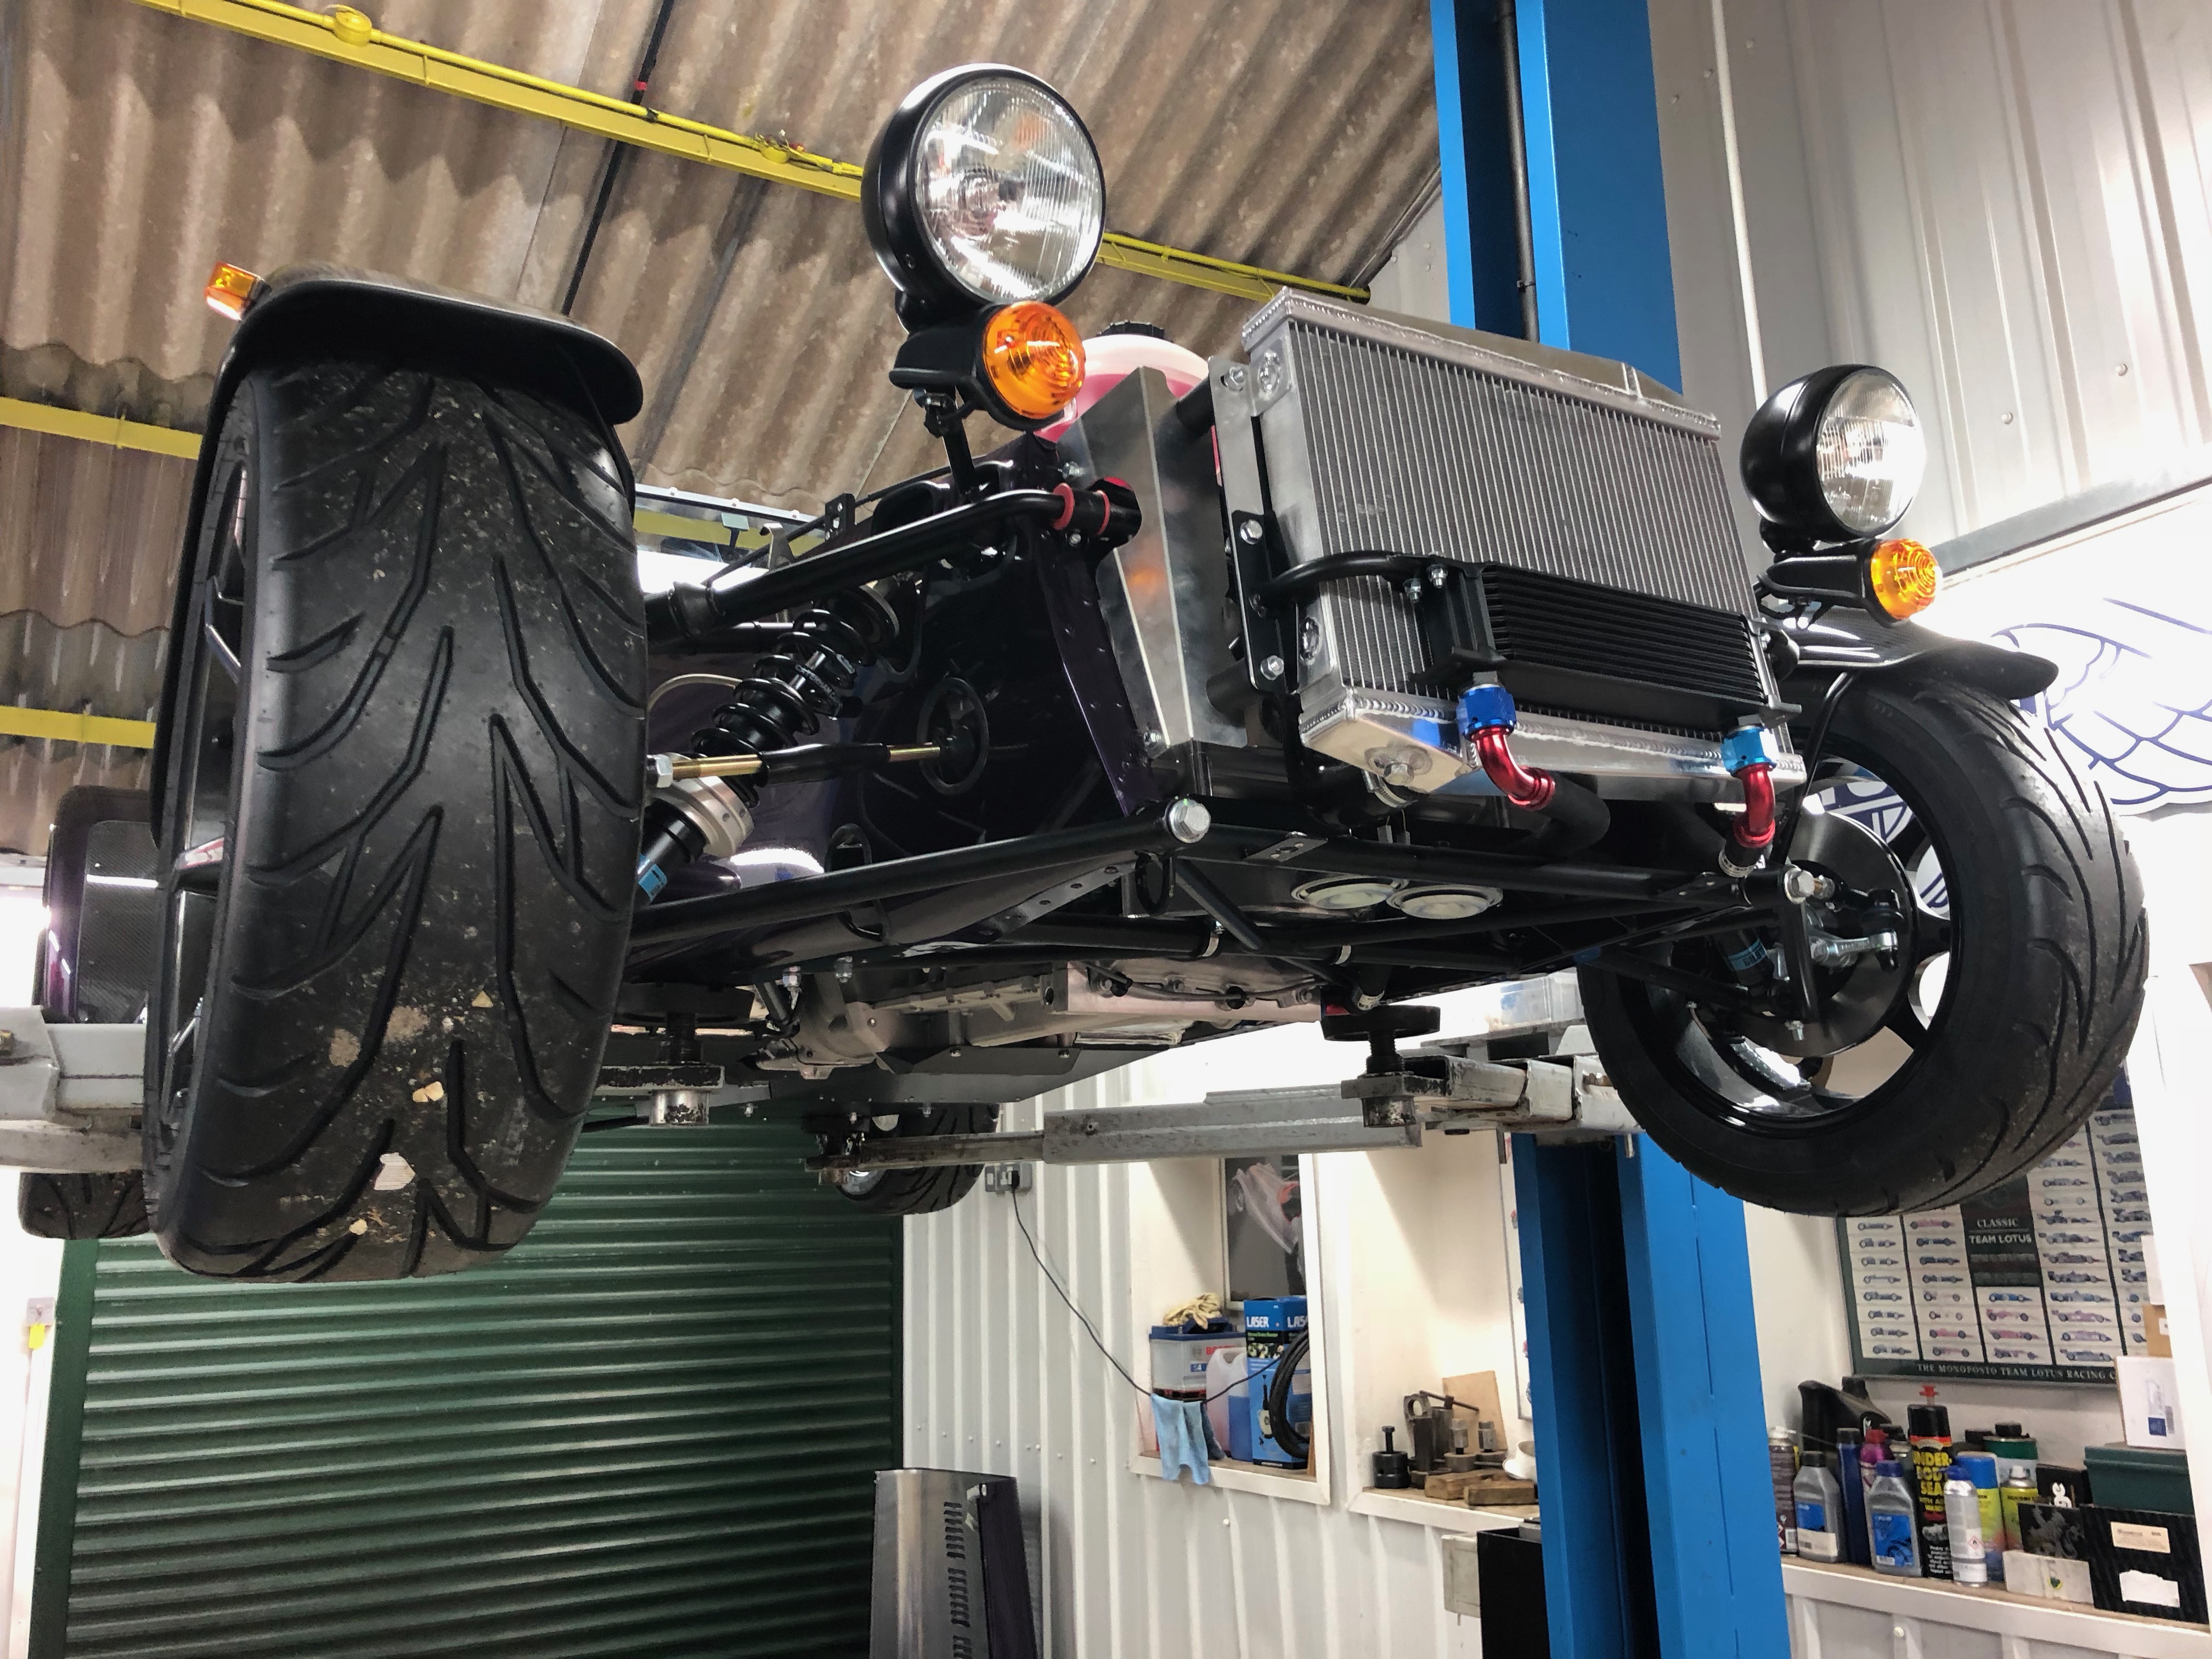
PBC – Coolant Radiator
Another interesting tidbit from my discussion with Tom was that he spotted a weeping weld on the coolant radiator. He said that this is not unusual. We agreed it was small enough that it might “heal” over time but I’ll keep an eye on it over the coming weeks. It’s not an IVA fail and the worst case is that I’ll have to drain the coolant system and get it re-welded – it’s so small I might be able to bung it up myself.
PBC – Speedo
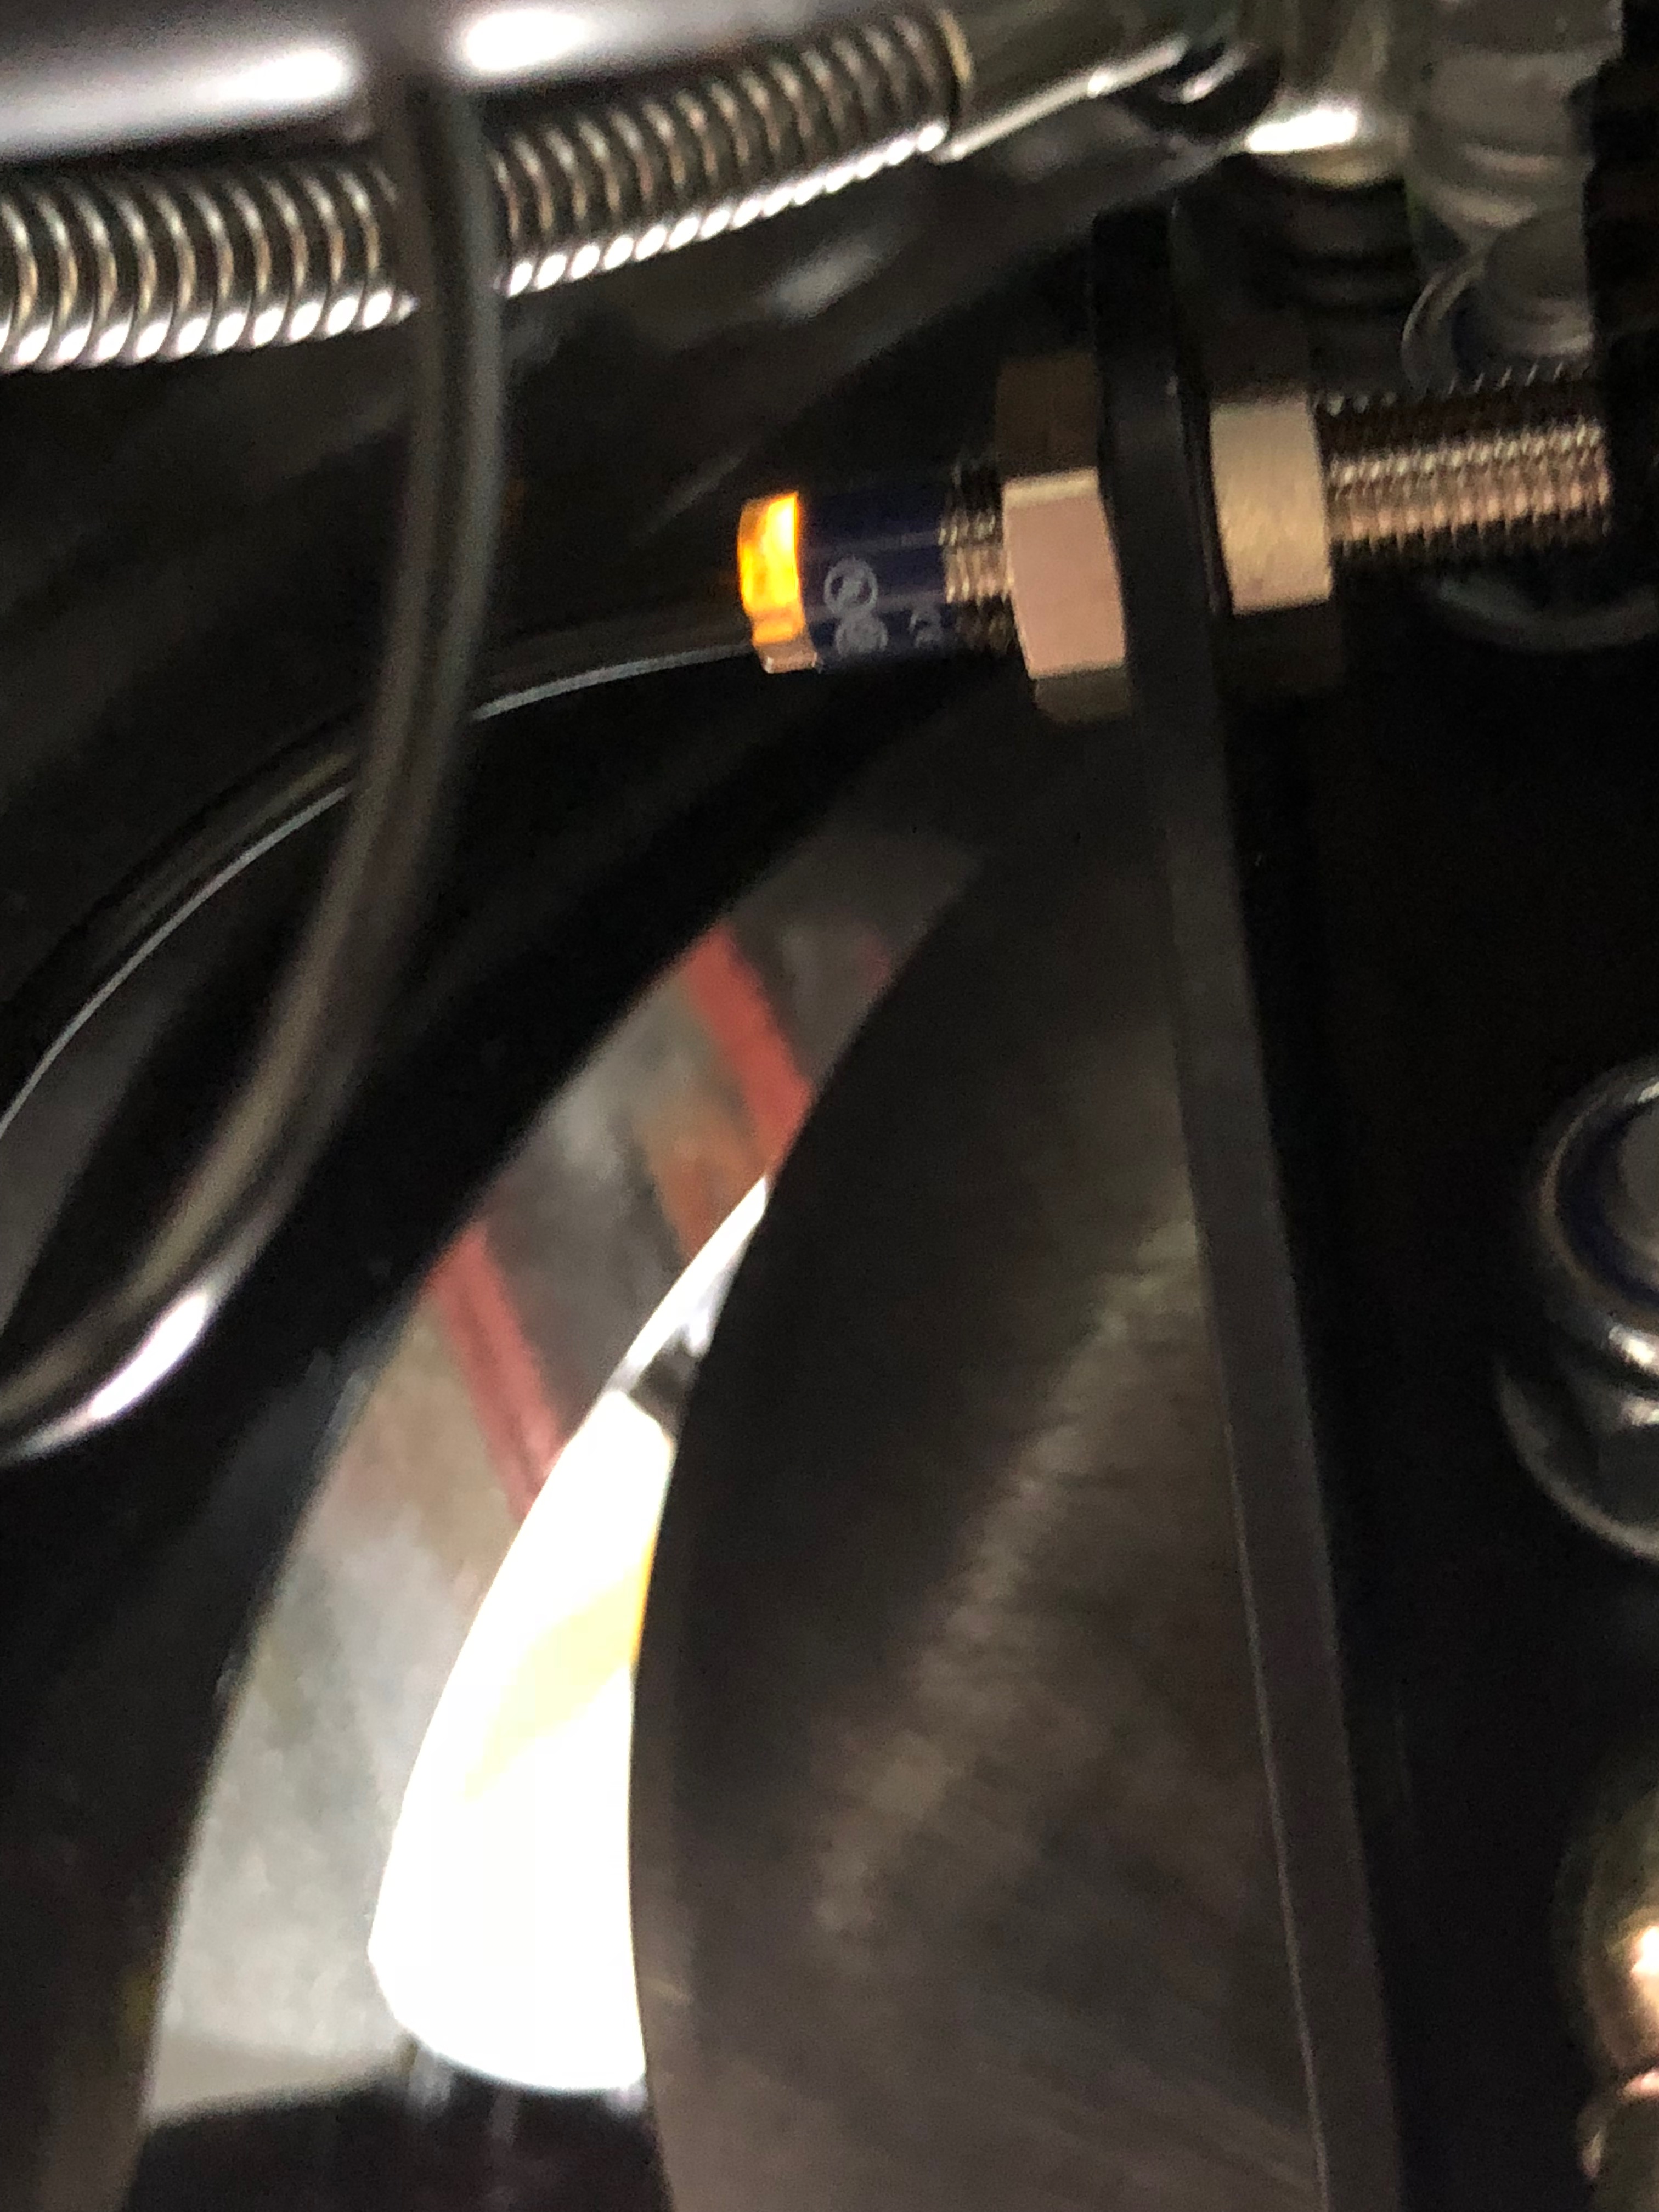
Whilst I stood with Tom we had a look at the speedo reading – or not as it happened. As Tom had run the car in gear, he noticed the speedo wasn’t reading anything. So, we both headed to the RHS rear wheel to take a look at the sensor.
Tom pointed out that as you turn the RH rear wheel, with the ignition on, the shroud around the speedo sensor tip will light up and pulse as the wheel is rotated. So, you can get a rough check on whether the speedo will operate correctly without having to run the rear wheels via the engine. As it happens I had got the sensor too close to the armature on the wheel and so the speedo wasn’t working. For those interested: the mark-space-ratio seems to be something like 80/20… the light is on more than its off when operating correctly. We also discussed the possible need for the “spare” speedo earth lead included in the kit, but mostly not used – see below. Here’s what the illuminated shroud looks like…
As discussed above, the item in the polythene bag below is used on “some” cars where the speedo isn’t working as intended. The strap replaces the earth pin on the connector that the speedo sensor connects into on the chassis by the RH rear wheel. You then attach the other end of the lead to the chassis. According to Tom: you drill a hole in the chassis tube running up the rear bulkhead and attach the lead to the chassis there. Derek had also told me about this lead when I asked what it was for, though Tom was more explicit about how to install it. I’ll now know something to ckeck if I get poor speedo reliability.

PBC – Brakes
Tom and I also discussed the spongy brake pedal. He thought it could definitely be better… And coming from someone who drives Caterham’s every day, who am I to argue. He showed me a self-bleed system he uses that pressurises the brakes via a pumped tank which holds a reservoir of fluid. He said that you could bleed a system in a few minutes with it. That’s gotta be on my list… I can imagine I’ll be bleeding brakes often, if not regularly, and sounds like an investment I should make. I hear Amazon calling me!
PBC Conclusion
I hung around at Williams for a couple of hours then headed out to let Tom get everything done. The car was to stay at Williams for a couple of days anyway so that PPF (Paint Protection Film) could be added on Friday.
There wasn’t much that needed doing in the PBC that I didn’t know about already, but here’s the list of stuff that we agreed and that Williams did:
- Perform Post Build Check
- Brake pedal travel, bleed system, still poor. Customer to sort out
- Remove rear callipers to check pad notch to piston alignment – ok
- Stop light now working correctly
- Swap OSF and NSR wheels around for correct tyre rotation
- Set headlight alignments. N/S bulb had a bad pattern, bulb bent, supply and fit new bulb
- Set suspension ride height higher
- Adjust washer jets
- Coolant temp gauge erratic, found poor solder joint in link lead. Make up new lead, tested ok
Of those items… I didn’t know quite what happened to make the stop light not work and I thought I had the washer jets set reasonably well, but those are small points.
Tom and I had agreed that he should set up the ride height. However, that seemed to consist of Tom going to find a car with a similar spec in their portfolio, measuring it’s ride height and setting my car to be the same ?. I also knew about the brake system and will sort that out when I get the car back.
The one item I’m very embarrassed about is the coolant temp link lead. As an electronics guy who’s been soldering for 45 years, I should have got that one nailed – doh!
That all came to just over £200 for labour and parts, and was probably what I was expecting. The PBC is included in the kit price but not any remedial work carried out. I couldn’t get away completely scott free could I?
I now have to wait for Friday to come around and hope that the PPF gets fitted early enough for Williams to drop the car back that day. Then I can spend the weekend on IVA preparation.
Seems as though my handiwork wasn’t too bad – Phew!

Leave a Comment