

An odds and ends day… but a big one… something to sit on!
Having got the passenger compartment carpets installed is seemed only right to have a go at getting more of the finer things in life installed… harnesses and seats… Whoa we can move the seats out from the lounge!
Transmission Tunnel Top
I had test fitted the transmission tunnel top a couple of times. It seems to be just be a friction fit – hmm… wonder if that’s going to be a problem later?
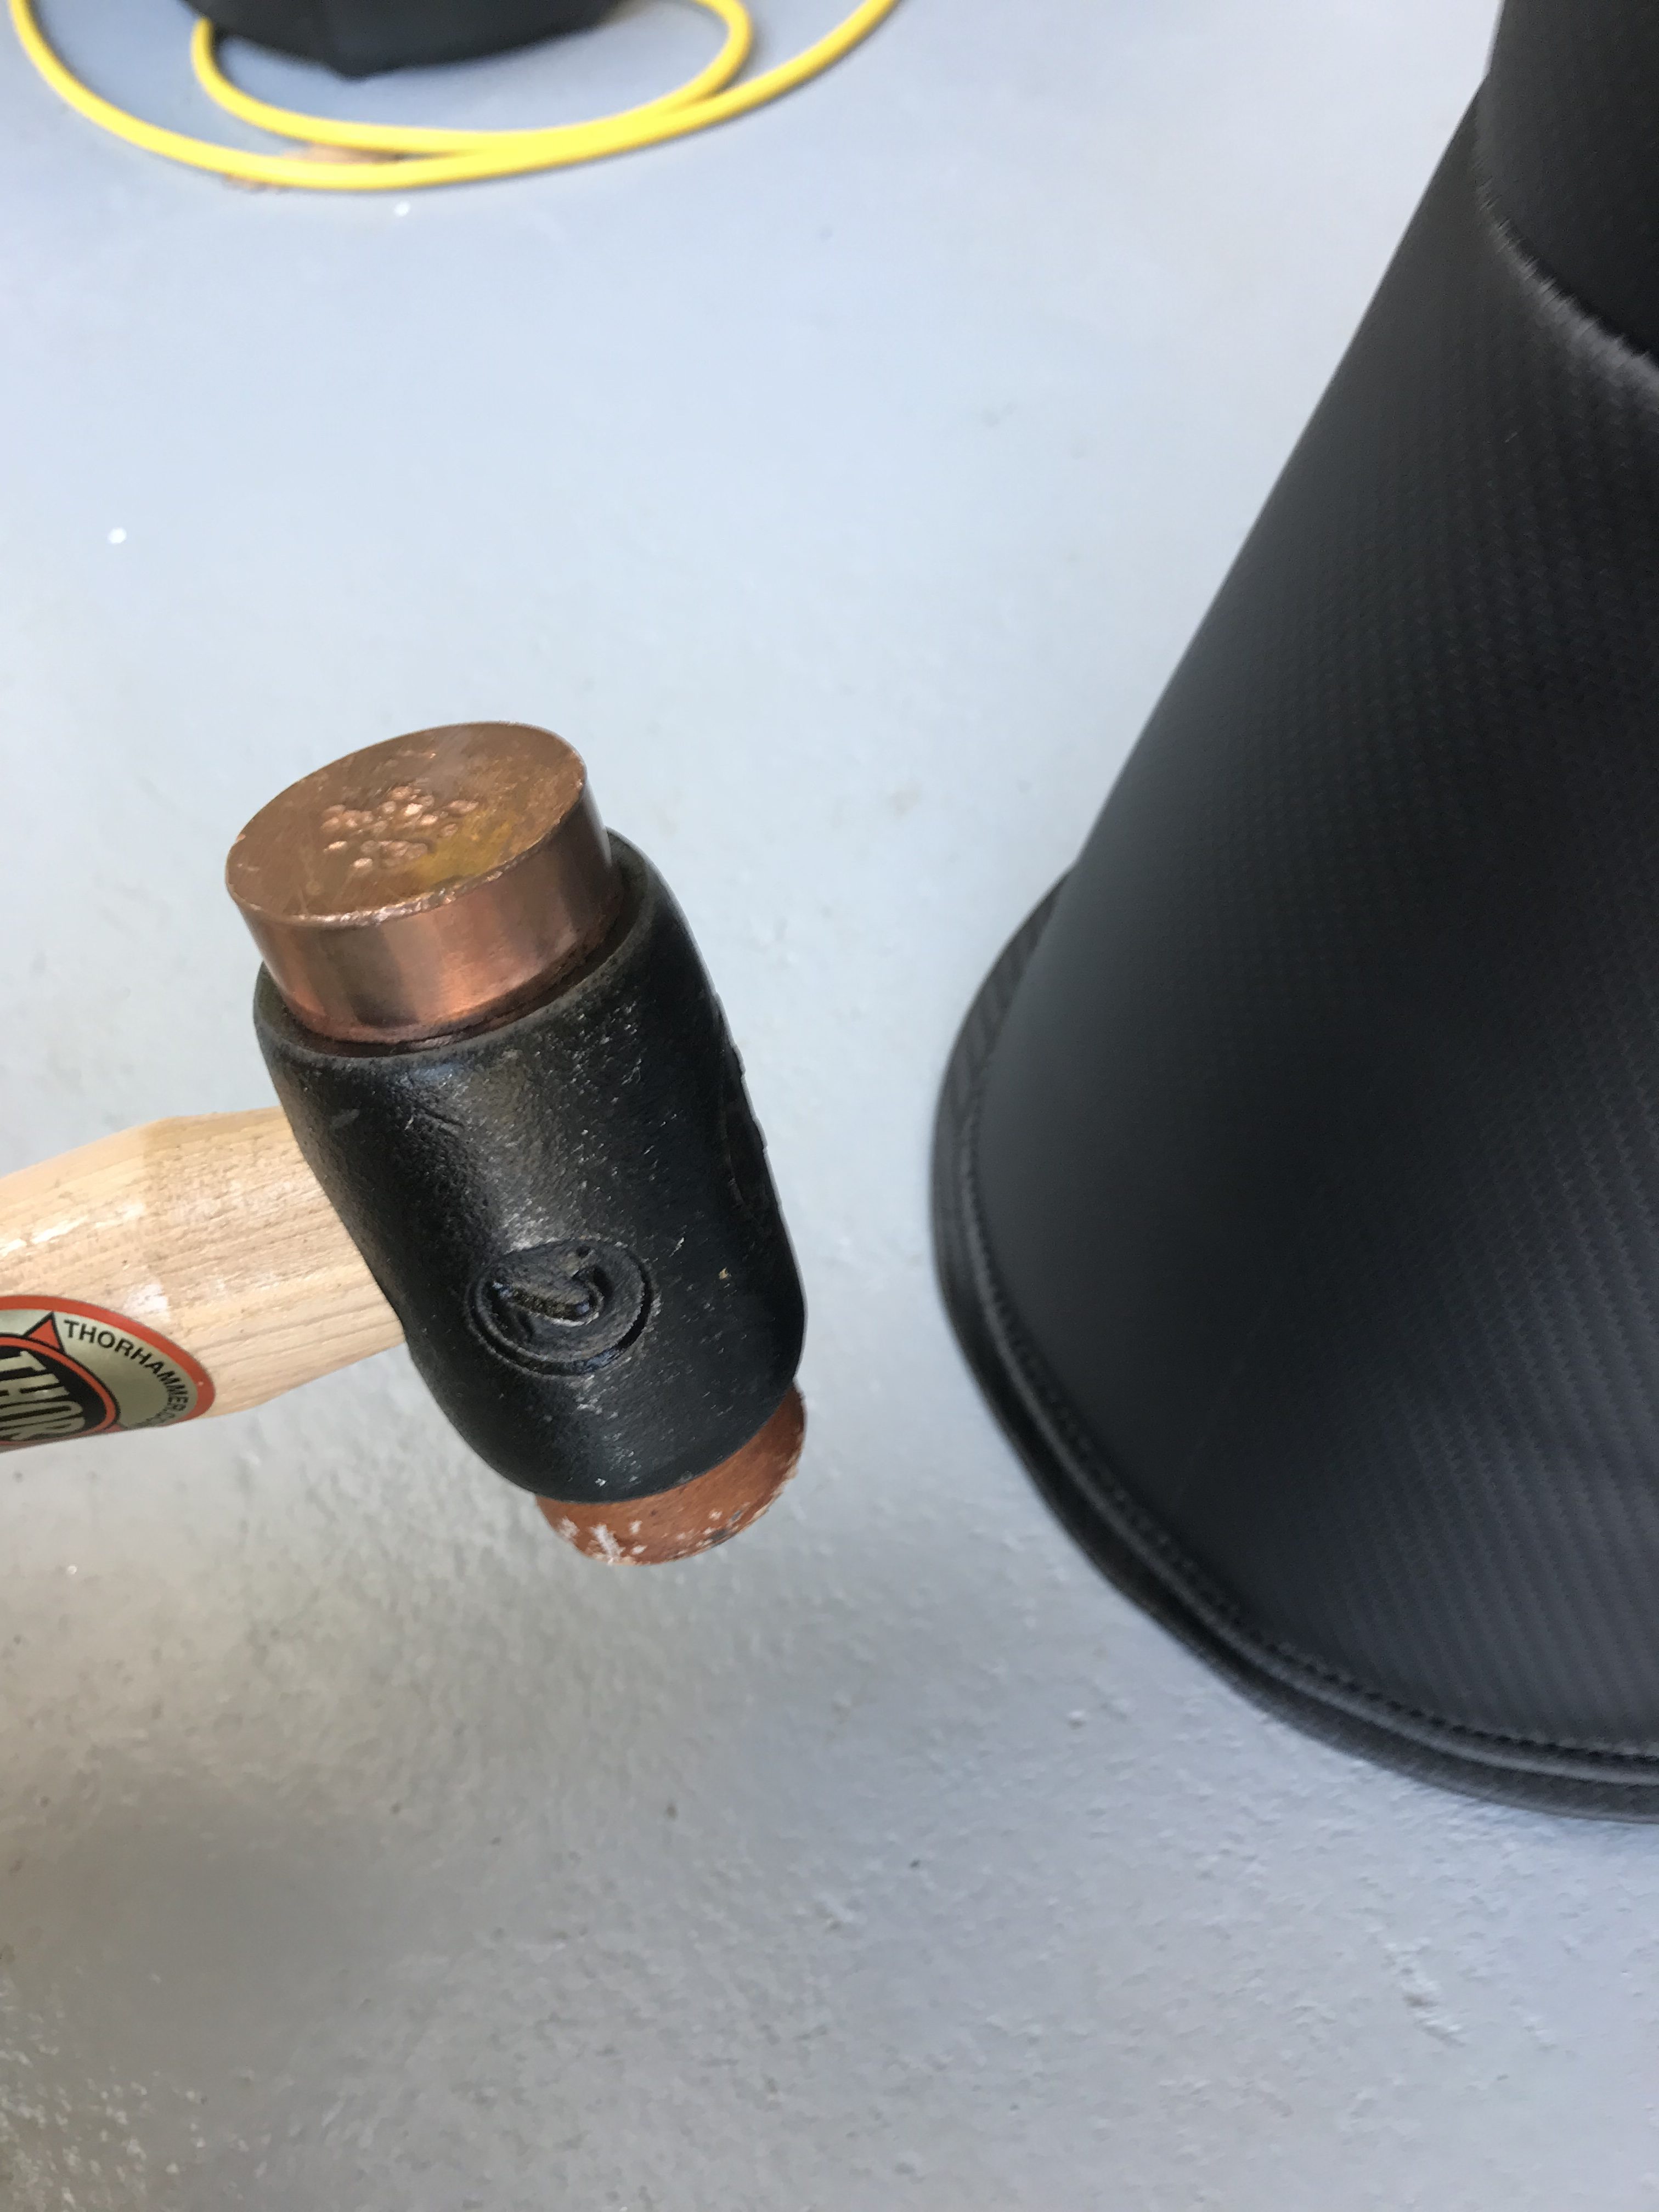
The back end of the tunnel top was a bit dinged up when I took it out of its poly bag. So out with the leather persuader this time and persuade it back into shape.

Harnesses
Now onto the harnesses.
For some reason I hadn’t taken the harnesses out of their boxes until now. It was one of the things I’d been looking forward to having a peek at and I’m amazed I found enough to distract me from peering inside the boxes to this point.
There wasn’t much to find in the end. Exactly as I’d hoped. I’d heard stories of people getting mismatched colours and was relieved to find all was in order.
The boxes came with instructions and the handed-ness was written on the box.
Plonking the harnessing into the passenger compartment got me to the first uh-oh moment then. The handed-ness didn’t make sense. When I put the harness marked LH into the passenger compartment the buckle with the big red lever was on the outboard side of the car. Same with the RH buckle, it was outboard. That’s not right!
All the builds I’ve read about talk about needing to have the buckle towards the inside of the car. If you have the buckle outboard then people (probably including me) have a tendency to fling the buckle over the side of the car and dent, or scratch, the body work. That’s not right.
So, I made and executive decision and switched the harnesses around… buckle straps next to the transmission tunnel.
The next job is to attach shoulder straps to the bolts set in the top chassis mounts. The harnesses have various bolts, washers and spacers included. There was also a poly bag sellotaped onto one of the boxes with Caterham supplied bolts included.
I tried a couple of combinations of things and then settled on a solution. I needed a bolt (already inserted into the chassis when the car arrived), brass flanged spacer (hope that’s a good name for it), aluminium spacer and flat washer. The kit also comes with a cardboard washer but that seemed to be superfluous.
The brass flanged spacer sits the lowest in the stack. Then comes the aluminium spacer, harness strap, flat washer and then bolt.

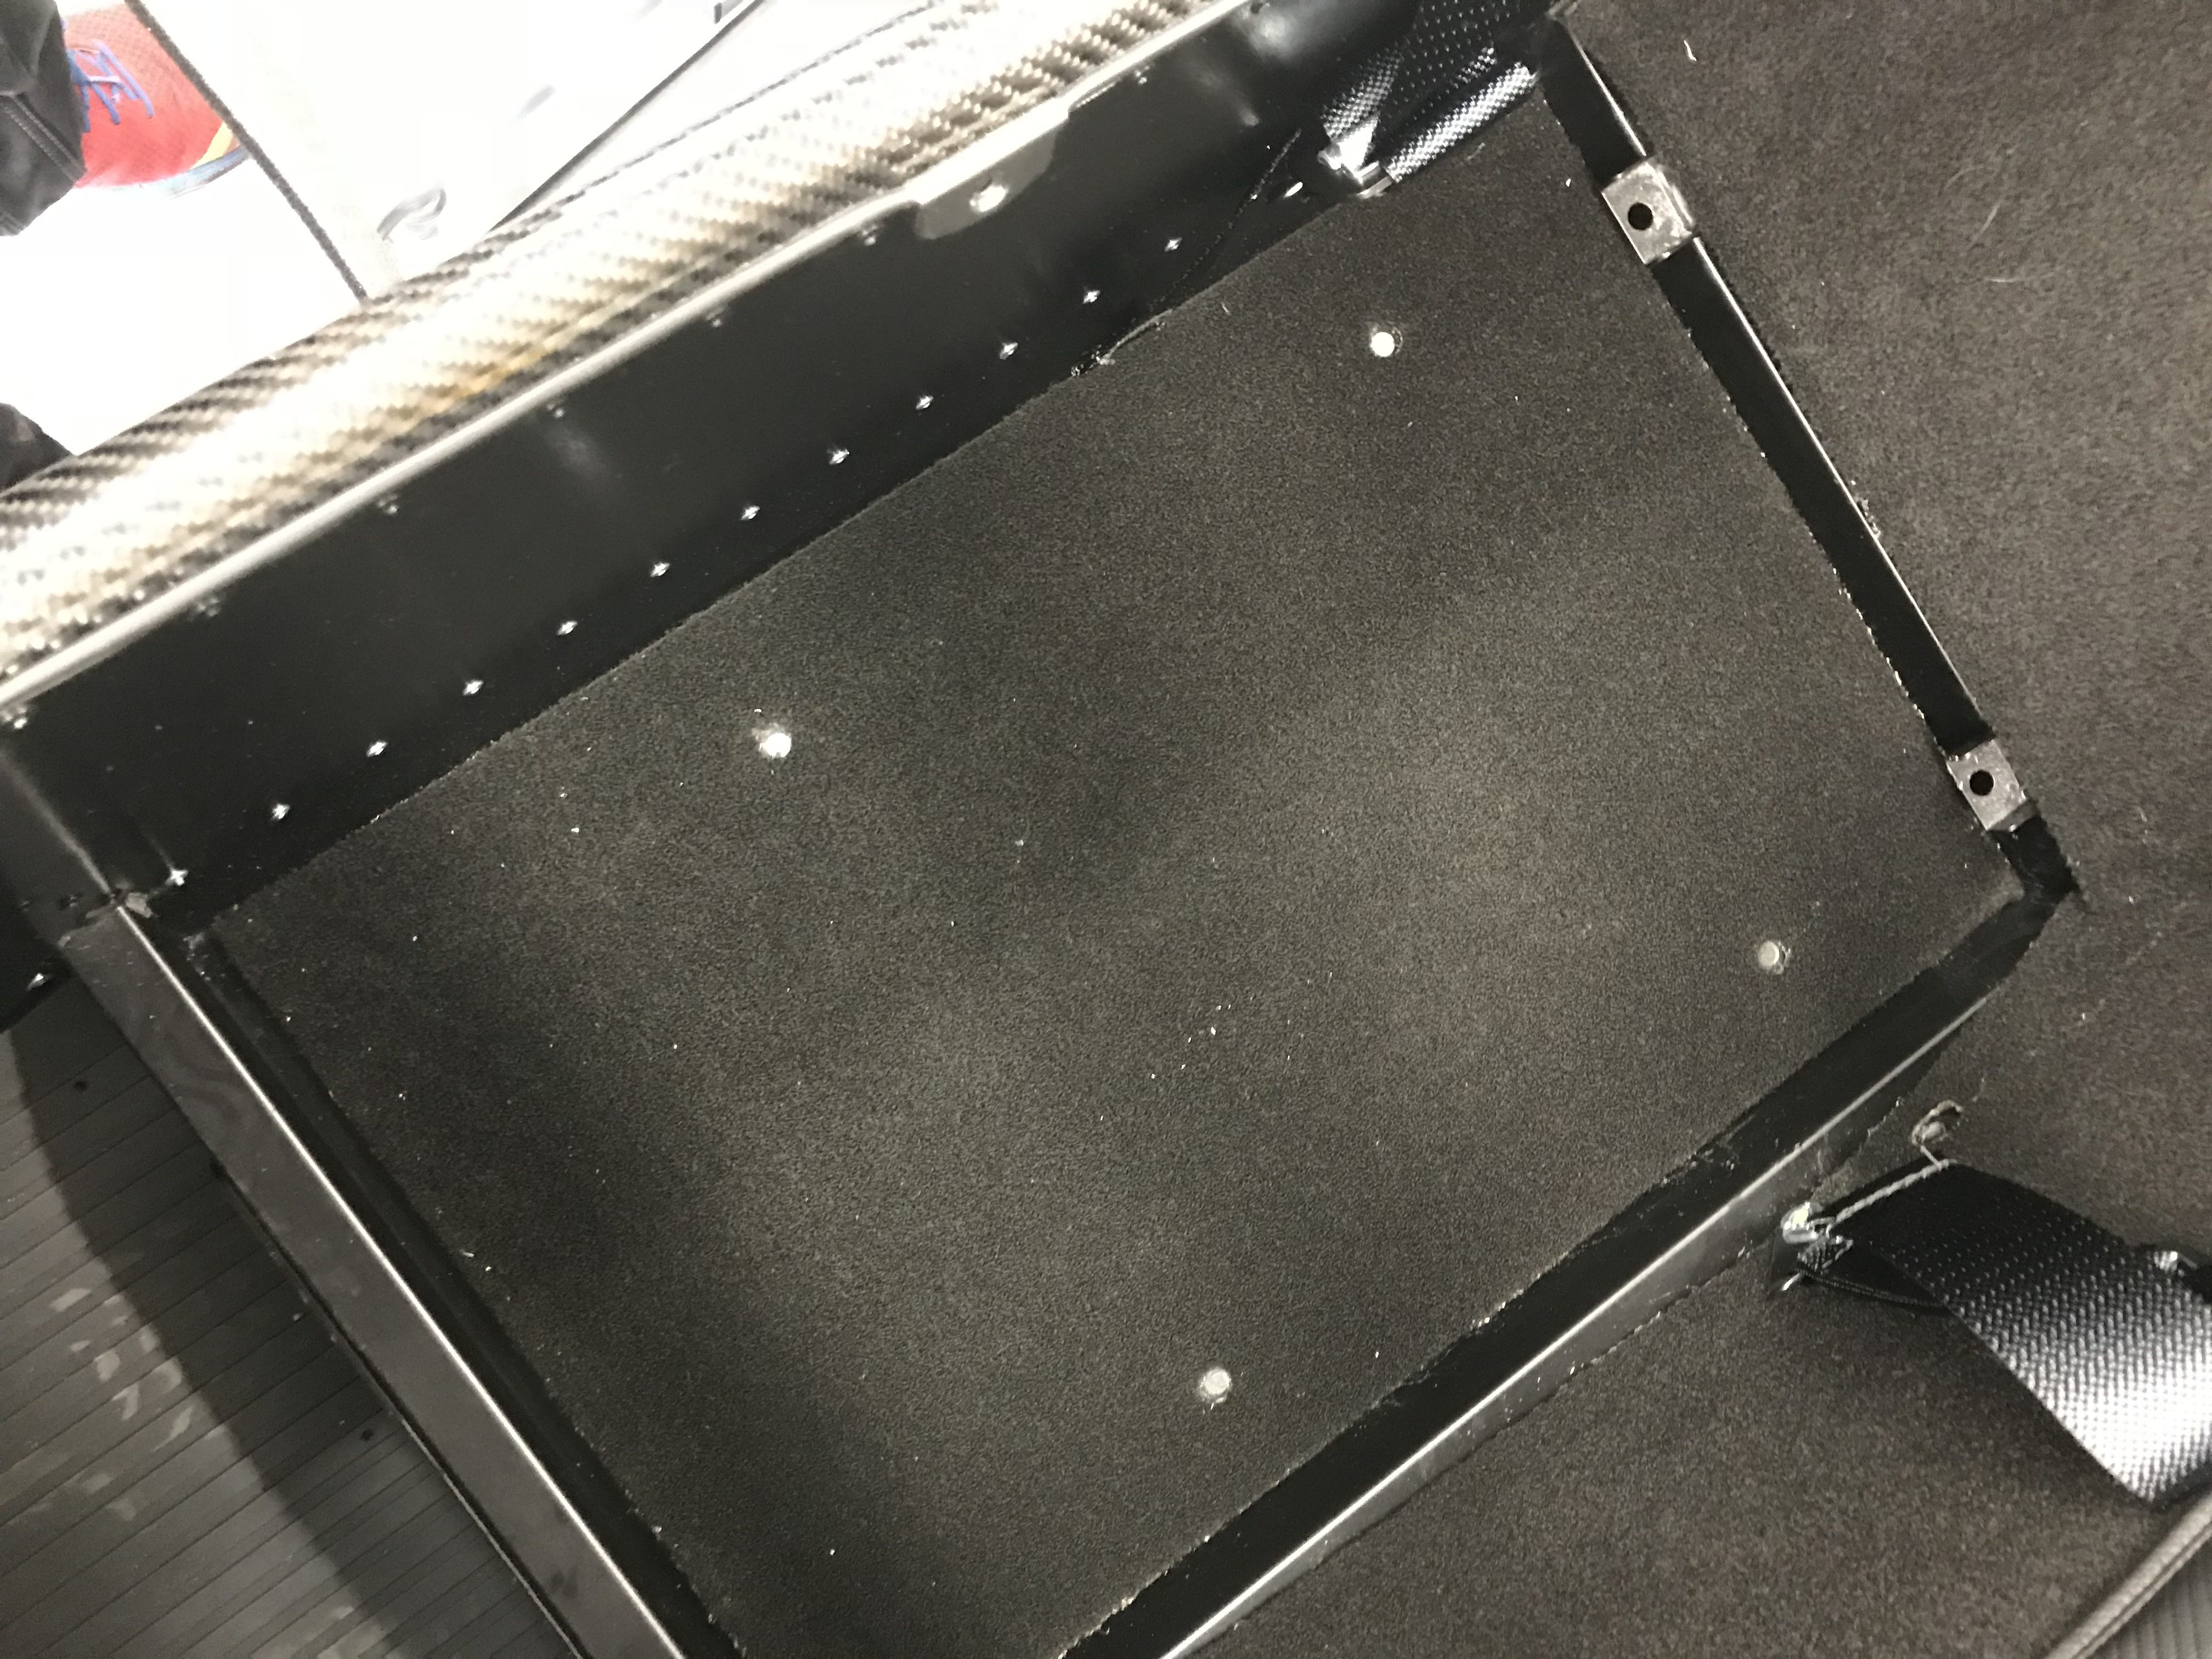
As you can see from the picture above. The brass spacer deforms as it is compressed. I tried a few experiements here and it seemed to me that the best approach was to tigheten the stack up without the harness included, which got the brass spacer inserted fully into the boot cover hole. I could then undo the bolt and fettle the brass spacer so the top flange looked less deformed ( I got it better than in the photo above). I could then refix the stack with the harness included and torque the whole thing up.
There seems to also be an IVA related cap for the harness bolts. However, the caps are quite loose with my test fitting and so I’ve left them to one side and will probably silicone them in place when I’m convinced I don’t need to take the harnesses out again.
All in the harnesses look great.

Seats
With both harnesses in place its time for some seats.
Again… not a difficult job. First off I needed to get the carpets installed below the seats. I was in two minds about whether to glue the carpets in place or leave them floating. In the end I decided they are something that might get wet from time to time and so I didn’t want them curling at the edges… so I glued them in place.
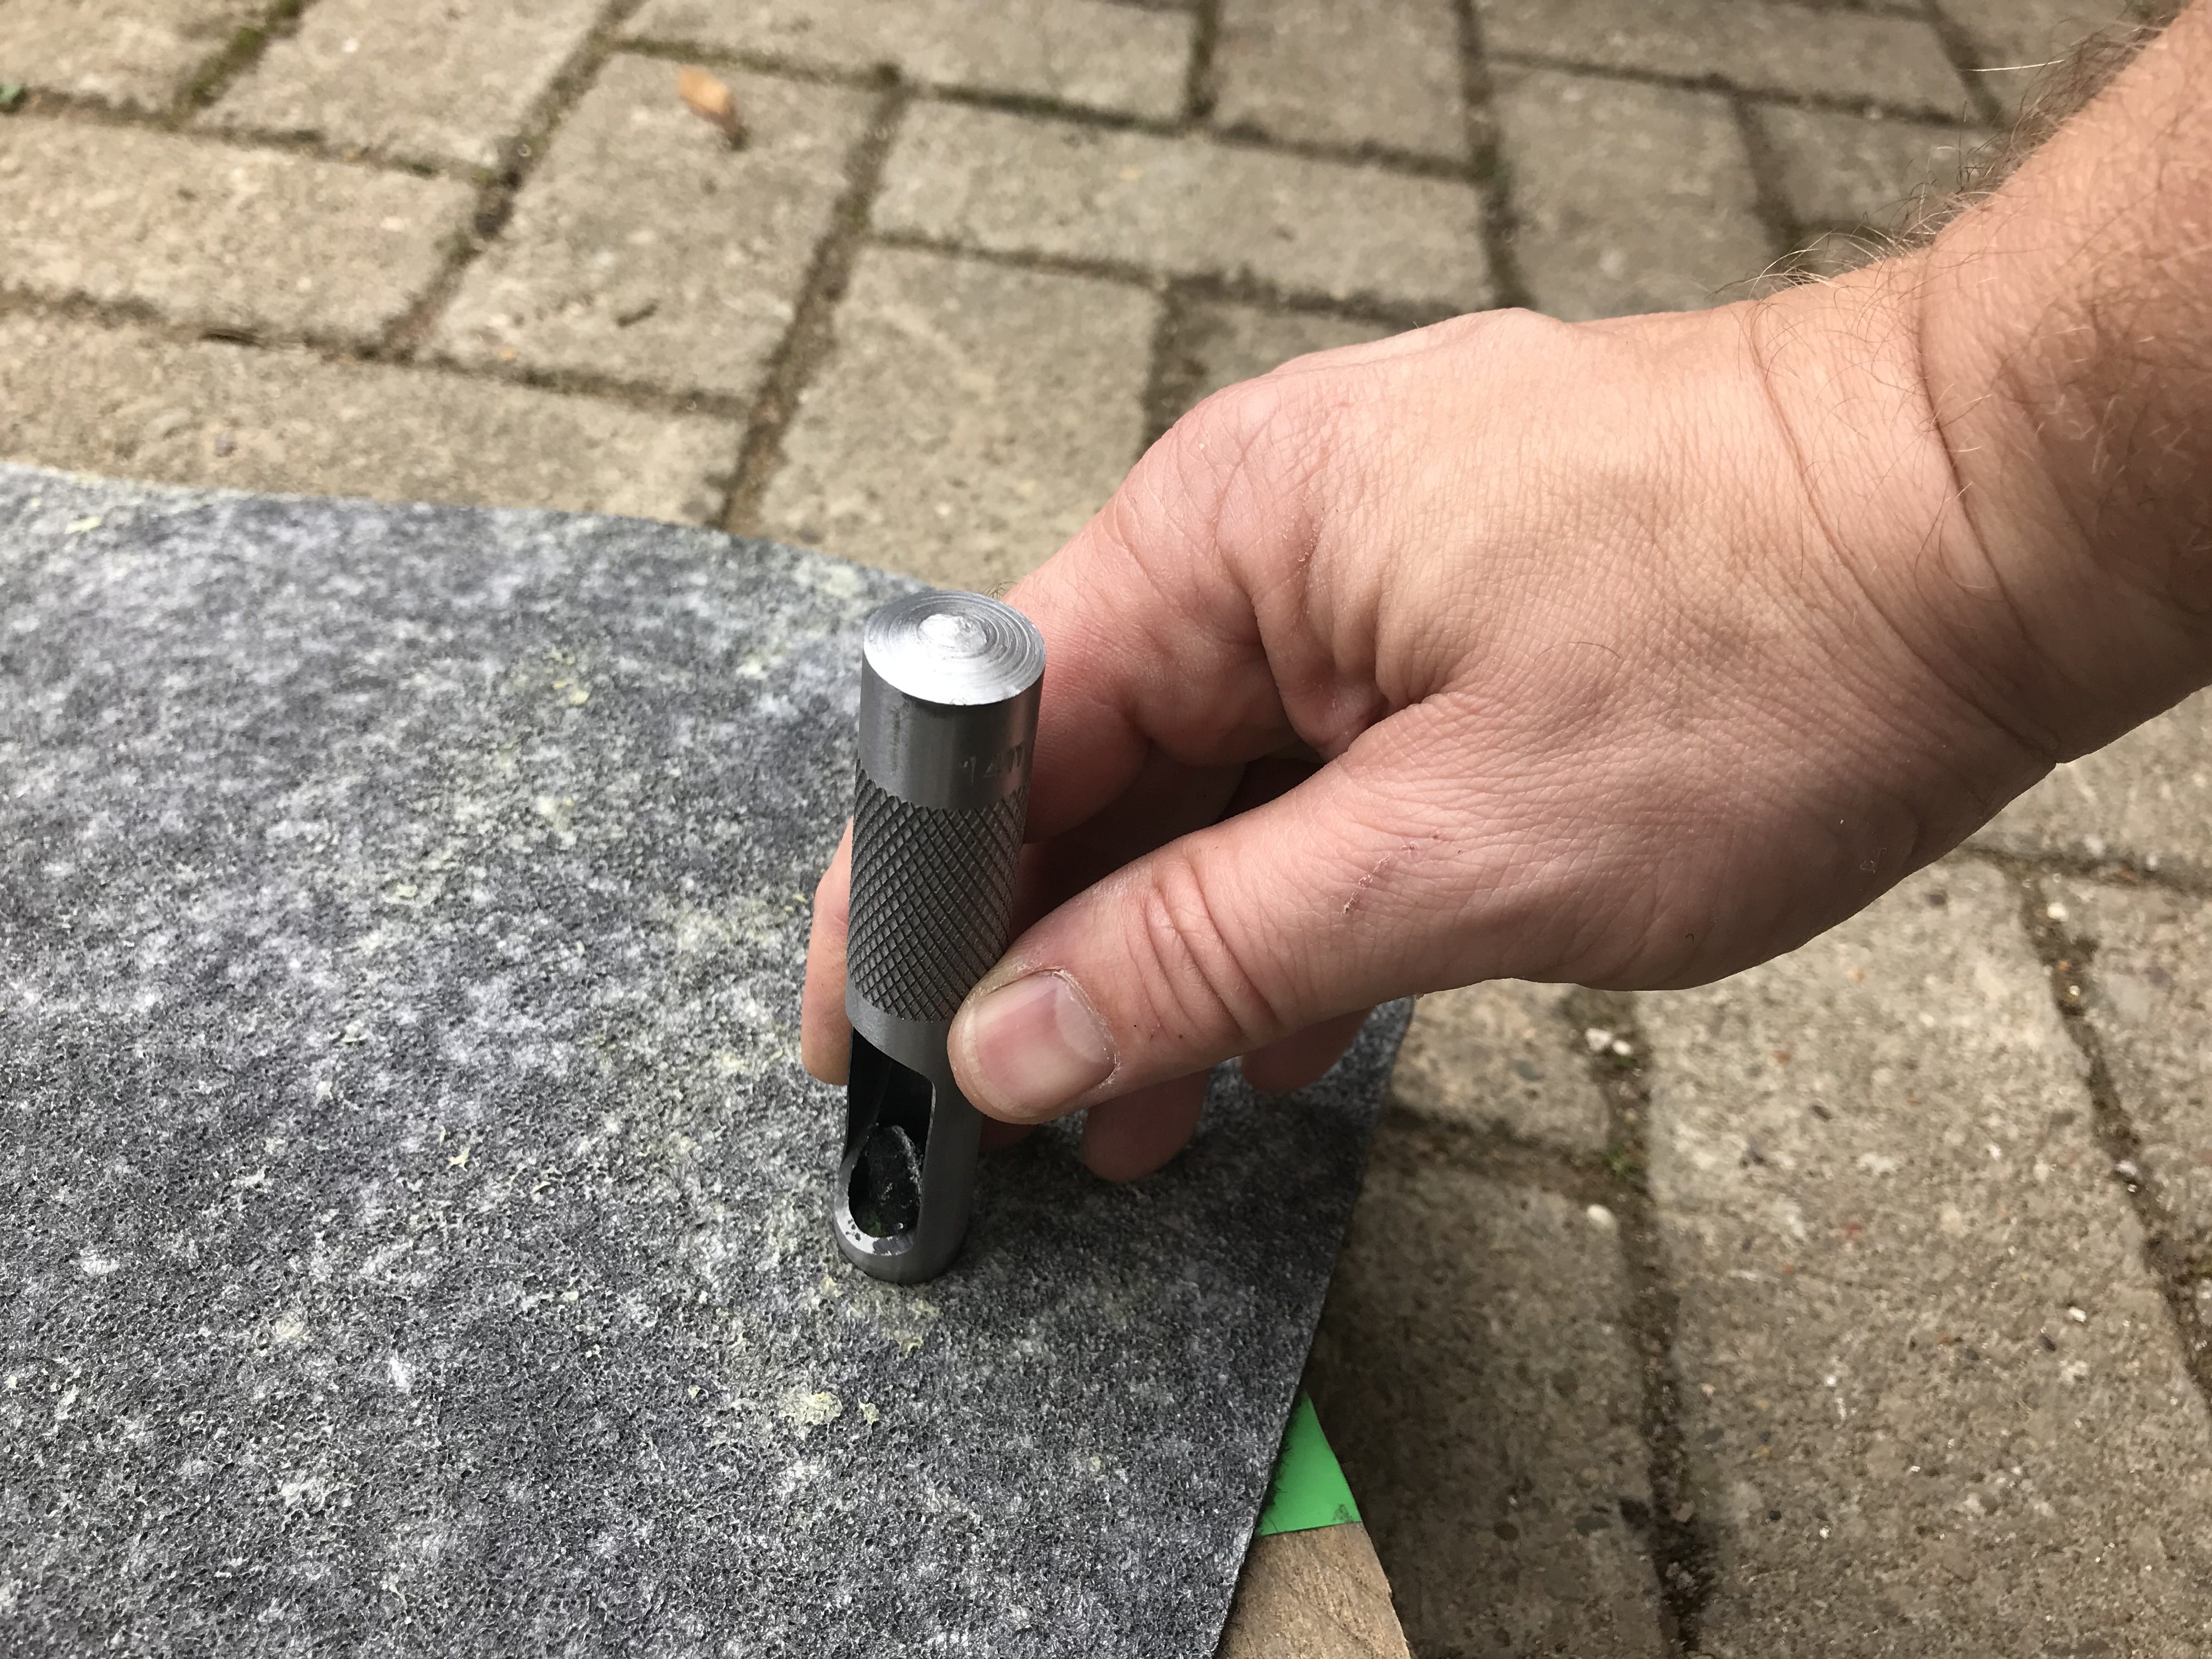
That decision made I needed to make the holes in the carpets for the seat bolts. My solution was to lay the carpets in place and to mark the holes on the carpets with a paint pen from underneath.
Then I could punch out the four holes with a 14mm punch tool.
And the carpets could be glued into place.
Now the seats can be installed.
The seat bolts poke through the bottom of the floors by a few mm past the nyloc nuts. However, it’s important from an IVA perspective to A) have the bolts inserted from the top and B) the thread needs to poke out below the end of the nyloc nut. The first point is obvious, if the nyloc nut falls off then you still have a bolt semi-securing the seat in place. I’ve come to appreciate the second point after reading a number of blogs where people have tried to cut short the bolts poking out of the nylon nut. ISTM that IVA inspectors want to see threads poking out of nyloc nuts so they can firstly see that the nylon is doing something and secondly the extra thread gives much greater scople for safety if you think the nut is going to come undone… it has to unwind itself by more threads before it falls off.
Installing the seats was basically a simple task. Shoving the seat backwards to install the front bolts and then forwards to install the rear bolts is obvious. Getting the rear bolts tightened is another matter… I had all the 1/4” extension bars I could muster attached to a ratchet and Allen key socket. For me, I then wedged the wrench against something as I finally tightened up the nut from below with a spanner. On one seat the wedging meant that I had a real tug of war with the ratchet to unwedge it… but I got there in the end.
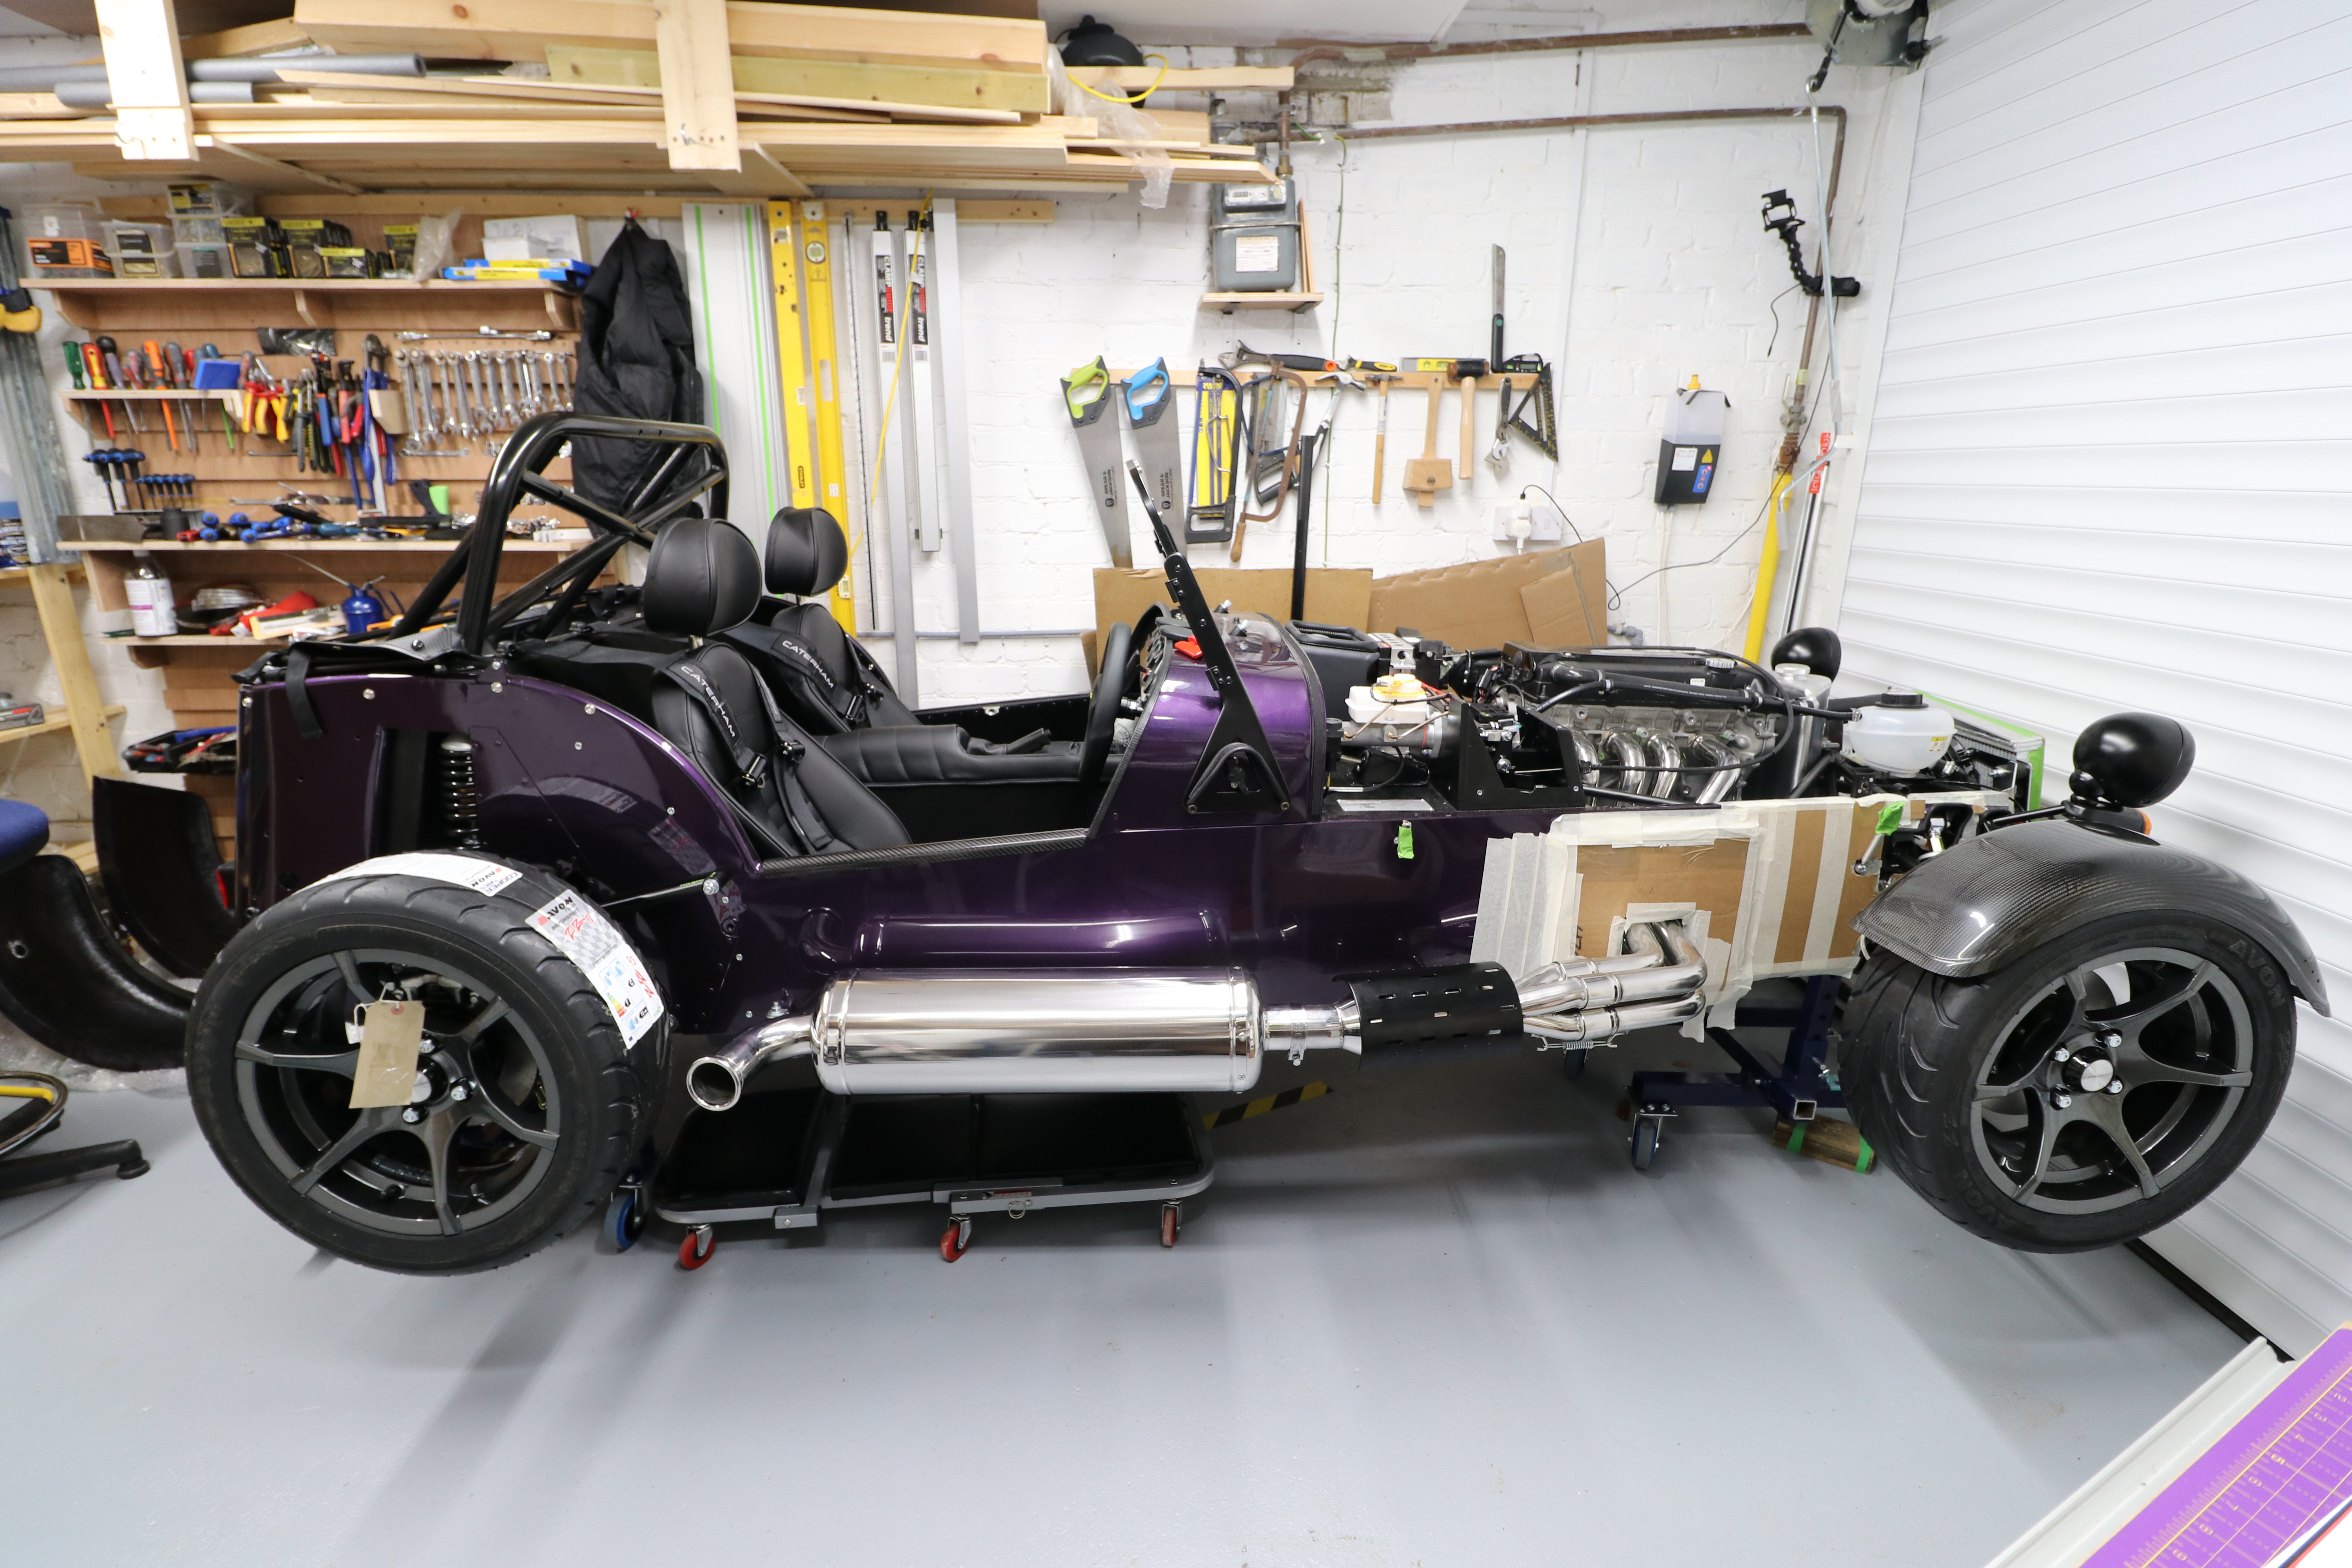
Here’s the end result. Almost looking habitable…

Silencer
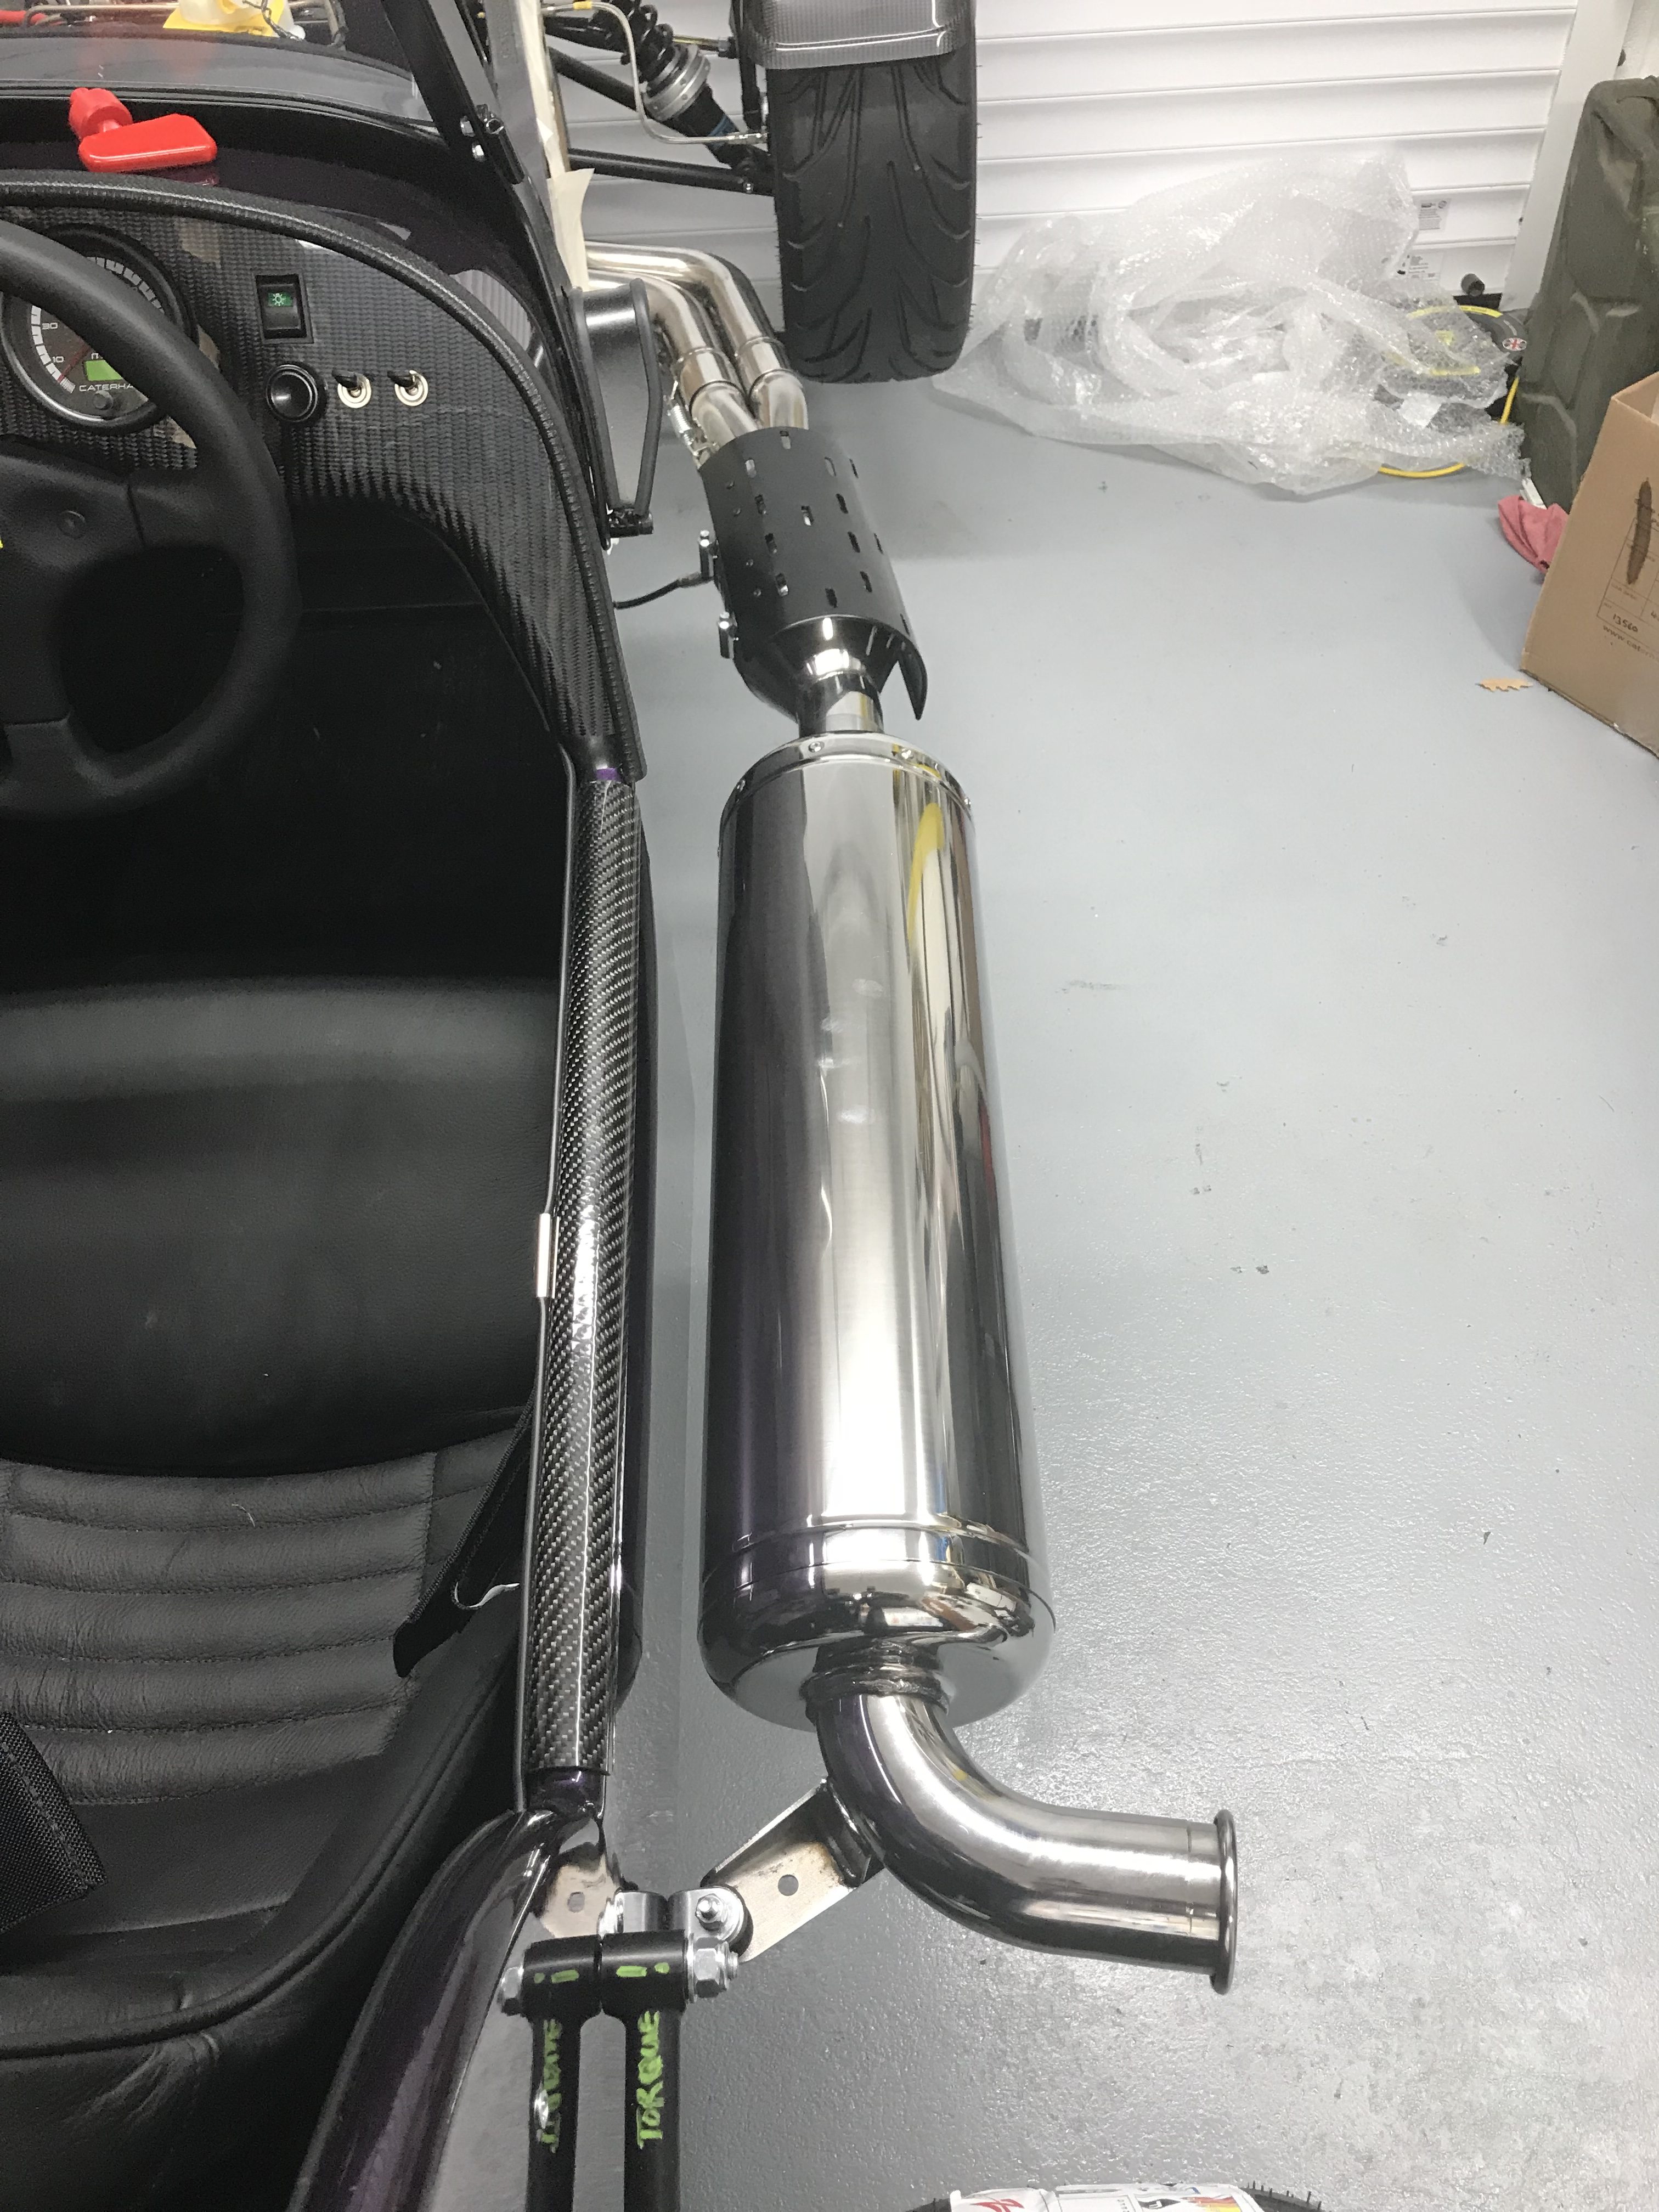
One final job for the day… attach the silencer.
Simple job and gets a big chunk of stainless steel and wadding out of my office. The detritus that makes up a kit is slowly assembling itself into a car!
There’s nothing much to report on the silencer going in. I had a few goes at tightening up the jubilee clip that fixes the silencer to that cat. I kept on tightening and the silencer still rotated it when I tweaked it. In the end I decided that it should rest with the outlet pointing slightly downward and I’d have to revisit how tight the clip is if it leads.
That’s another day done. Surely we’re getting close to starting it?

Leave a Comment