
This is a catch up post. Things had been busy with work and family stuff so I only had a couple of short periods that I’ve bunched up into one build session.
Sept 12th
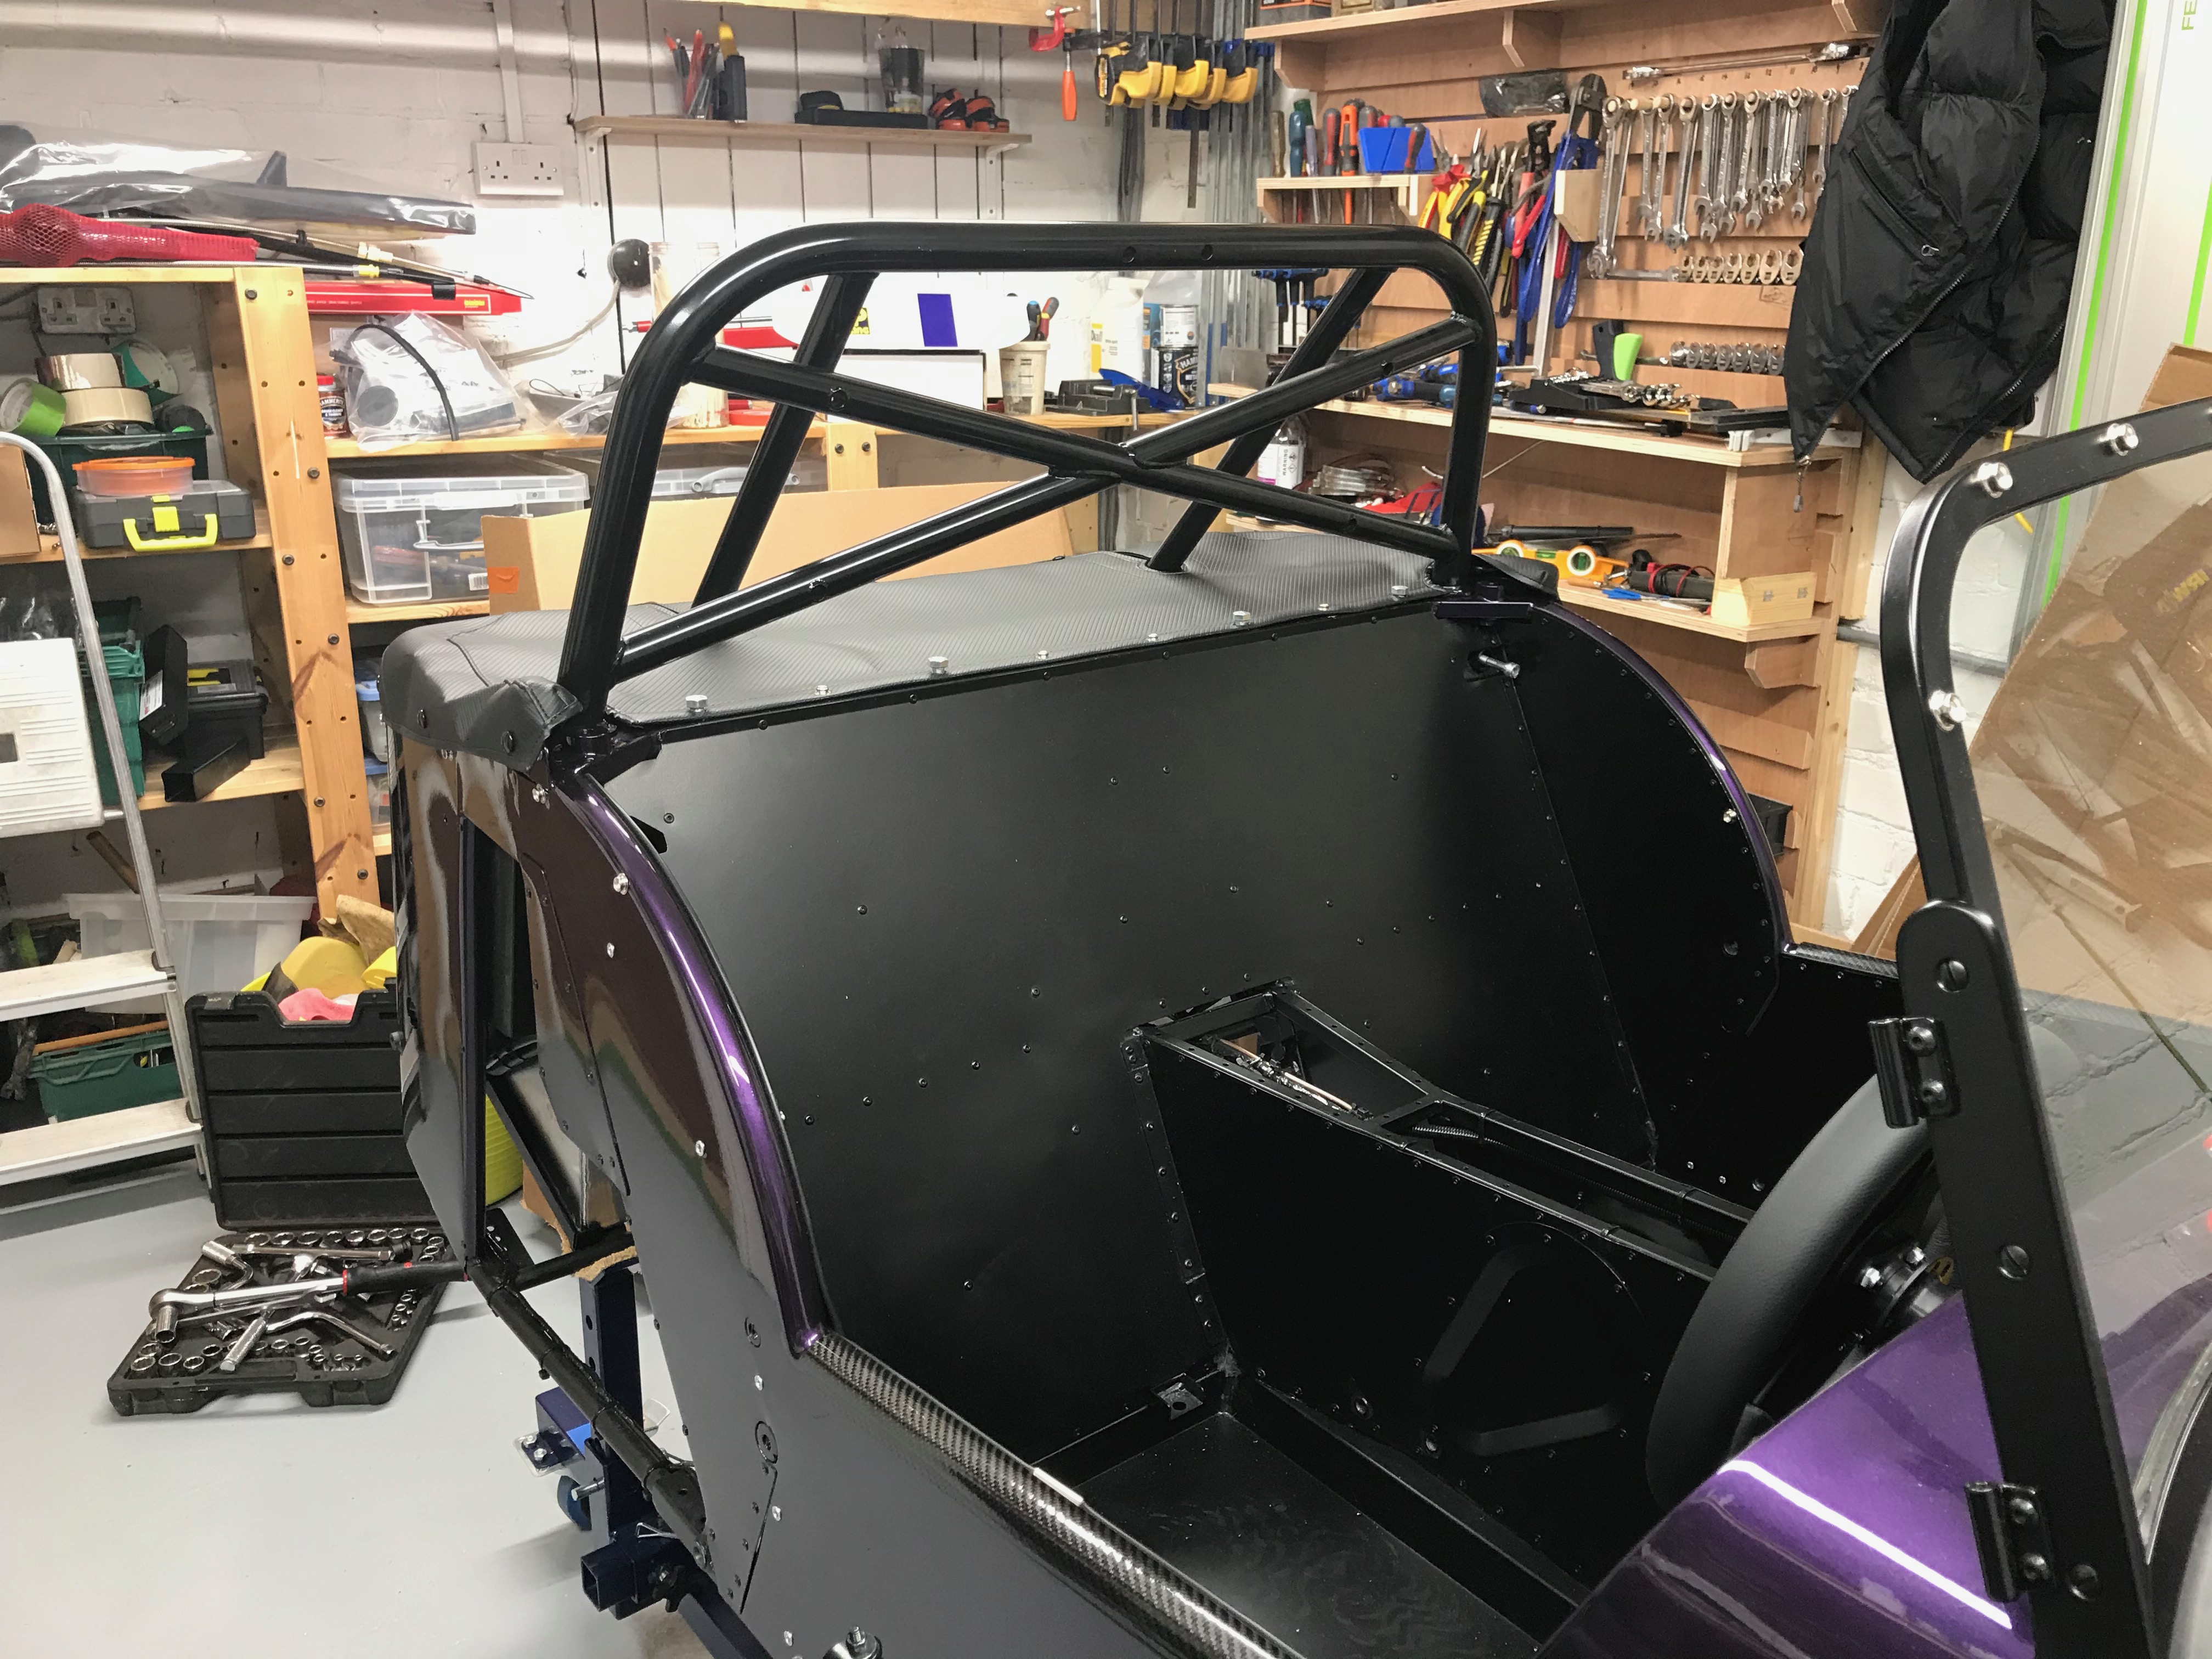
Roll Over Bar
Whilst looking for something simple to do one evening I thought I’d have a go at the roll over bar.

Because I’ve upgraded to the track bar there’s an extra pair of bolts that have to be fitted from underneath into the base of the bar. This therefore means the roll over bar has to go in before the rear suspension – or else you can’t get those underneath roll over bar bolts in.
Not all of the holes lined up perfectly but they were good enough.
The rear mounting points needed a bit of persuasion to locate into the chassis but it wasn’t a big problem.
Note from the future: I had worried that fitting the roll over bar at this point might cause a problem later in attaching the rear suspension. In the end it was no problem at all and actually meant I could fit the rear dampers when it made sense to. For some reason the manual tells you to wait to fit the rear dampers if the roll over bar is not in place, well that makes sense, but it should really tell you to fit the roll over bar at that point – IMHO.
Sept 16th
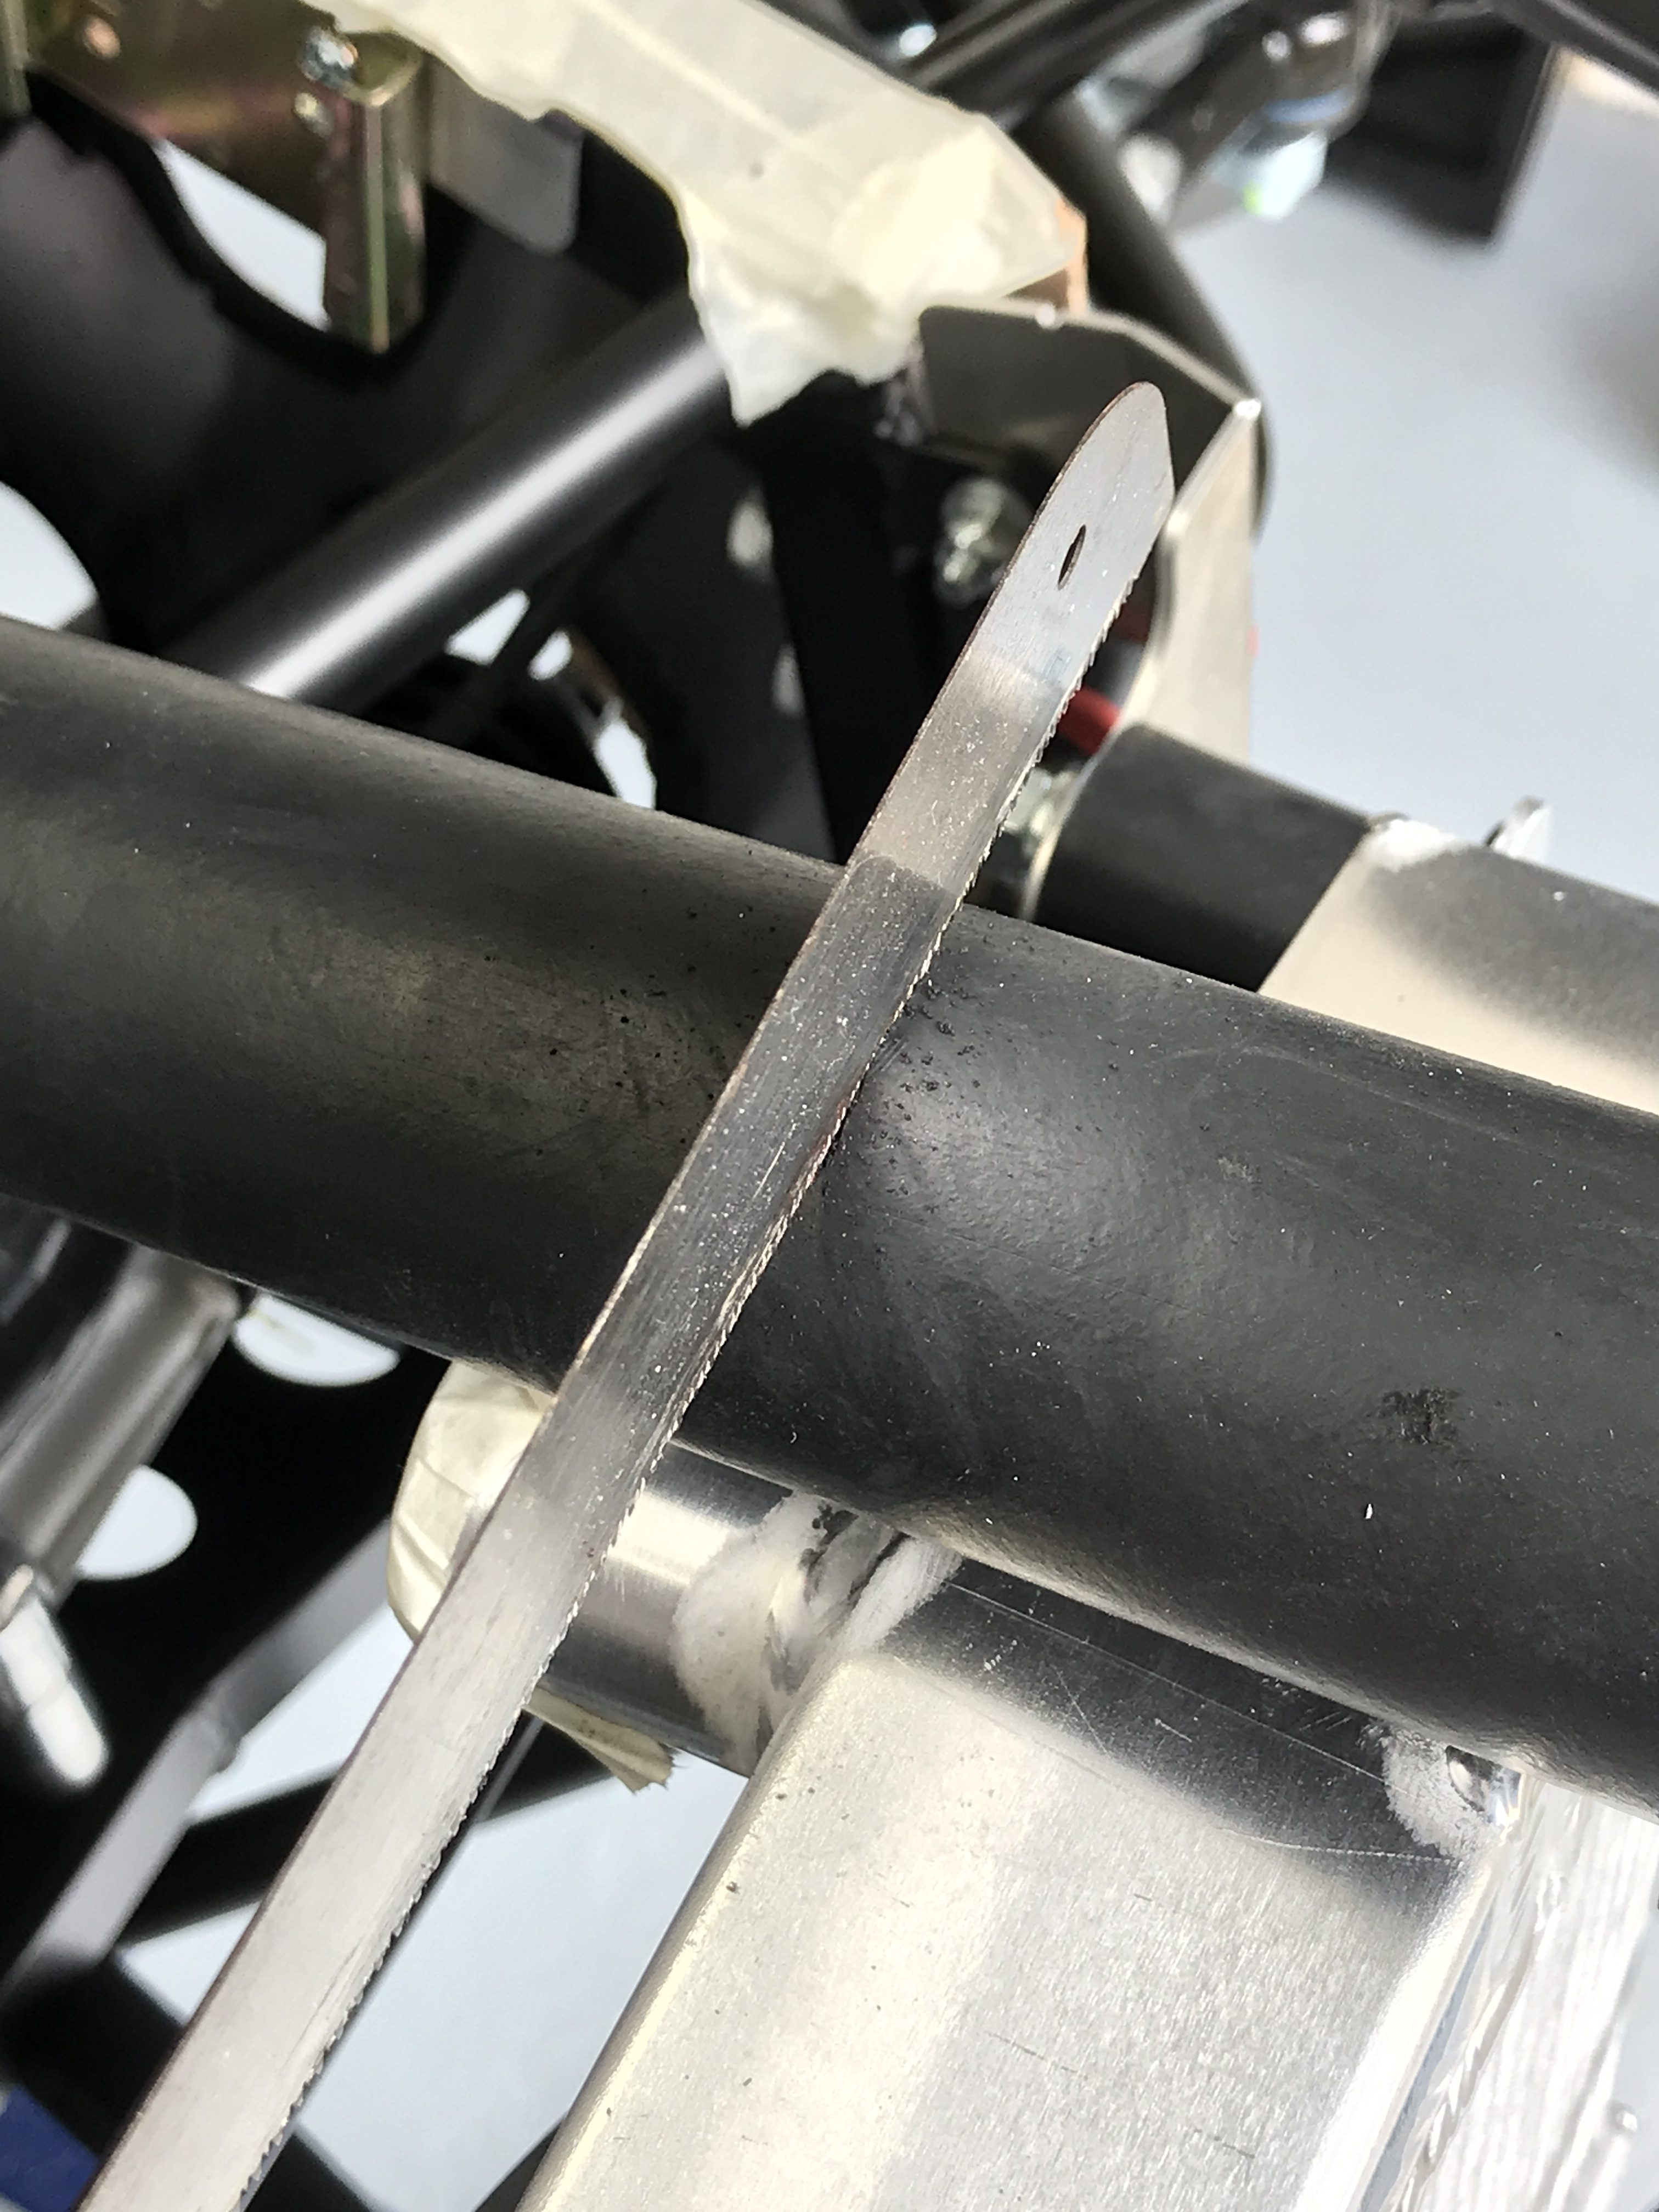
Top Radiator Hose
Again looking for a simple job I cut the top radiator hose to length. As with all the engine plumbing I’m leaving everything a little long if at all possible, I can always come back and trim it if needed – you can’t go the other way.
I used a pull saw to give a nice cut but otherwise a trivial job.
Water Expansion Tank Bracket
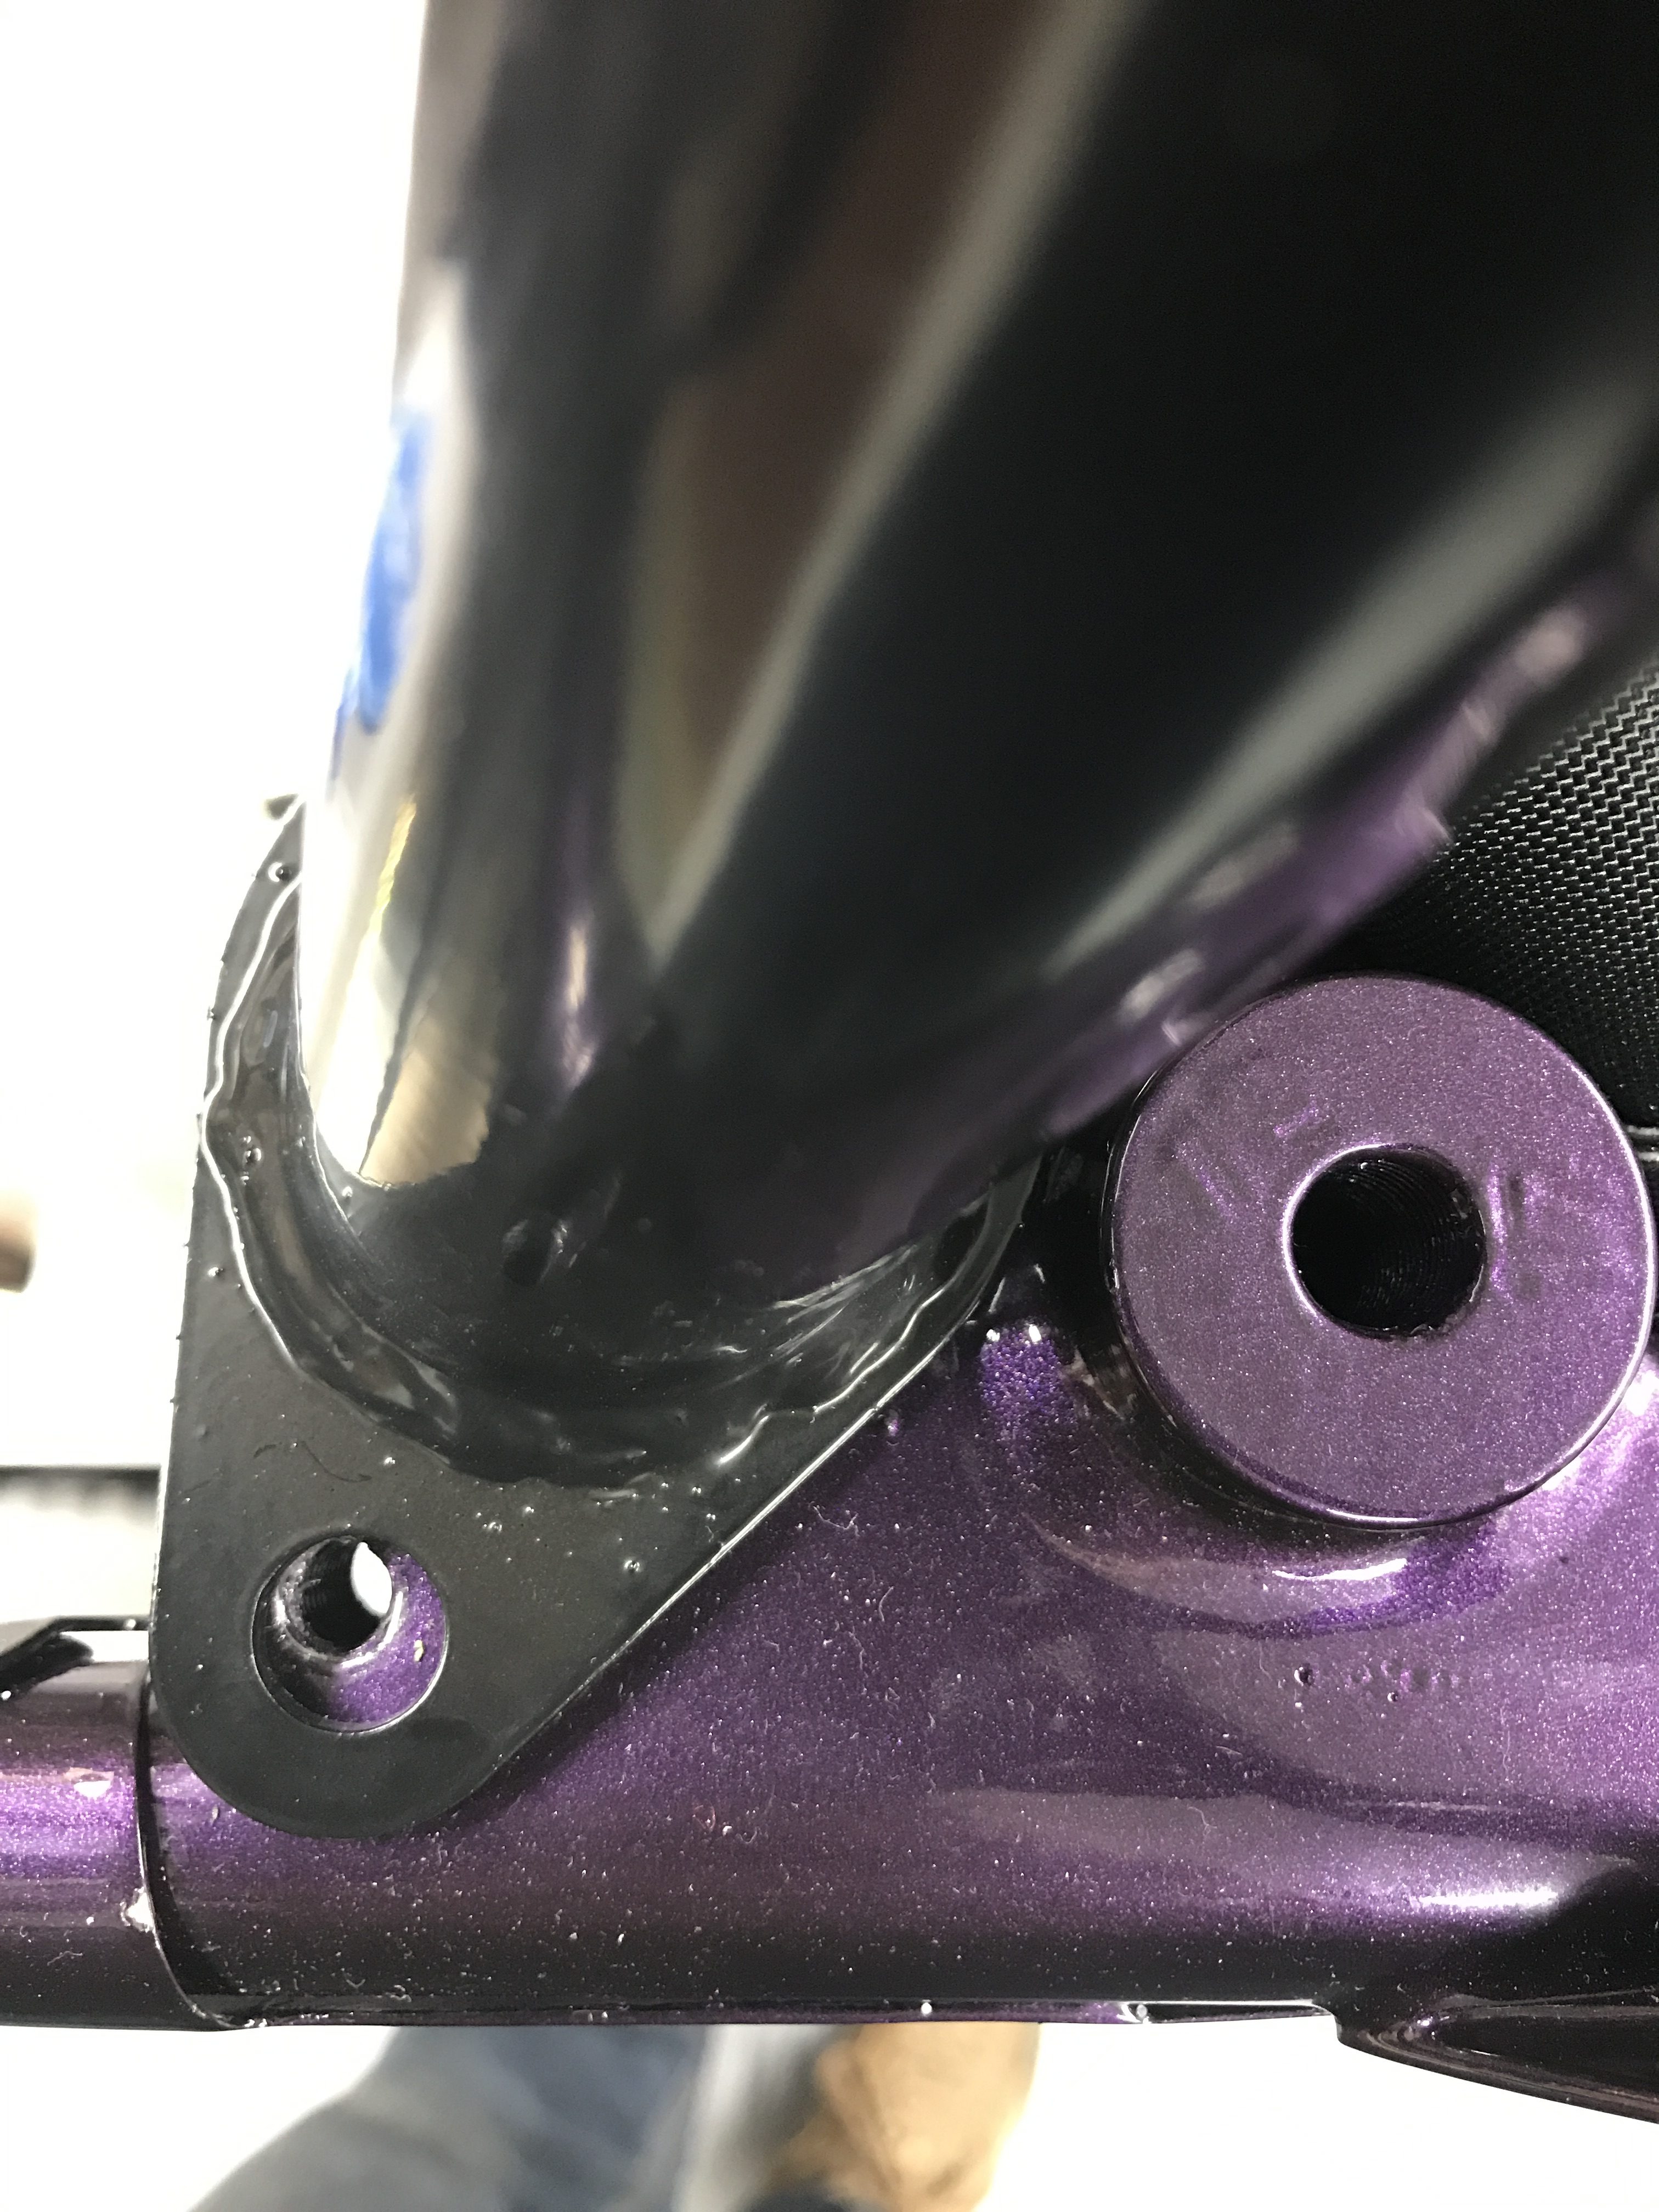
Ok… So… This one was going to be a little tricky. On a dry sump installation the water expansion tank can’t sit on the front chassis cruciform. It has to sit off to the RHS on a bracket that gets attached to the chassis.
The manual gives detailed dimensions for fitting the water expansion tank to a standard S3 chassis – giving a dimension from the engine bay centre cruciform along the front chassis rail to the bracket. The bracket that’s given is also drilled for the S3. So… on an SV you have to figure out where along the chassis rails this plate/bracket needs to go and then drill the chassis to take it. As you can see below the geometry differences of the S3 and SV chassis also mean the bracket holes don’t line up.
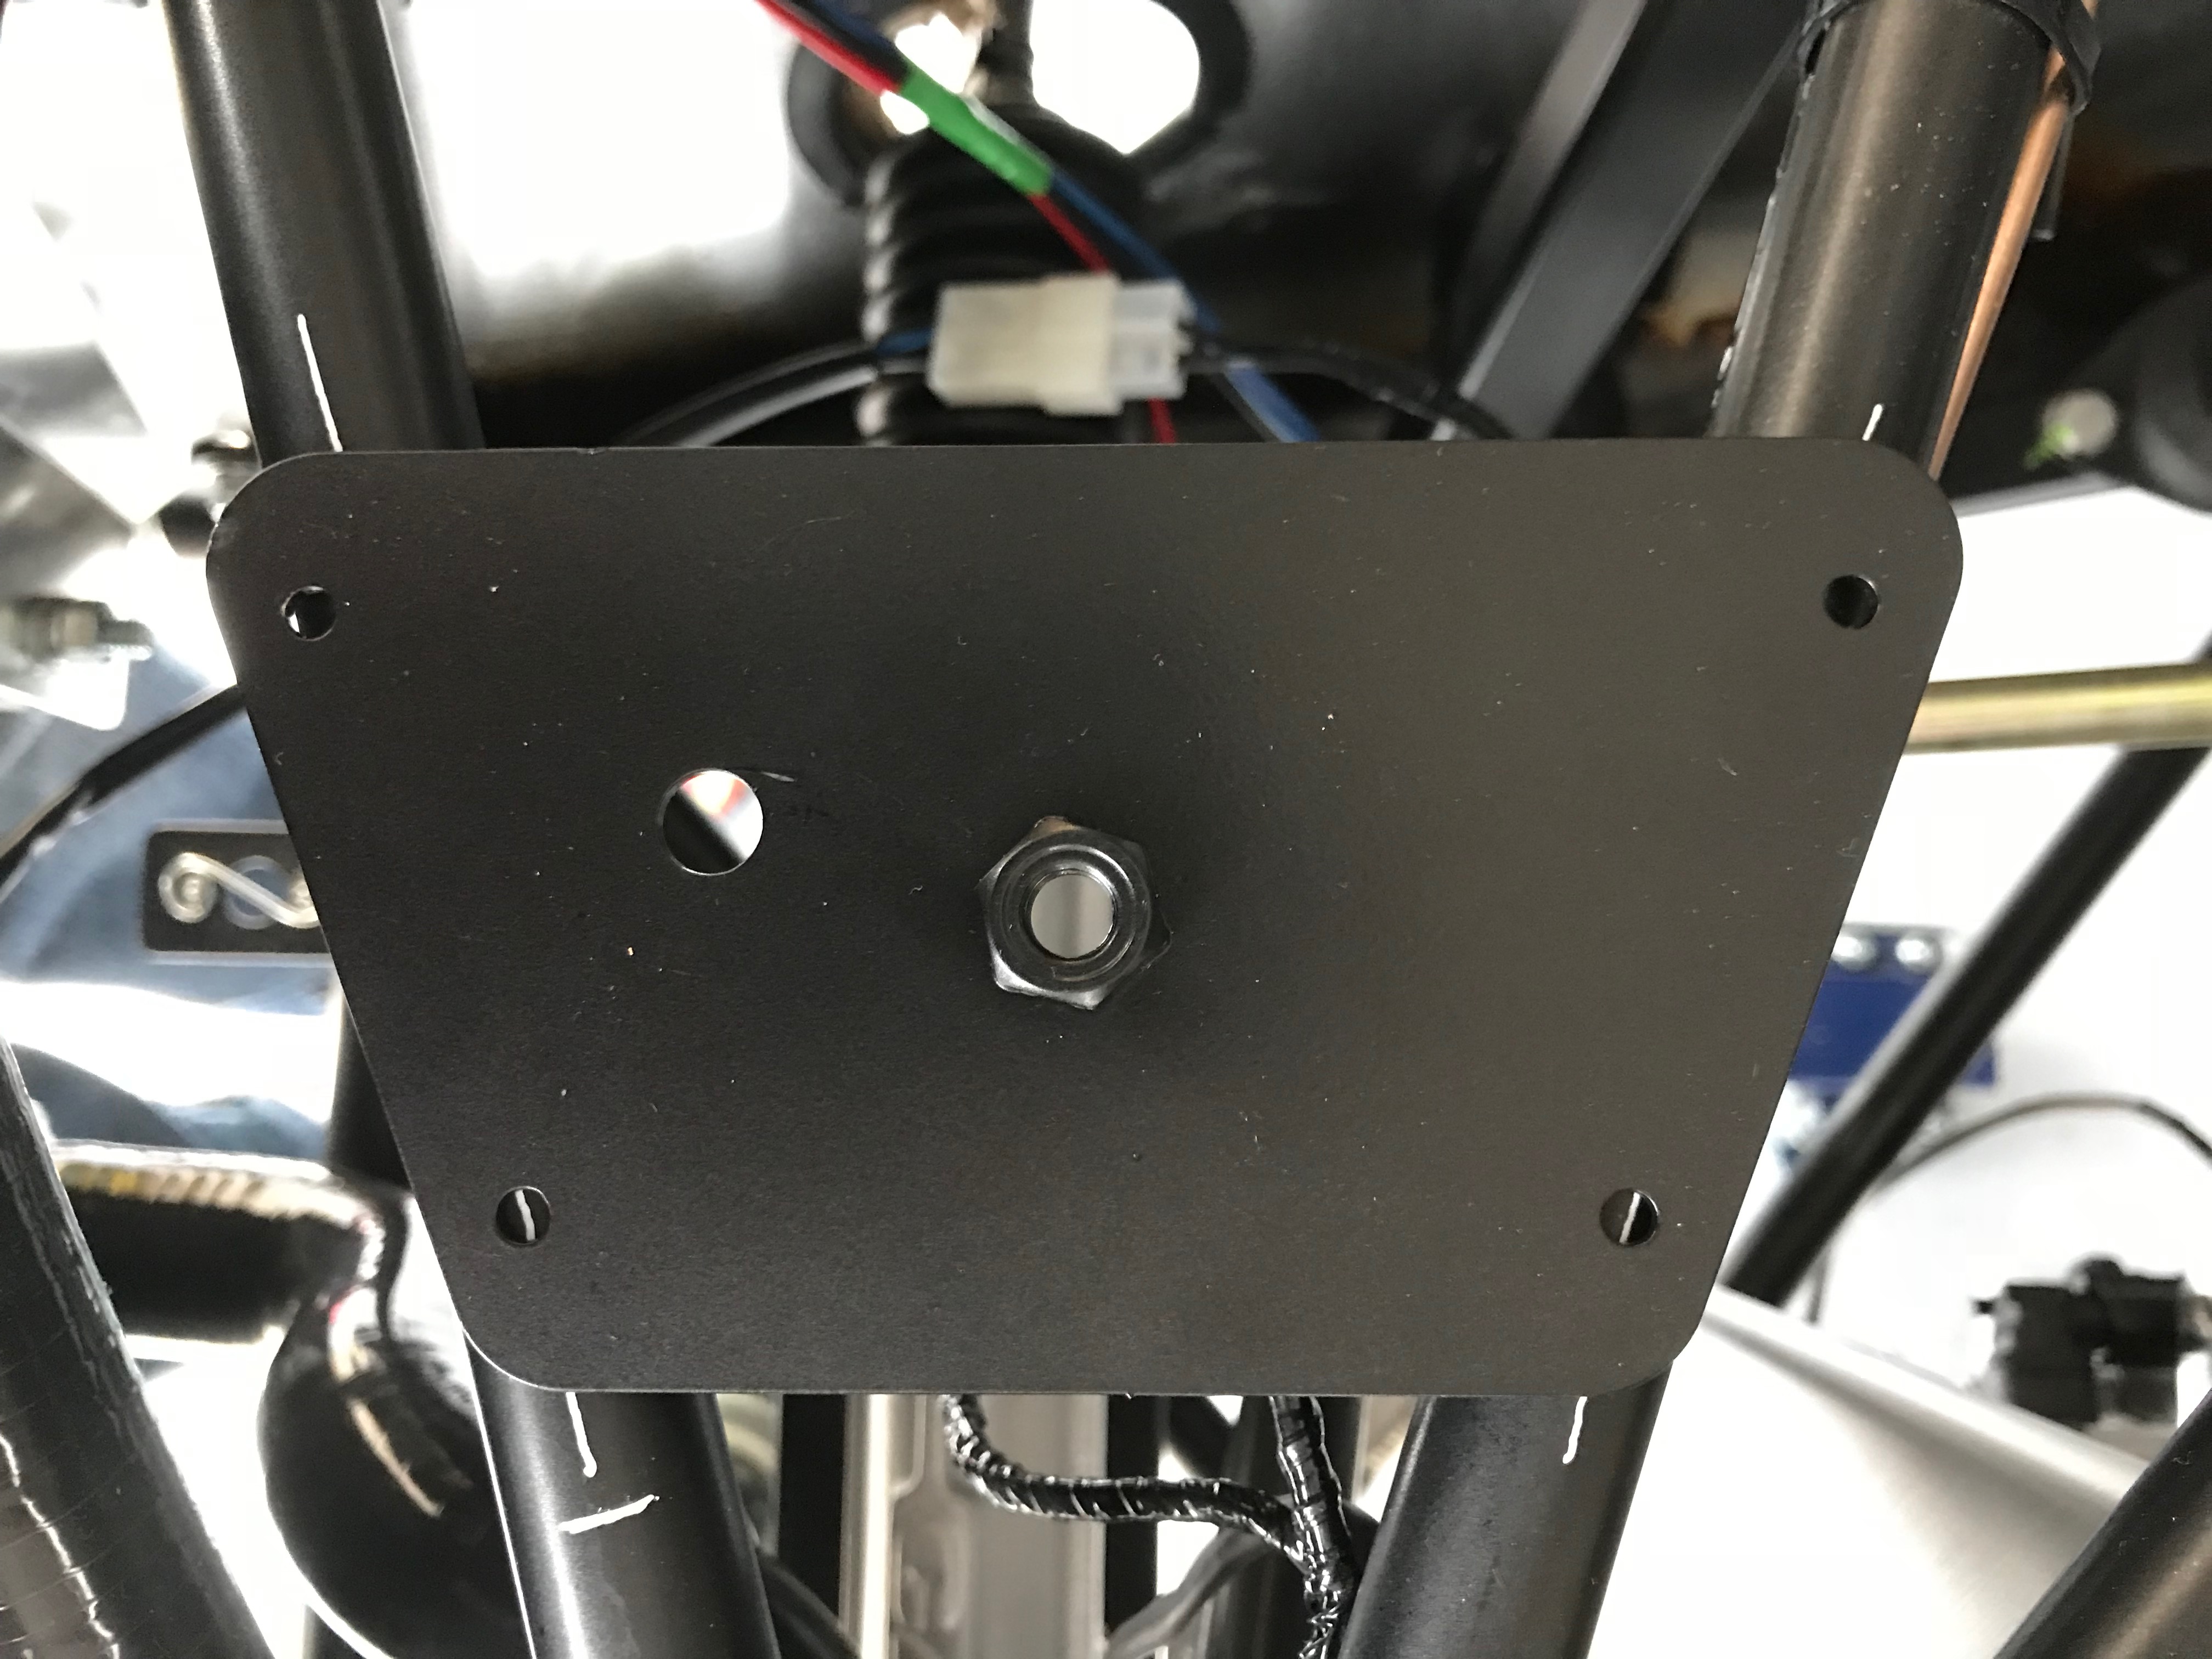
My plan was to measure twice, cut once. Well, actually it was more like measure 20 times… get the drill out… rethink… measure 5 more time… grind plate, drill chassis and rivet.
Initially, I was going to use rivnuts placed into the chassis and to screw the plate to the chassis through them. However, taking a few measurements of the chassis rails I wasn’t happy to complete on this plan. Firstly, the rails are only around 19.4 mm in diameter. I wasn’t happy to put anything much bigger than a 3mm rivnut into something that small. However, a 3mm bolt was not going to make a good fixing on the plate – it’s too small really for the 4mm hole in the plate. So… what about using 4mm rivnuts….
Well… that would be good for the plate holes but I wasn’t happy about the 6mm hole I’d have to drill in the chassis rails to take the rivnut – a lot of the chassis rail material was going to have to get drilled out and I didn’t want any structural problems later on – especially in any possible bumps.. I was also a bit concerned that putting what is essentially a device meant for flat surfaces into a chassis rail that has a tight radius on it would mean the rivnut would sit proud of the rail and may not even form correctly inside the rail. Choice made… use the standard rivet approach from the manual.
I got a bit OTT with all these machinations, and marked out the chassis rails with white paint to figure out where I was going to put things.
It seemed that the bracket/plate was going to have to sit some distance from the measurement given in the manual and so it came to mind that since it was moving closer to the edge of the car, I might move it too far and find it fouled with the bonnet – cue a test fit of the bonnet and nose-cone…
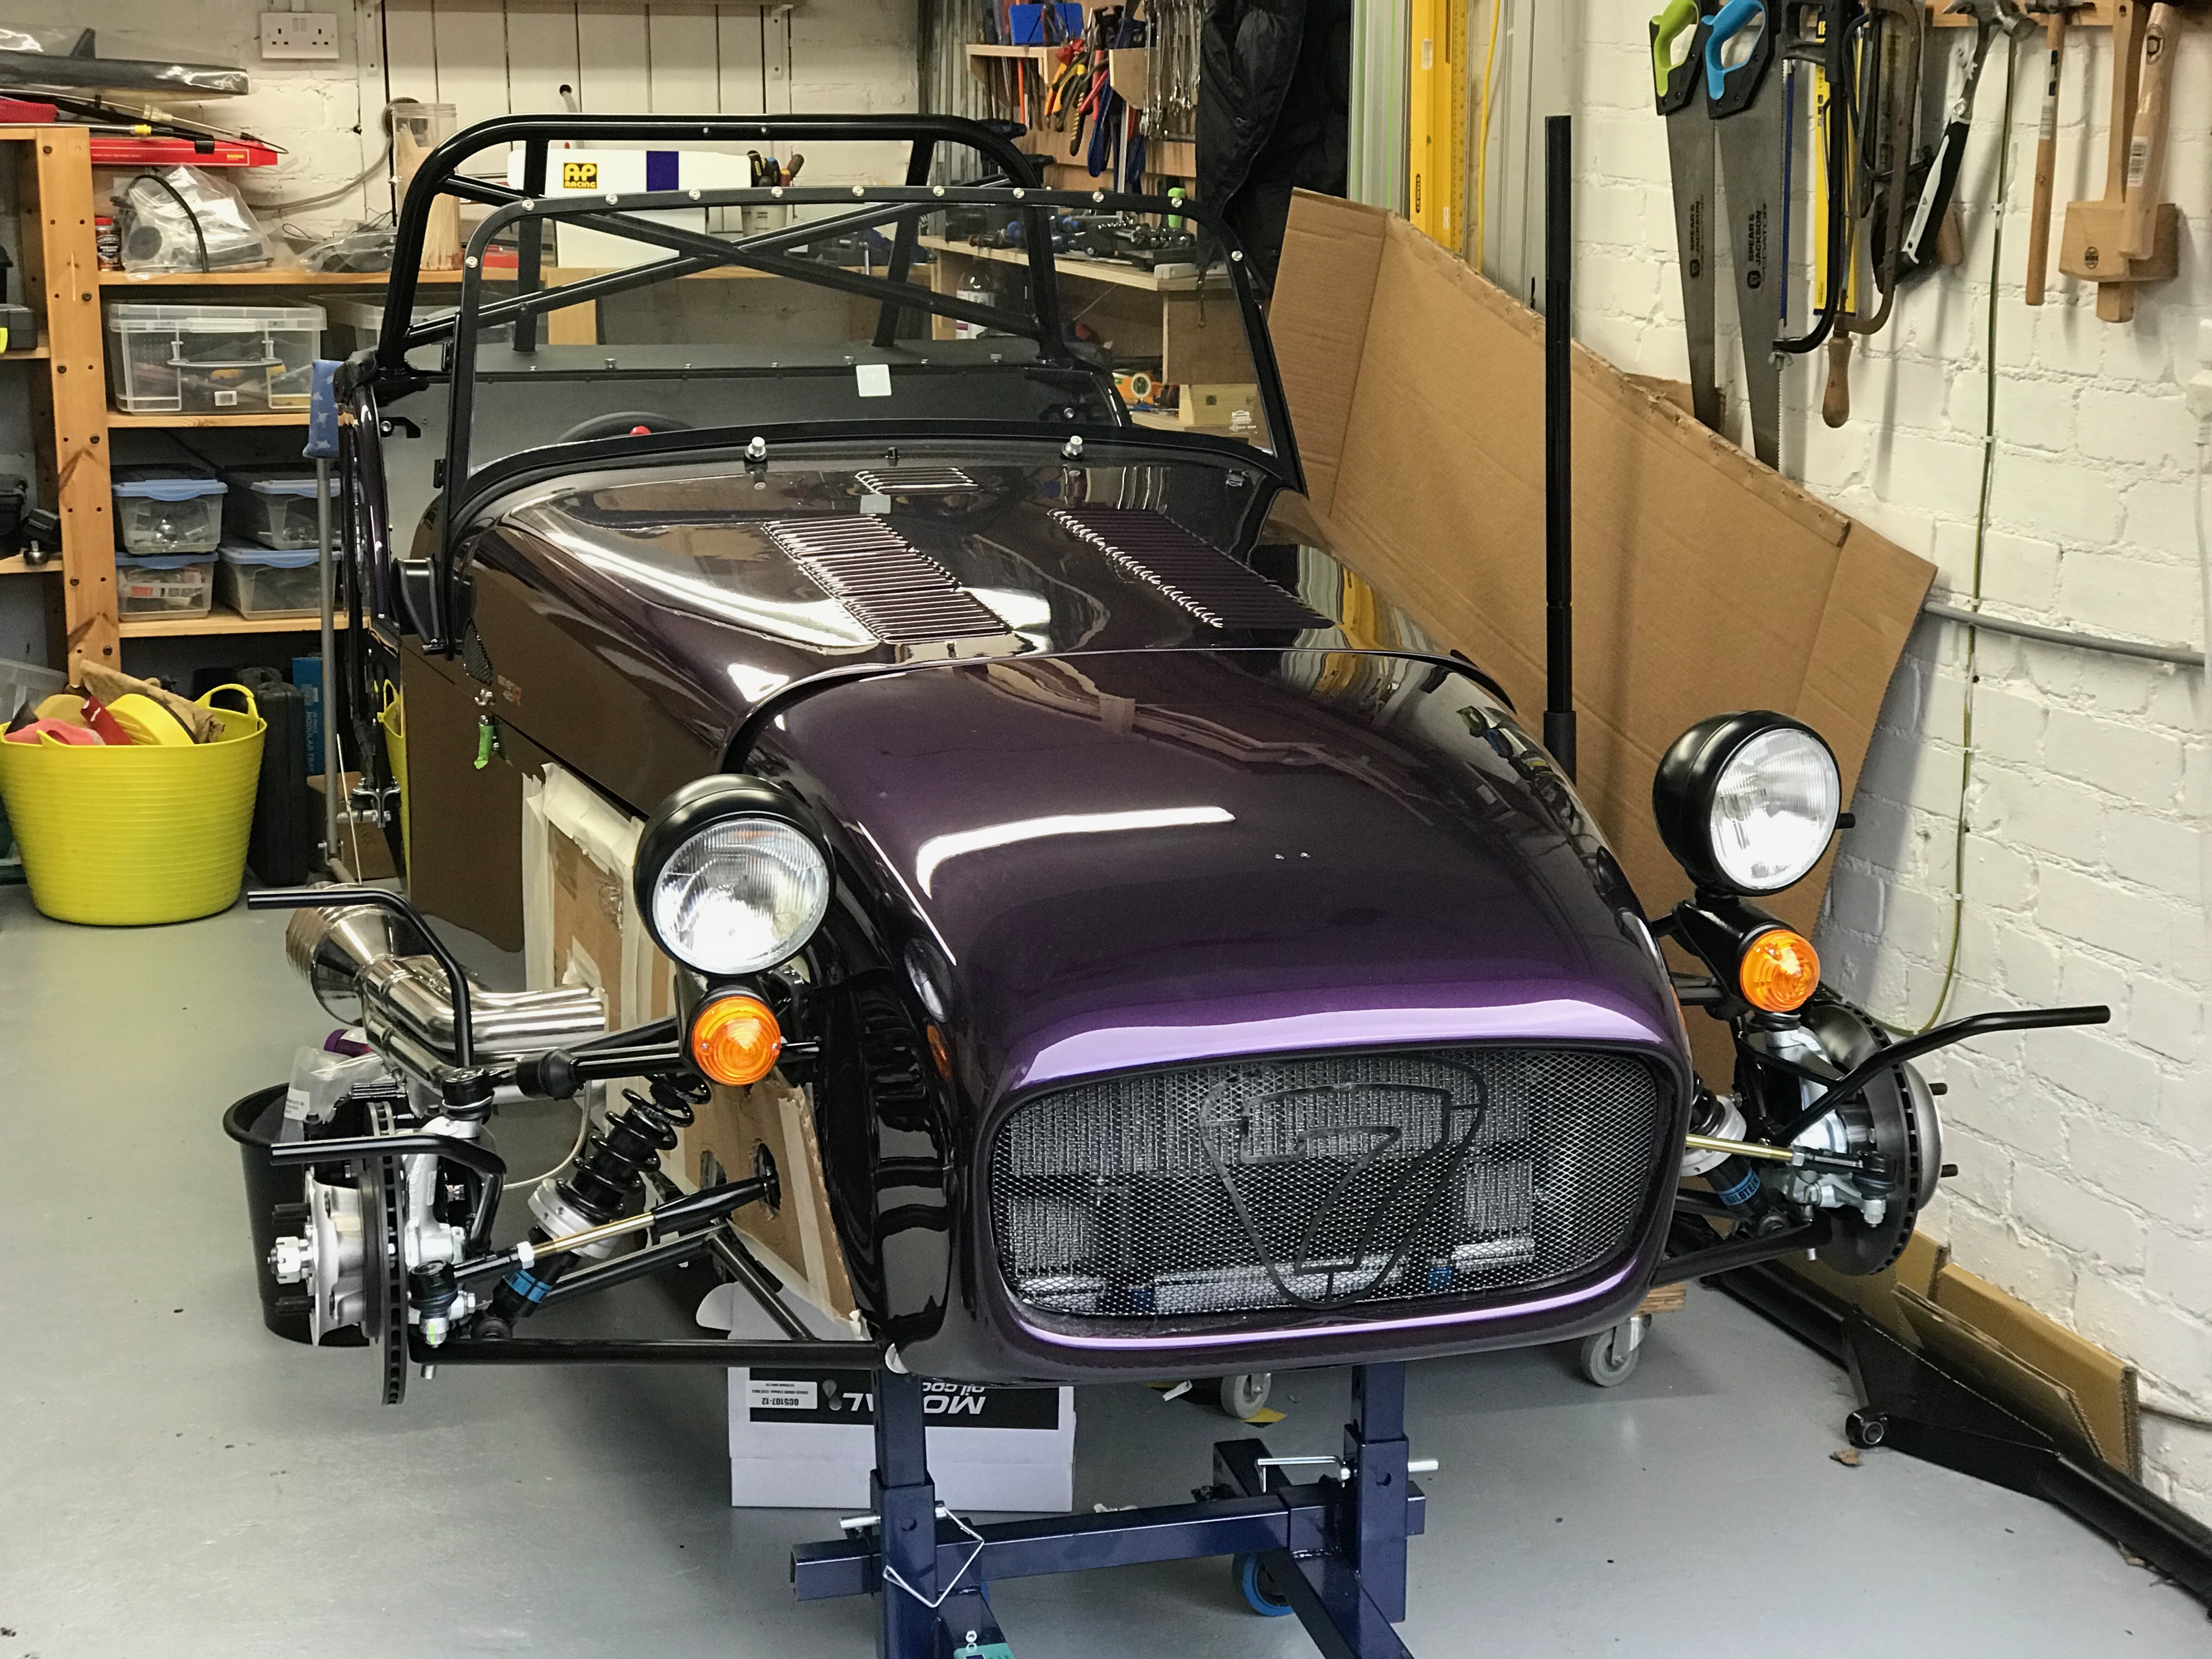
Bonnet (Hood) and Nose Cone Test Fit
This was exciting… an excuse to try a test fit of the nose cone and bonnet. The bonnet was still waiting to go back for a respray and the nose cone was squirrelled away in my office in the garden (along with most of the contents of the garage prior to this project).


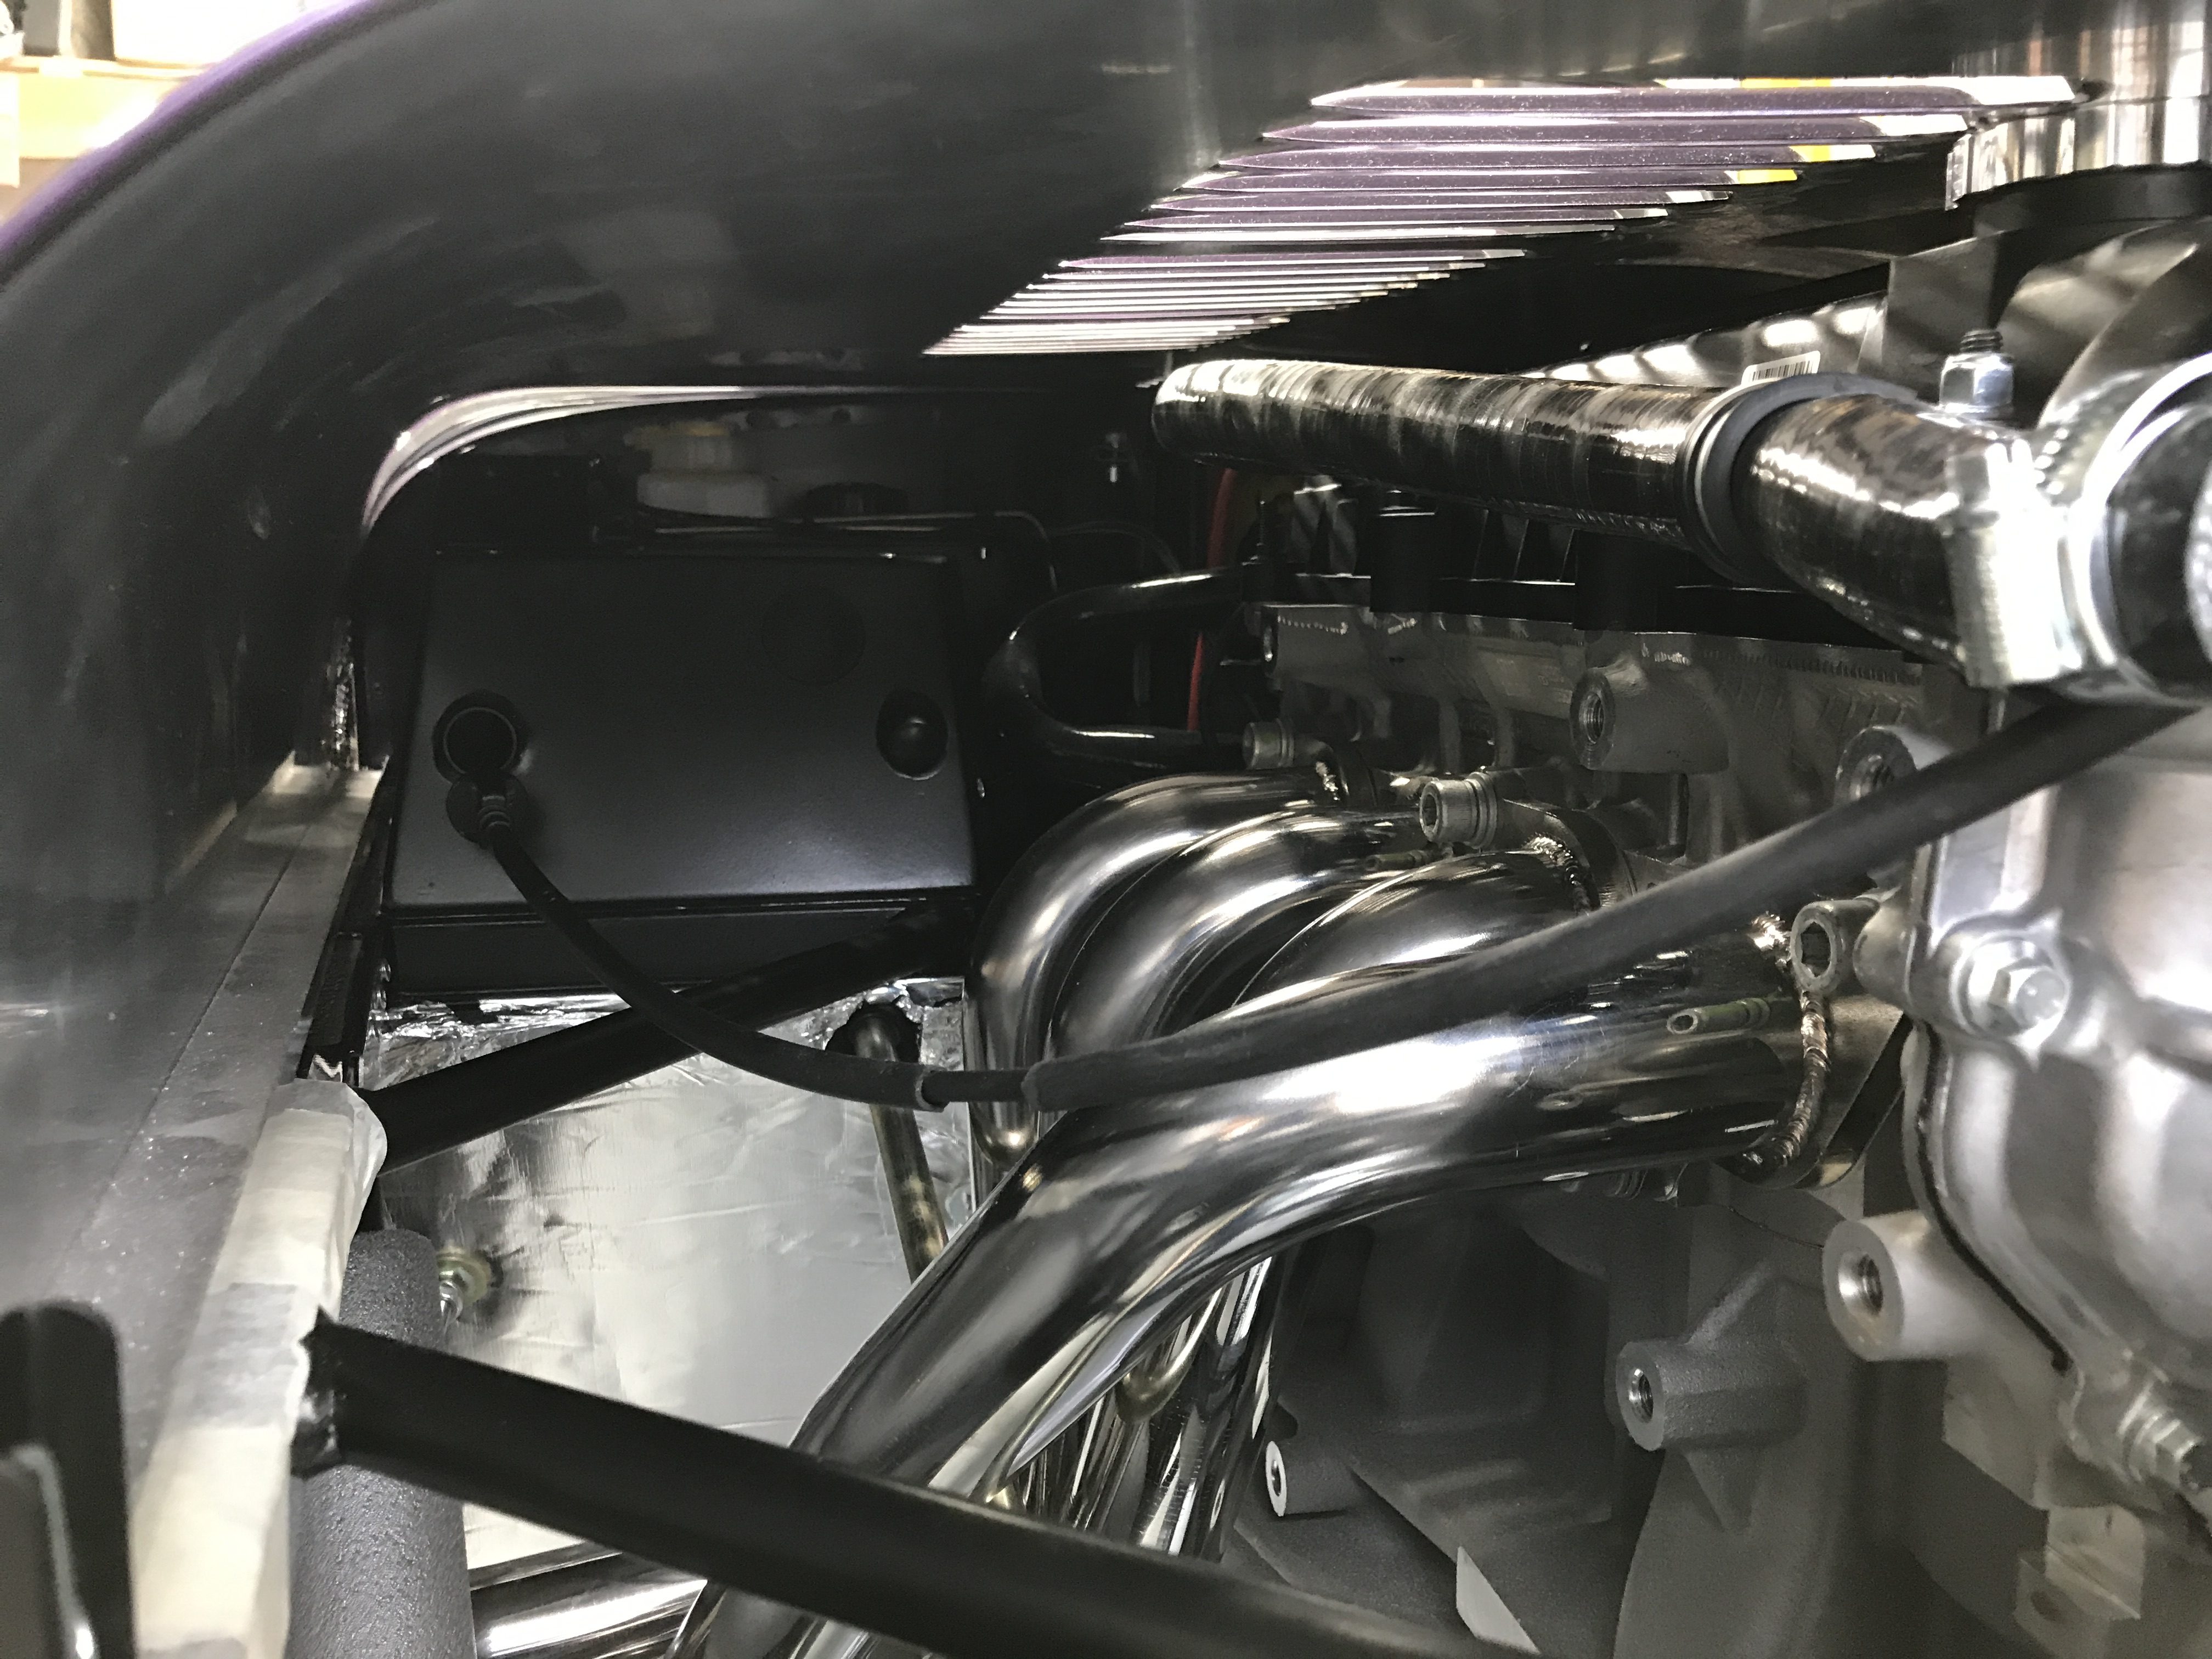
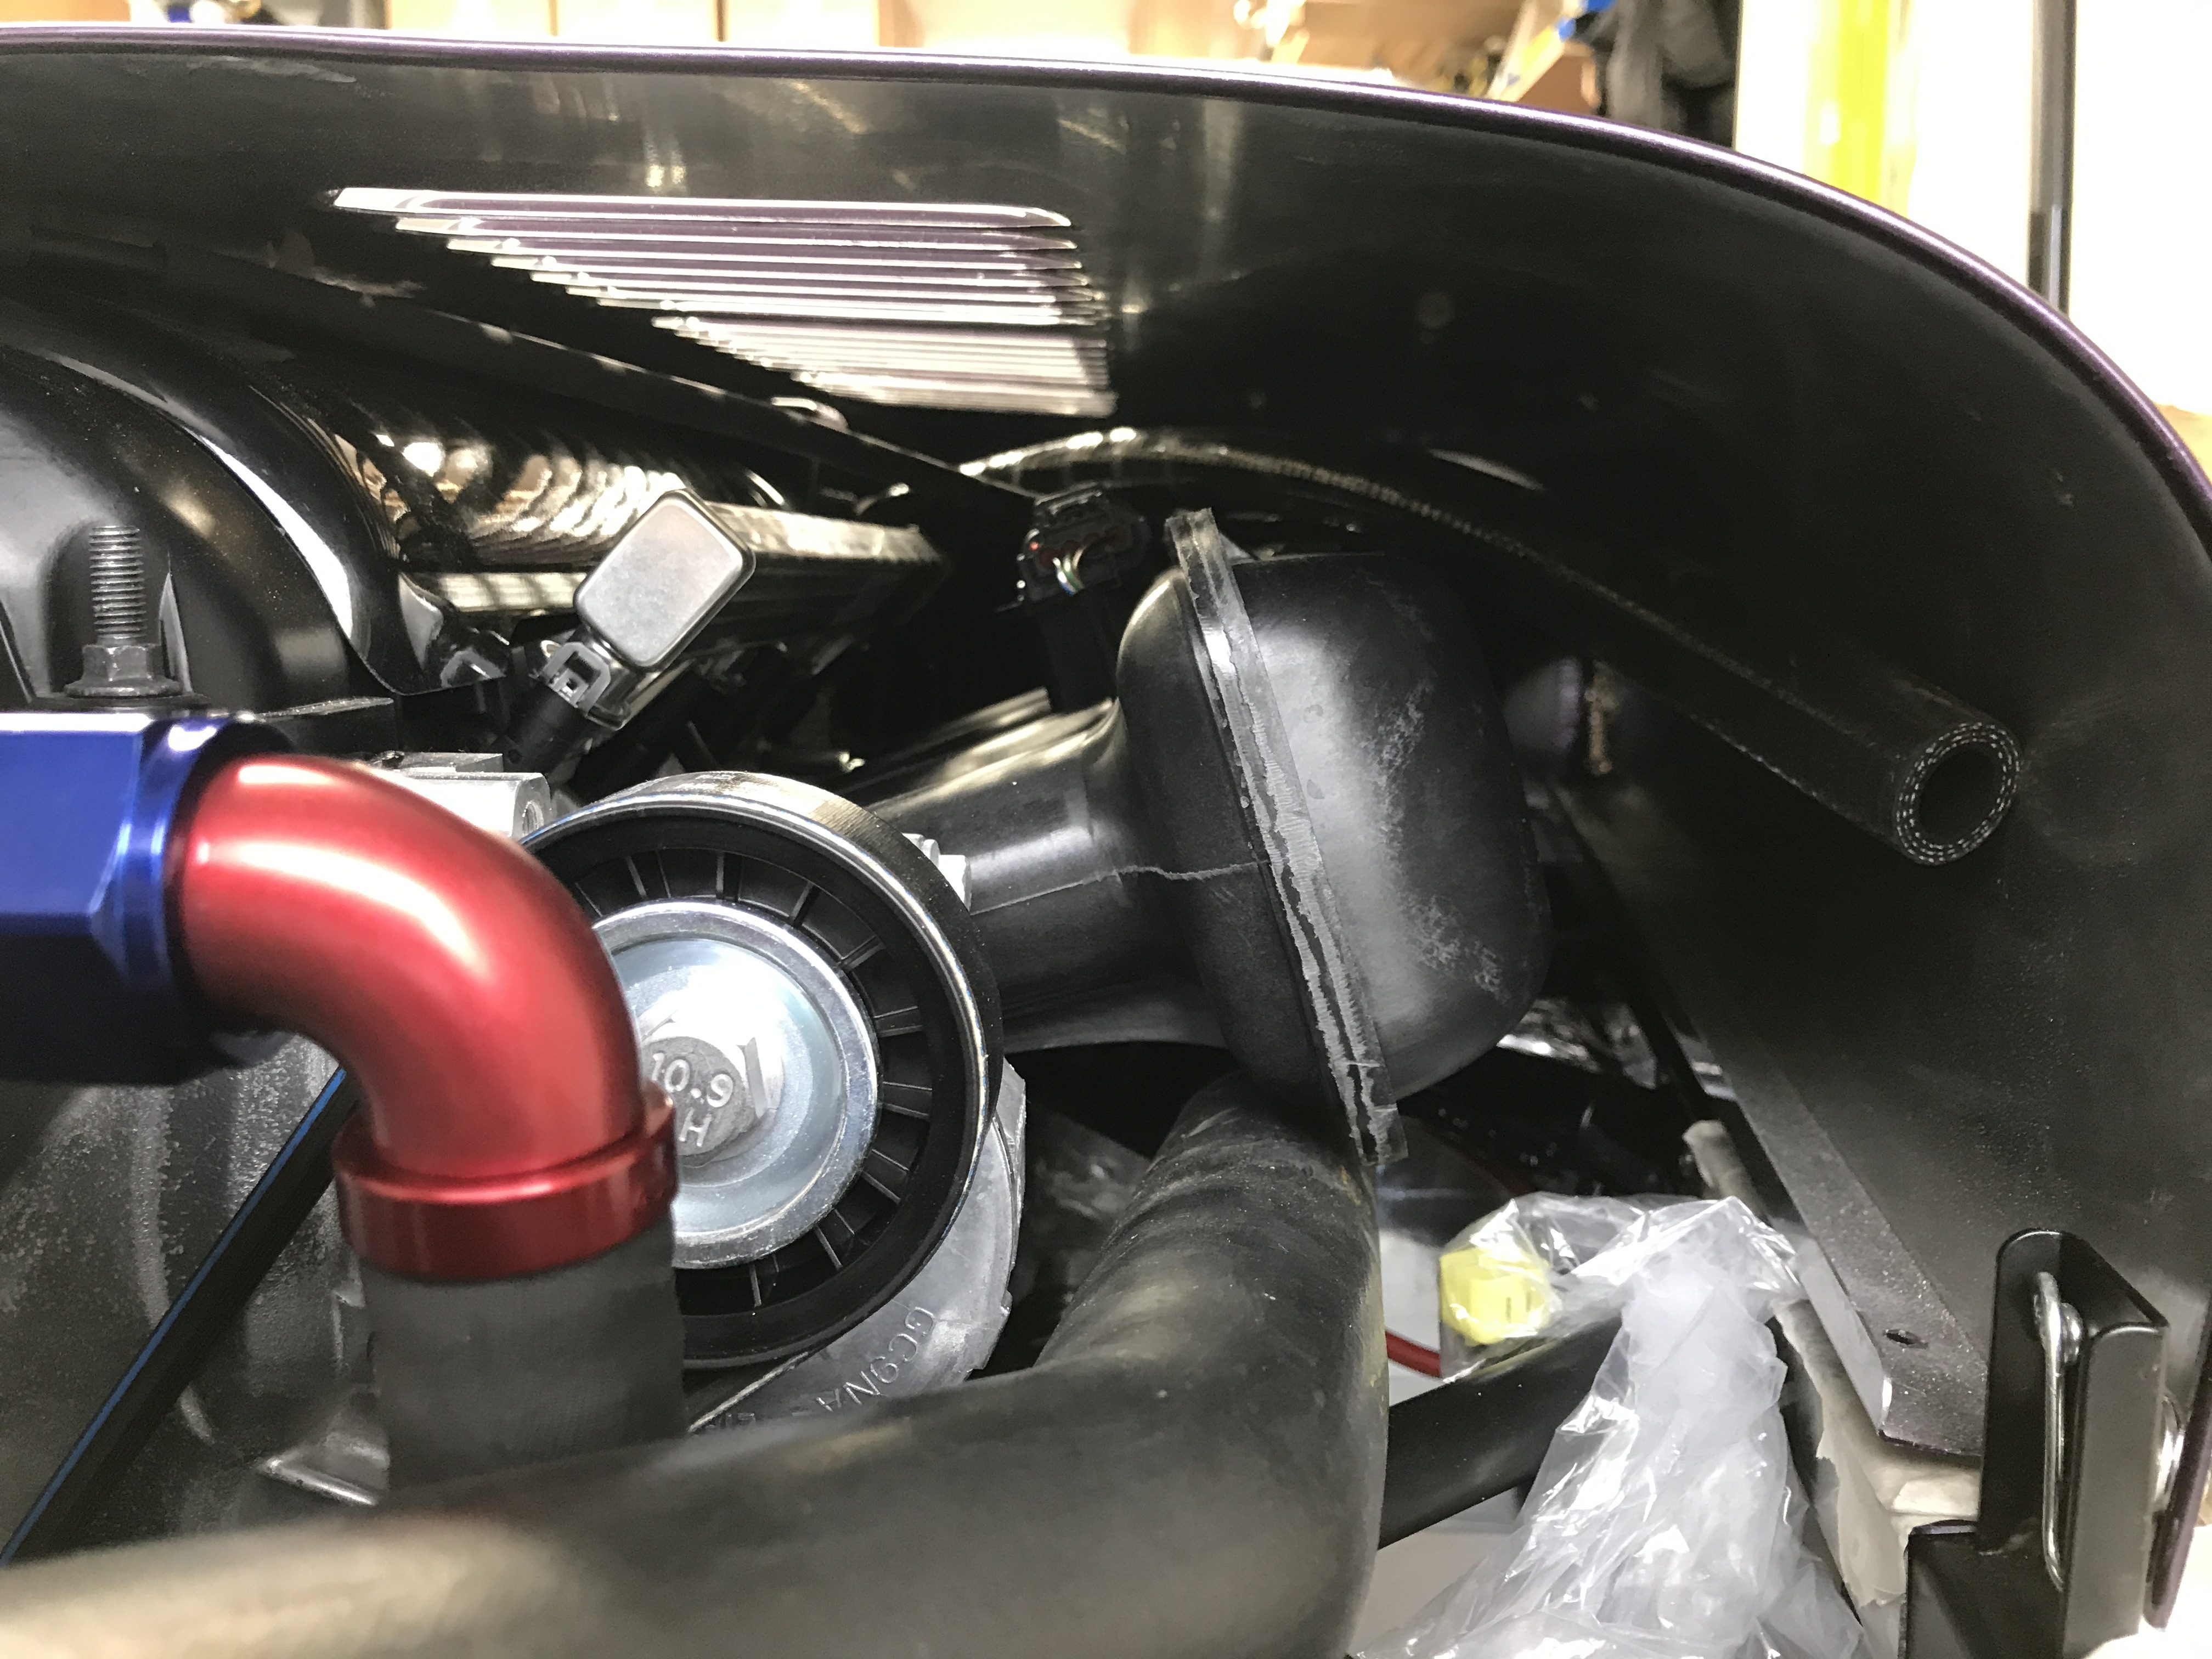
After a test fit it was clear there was plenty of room for where I ended up wanting to put the expansion bottle.

One slight disappointment with this fitting was the discovery that I’m missing the 5/16″ hose that fits the small expansion bottle connection and connects to the rear of the cylinder head. That’ll be an email to Derek next week while I’m travelling.
While I was happy that I’d got the basic position of this bracket right I had run out of time and so this will have to wait until I come back from a business trip next week to Florida.
Here’s a couple of interesting pictures looking back towards the rear of the car with the bonnet on…

Leave a Comment