
Day 2: front suspension day… or so we thought.
First thing Sunday, while I waited for Harry to “wake up”, as he sat watching the football on the TV, I decided we needed the better bodywork protection I’d been thinking about the day before.
So, I took one of the spare Caterham cardboard boxes (I thought the cardboard would come in useful) and cut out a couple of gaskets to apply to each of the front sides of the bodywork.
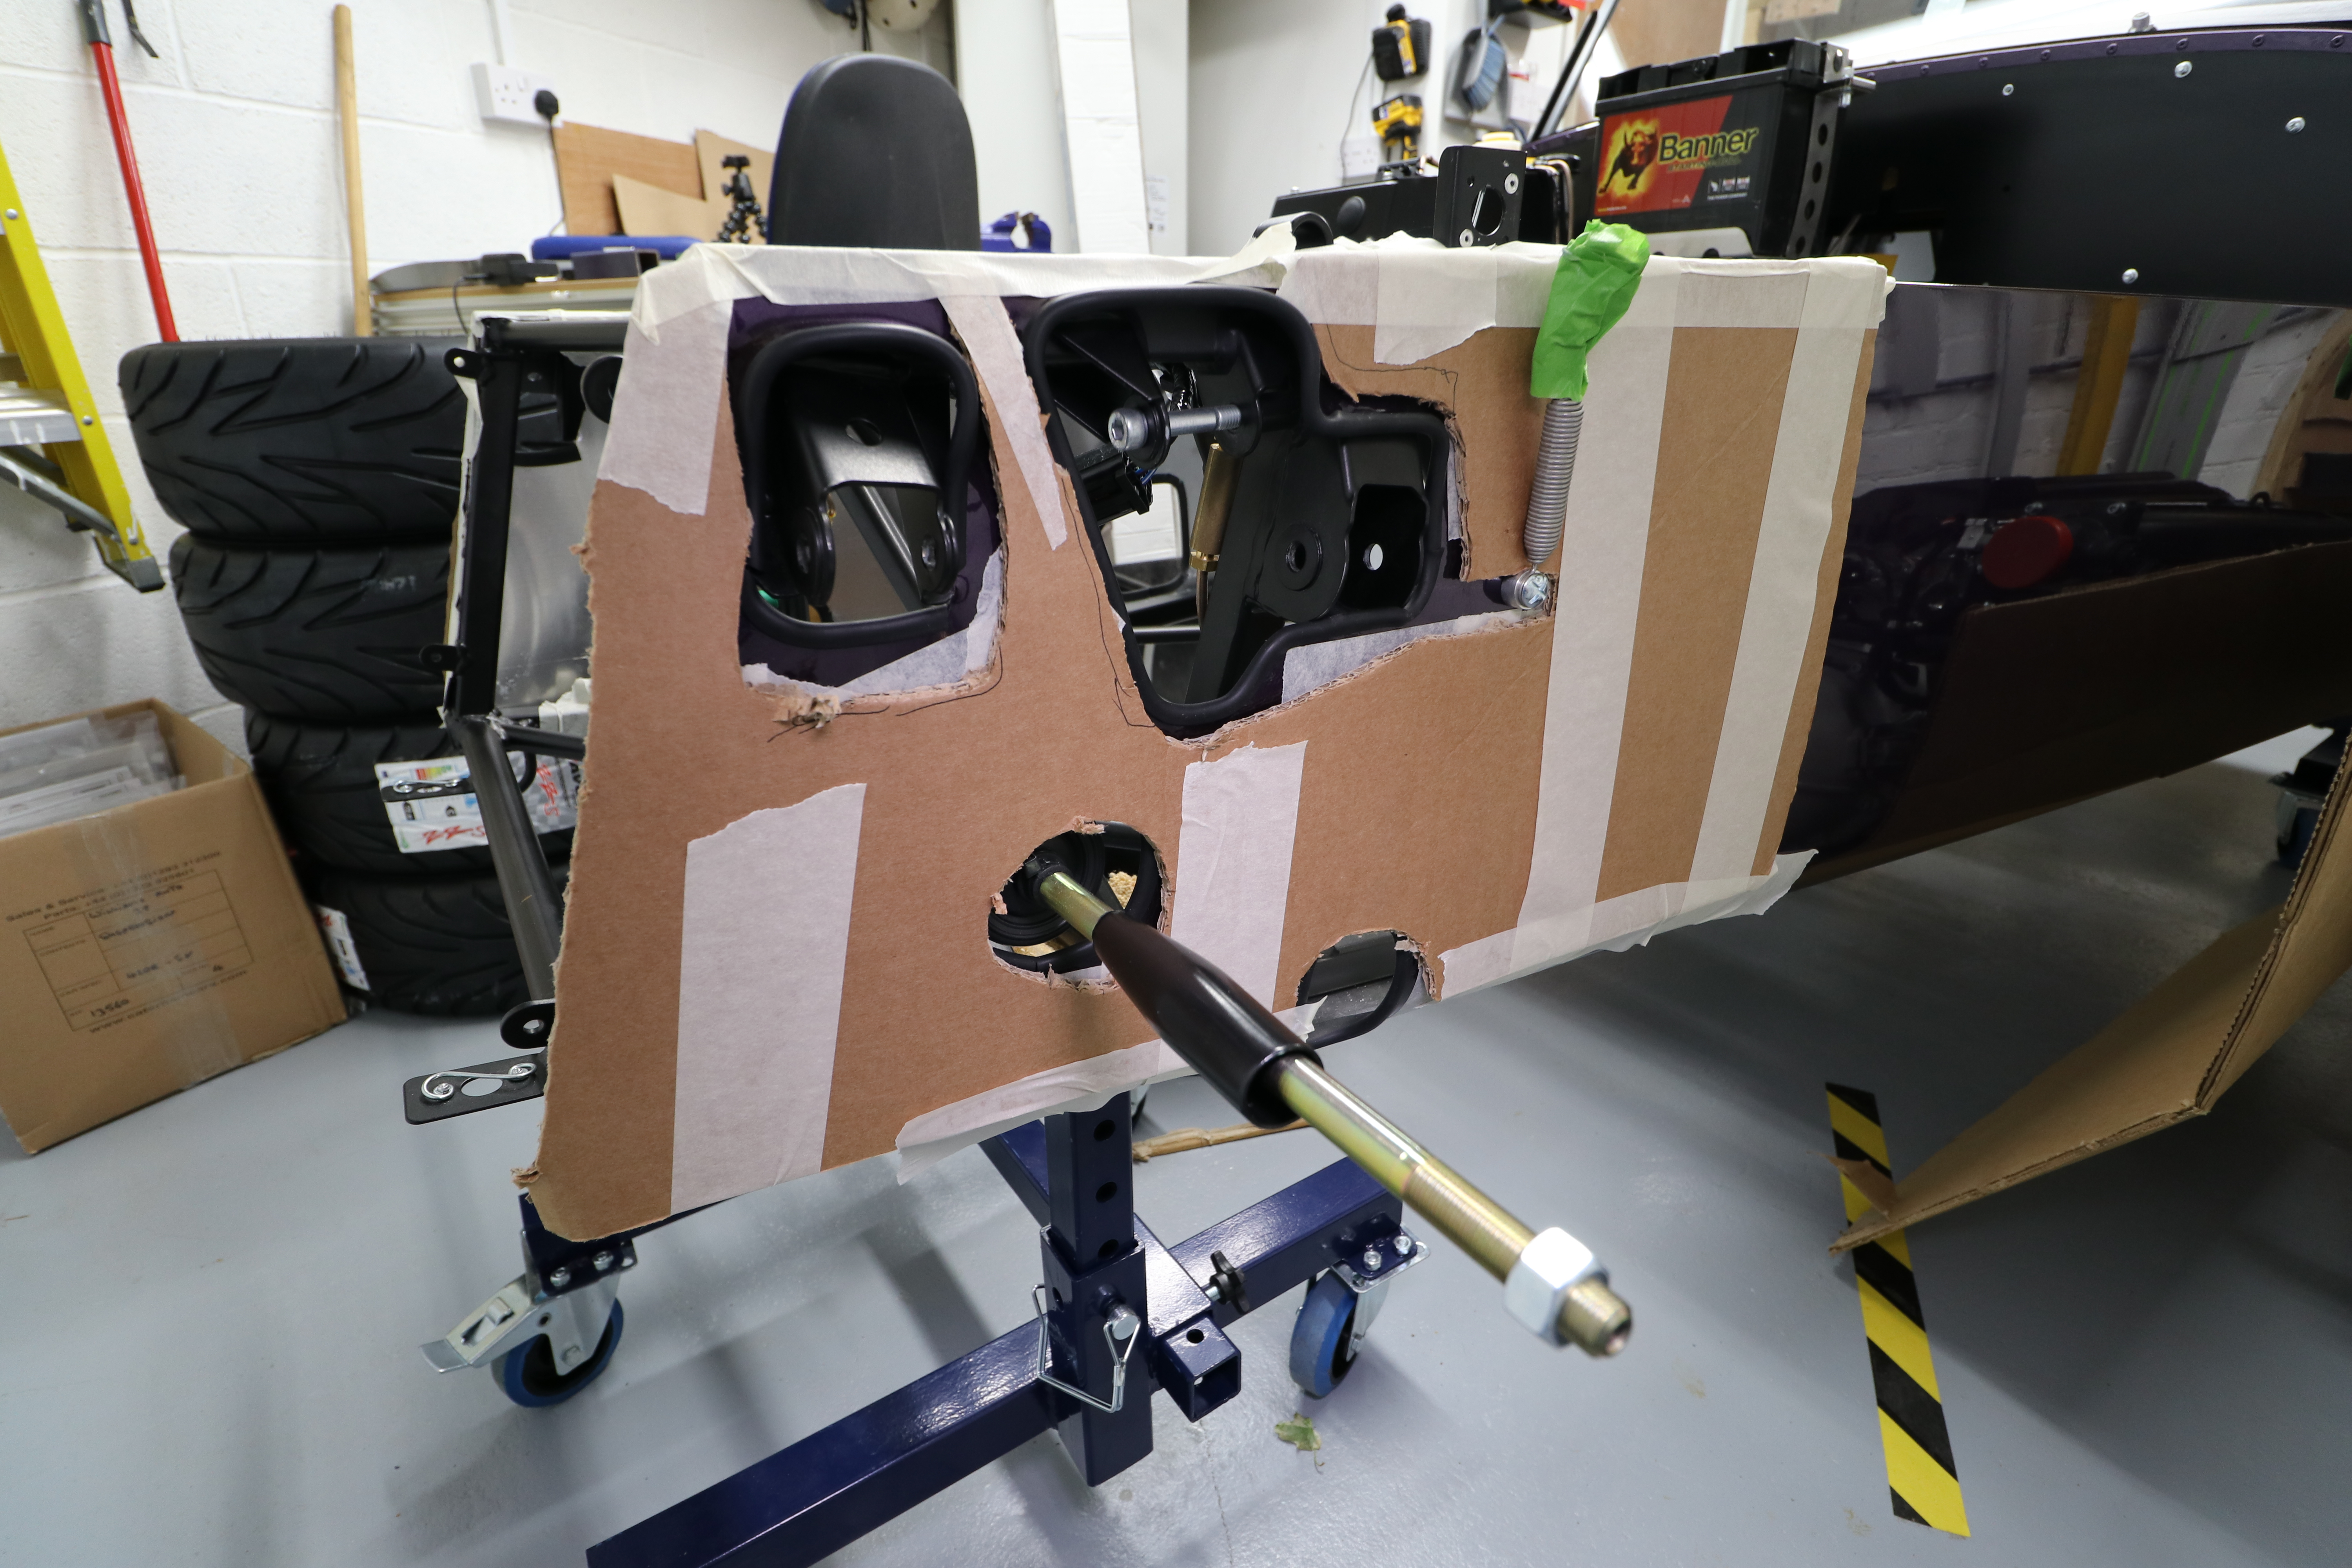
I think the corrugated cardboard sandwich is a much better solution than just going with masking tape, we’ll see. Happy with that, even if the masking tape keeps coming free.
Front Suspension Misfire
Cups of tea in hand we got ourselves ready in the garage. We had a quick re-read of the build manual and started looking for the parts we’d need. It then started to dawn on us that we hadn’t seen any wishbones anywhere in the parts we’d found so far. A check and re-check of the boxes and parts we had on shelves told us we weren’t dreaming and the wishbones were nowhere to be found.
Oh dear. This was really the first major build process in the project and we’re already missing major items. This would have to be a phone call to Derek Howlett in the morning.
So, what are we going to do now for the day?
Looking around the garage the only thing that came to mind was to fit the gearbox to the engine and bell housing. This process involves taking off the pre-installed bell housing from the front the engine, attaching it to the gearbox and then refitting the two back onto the engine. Should be relatively simple.
Engine, Bell Housing and Gearbox
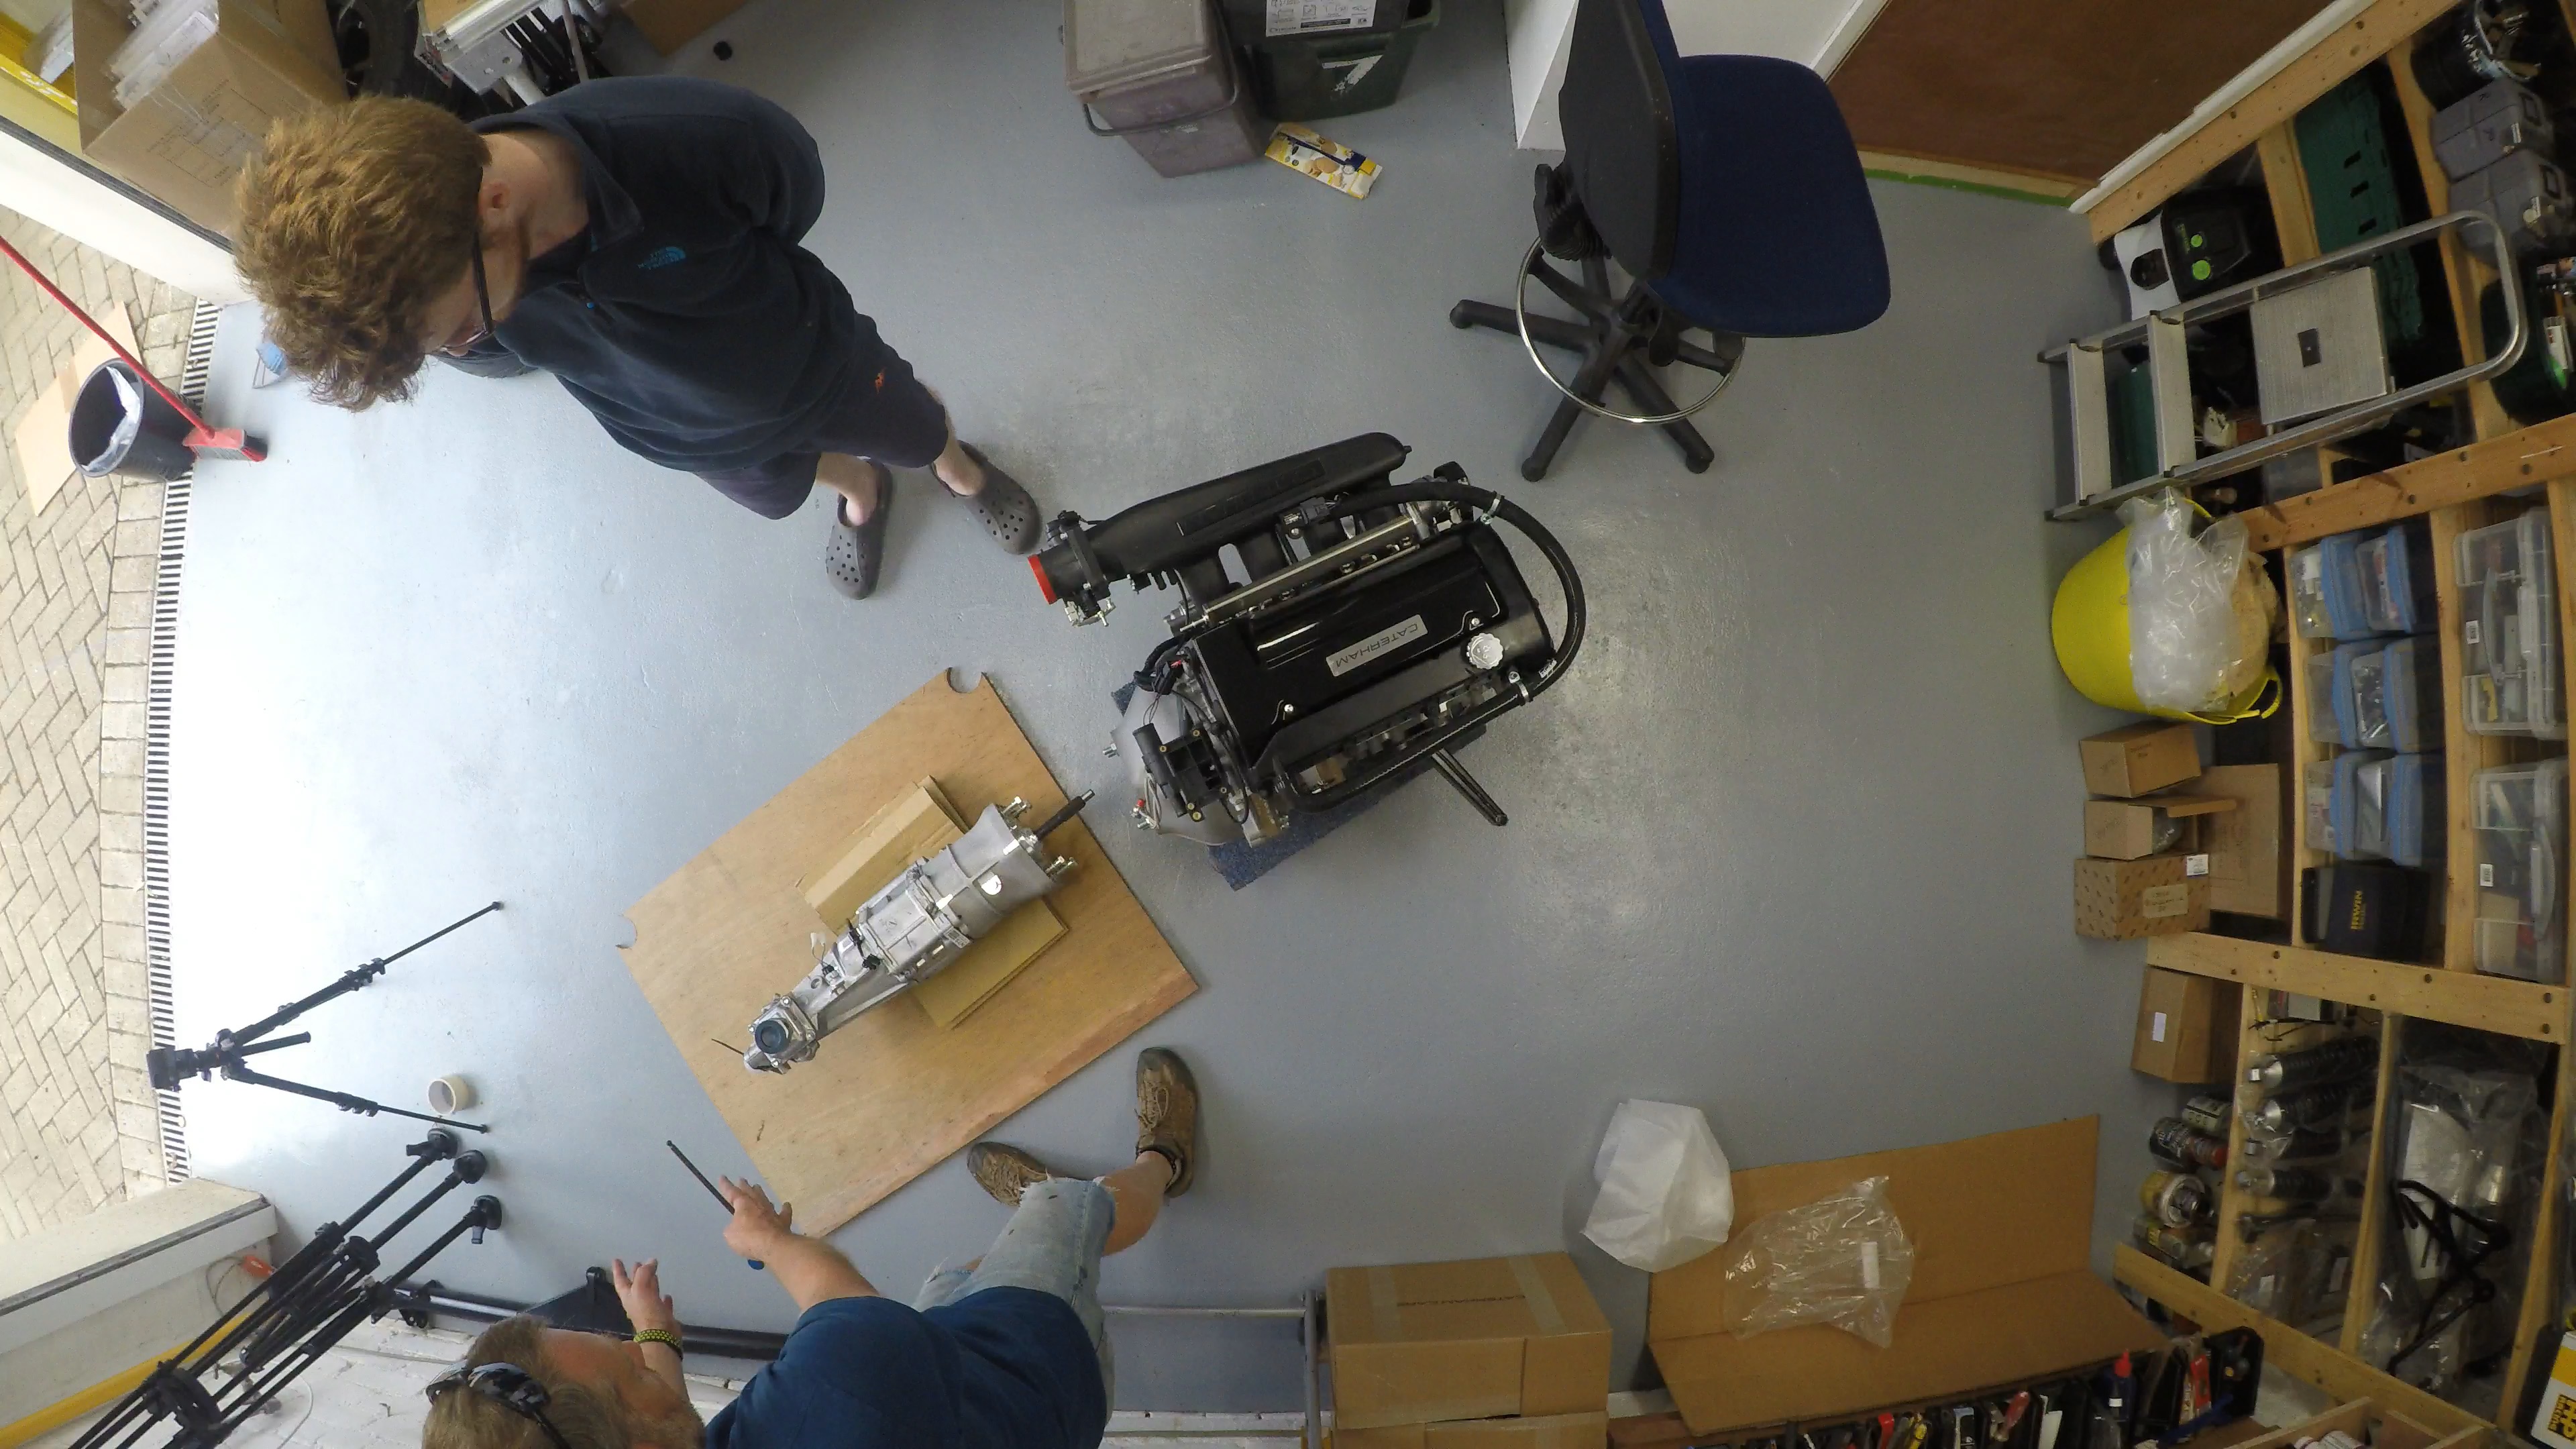
The first job though was to make some space. This is where the CJ Autos axel stands really came into their own. The chassis took its first outing and we wheeled it out of the garage and onto the drive. We had the whole garage then clear to play with the engine, bell housing and gearbox.
To protect both the components and the garage floor we had put down an offcut of ply wood onto the floor and rested the gearbox and bell housing on that. When Catherham had dropped off the engine I’d got the driver to put it onto a home made trolley we had. It made scooting it around the garage really easy.
Getting the bellhousing off the engine was reasonably straightforward. The bell housing was a little reluctant to come away from the engine but after we’d released the tension on the bolts holding the starter motor to the engine (there’s an overhang of the starter motor casing to the bell houseing and a rubber seal that crosses the two) and some gentle persuasion with a leather end of our persuasion stick (a #2 leather/copper headed hammer) it came free.
We’d seen a number of blog posts where people had got themselves confused about which bolts go where on the bell housing to engine interface. But Marcus Adams had posted a great solution where he tie-wrapped each bolt in place on the bell housing once it was free from the engine. That way the bolts don’t come lose and get mixed up with where they should go.
Harry and I had to scotch the engine and bellhousing forwards on the trolley before the bell housing would disengage from the engine as the assembly was resting on its trolley with the bellhousing touching. The weight of the assembly was therefore running through the bellhousing as we were trying to extricate it from the engine.
[envira-gallery id=”419″]
Now we have three pieces where we once had two.
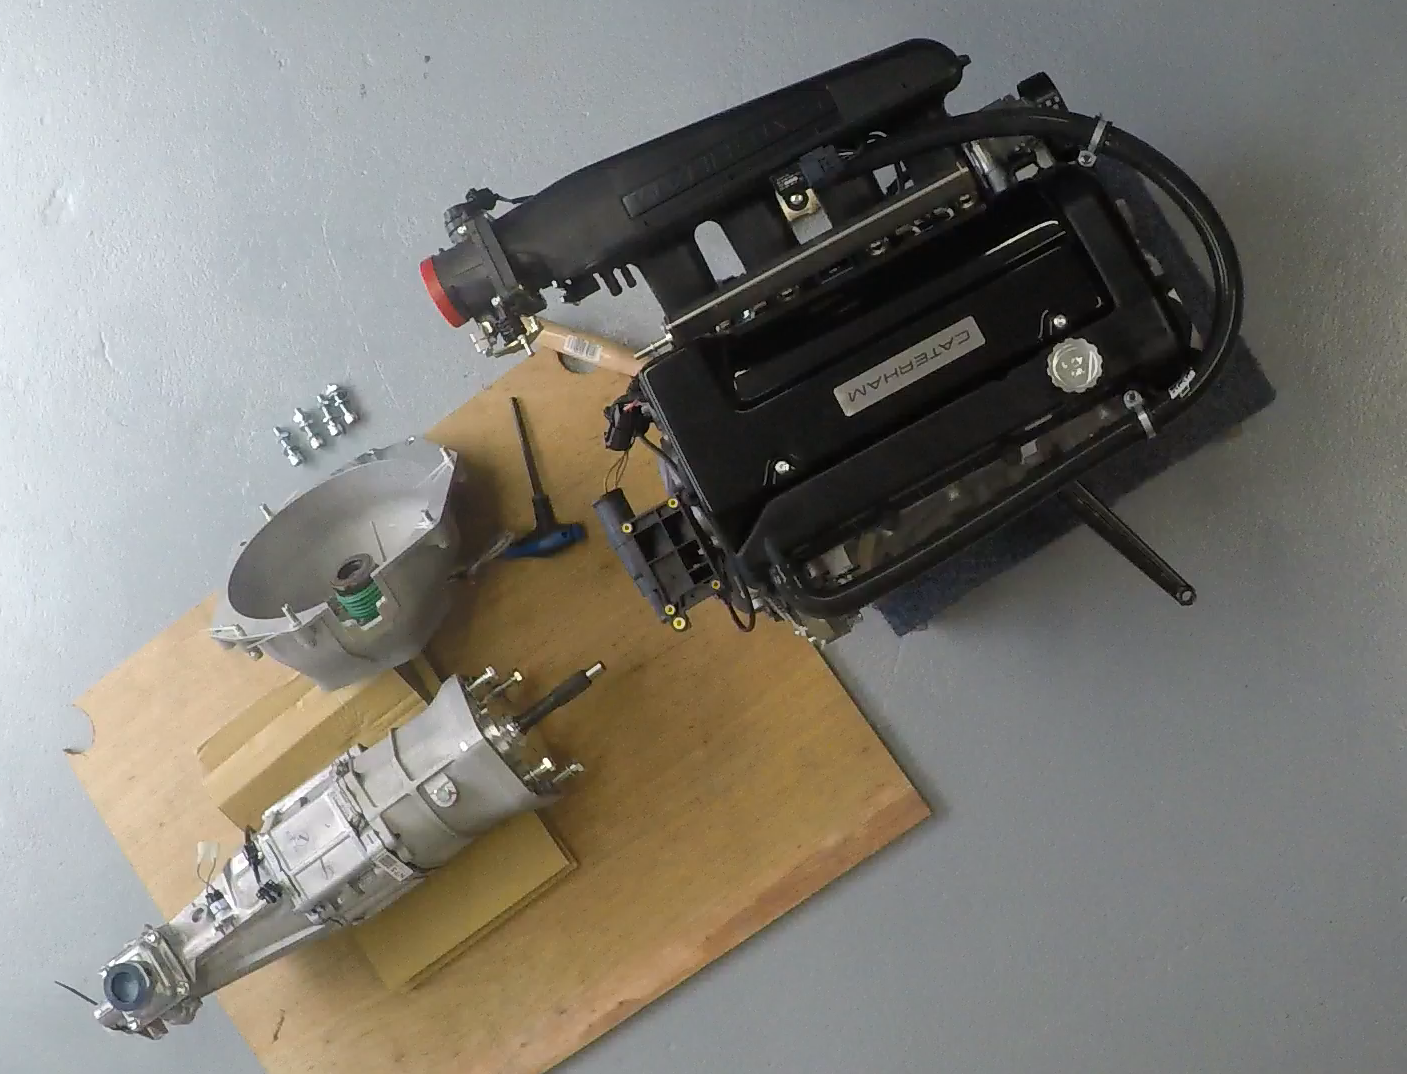
The next conundrum was now around the bolts that you use to connect the gearbox to the bell housing. The bell housing has four bolts with washers, spring washers and nuts in the 4 holes you use for this part of the task. Then there are also four bolts with washers also already in the gearbox in the corresponding threaded holes. To compound the confusion the build manual talks about using four 70mm bolts and washers – none of the 8 candidate bolts are 70mm.
[envira-gallery id=”423″]
Over the iPad for some googling.
We first checked all the blogs we had open on the iPad. They were either for the wrong config (6 speed or Sigma engine) or they didn’t talk about this part of the task at all.
Now it was google’s turn. A few minutes of searching and we turned up a blog post from the Lotus7.club site. Someone had had exactly this conundrum and had quoted Derek Howlett as confirming that its the four bolts from the bell-housing that are needed. The post didn’t explicitly call for the washers and spring washers but we assumed as much and used them.
We’d also sort of got there on our own reasoning too. It seems that the Mazda sourced gearbox comes pretty much as-is from Mazda. It’s in the Mazda shipping box and doesn’t have anything in the way of Caterham logos on it. Conversely the engine is covered in obvious changes made by Caterham. Our thinking therefore went along the lines that if the Mazda box was standard and Caterham had tinkered with the engine, then Catheram must have put the 4 bolts in the bell housing for a reason. And if they were just there as hole plugs then they wouldn’t be as extravagant as to add washers and spring washers to the bolts. Caterham must have put those bolts, washers etc on the bell housing for a reason…. so we could use them to fit to the gearbox.
With that reasoning and the blog post to go by we decided we’d ask Derek about this step but that we’d use the four bolts, washers and spring washers and complete the assembly with them. [ once I’d talked to Derek, he confirmed we’d done the right thing ]
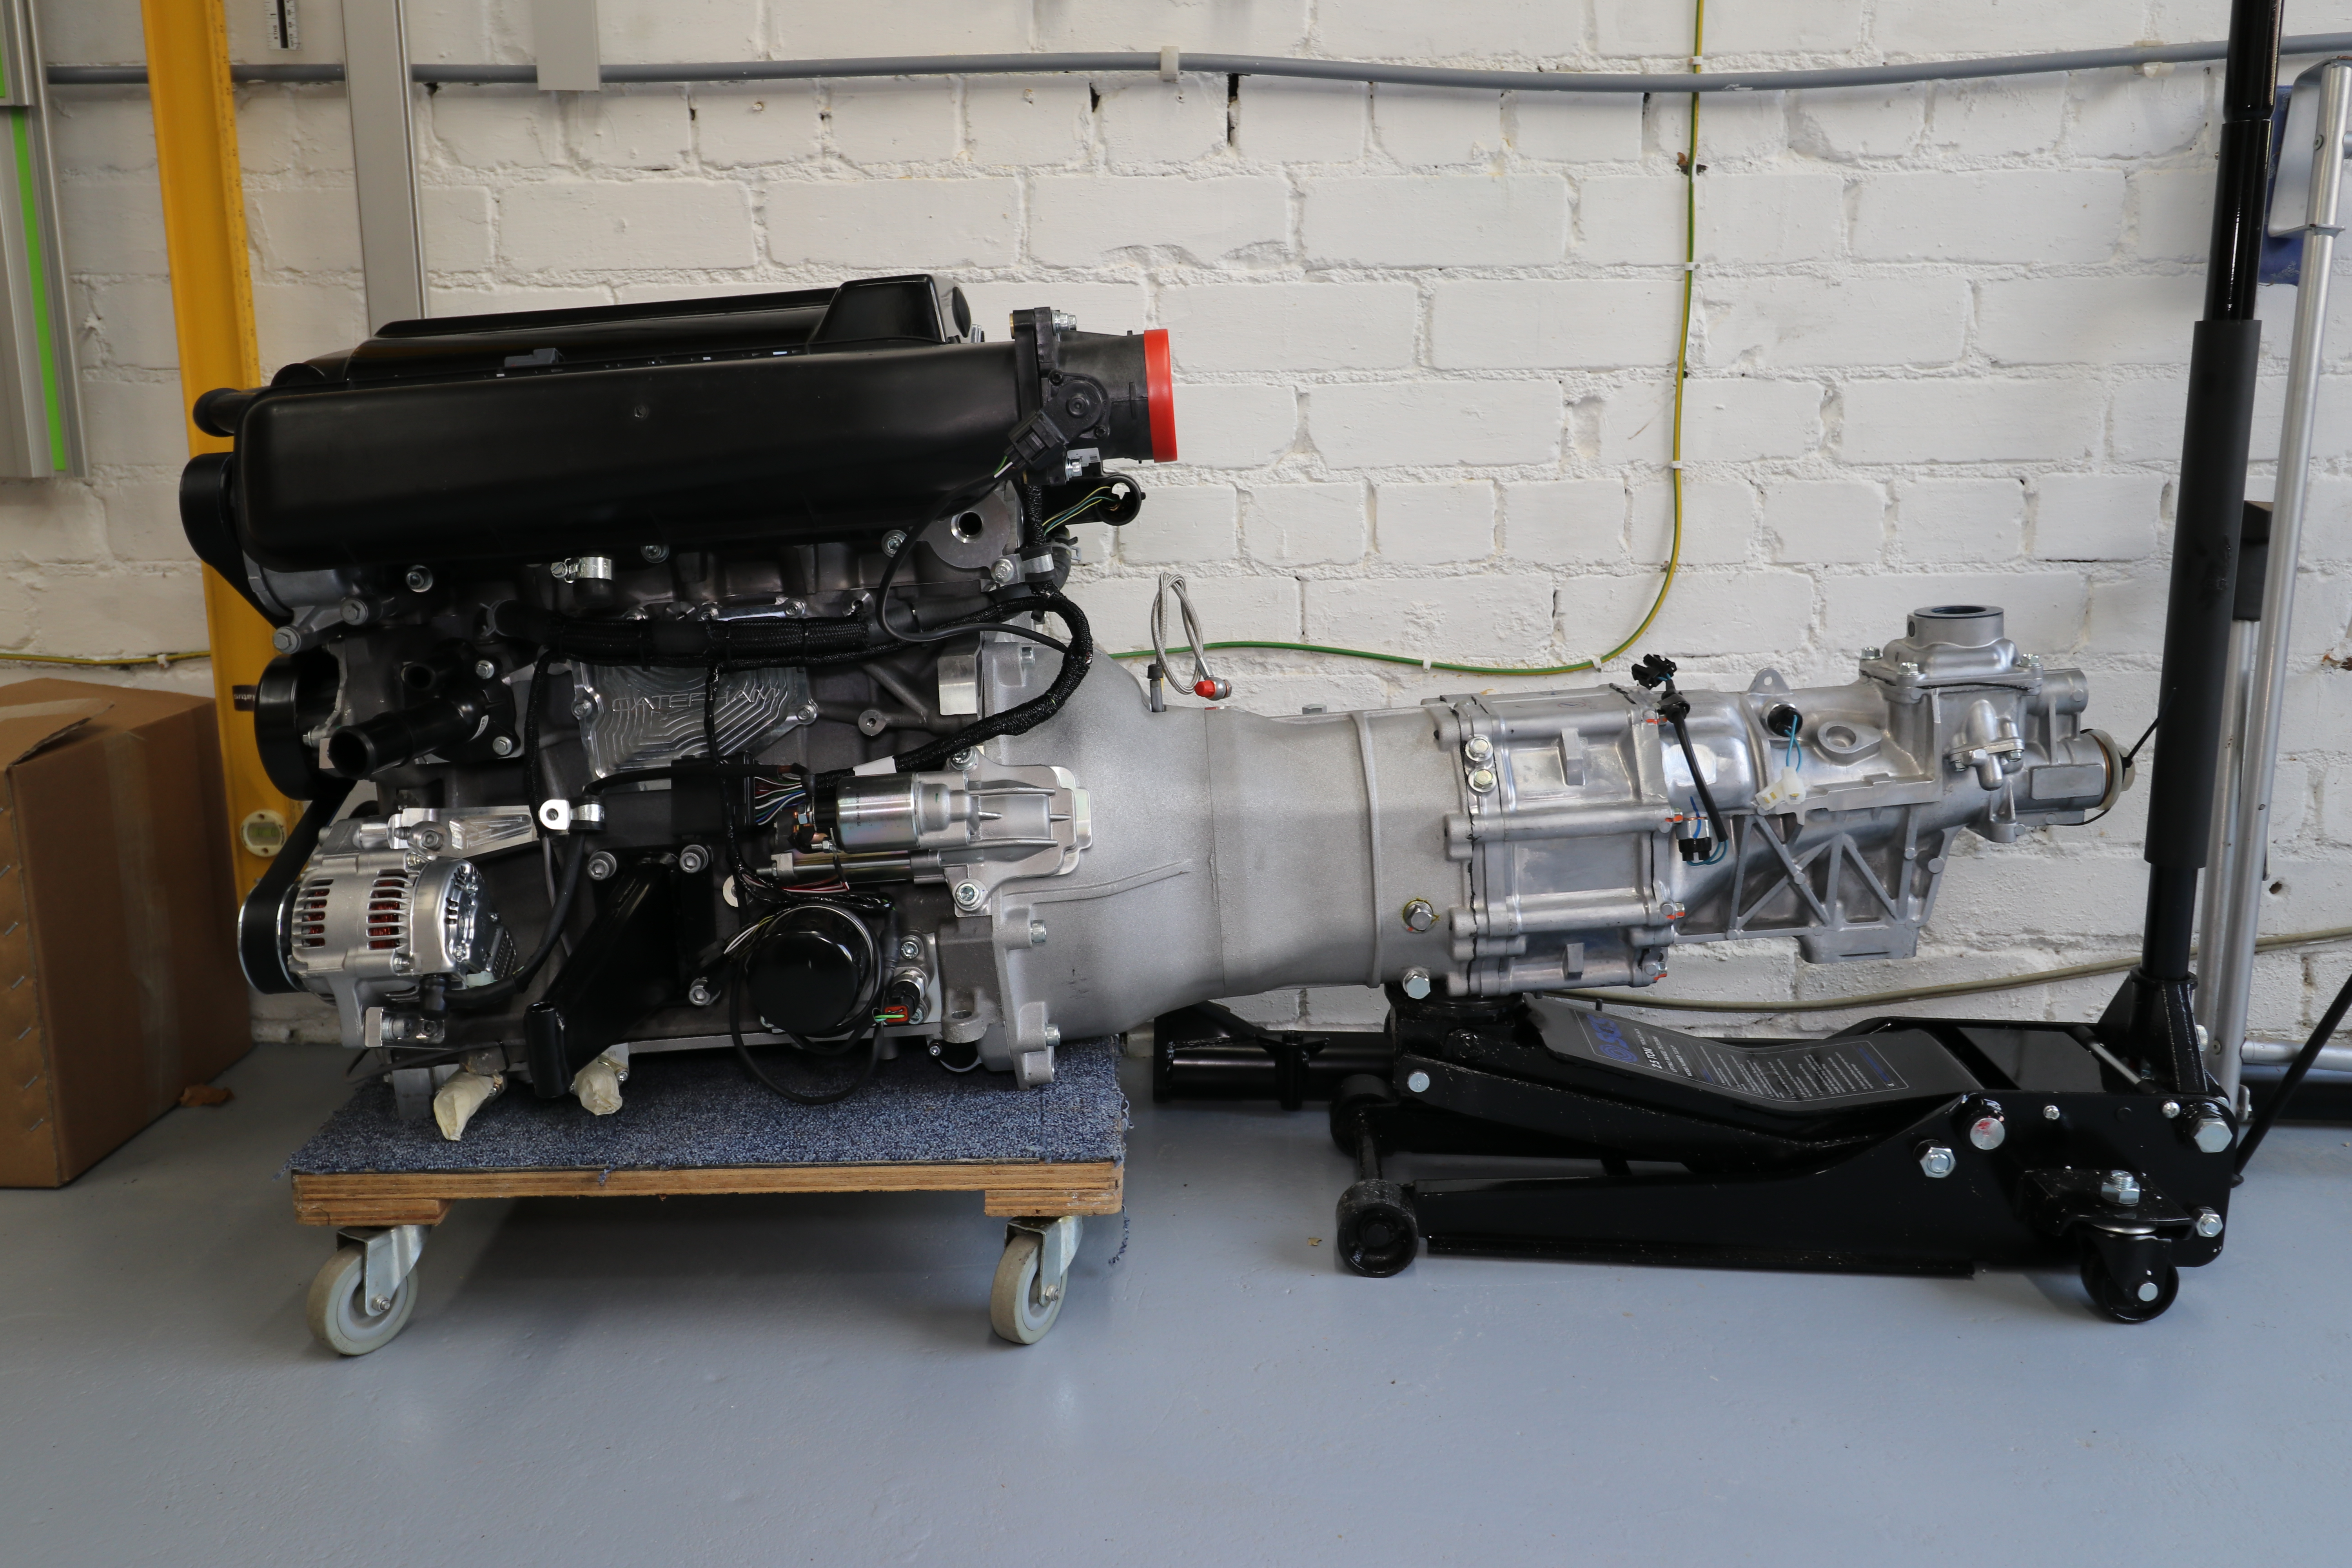
The bell housing went onto the gearbox with no problem and we torqued up the four bolts.
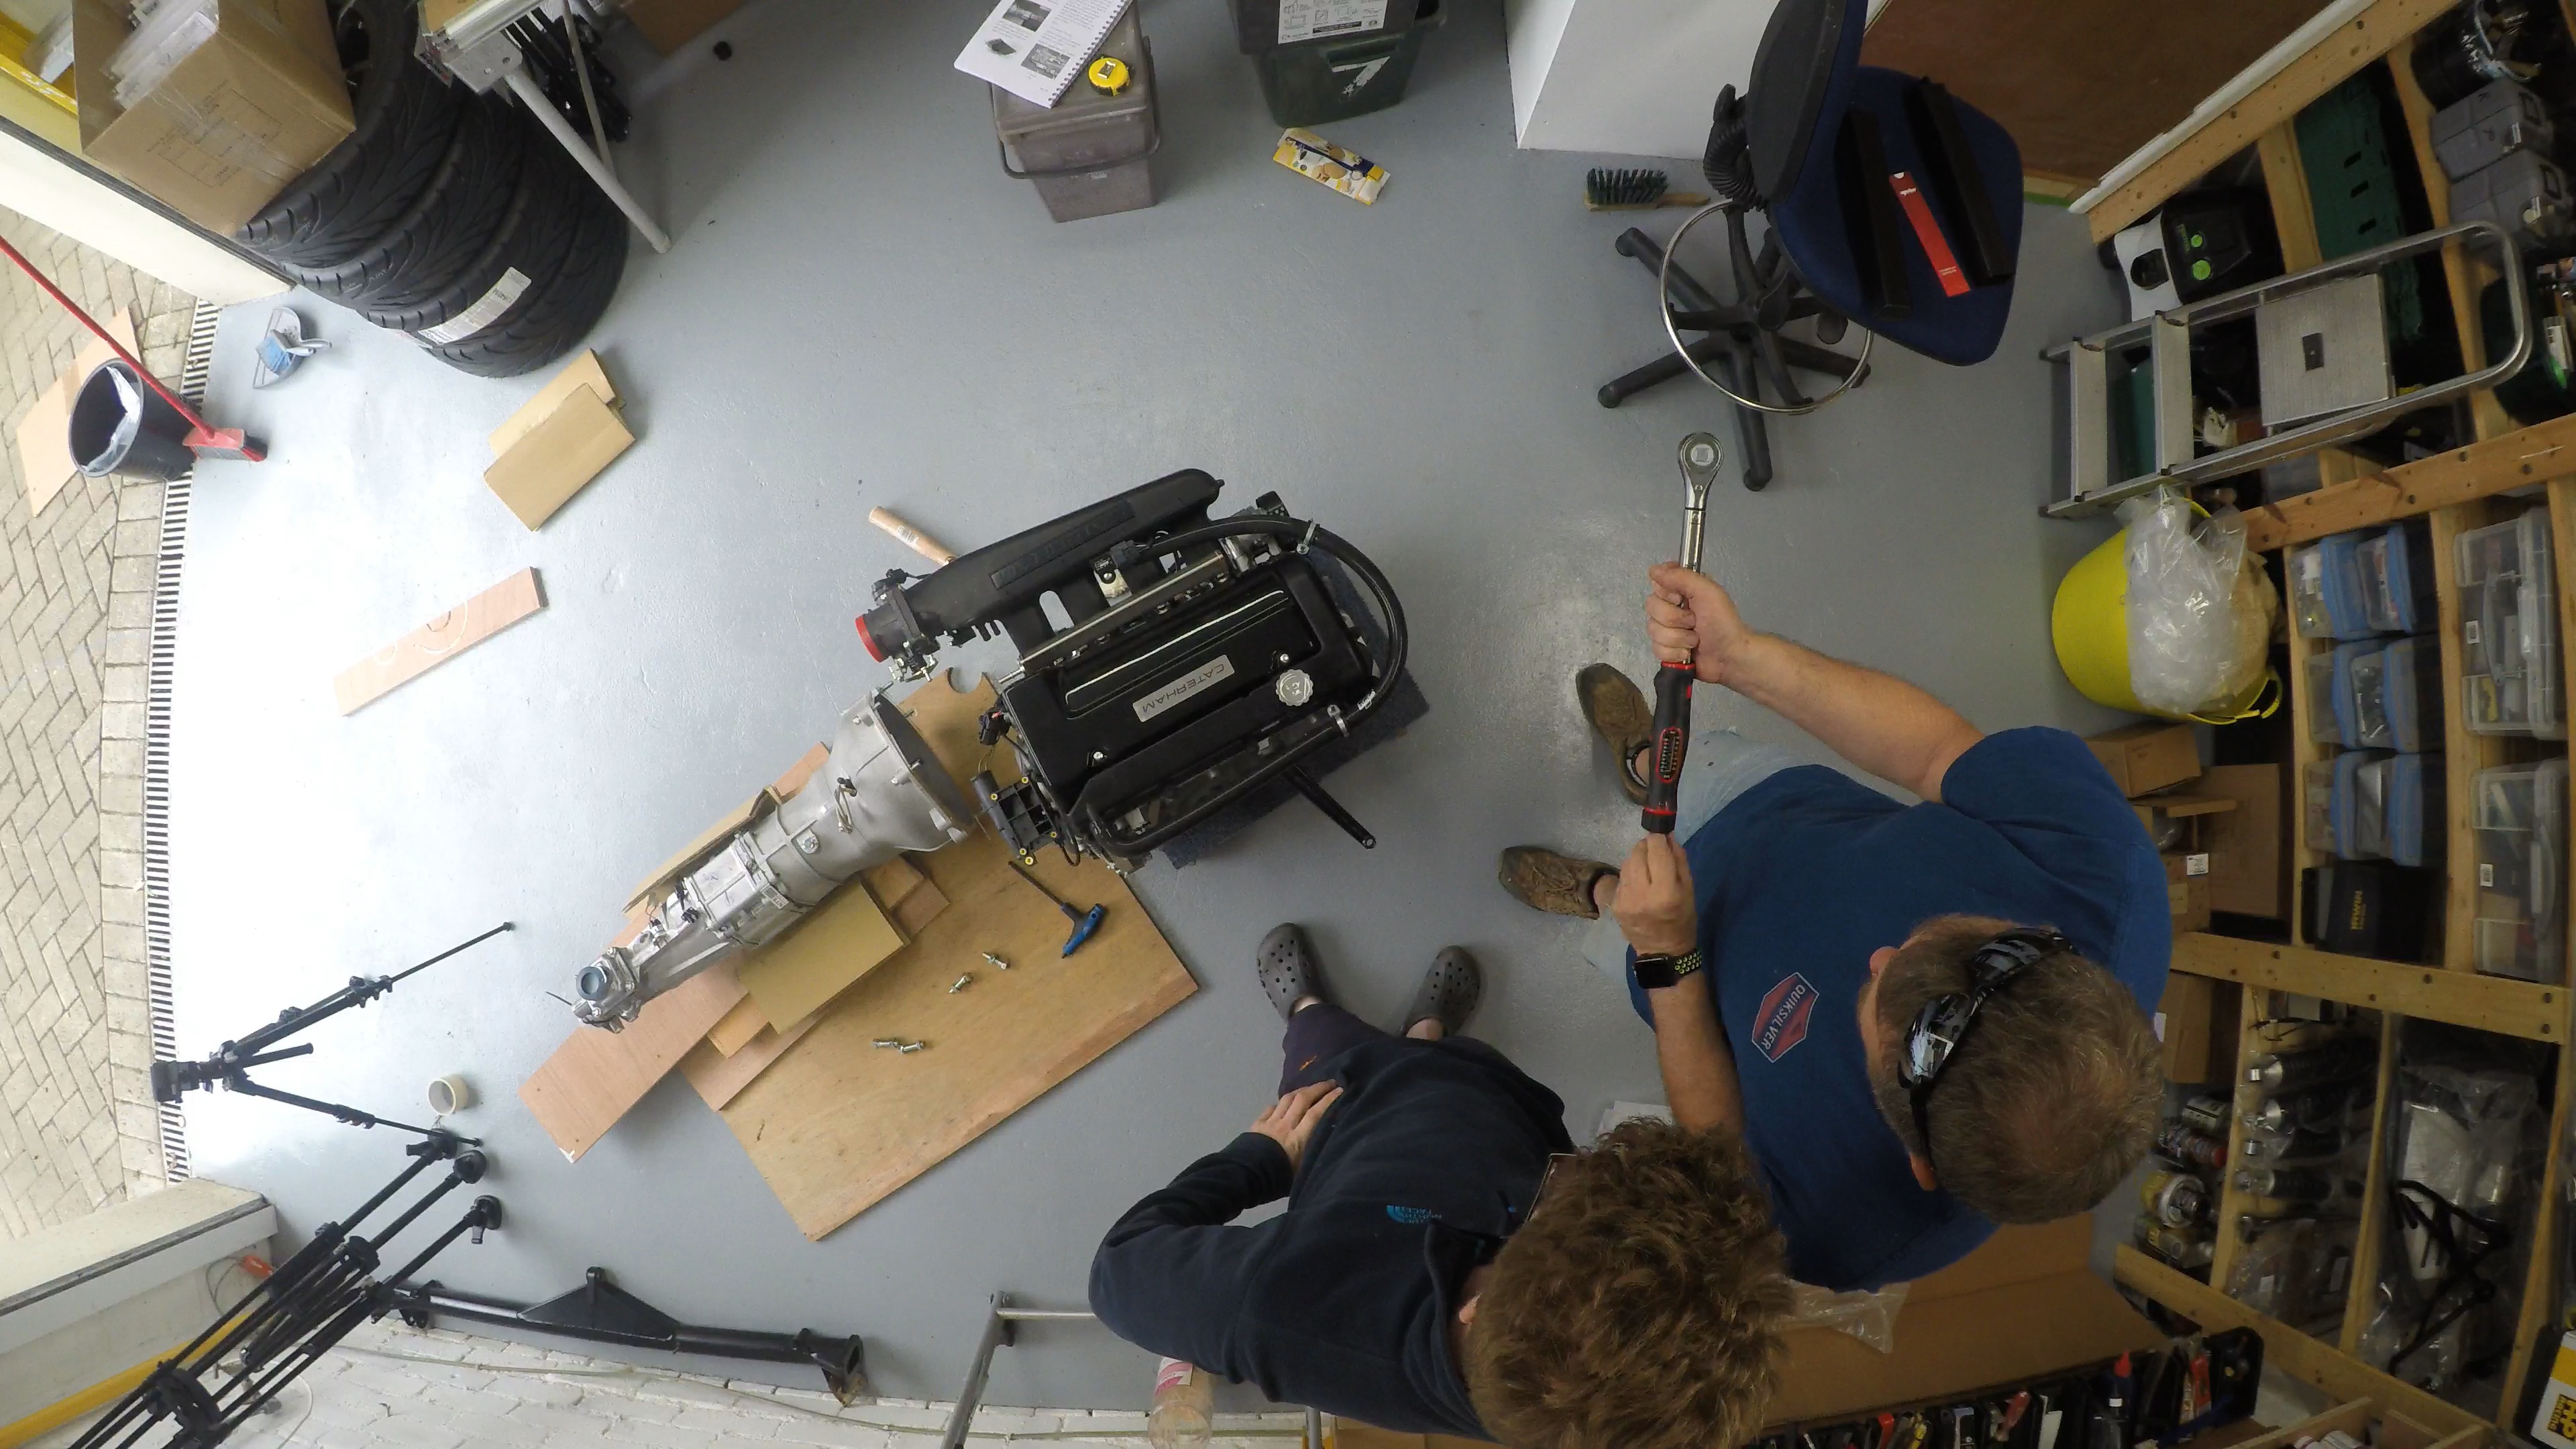
The gearbox and bell housing assembly were then slotted onto the engine with a little jiggling and using the tie-wrapped bolts to pull the two mating surfaces together gently. We “jiggled” the gearbox into place as it went home and it was obvious that the splines engaged from the gearbox input shaft to the clutch after a couple of jiggles and the tell tale “give” in the interface as the splines engaged. There was no need to rotate the engine or gearbox shafts, we must have been lucky that everything was “about right” as we pulled it all together.
It was around this time, with one or two bell housing to engine bolts engaged in their threaded holes, that we got our first visitor of the day. One of my work colleagues dropped round on his Vespa for a look at what was going on. And then after a cup of tea and a chat a further family of friends arrived to peruse the new arrival too. Steve, the father of the family is an avid flyer and had just got back from popping down to Devon for a coffee… which got me musing about future TopGear’esque challenges to come. Not sure we can find someone in a boat but I’m sure Steve and I can do the car vs plane challenge to somewhere for a coffee in the future.
While these visitors were downing their tea, I was a little bit of a nervous wreck. I had probably a couple of thousand pounds worth of engine and gearbox teetering on a home made trolley and a trolley jack. The assembly at this stage seemed to be stable but whenever I got the chance I would bend down and nervously give one of the untightened bolts a quick tweak to take it home just a little bit further. I was less worried about the engine coming off the trolley but very worried about the gearbox falling off the jack. The last thing I needed was someone in their caffeine heightened state brushing into the gearbox and taking the whole thing to the floor.
Once enough tea had been consumed and Lorenzo from work had left, Steve, the father in the visiting family, and I got the bellhousing and gearbox fully home on the engine and torqued up the bolts.
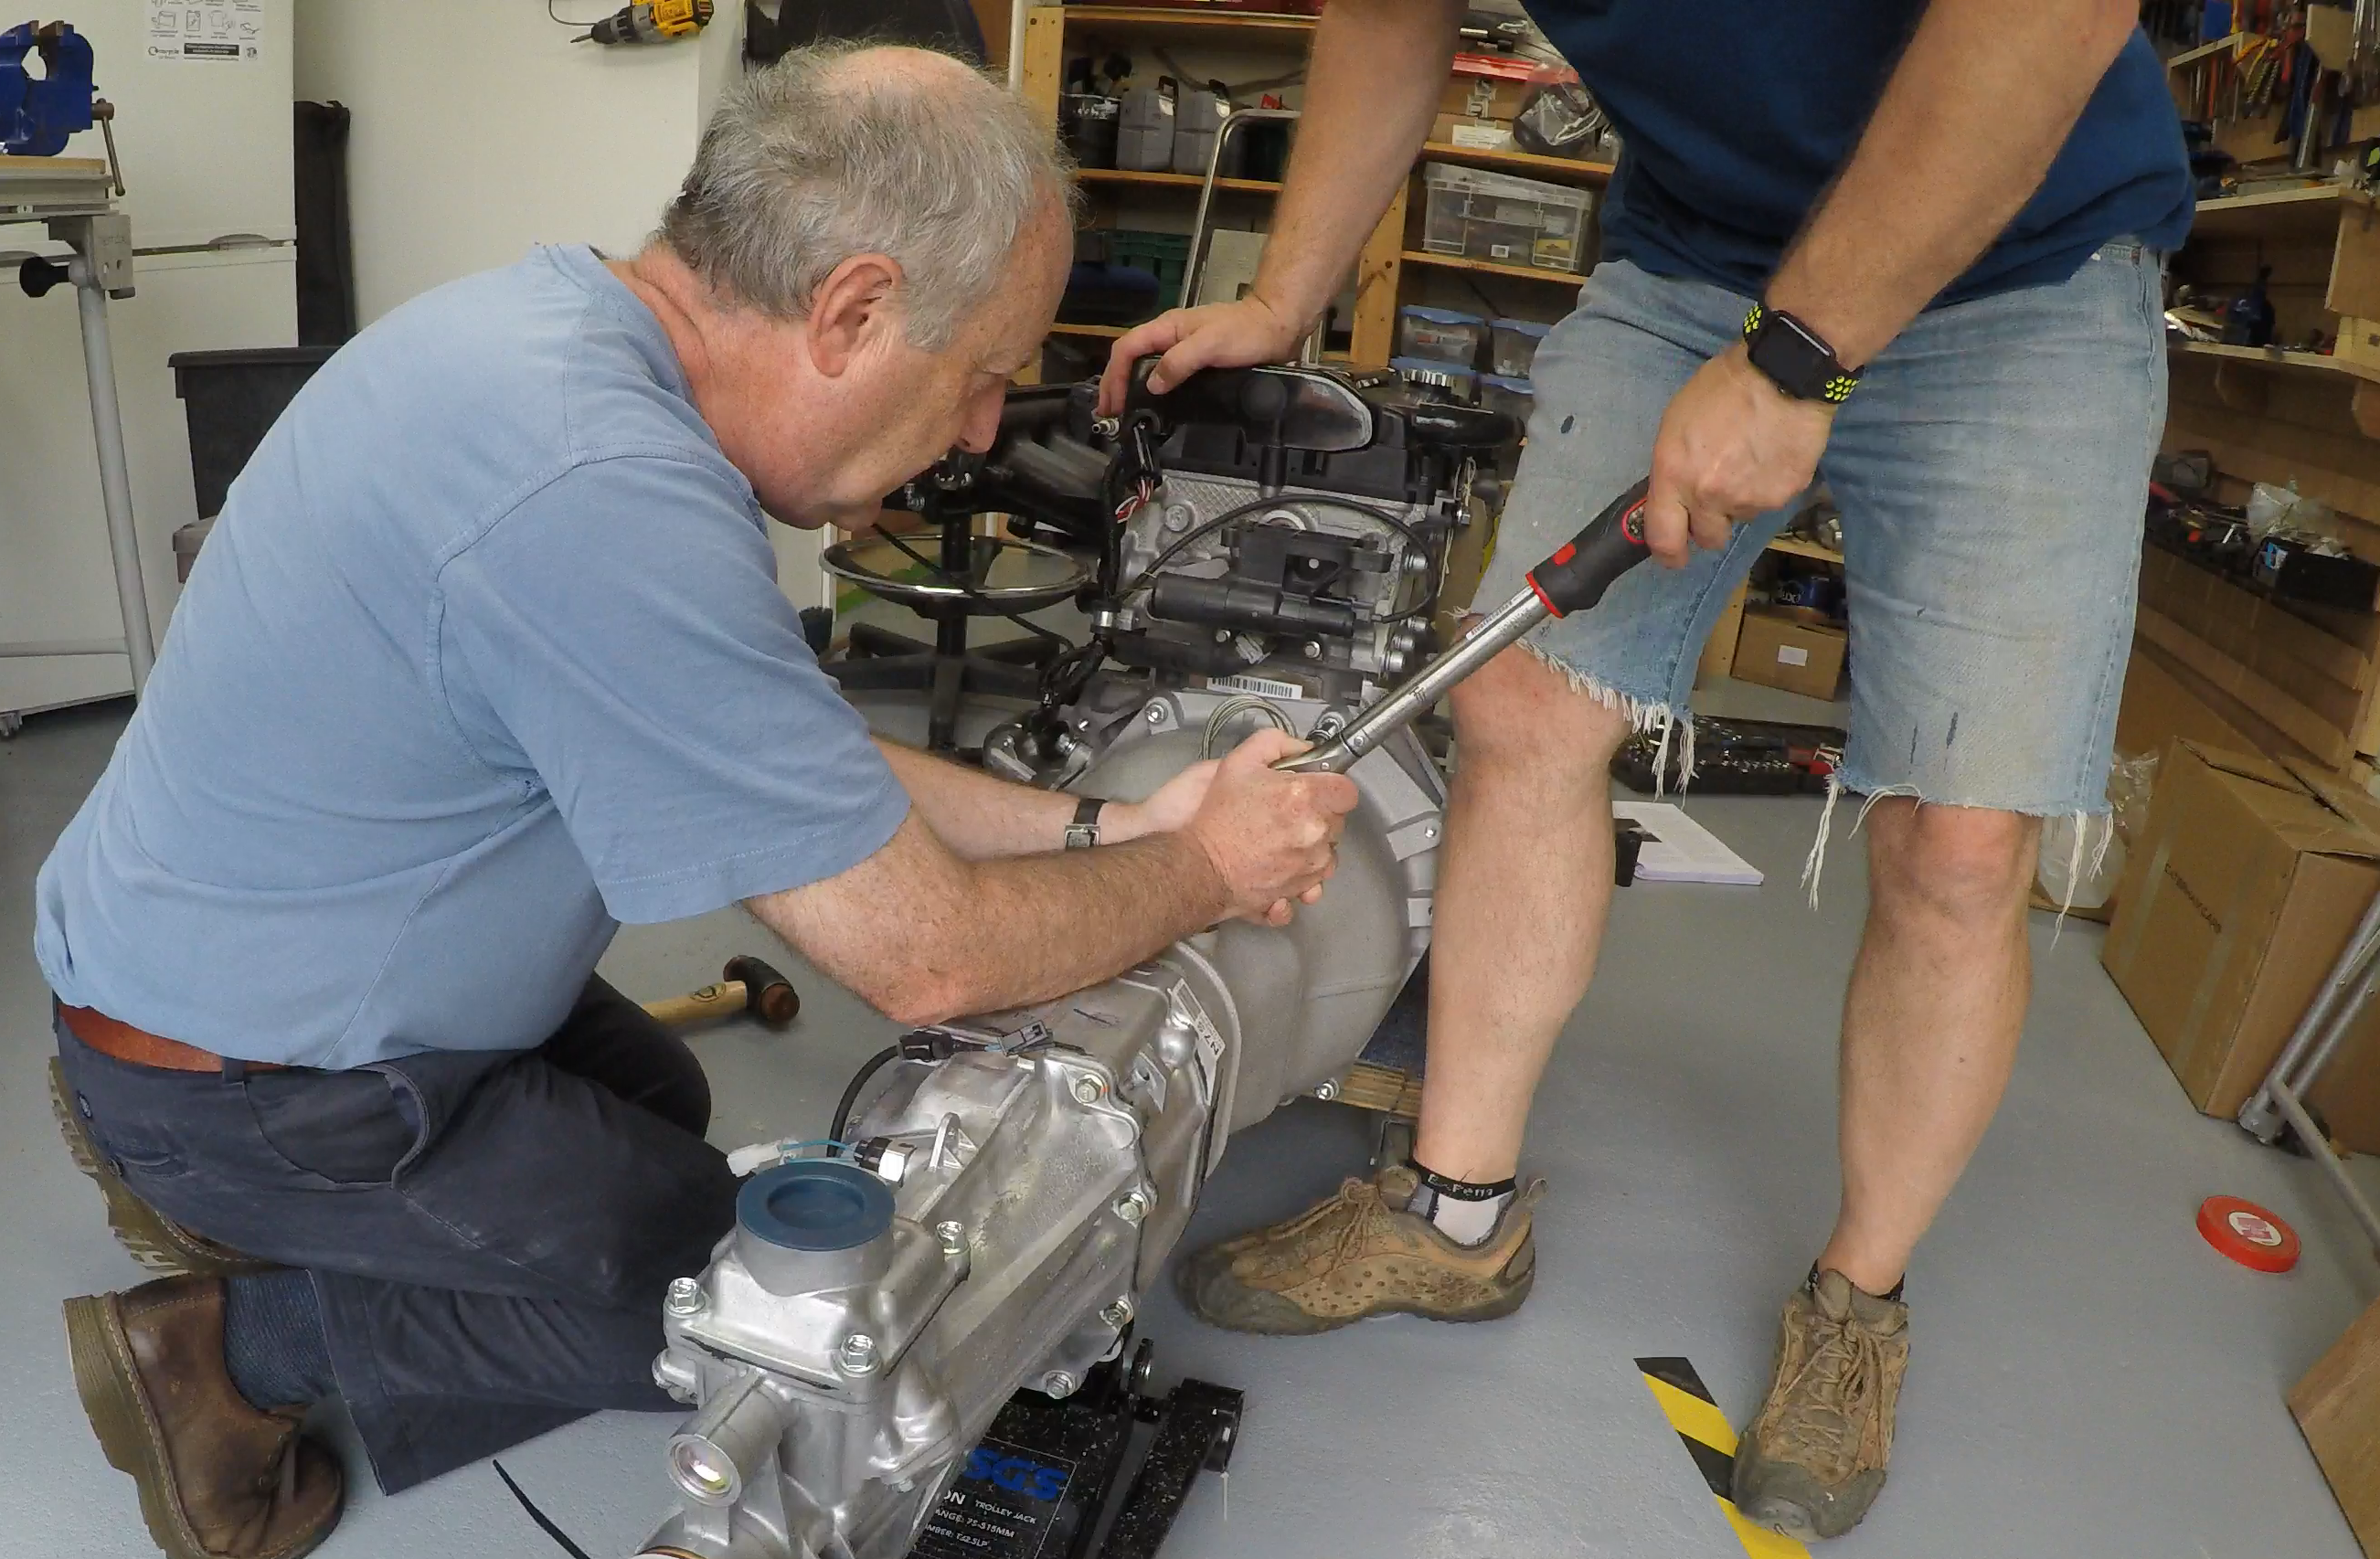
With the help of Joe and Steve’s son Tom, we shifted the weight of the whole assembly back on the trolley to stop it from tipping and the whole thing seemed pretty secure on its new ride.
When Steve and family had left I trolleyed the engine assembly to the side of the garage and gently snugged up the protruding gearbox with the trolley jack underneath, just to be sure nobody caught the assembly and pulled it all off the trolley whilst it sat their waiting for it’s big day.
That was the end of day 2 and the first weekend of building. Some progress, but nowhere near what I had hoped to achieve. I’m resigning myself to the prospect of this taking much longer than I’d hoped. Not so much in terms of person-hours but certainly in terms of elapsed time. Hopefully next weekend will be different, assuming Derek has good news on the missing parts.
[envira-gallery id=”430″]

Leave a Comment