
It’s a quick update on the garage work this week: painting, lighting, the floor and some idea of what space is available for the build.
Painting
This week we completed the painting of the walls and ceiling, see Update 1 for more info on that. In total I think this modest 16m2 garage with a mixture of brick, breeze block and ply-wood walls took something like 40-50 hours to paint. It wouldn’t have been worth it just for the 20-30 days (not elapsed time) that I think the Caterham is going to take to build, but we use the garage all the time and its much brighter with white walls, which justifies the time in my mind.
Lighting
Speaking of bright, I also changed out the ceiling lighting this week.
Since the extension of the house and rebuild of the garage we have had two 4ft fluorescent tubes lighting the garage. While this was ok it wasn’t stellar and not what I’d wanted when the lighting was put in.
So, this week I bought and installed two 5ft double and one 4ft double LED units from LEDHut.
For those interested: the lighting levels went from an average of 120 lux (average of three points with garage doors shut) to 580 lux (at the same locations).
Technical: Lux is a measure of the light falling on an object, you measure lux with a light meter.
In my industry of video communications we try to make sure a video conferencing room (think posh meeting room) is set with a lighting level of at least 600 lux. If an office is being used for video conferencing then anything above 300 lux can give acceptable lighting for modern web cams. However, for some high profile installations lighting levels might get as high as 1000 lux. The more light you have illuminating the subject of the video the less noise there is in the video – noise is speckling patterns in the video images. With really low lighting levels, below about 100lux, lower quality web-cams can start to reduce the frame rates of the video they produce. As light levels drop they can reduce their frame rates from a normal of 25 or 30fps (frames per second) to 15fps and below that in really low light. Mobile phone cameras with small sensors and small lenses are notorious for reducing their camera frame rates when they’re in a low light setting.
So… my 580 lux is definitely there or there abouts for lighting levels. The space is now markedly brighter, even if the occupants aren’t!
Floor
This weekend the weather took a turn for the better with clear blue skies on both days. Saturday had hardly any wind. So, we decided to get the garage floor painted. The low wind being a benefit because we needed to make sure no stray leaves or dust found its way onto the newly painted floor. We’d also need to keep a lot of the garage clutter outside over night while the epoxy dried so a dry clear weekend was a bonus at this time of year.
After clearing the space we swept, vacuumed, swept and then vacuumed the space again. Then we cut-in the edges of the garage and rollered the main area. In all that took all of Saturday for the clearout and painting. We used a Rust-o-leum garage floor kit that we’d bought when the garage was rebuilt. The instructions said it would cover 25m2 of floor but in the end the kit was all done with our 16m2. Our concrete floor was nowhere near as smooth as I first thought and the shortfall in coverage was probably something to do with the roughness and porosity of the concrete.
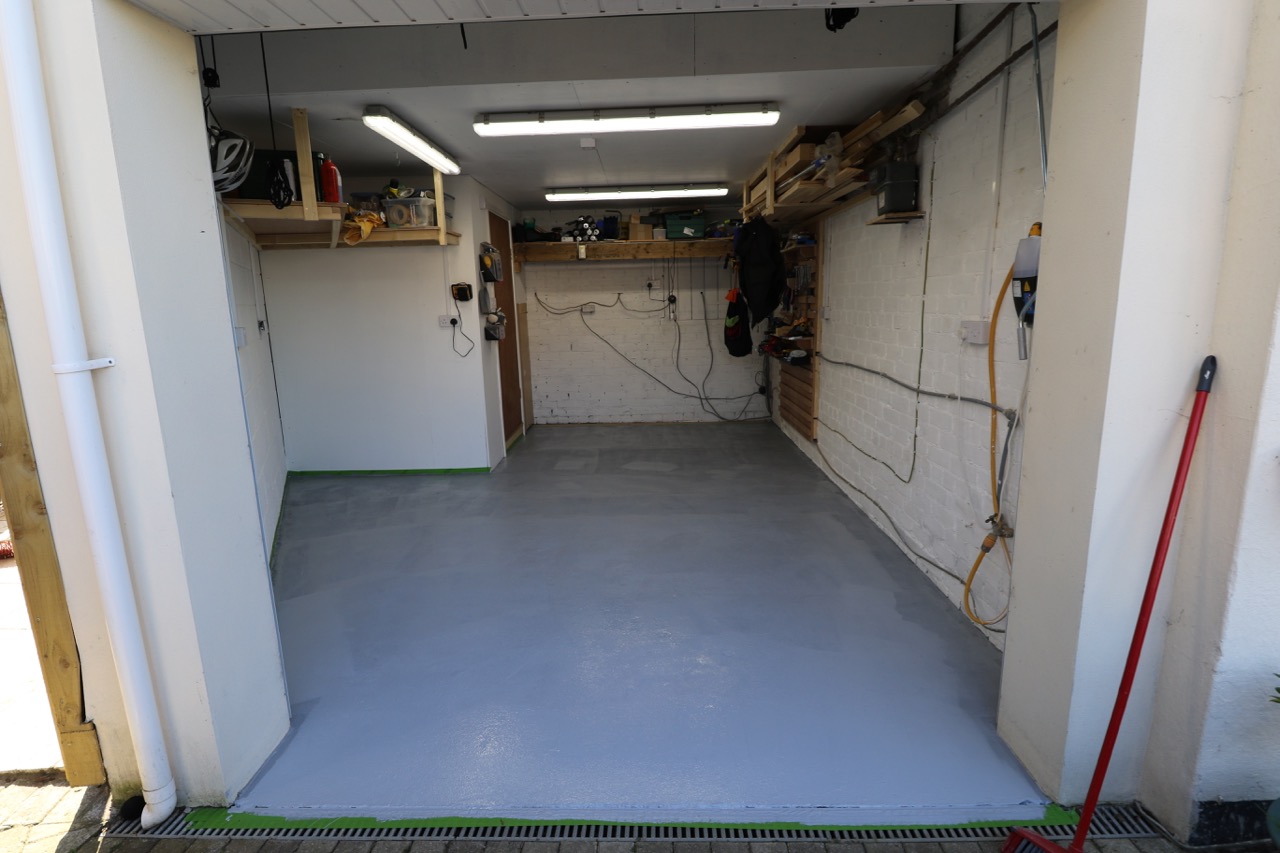
All finished… I’m not happy with the outcome. It’s patchy and hasn’t covered some of the rougher areas well. Therefore, another kit is on order from Rawlings. I’ve also filled some of the bigger cracks and gouges in the surface which didn’t take the first coat so well. Hopefully that means that the second coat hasn’t got so much work to do and I can make a thicker and more even covering.
This is what the garage looks like now.
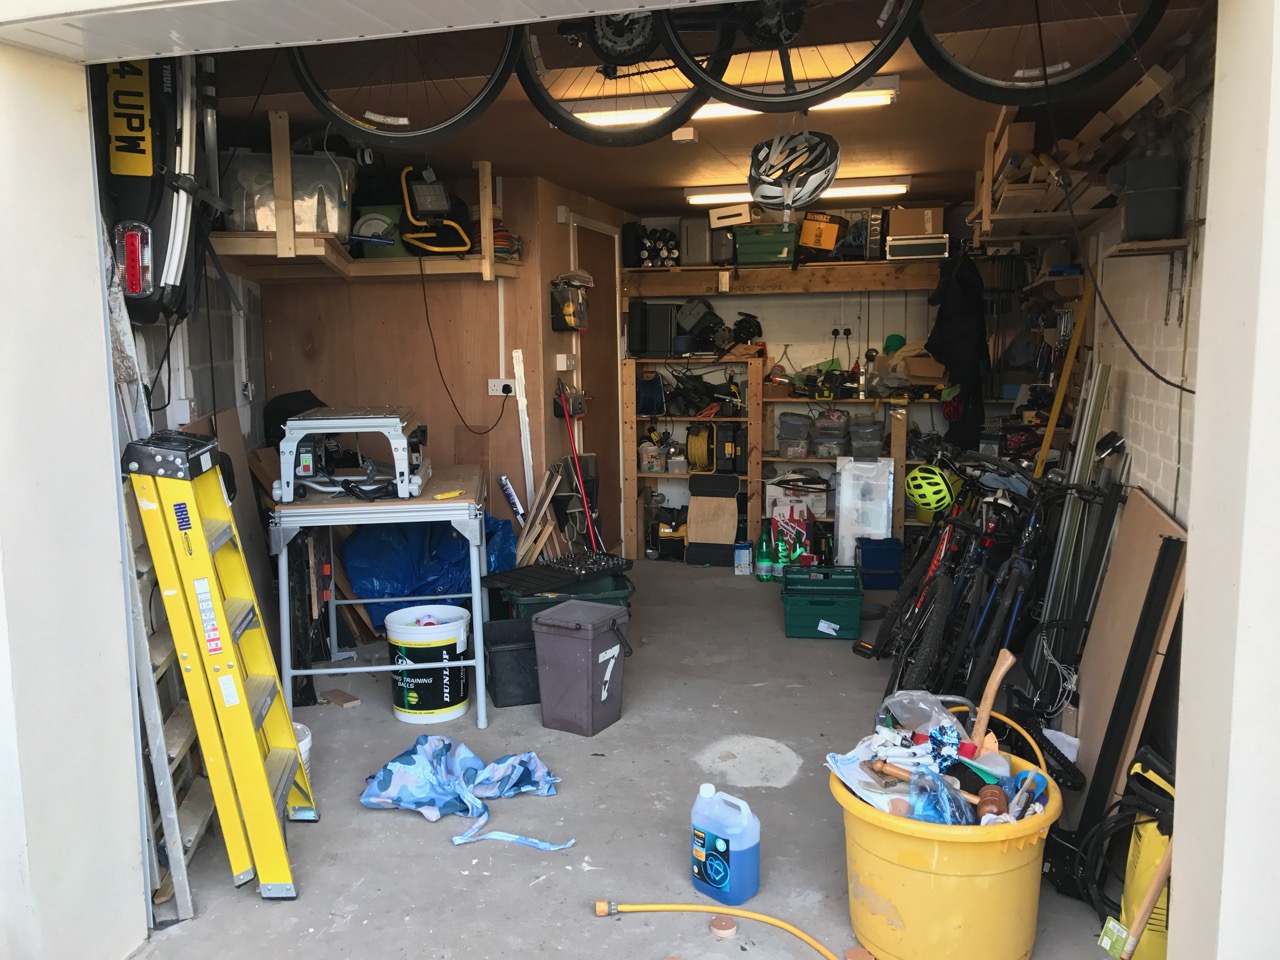
And this is what it was like before.
How Big is an SV in this Garage?
For those of you unfamiliar with Caterhams, they essentially come in two sizes. The one I’m going for is the wider and longer SV, which is around 3300mm x 1680mm. What does that look like in the garage? Well I marked out the size of the car with masking tape on the garage floor and here it is below. It’s going to be a tight build.

Next Week
Next week I’m hoping to get back to Williams to fully spec out the car with Lindon and with the garage mostly finished I’m turning my attention back to project plans and 3D models again. More on all of that next week.

Leave a Comment