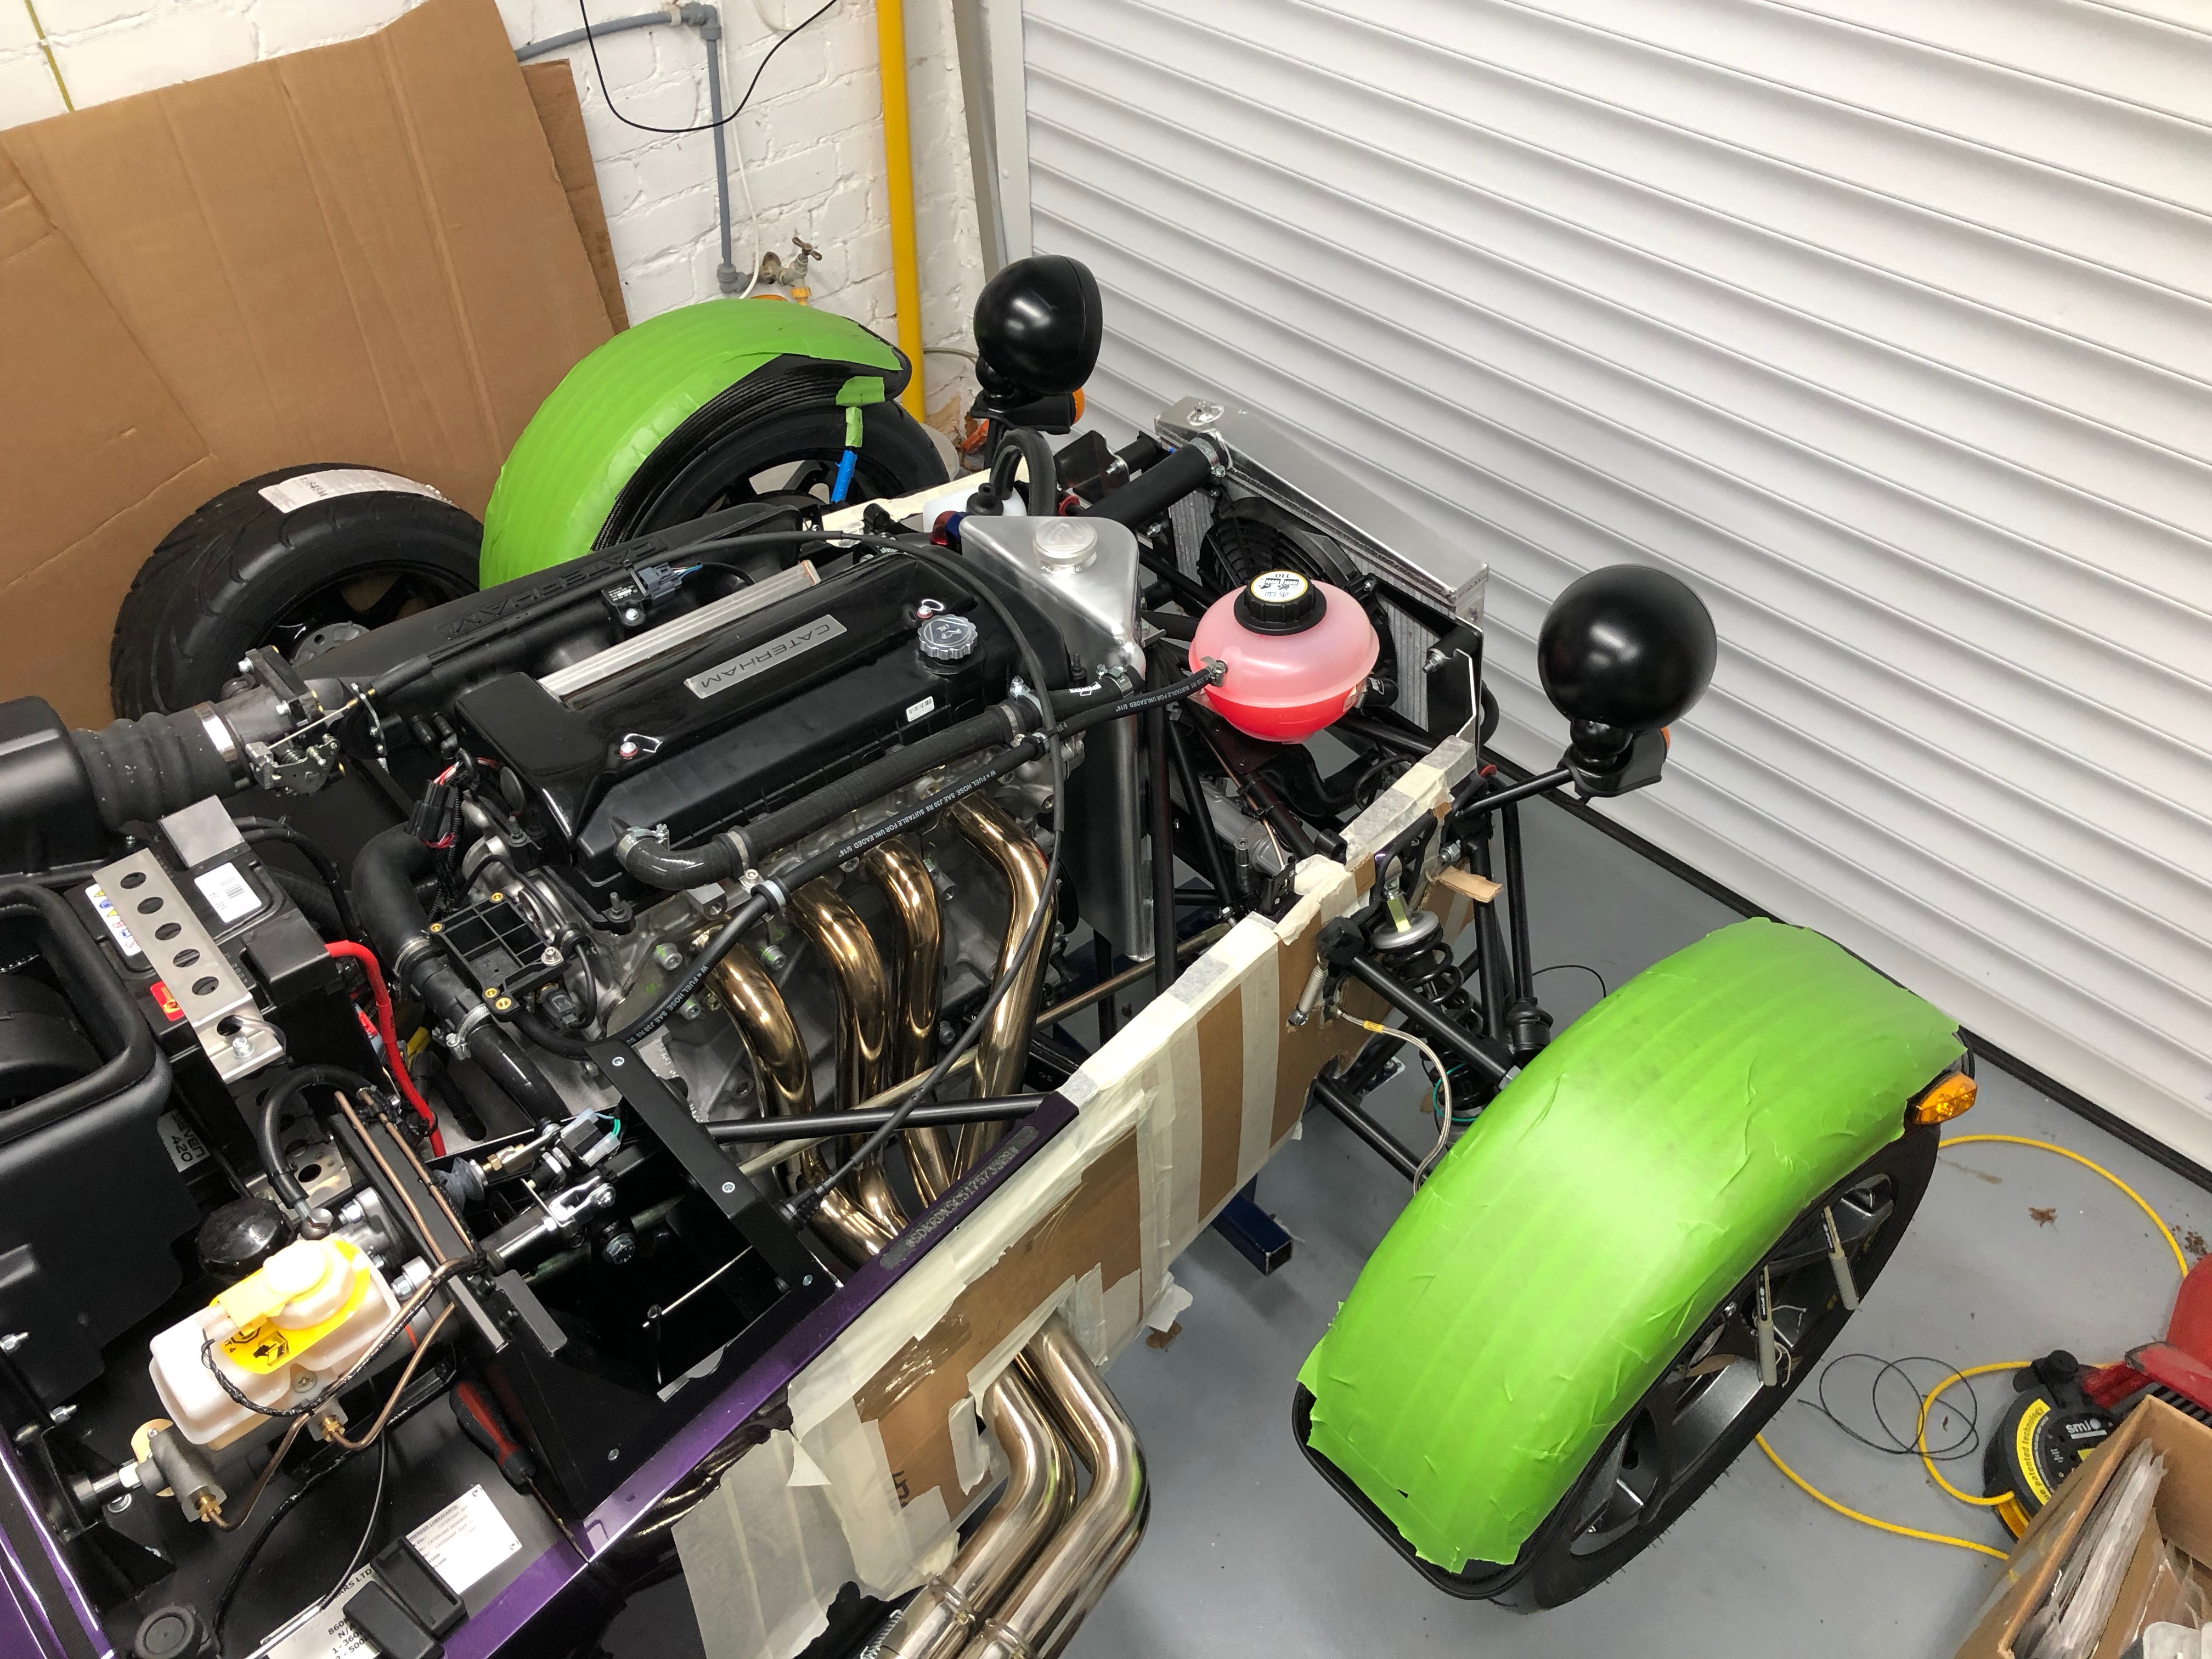
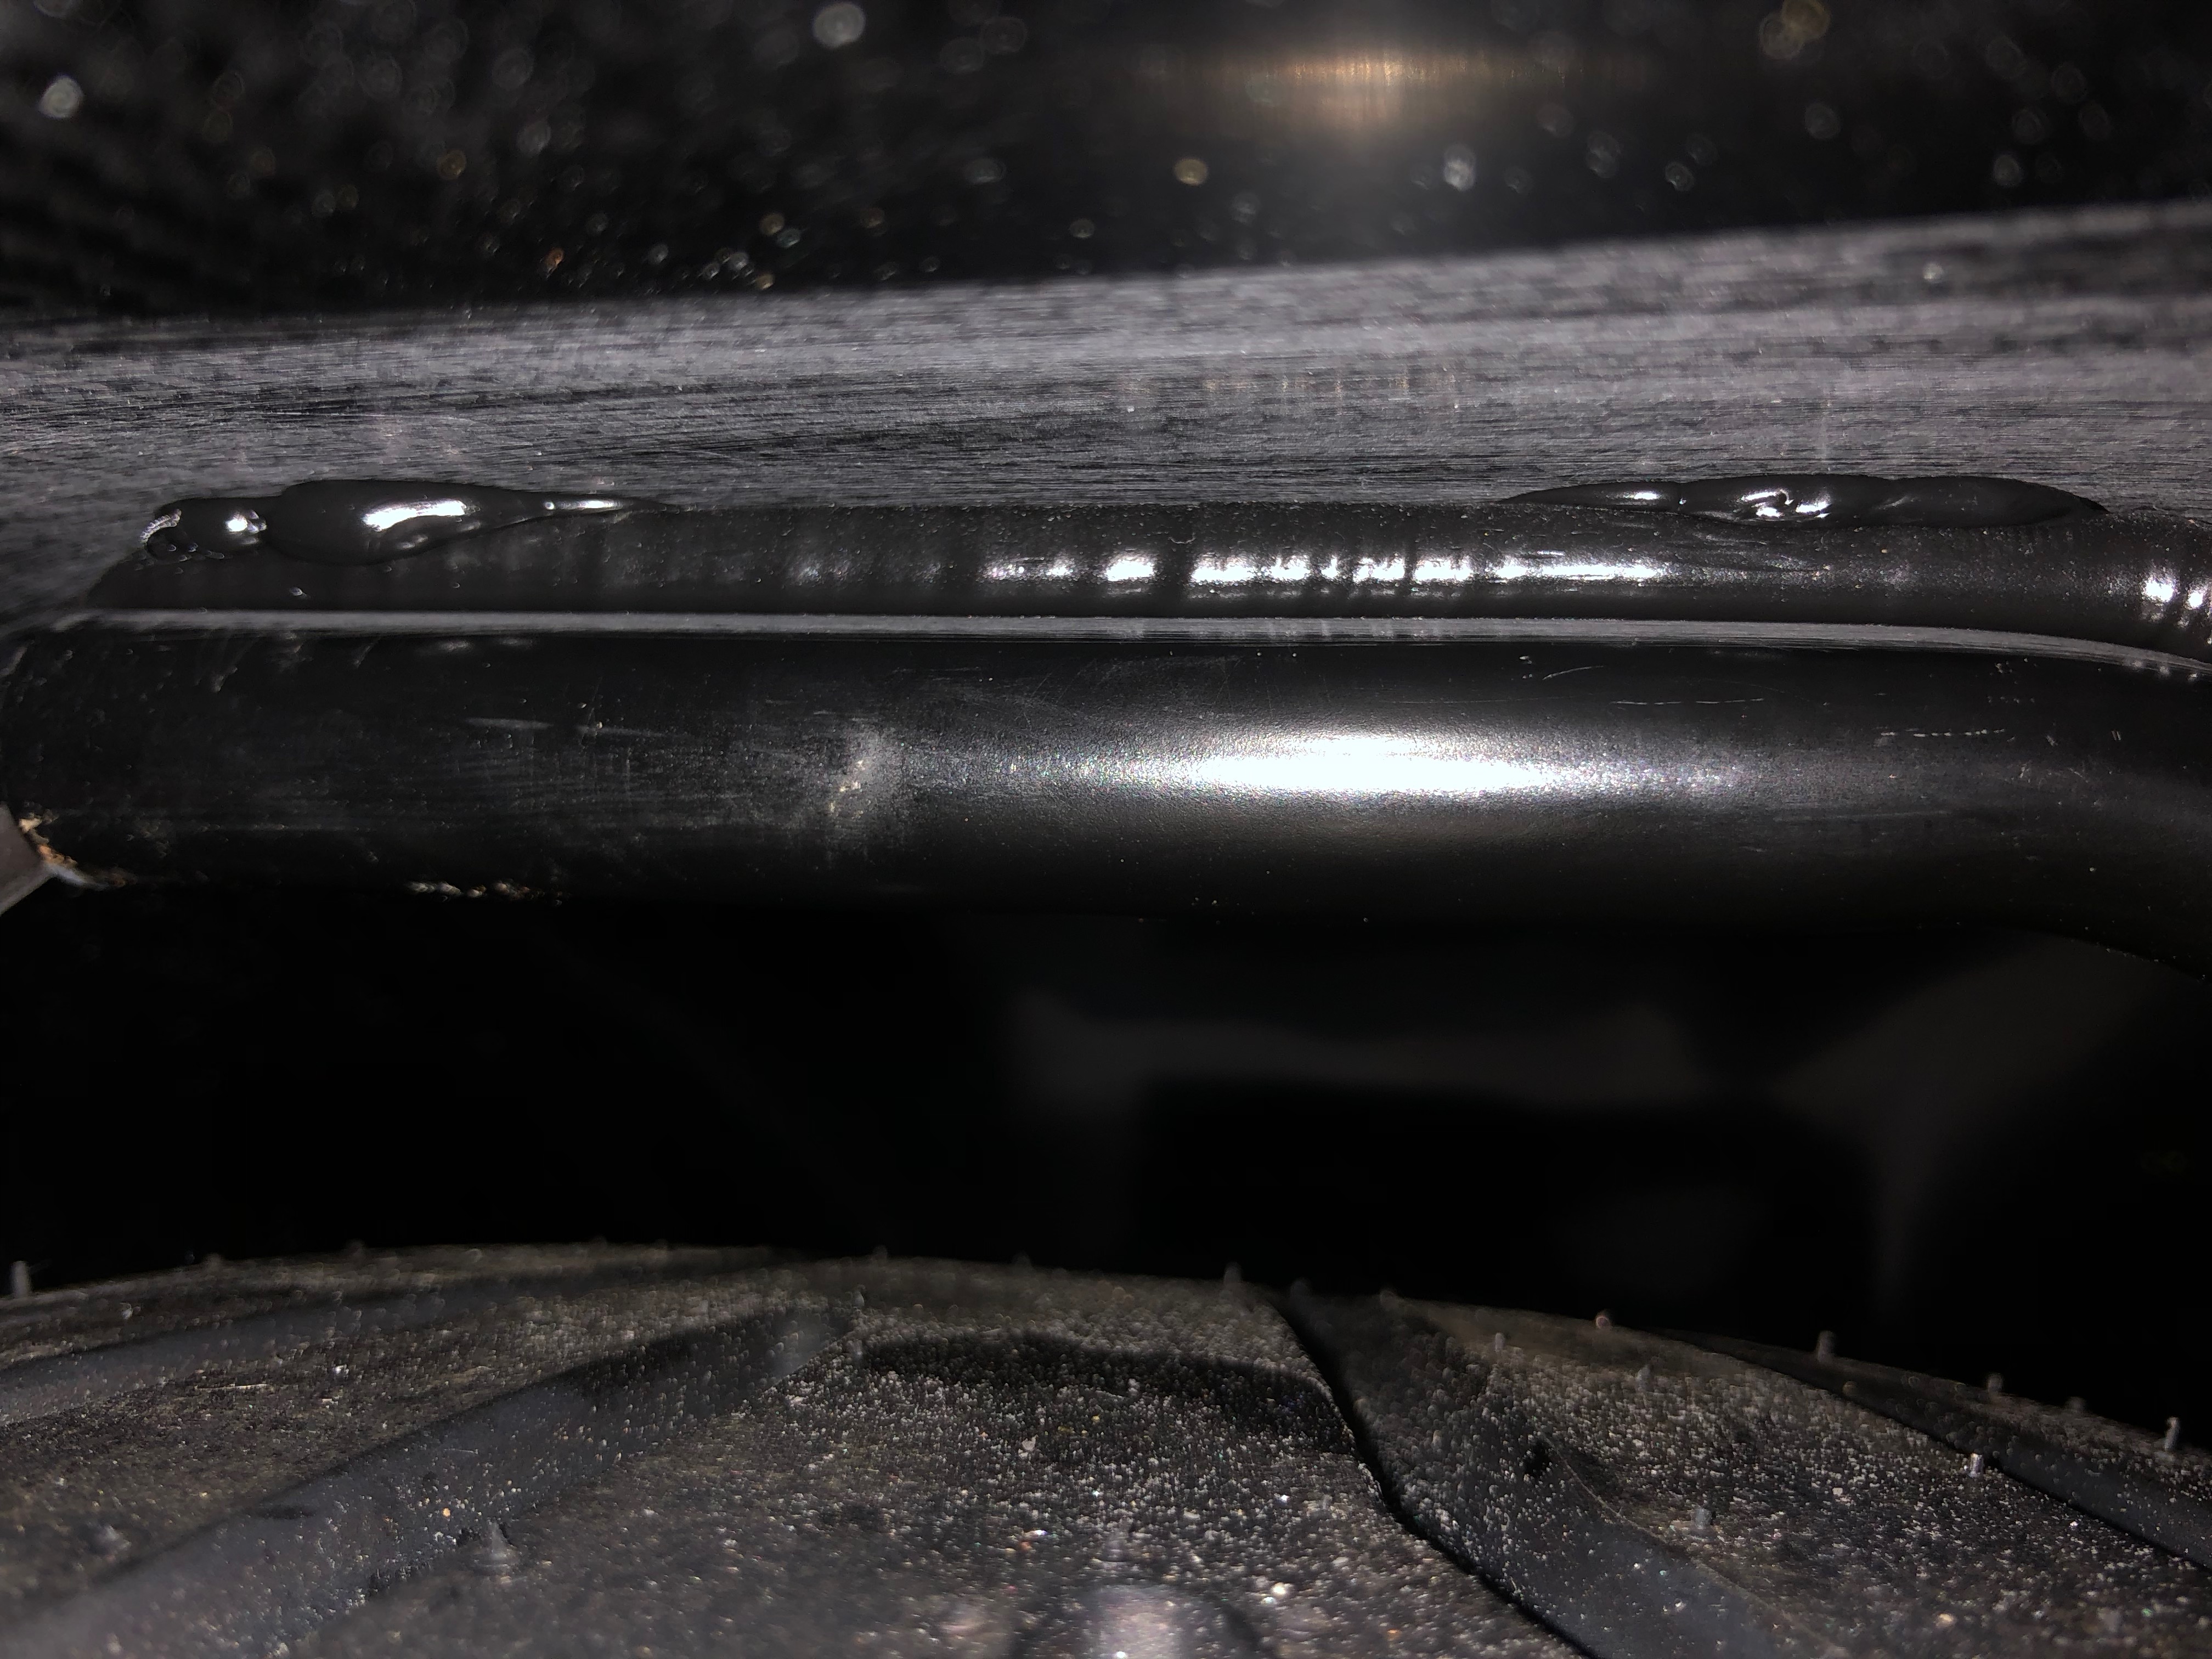
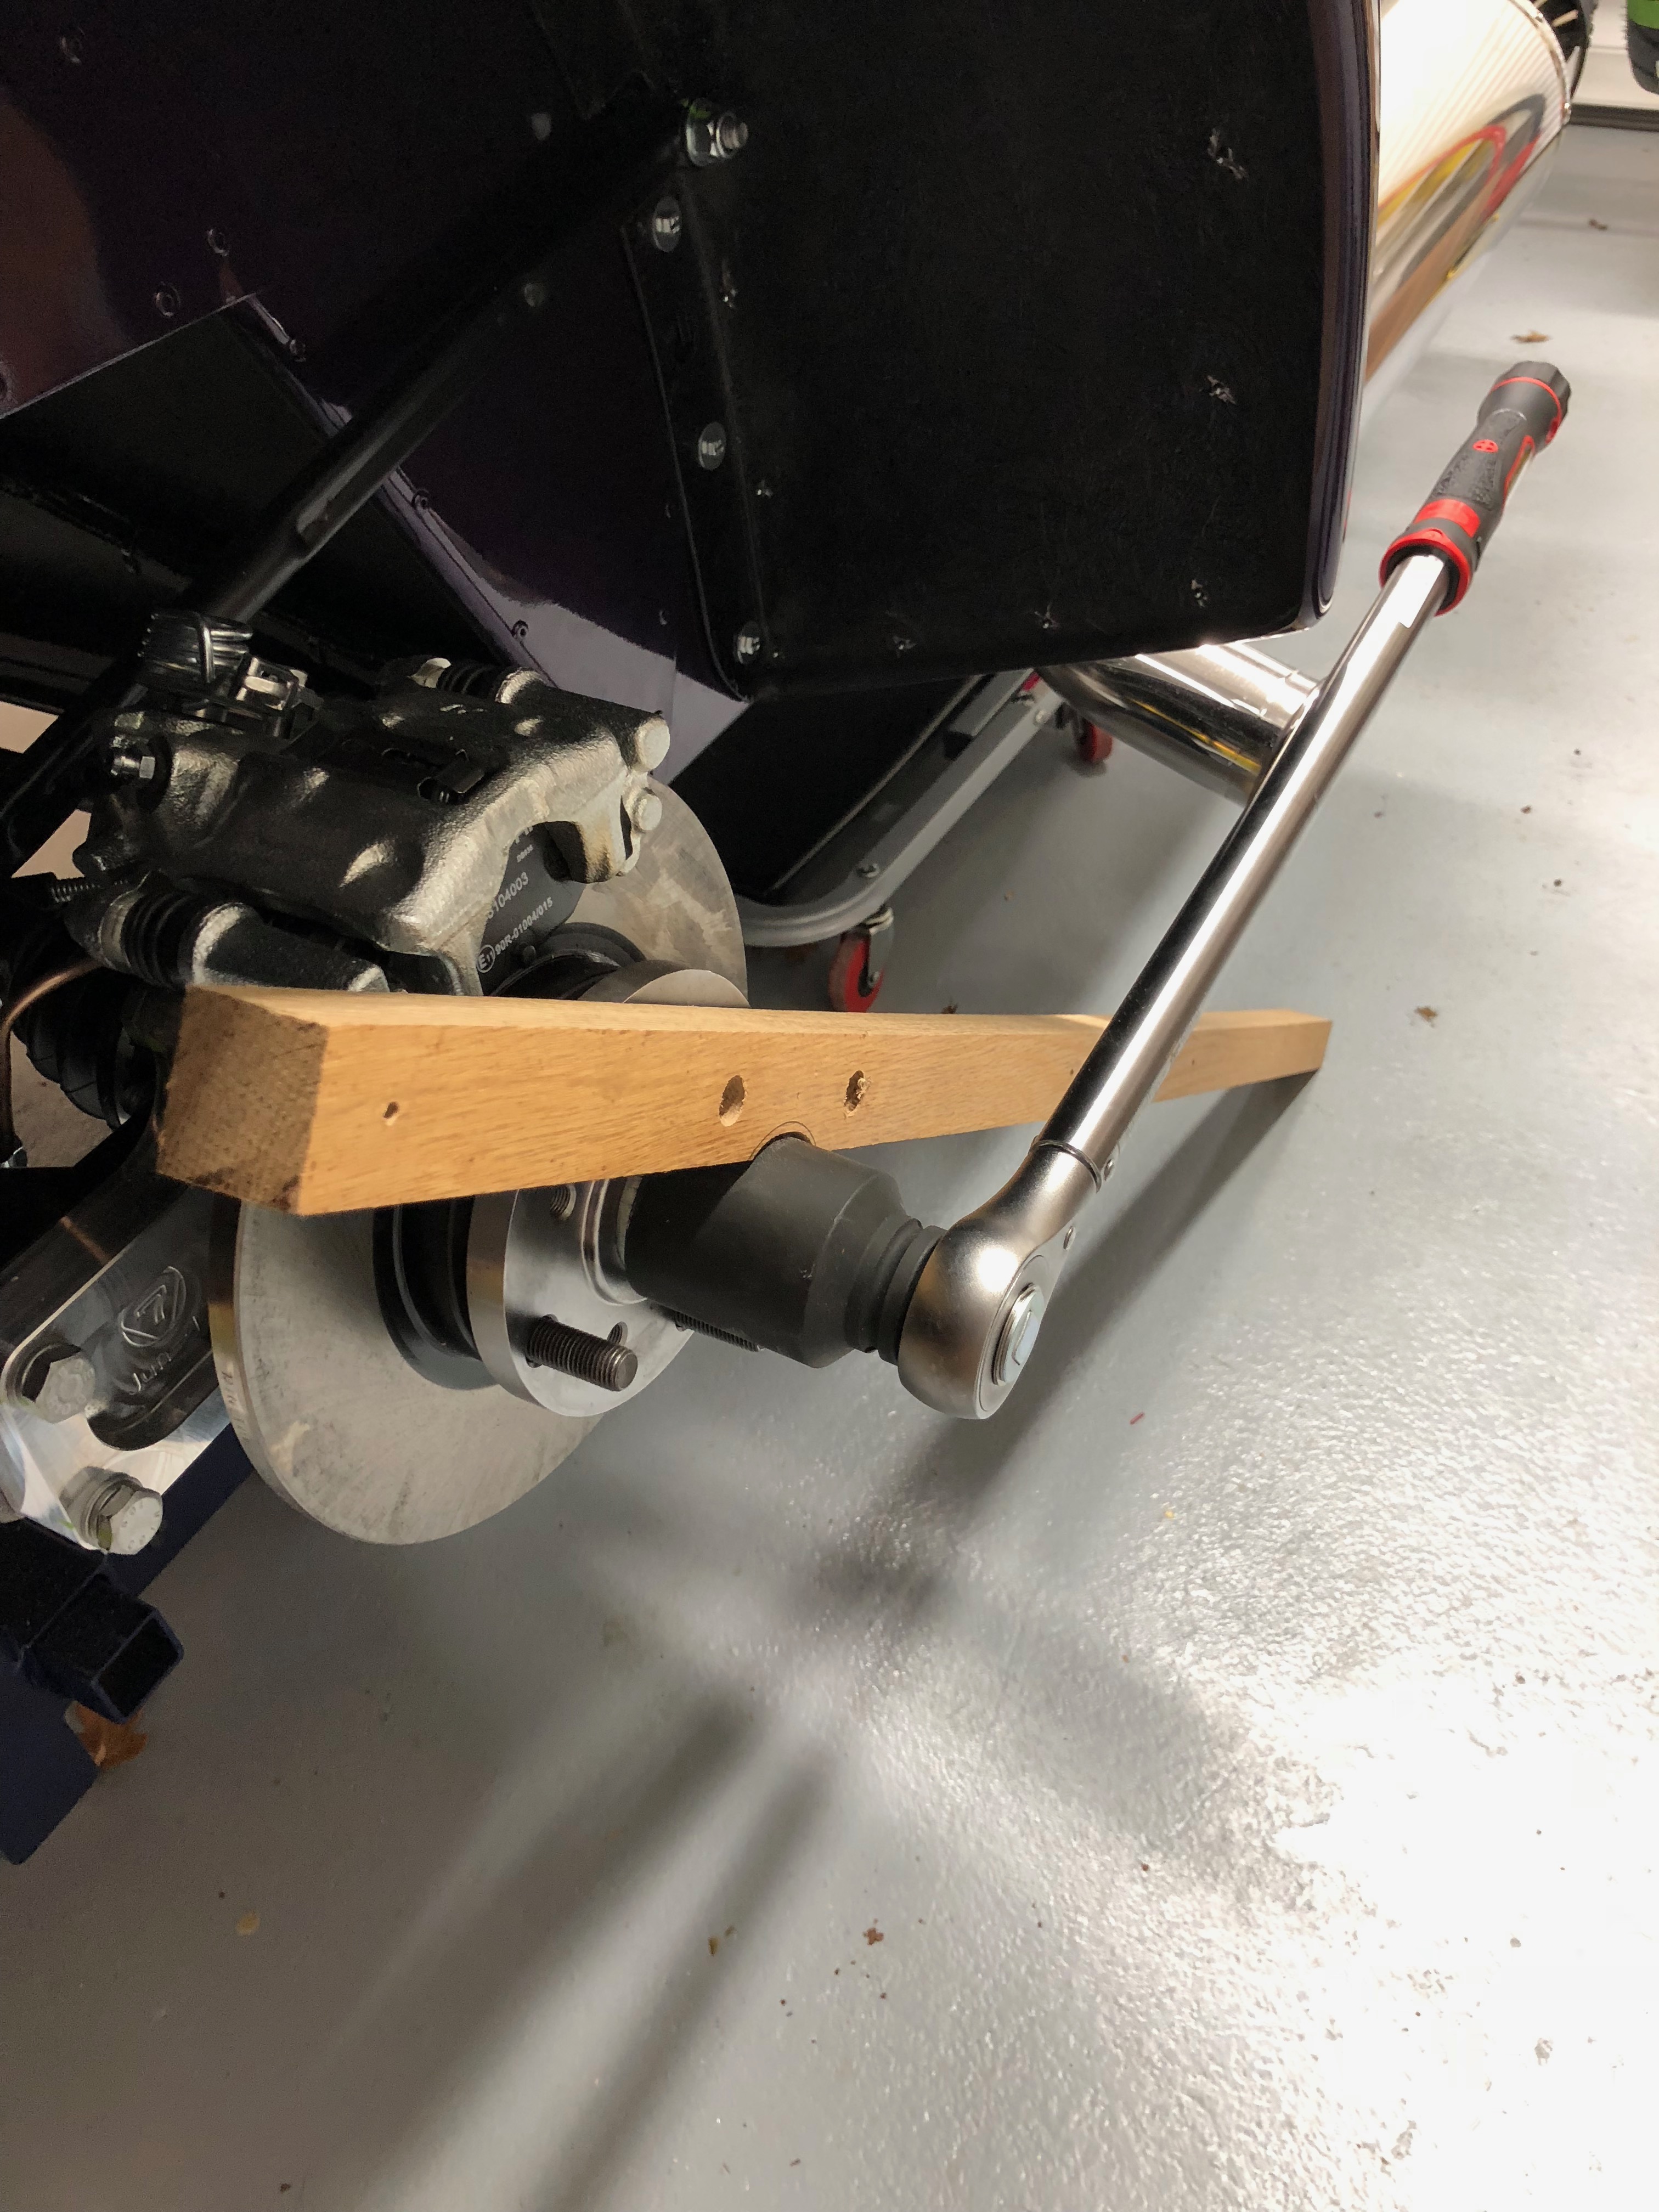
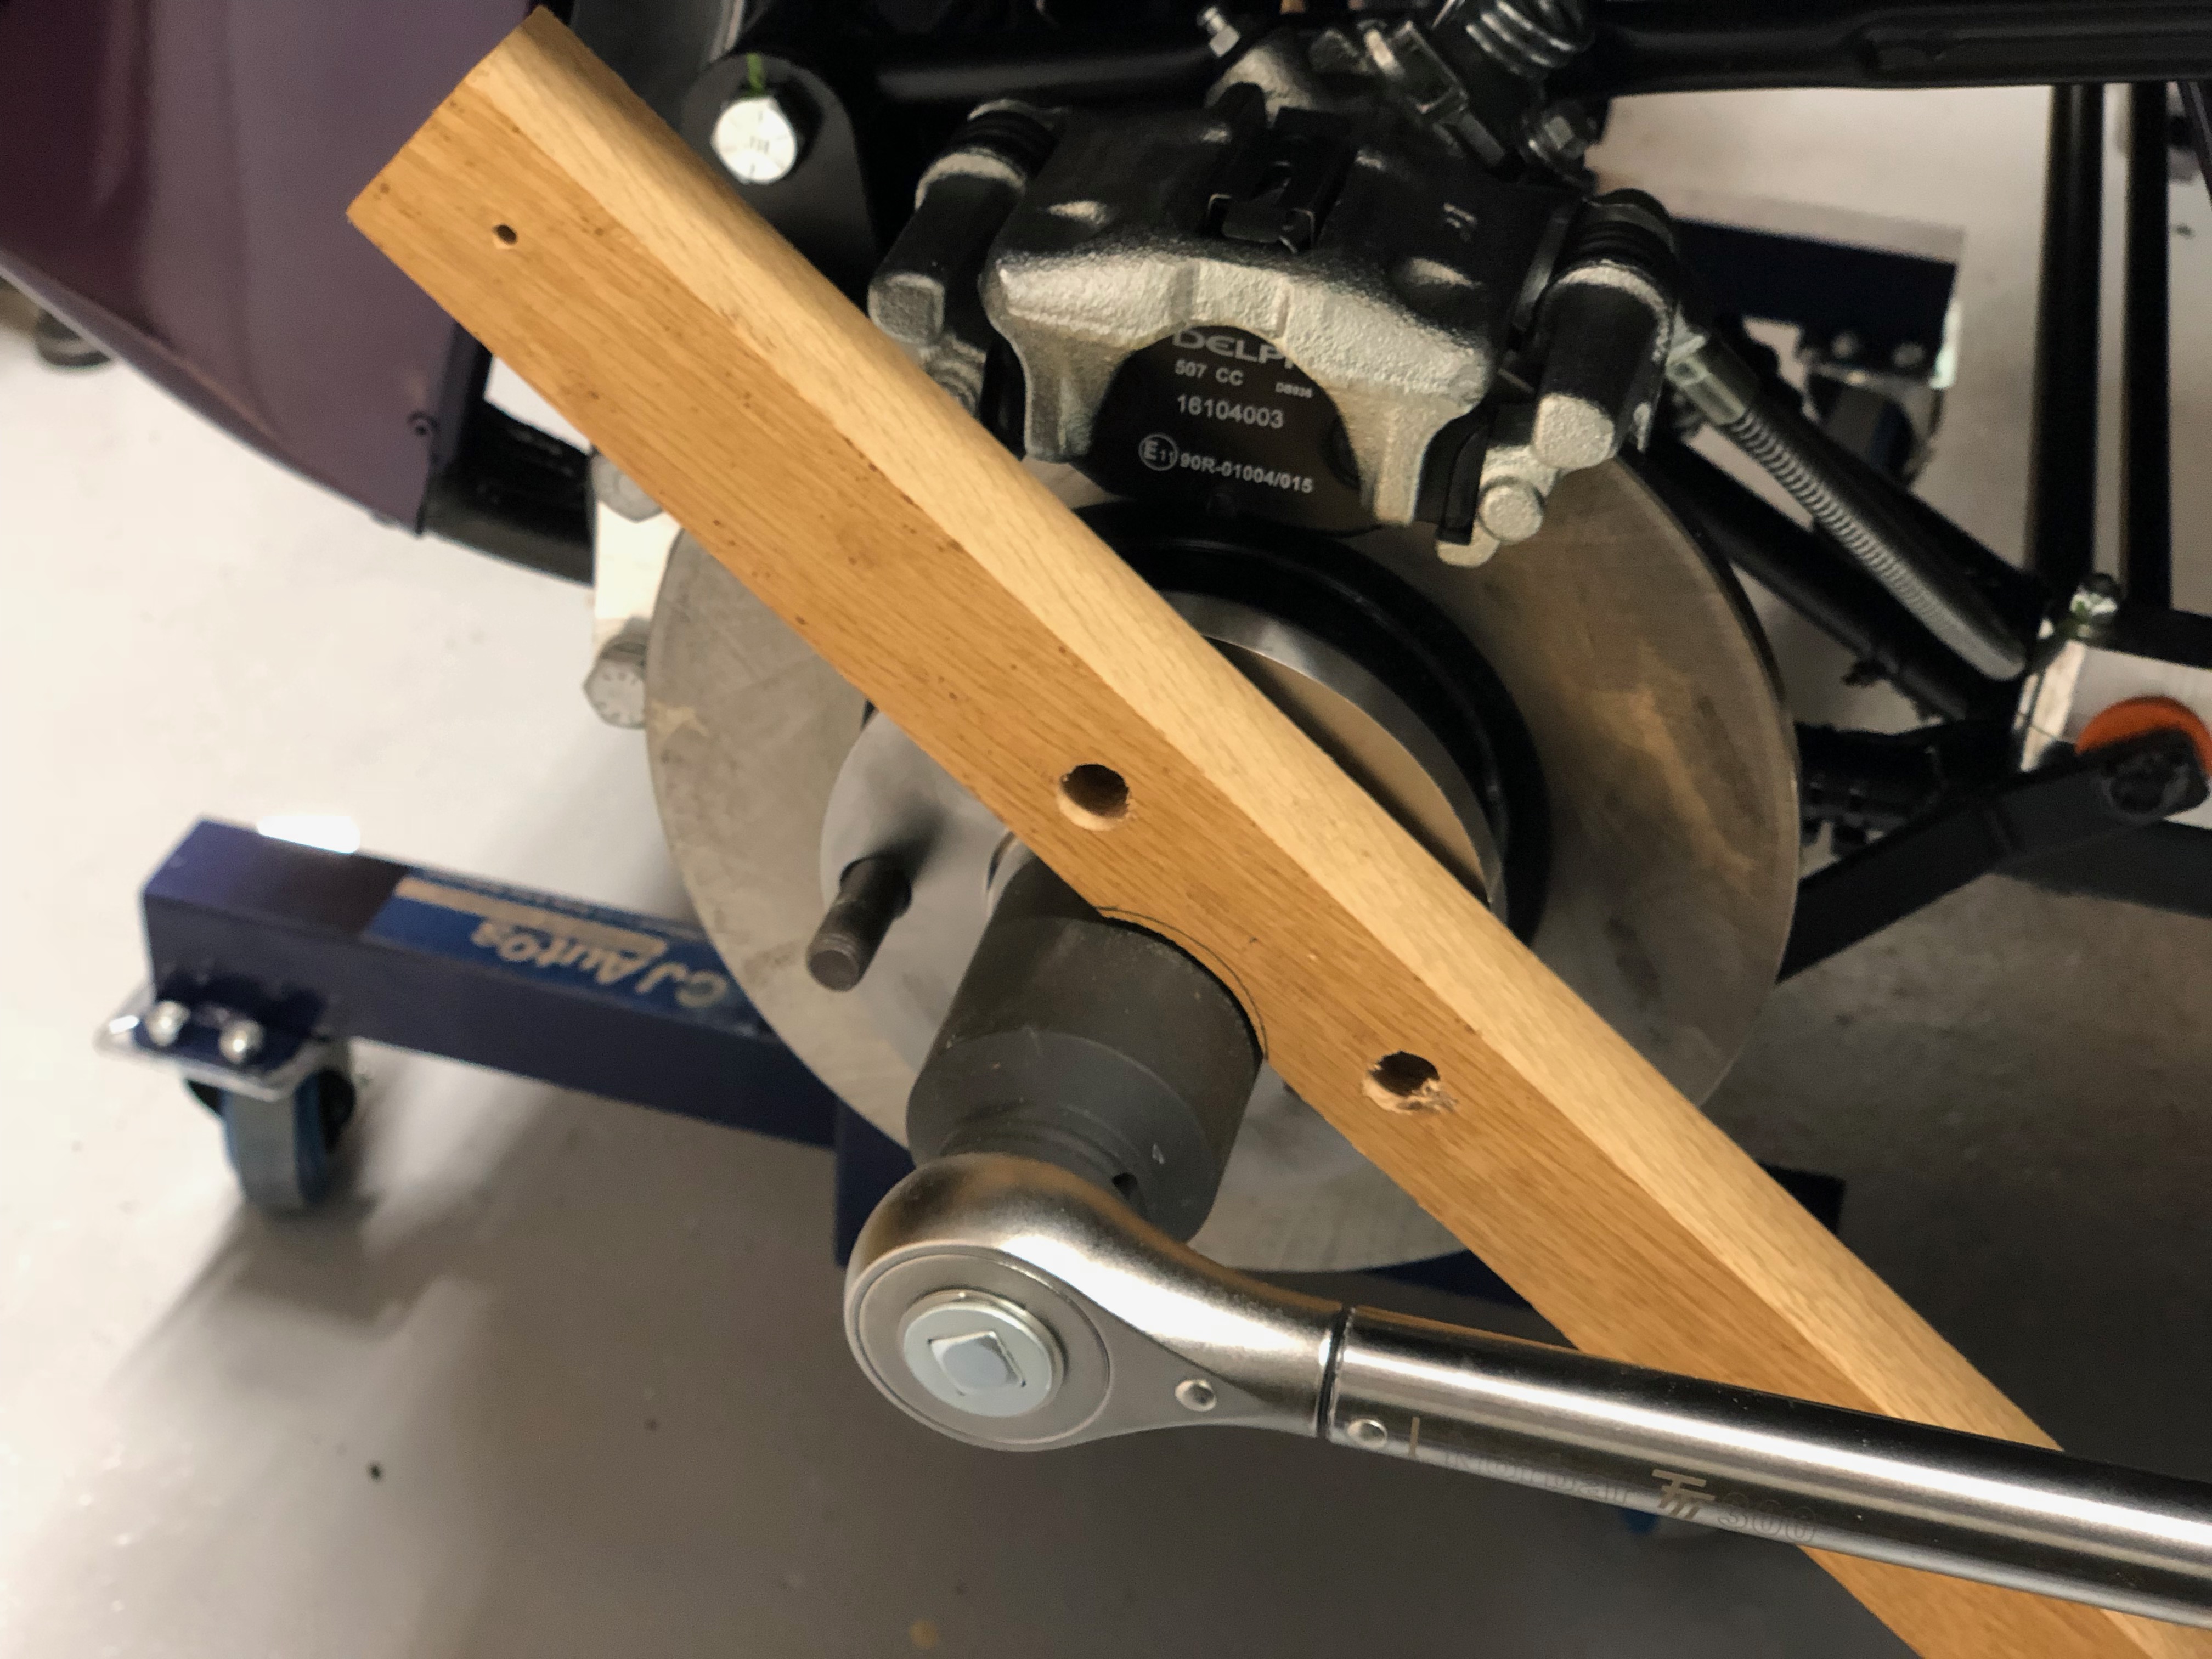
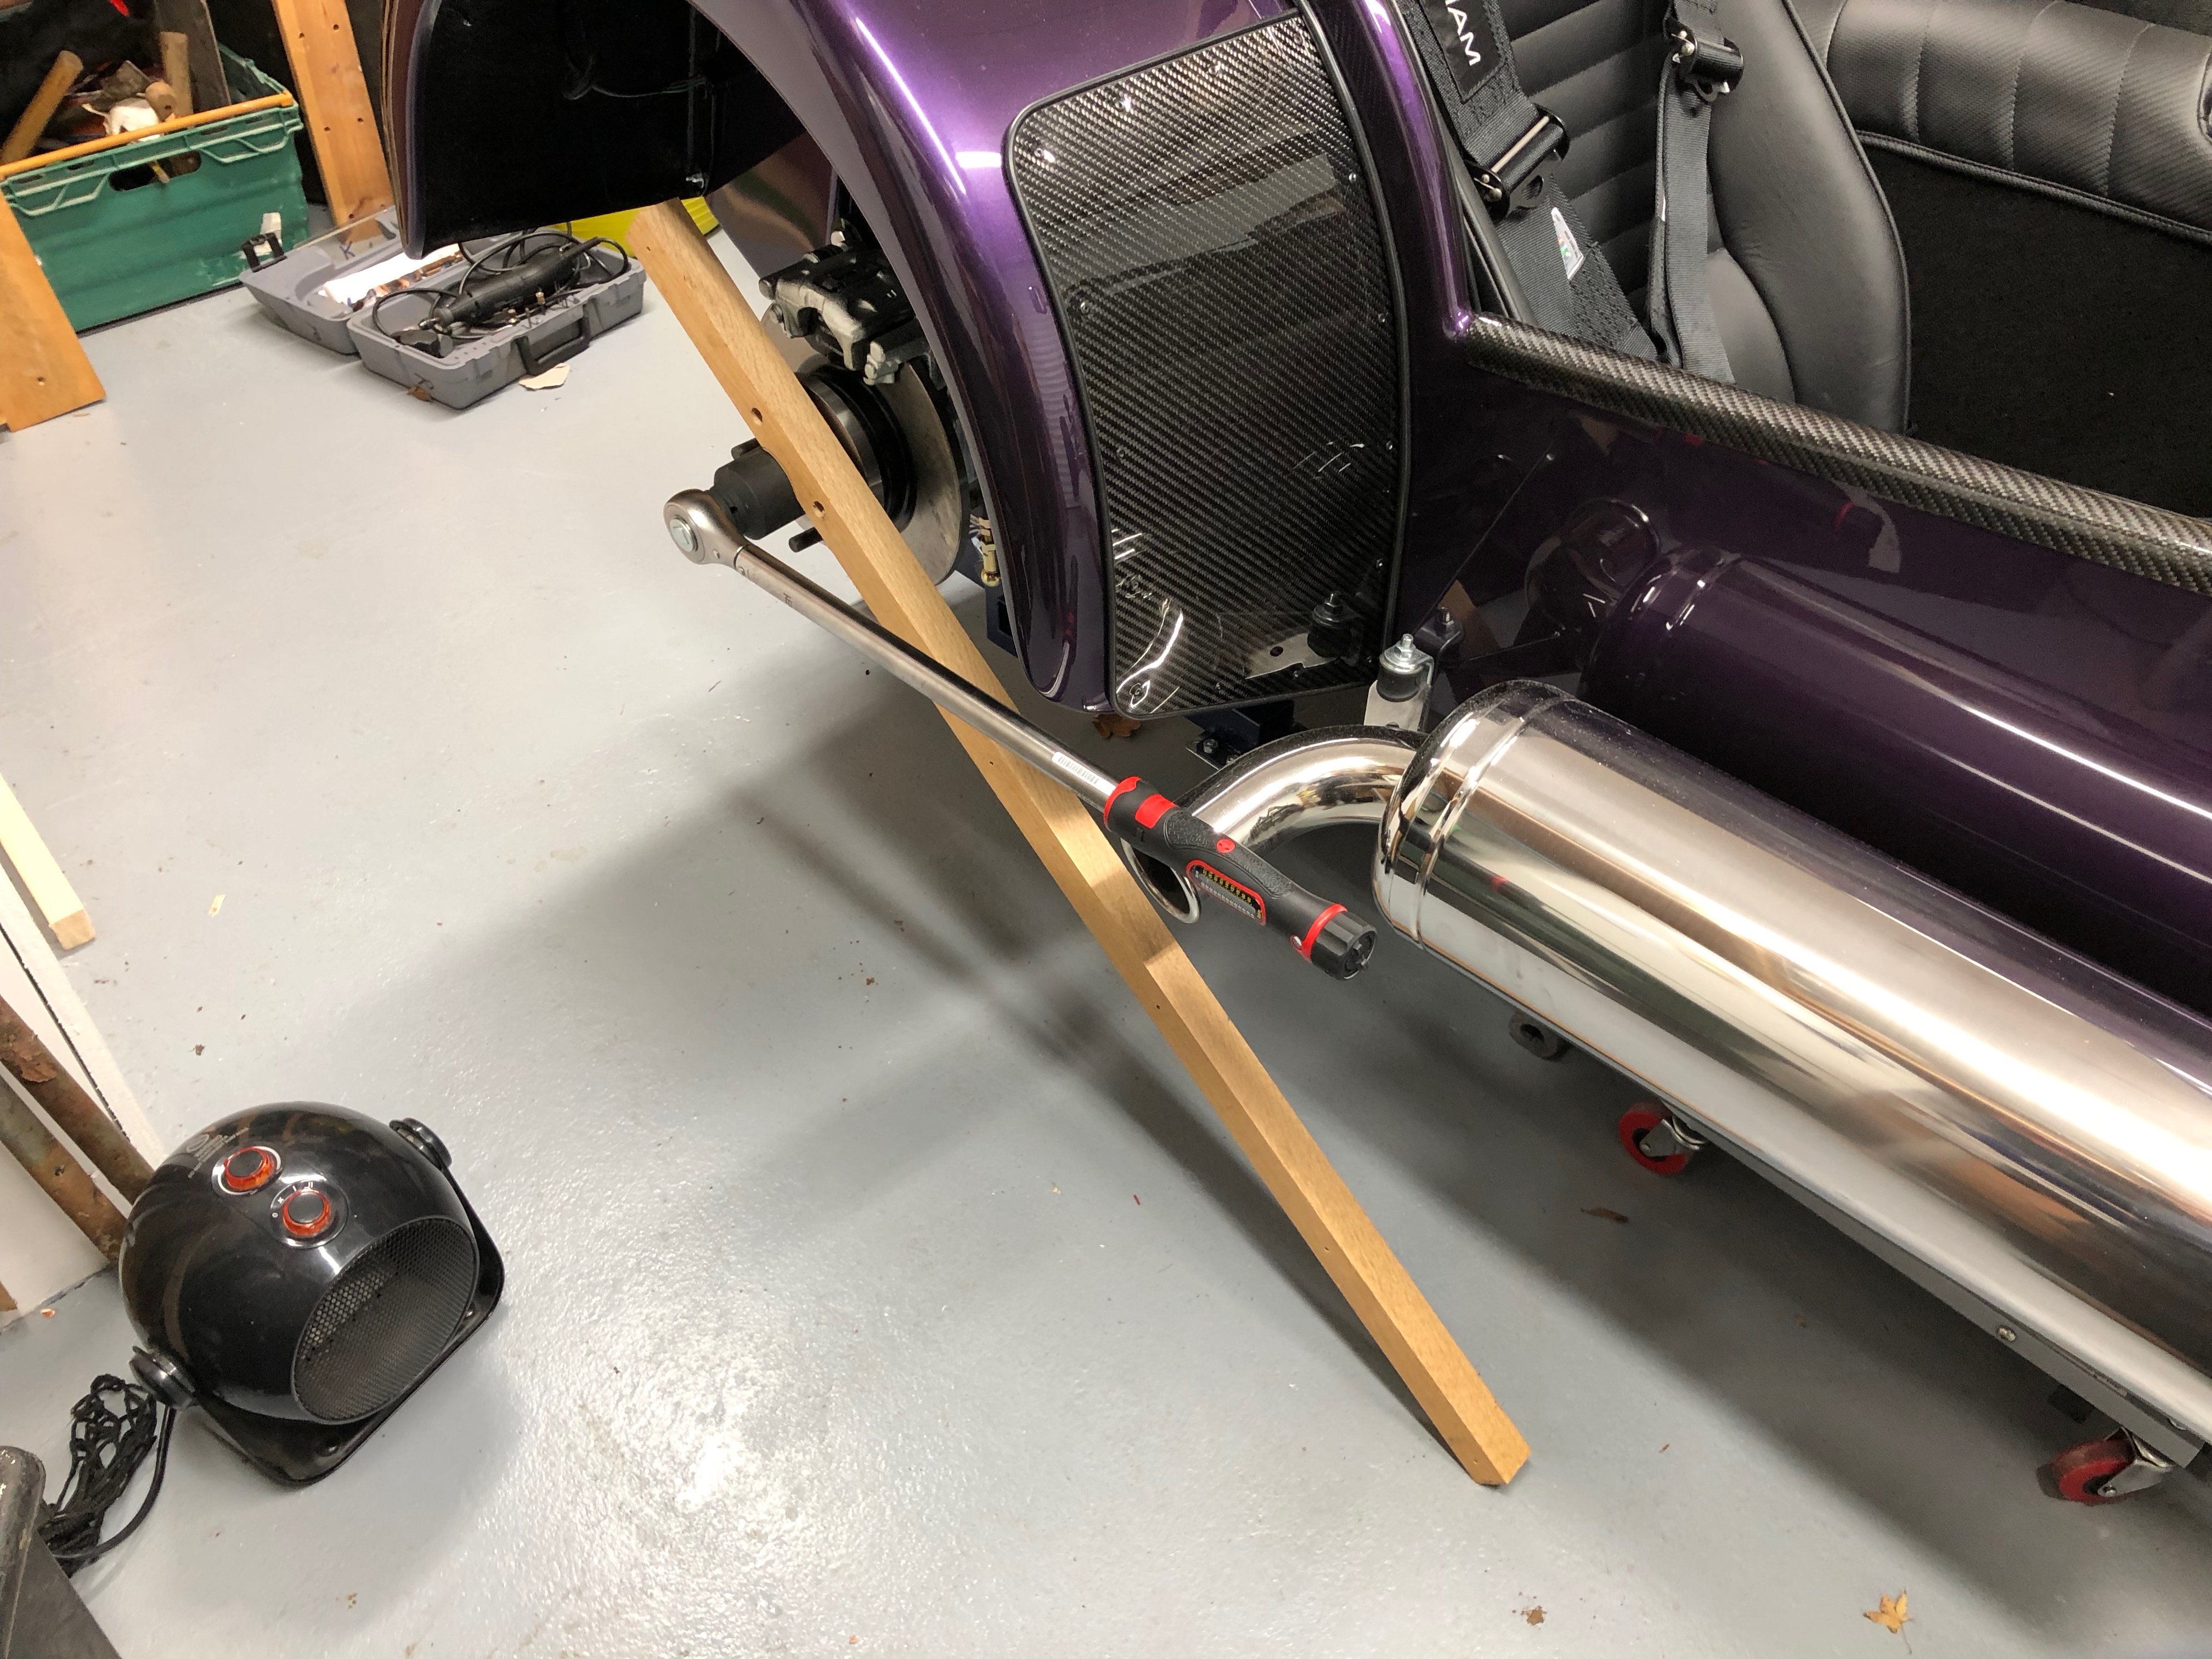
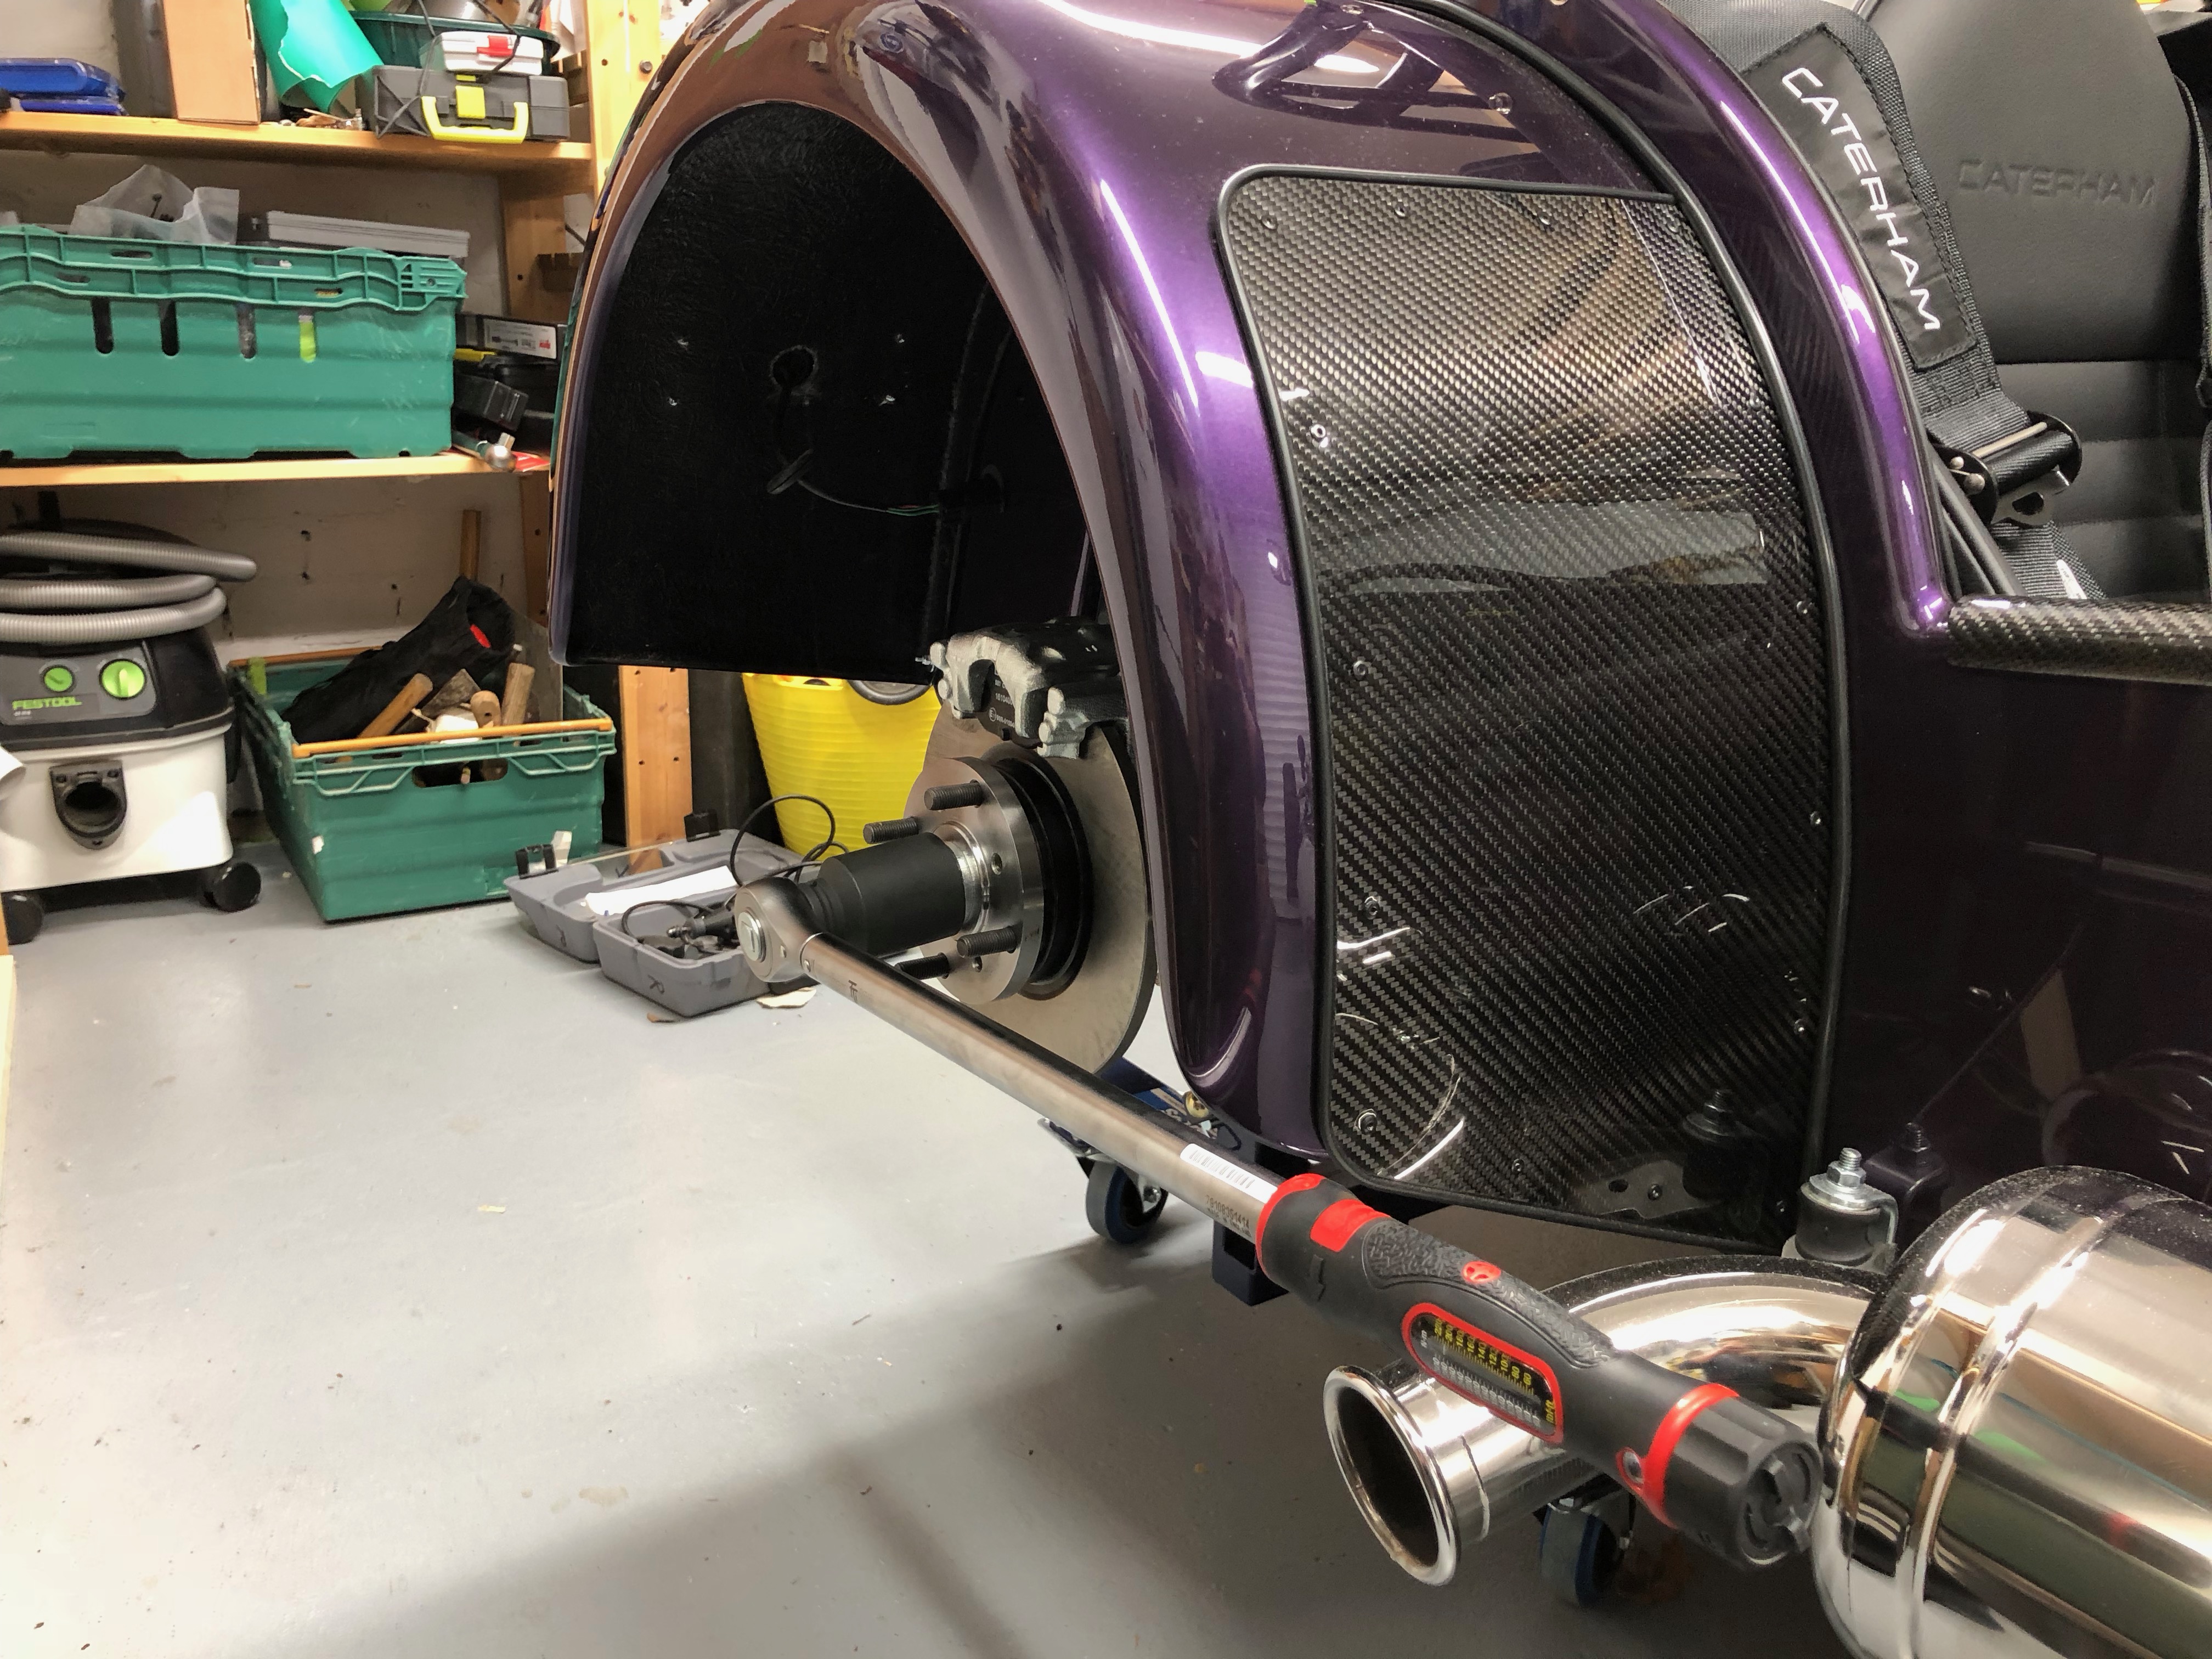
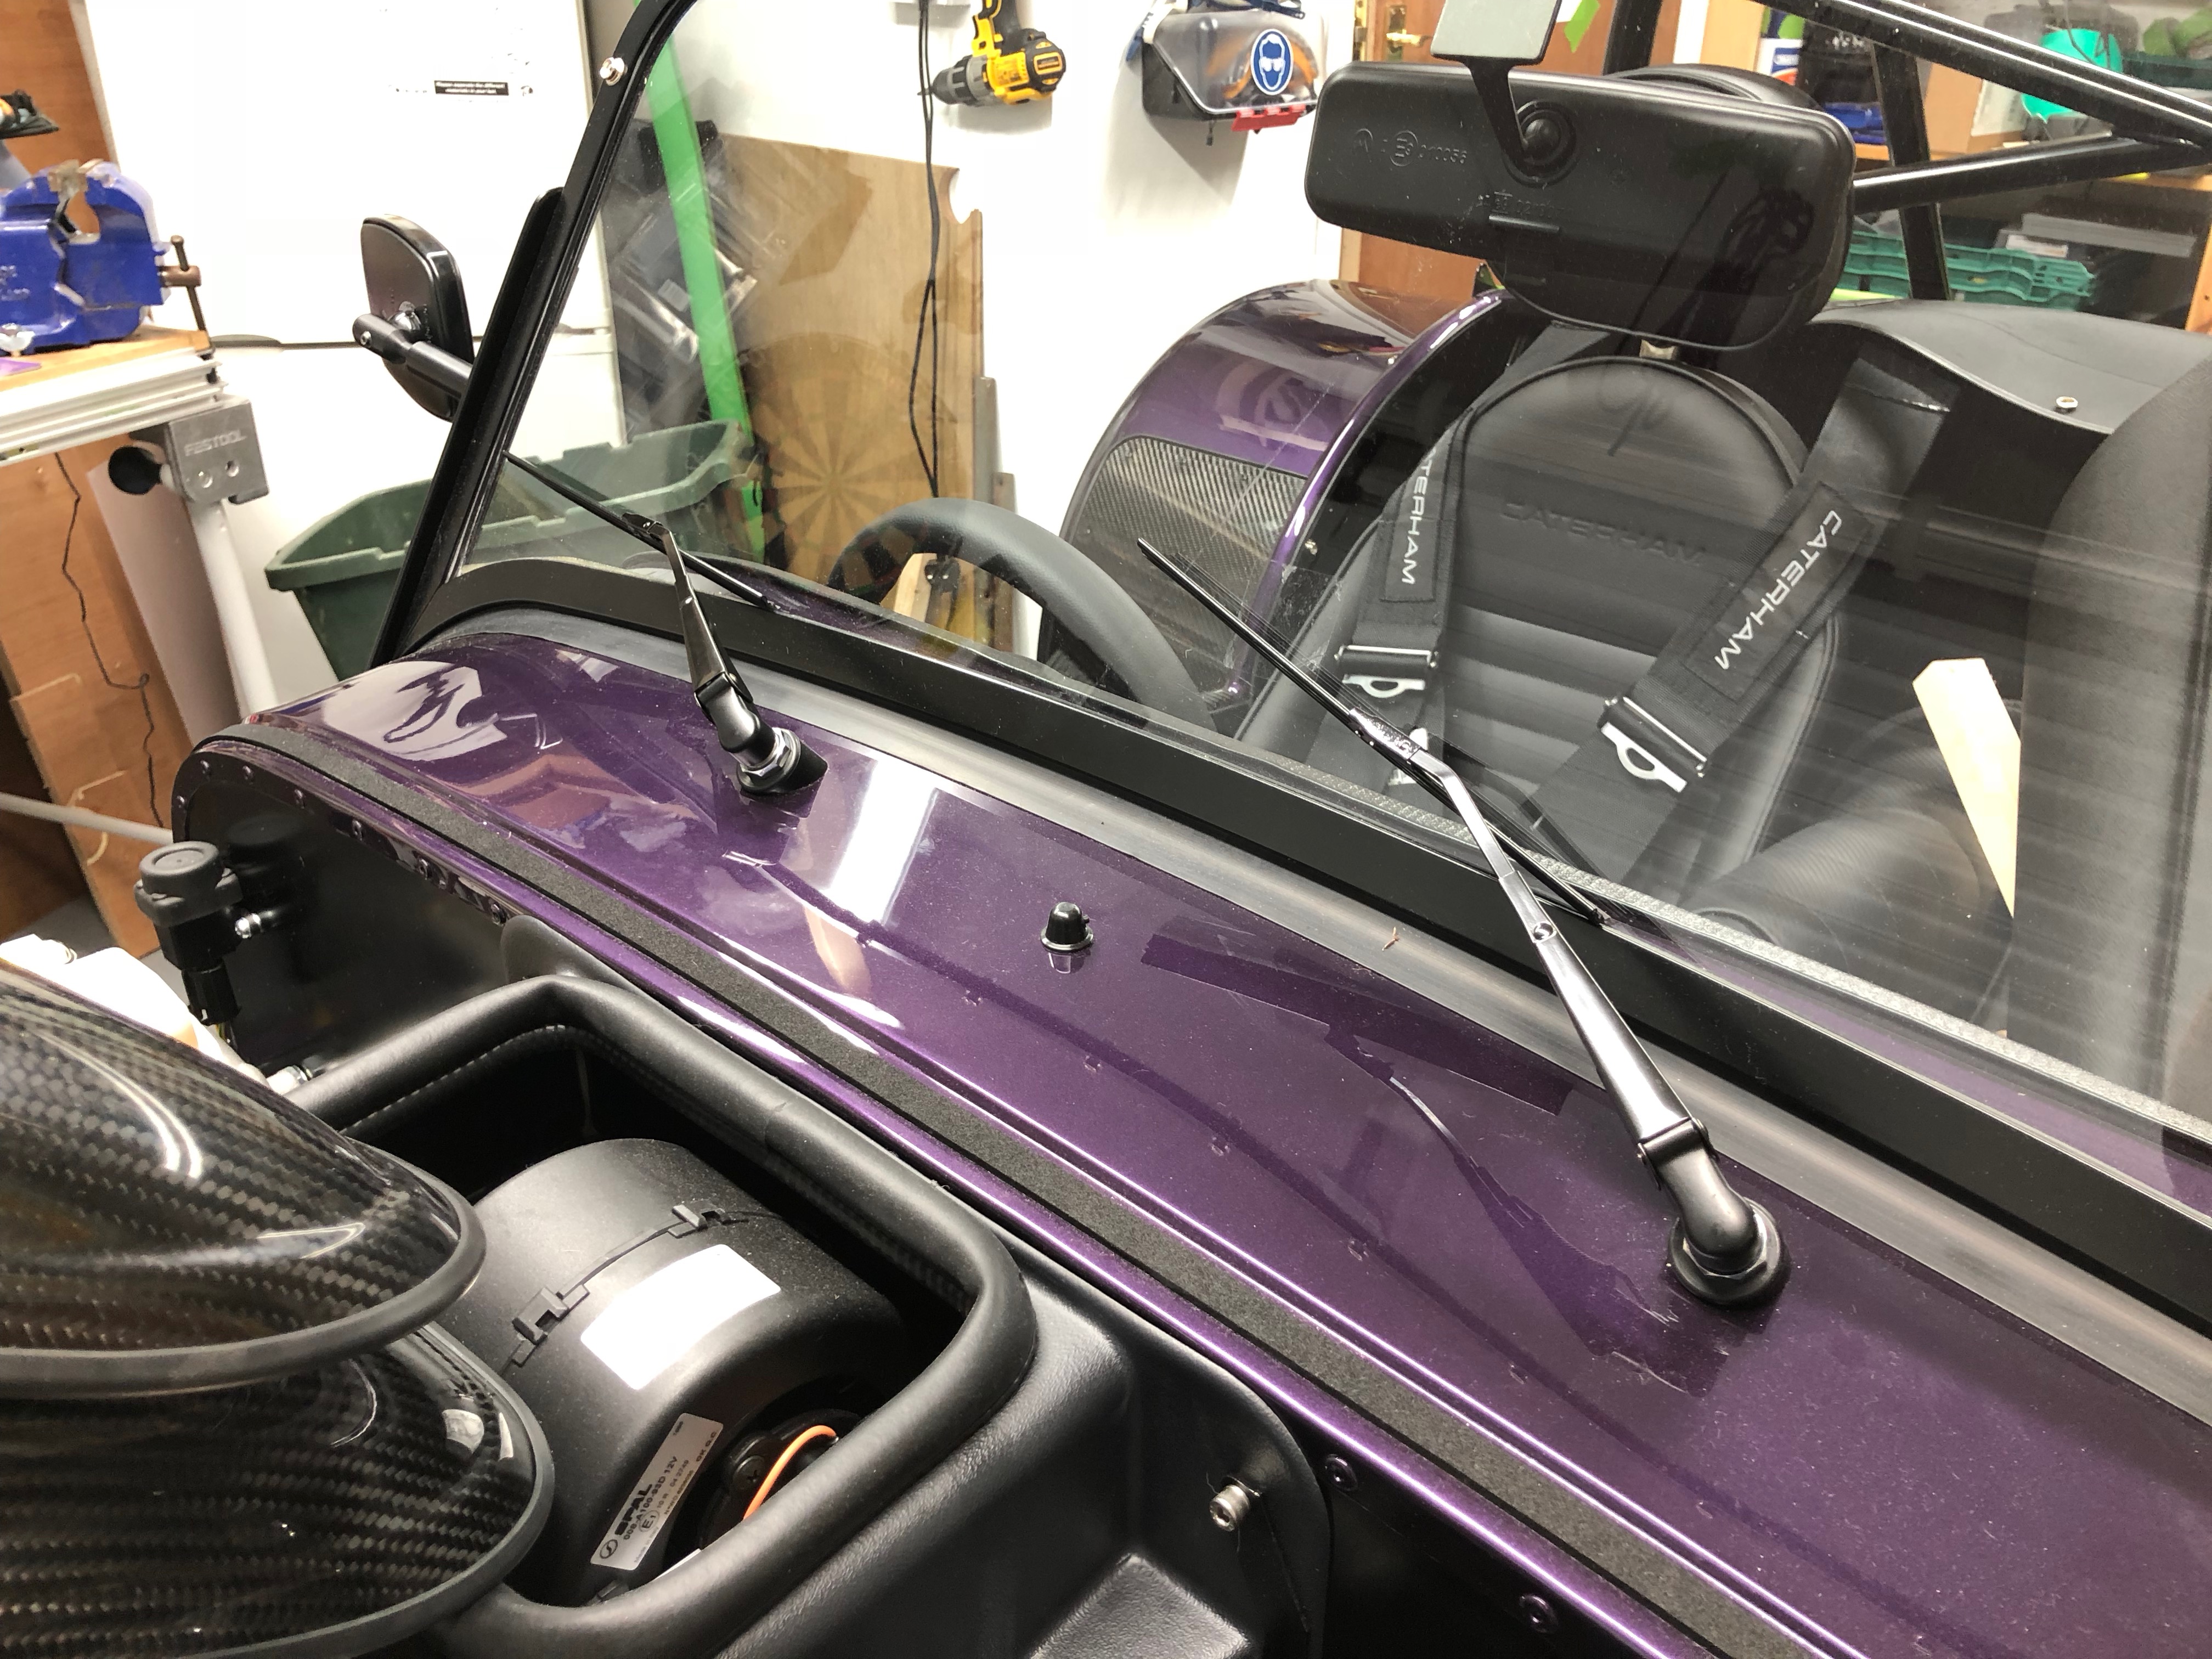
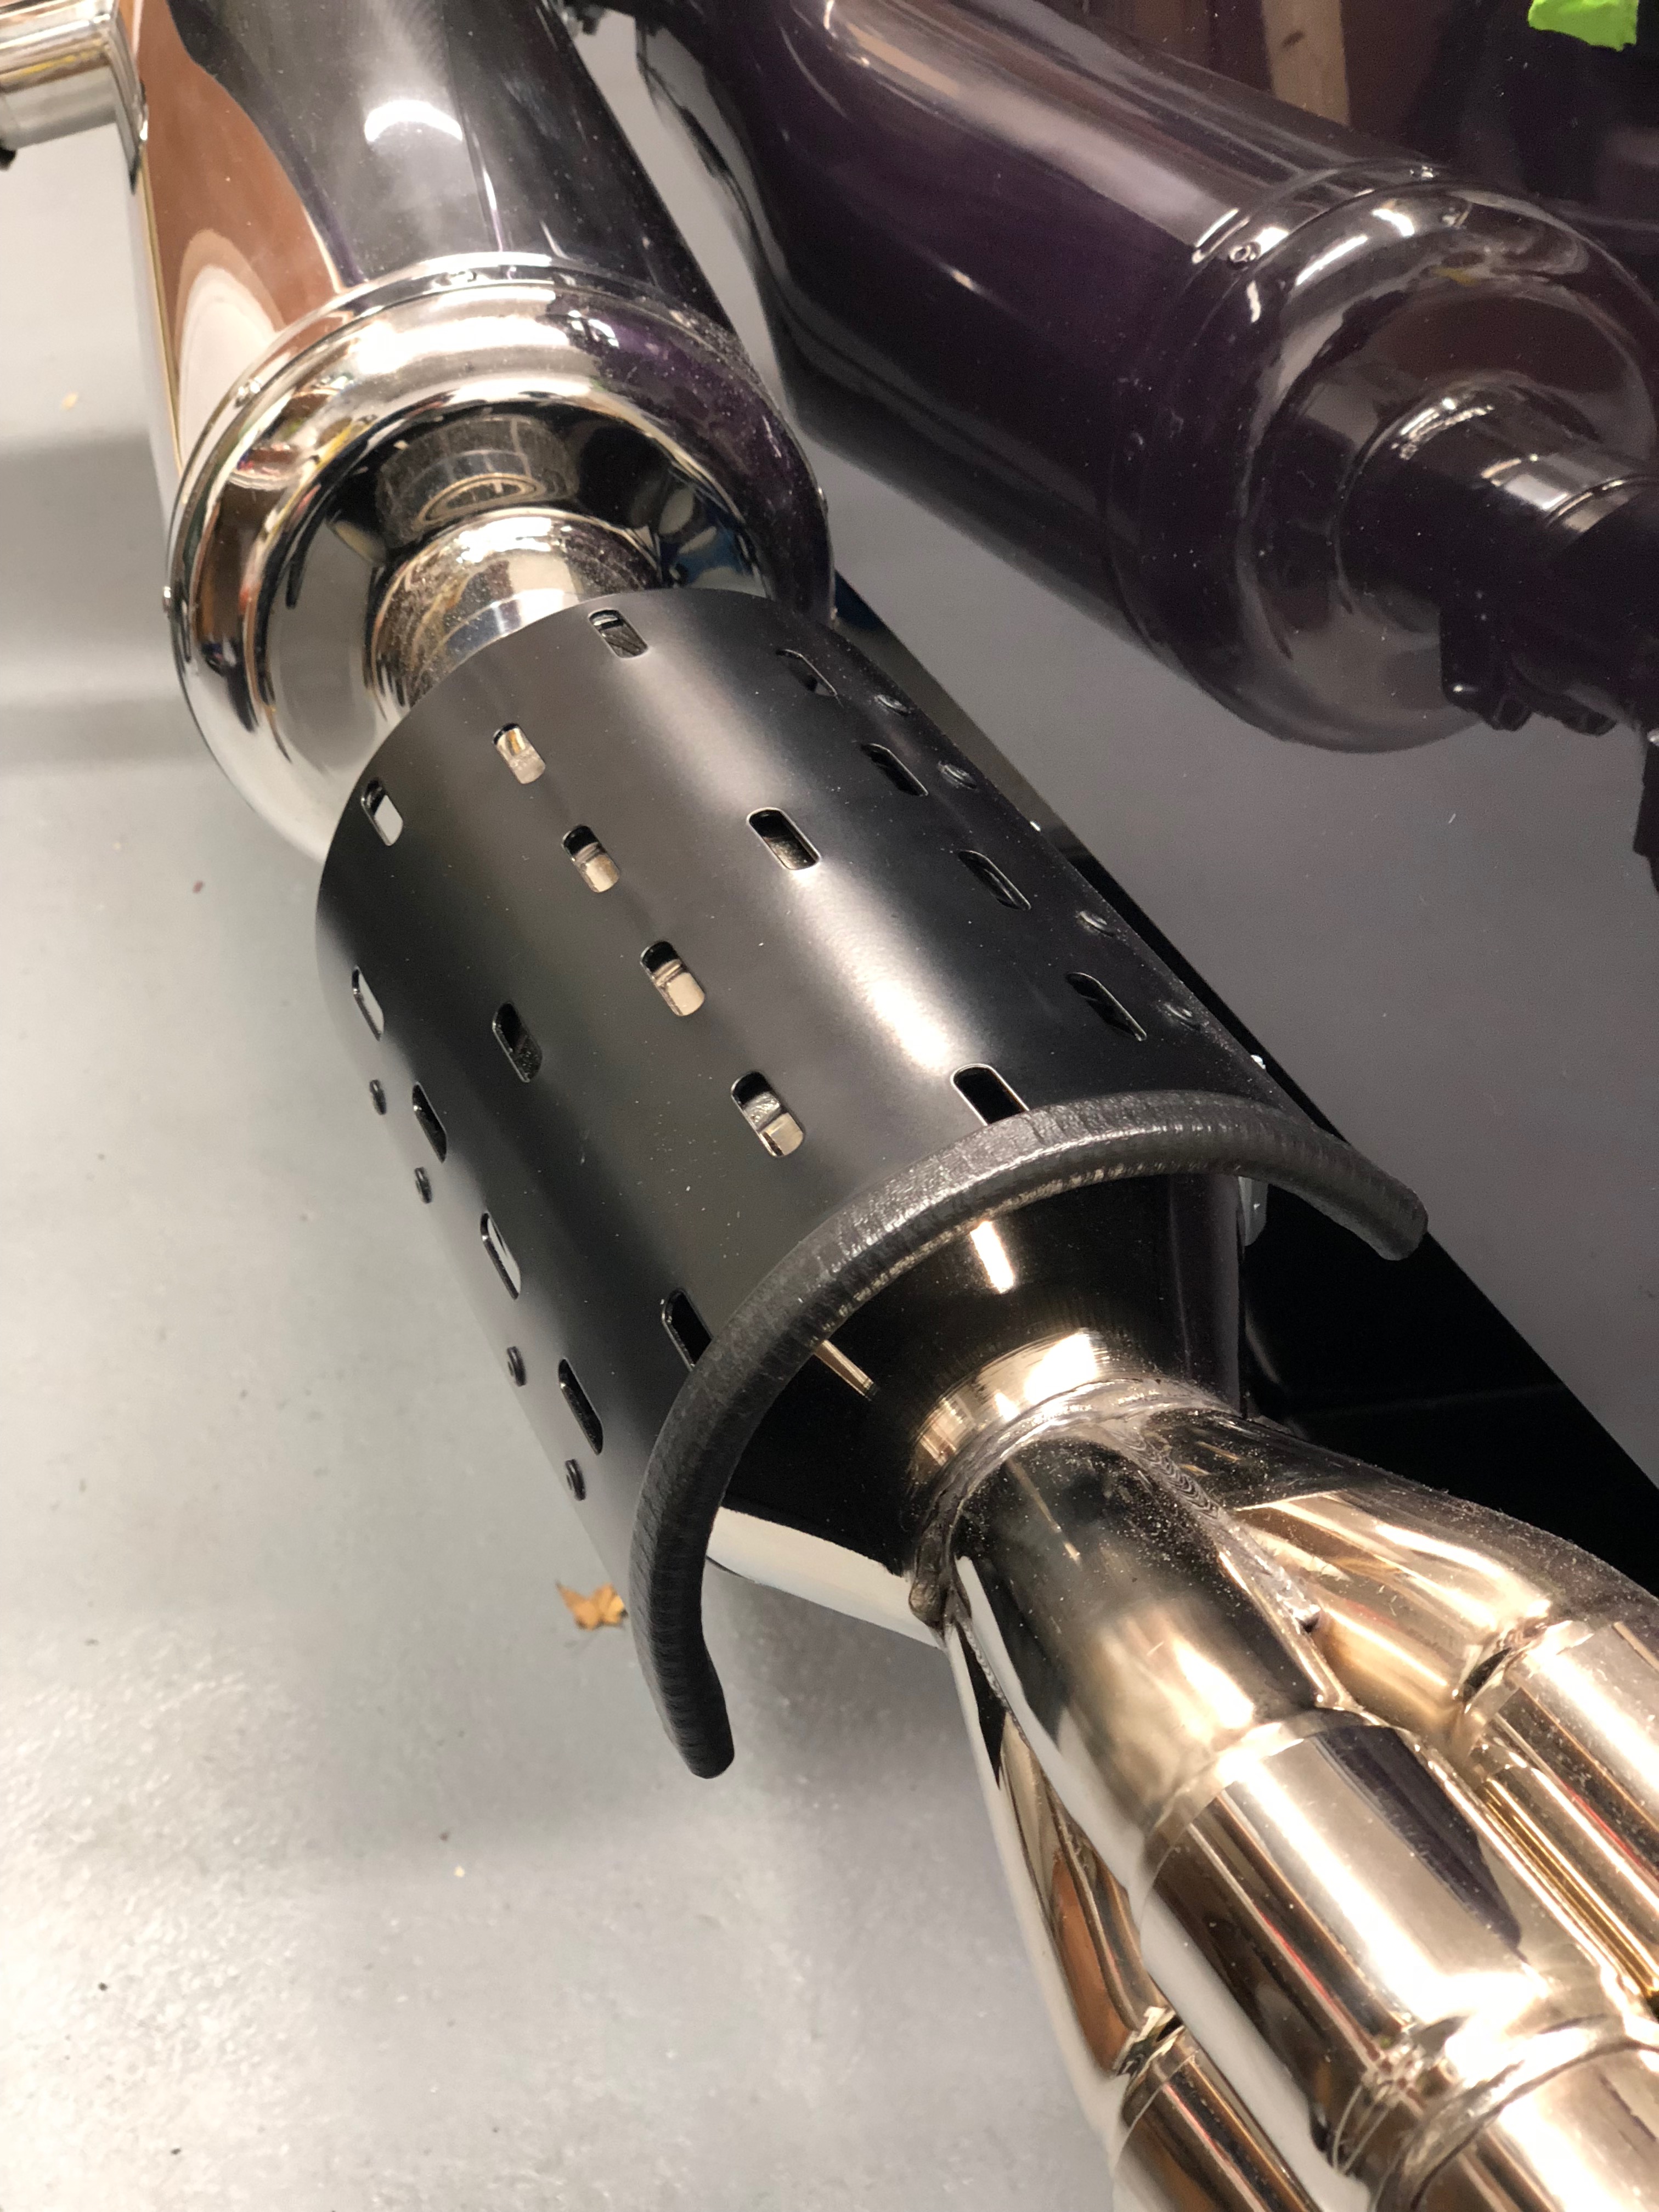
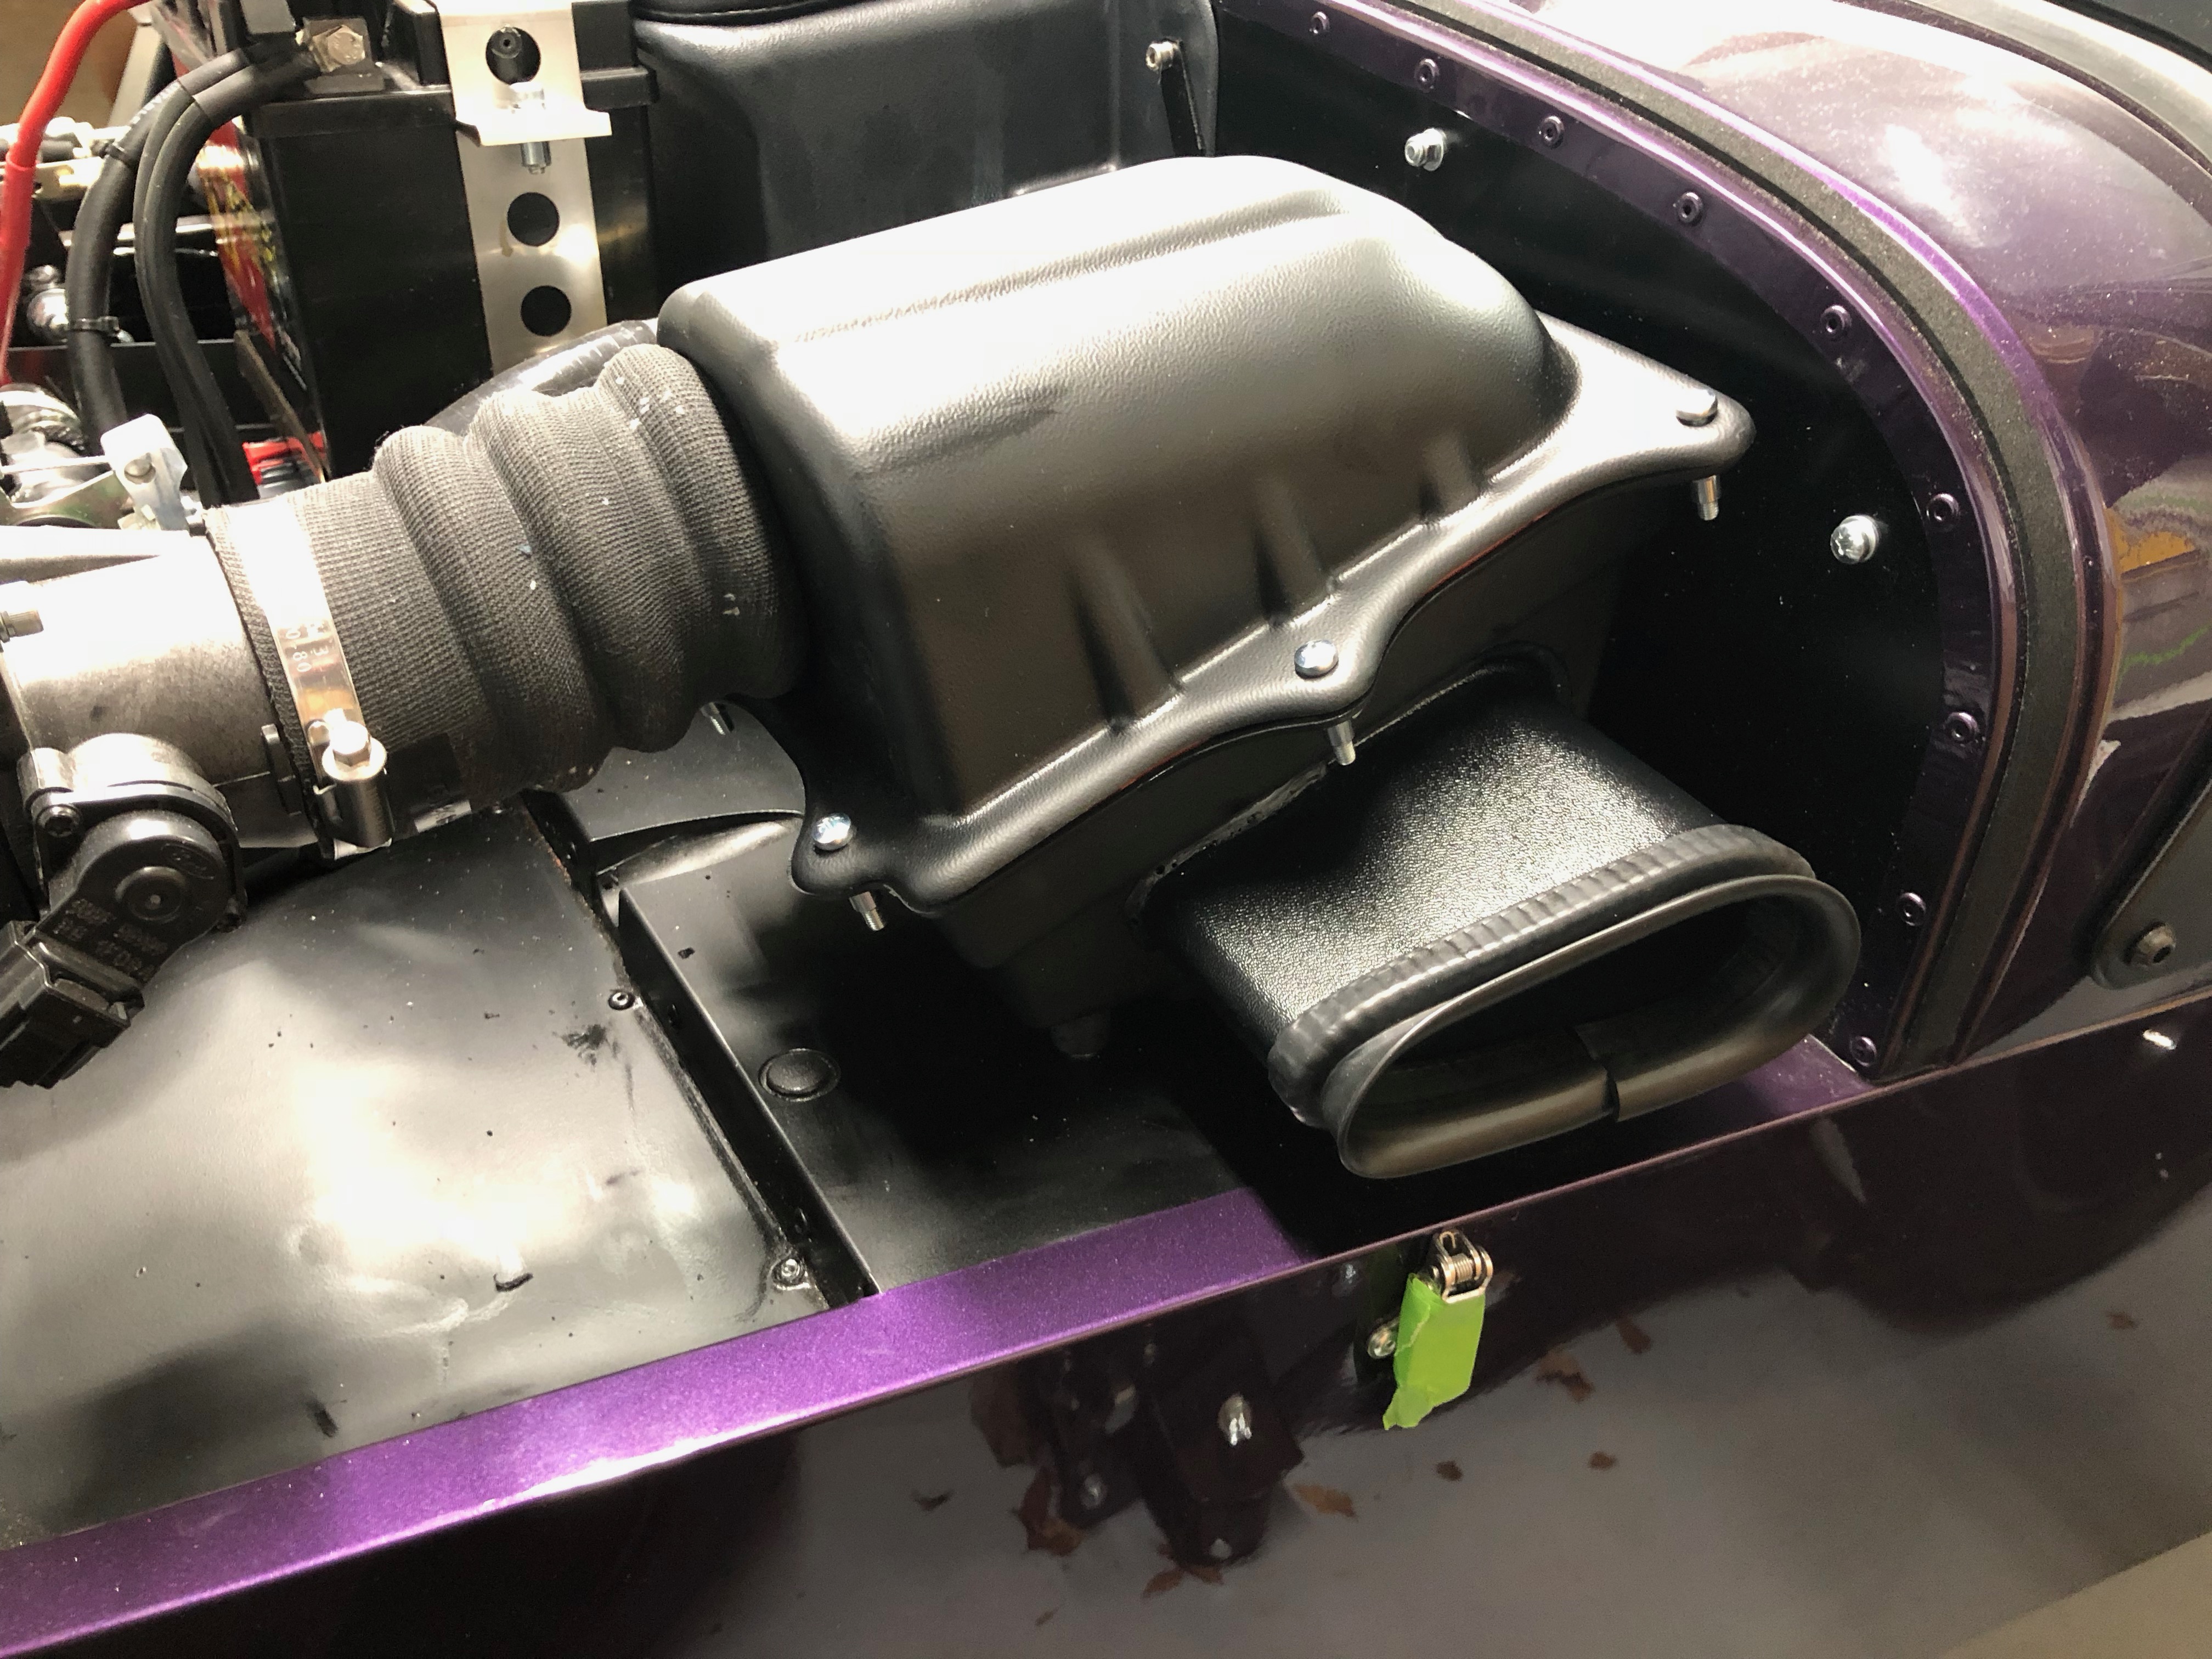
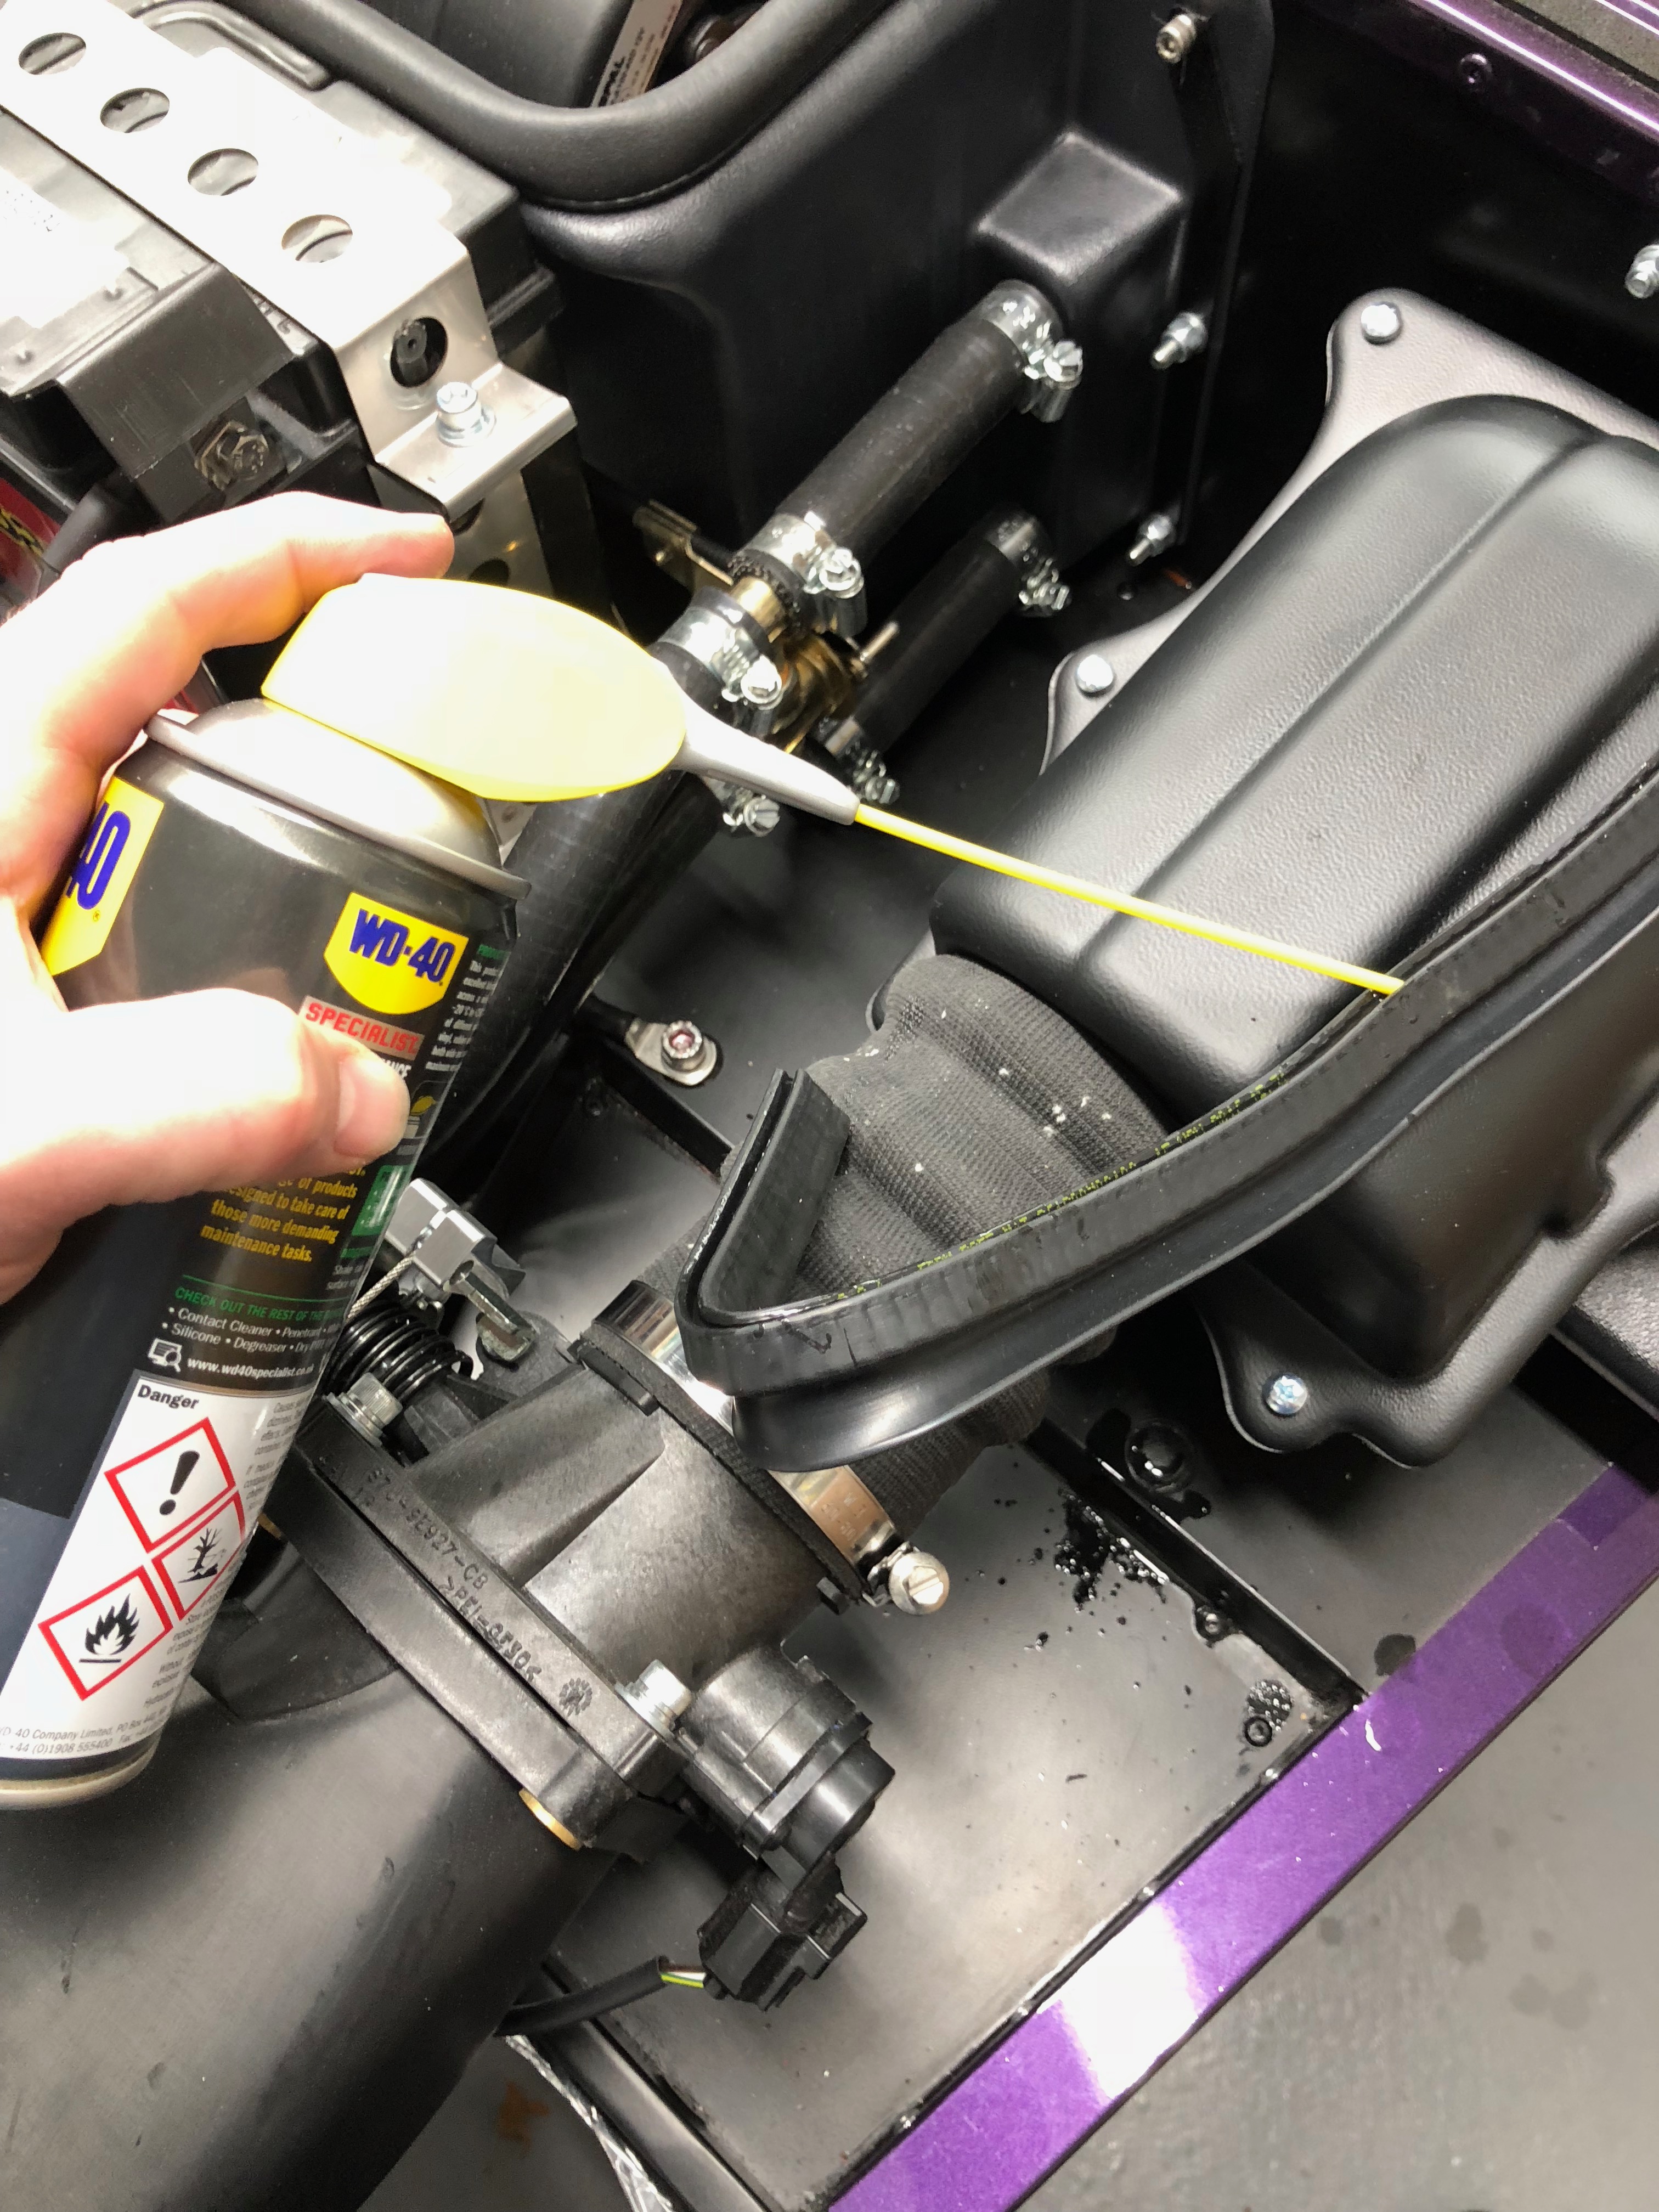
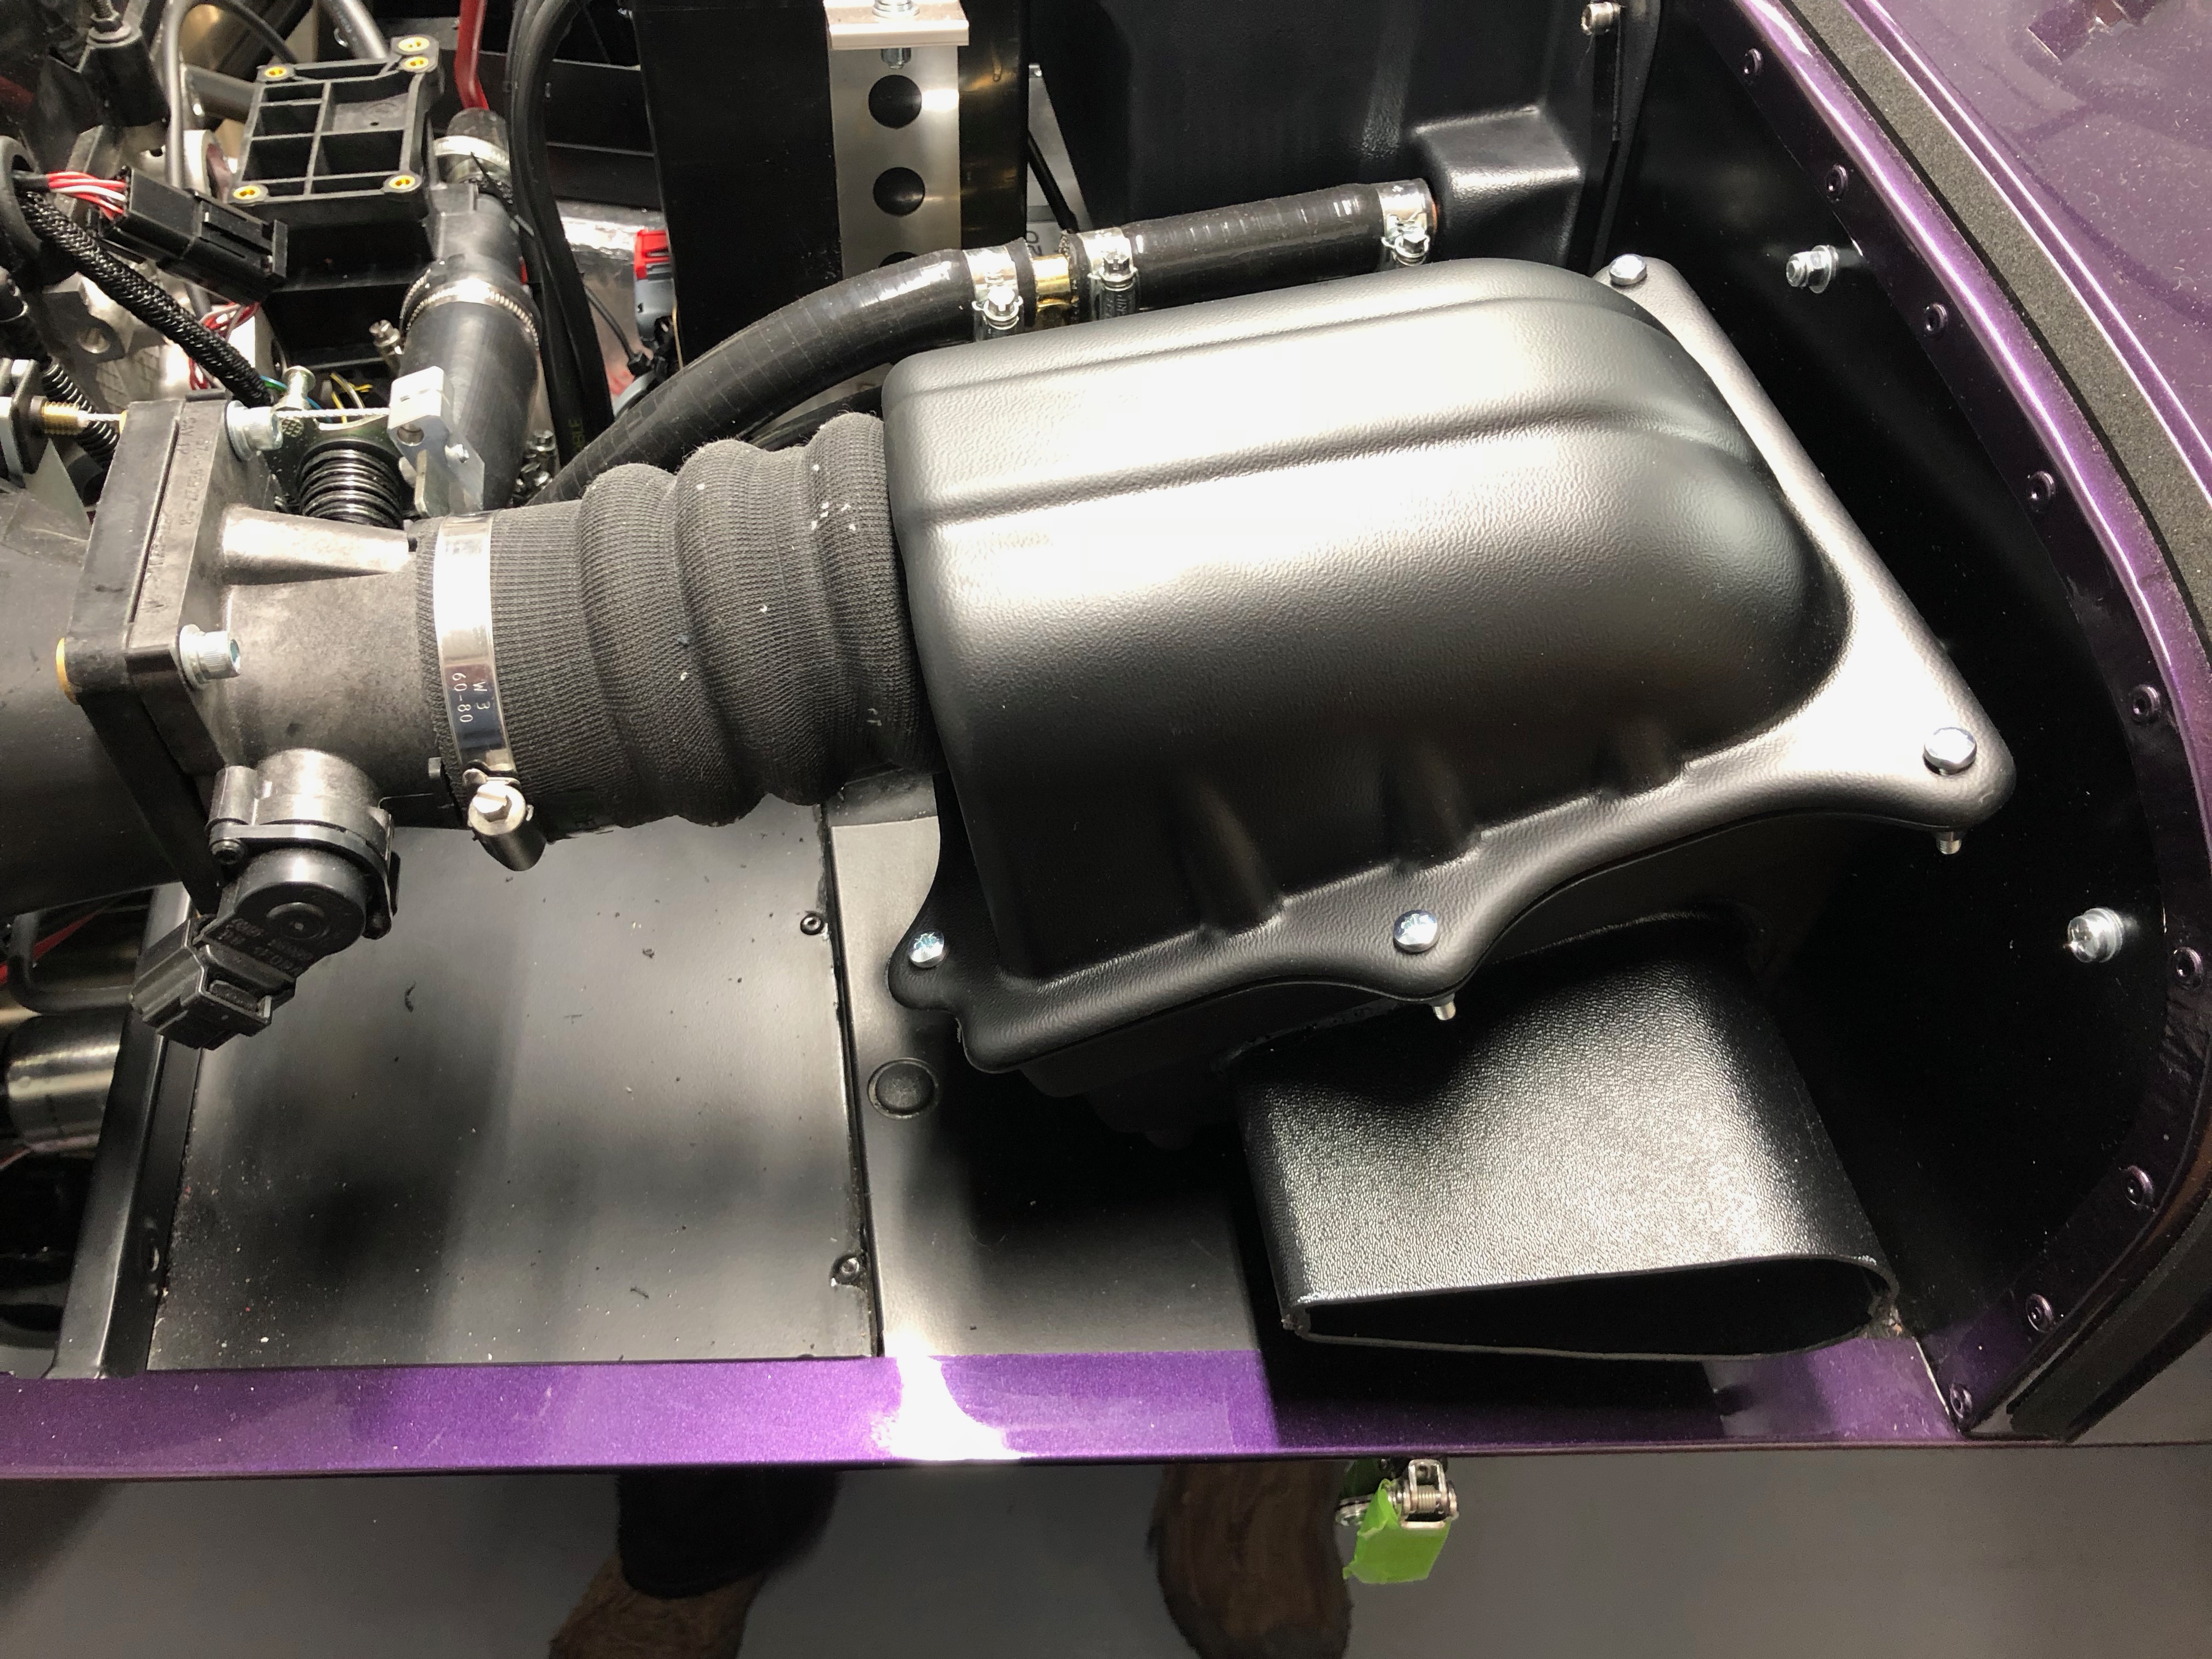
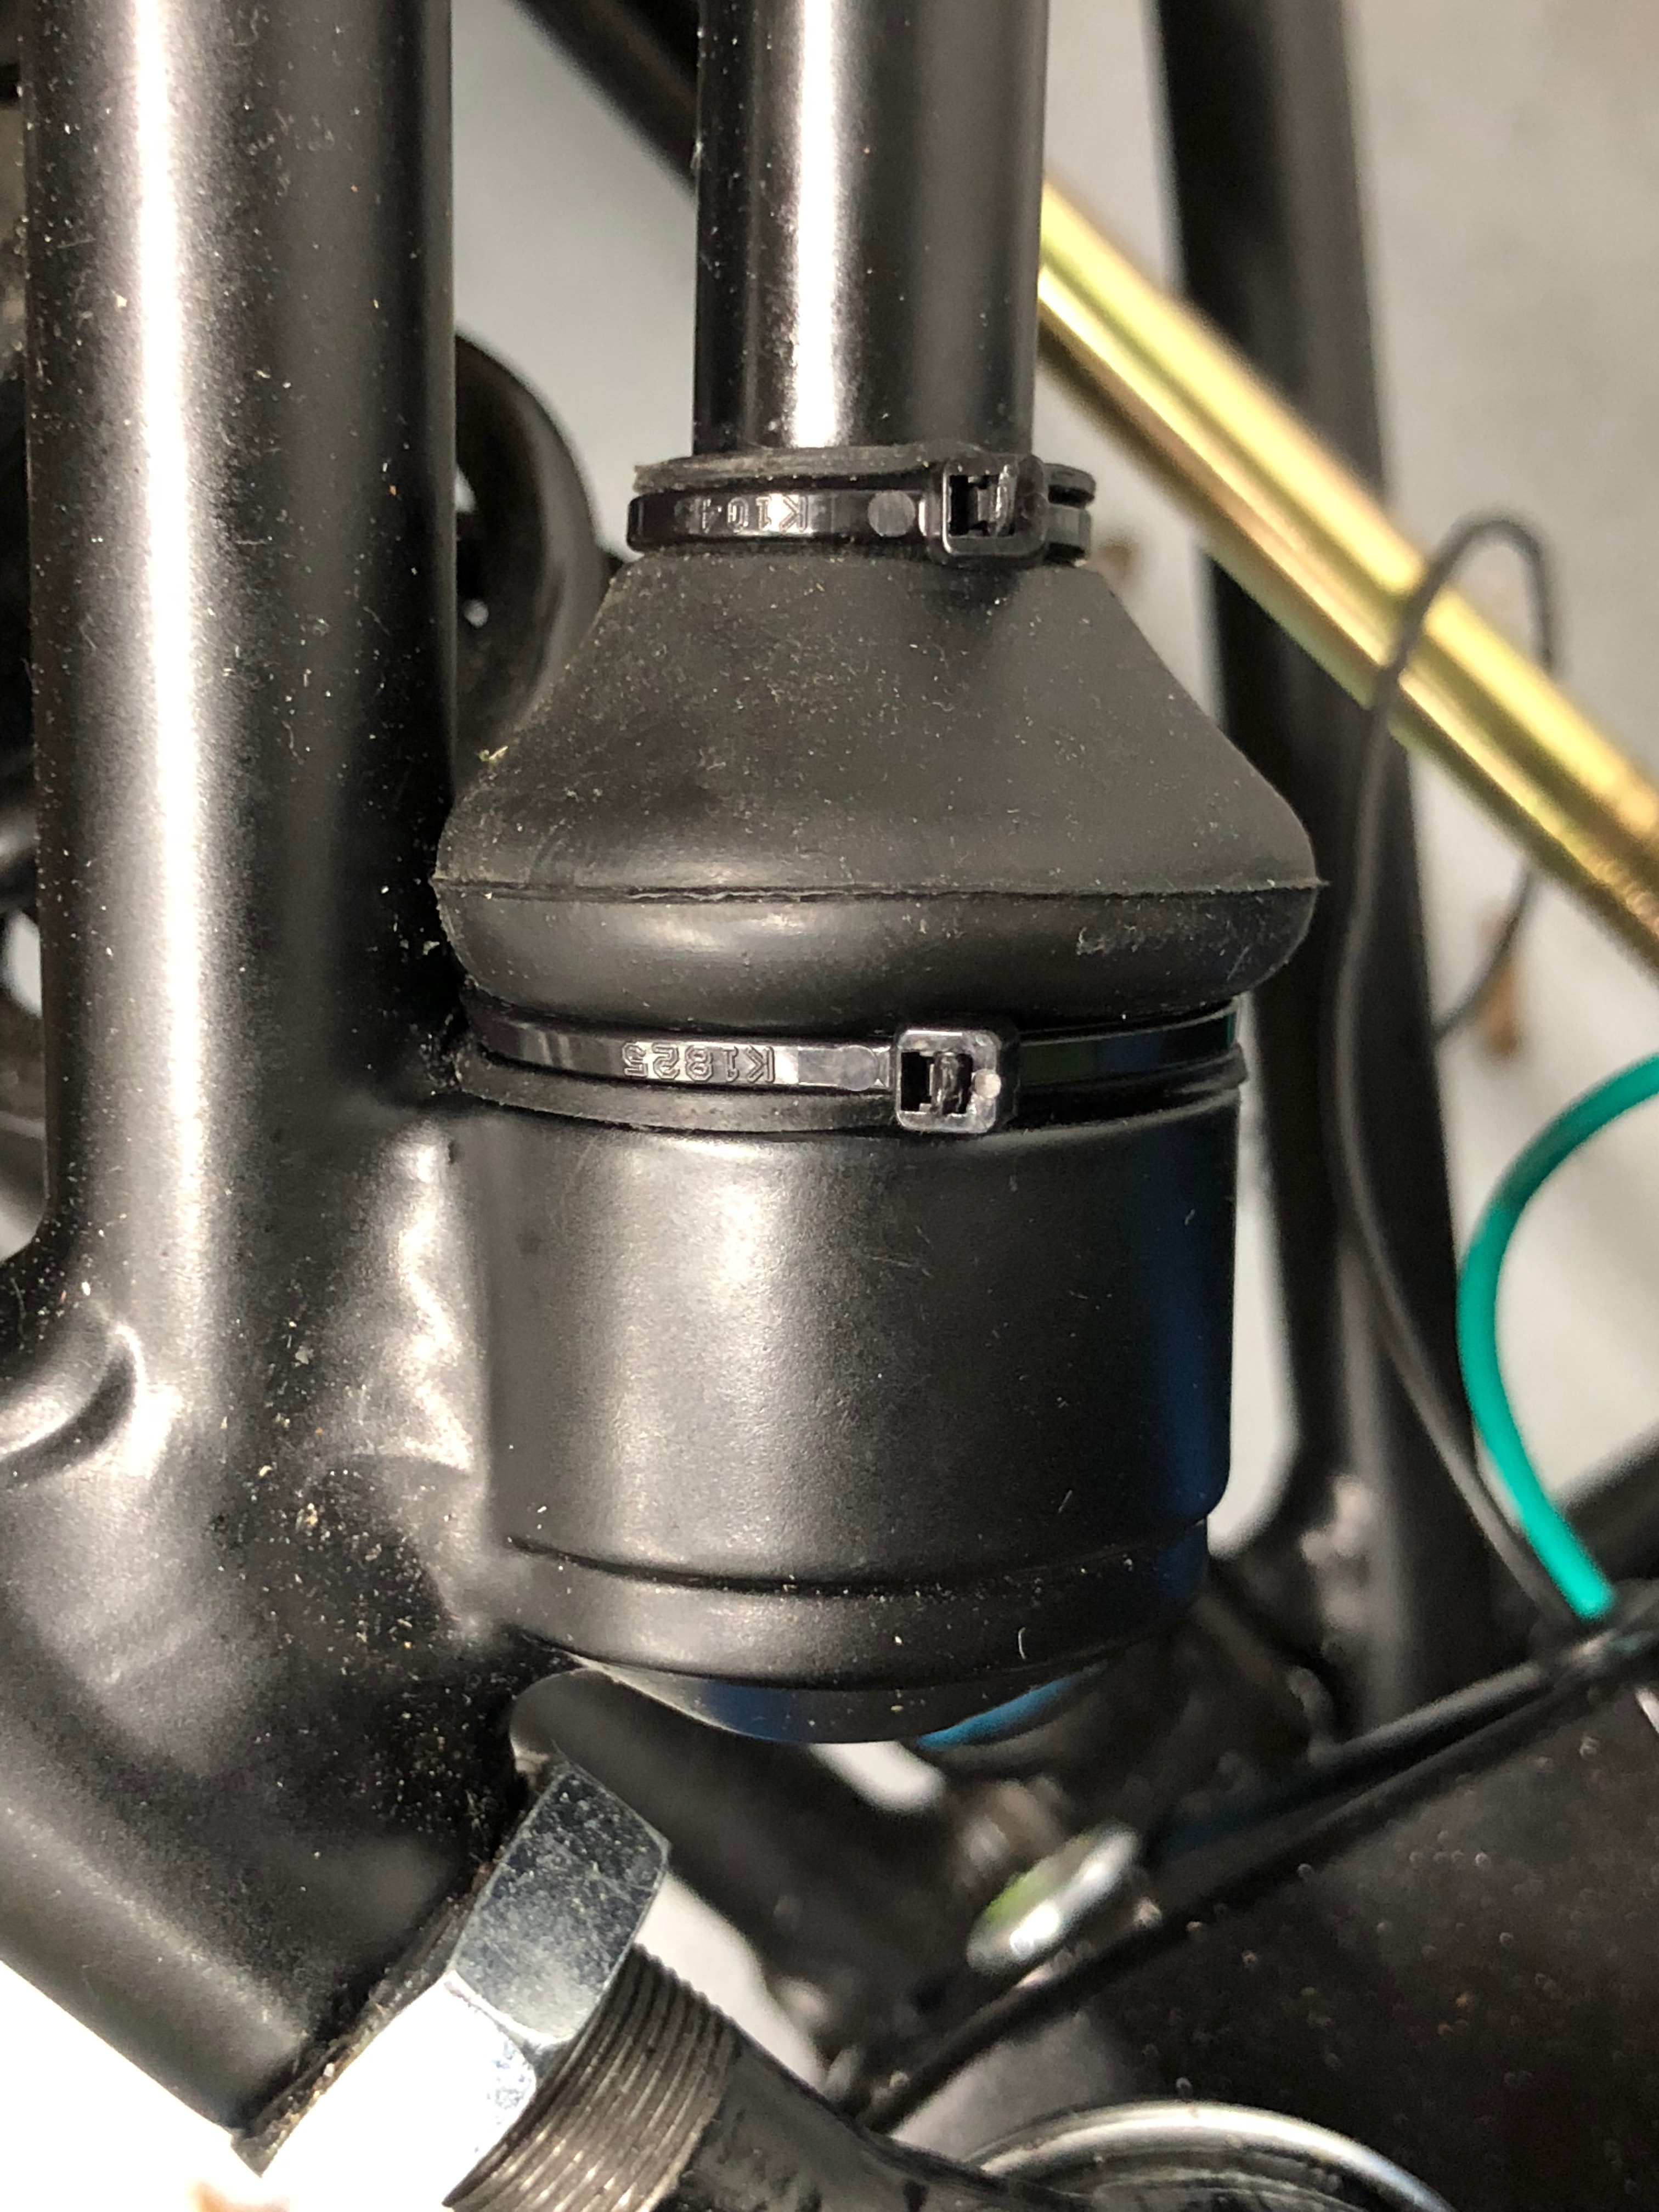
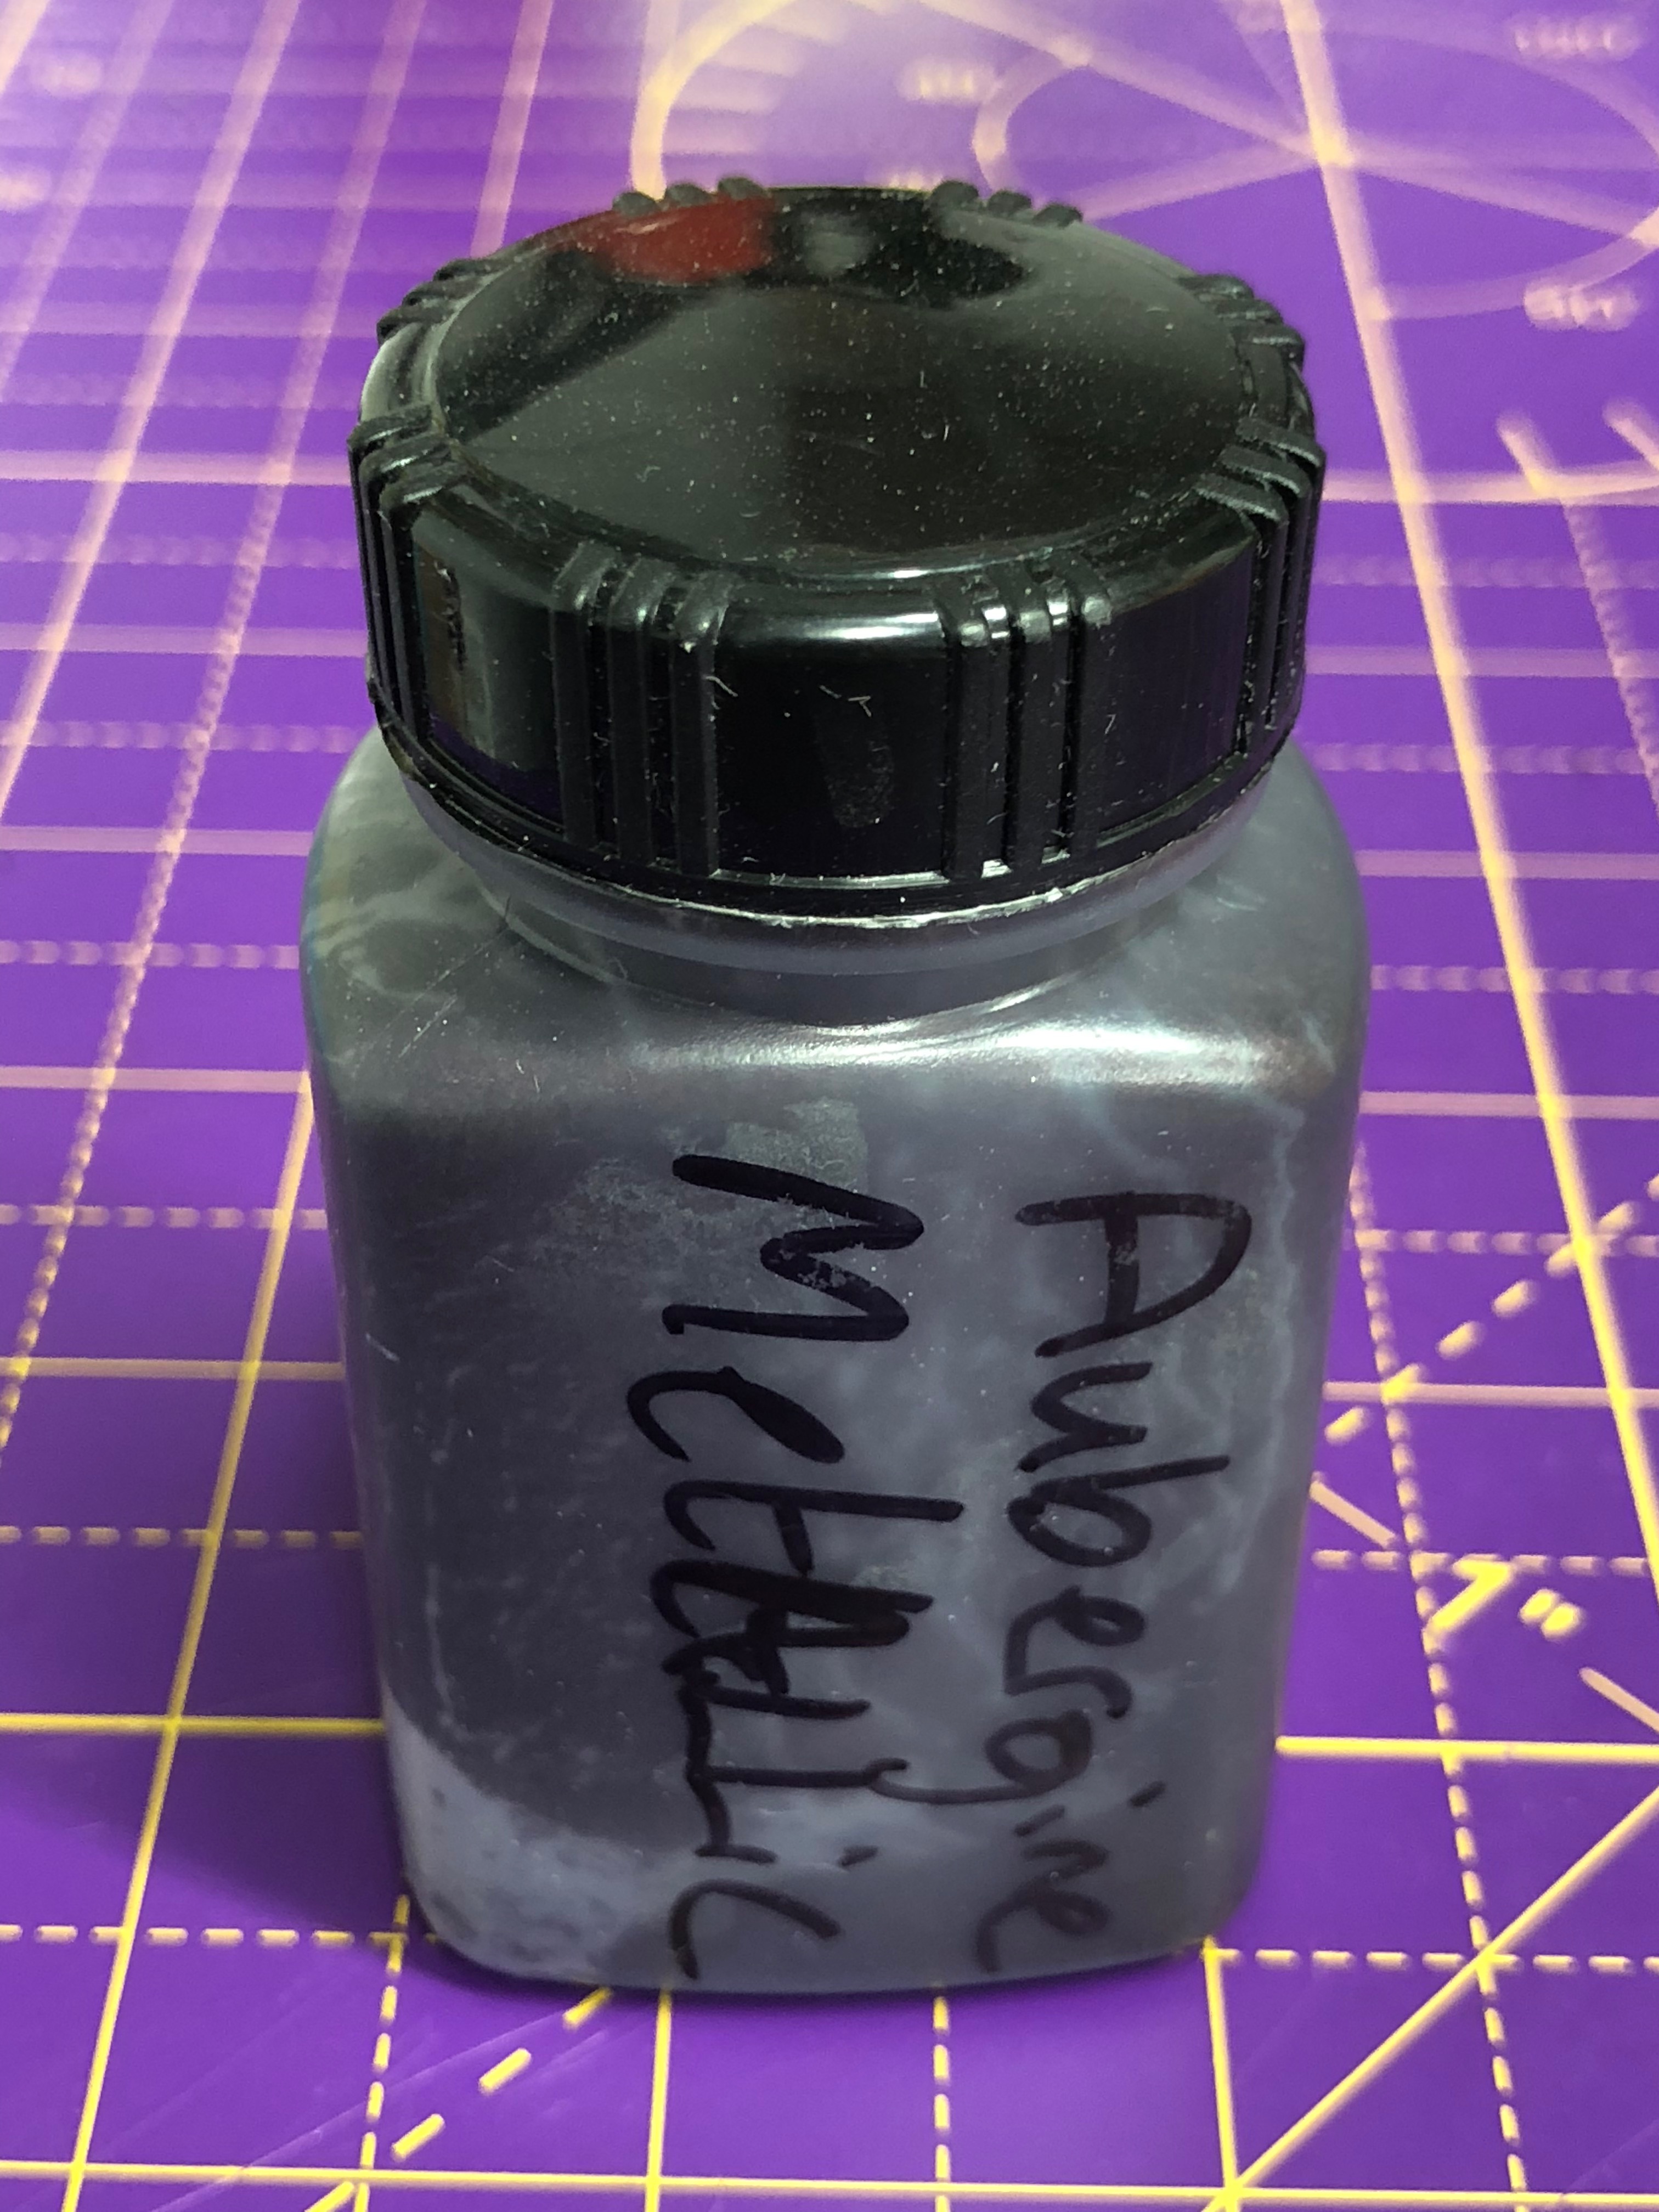
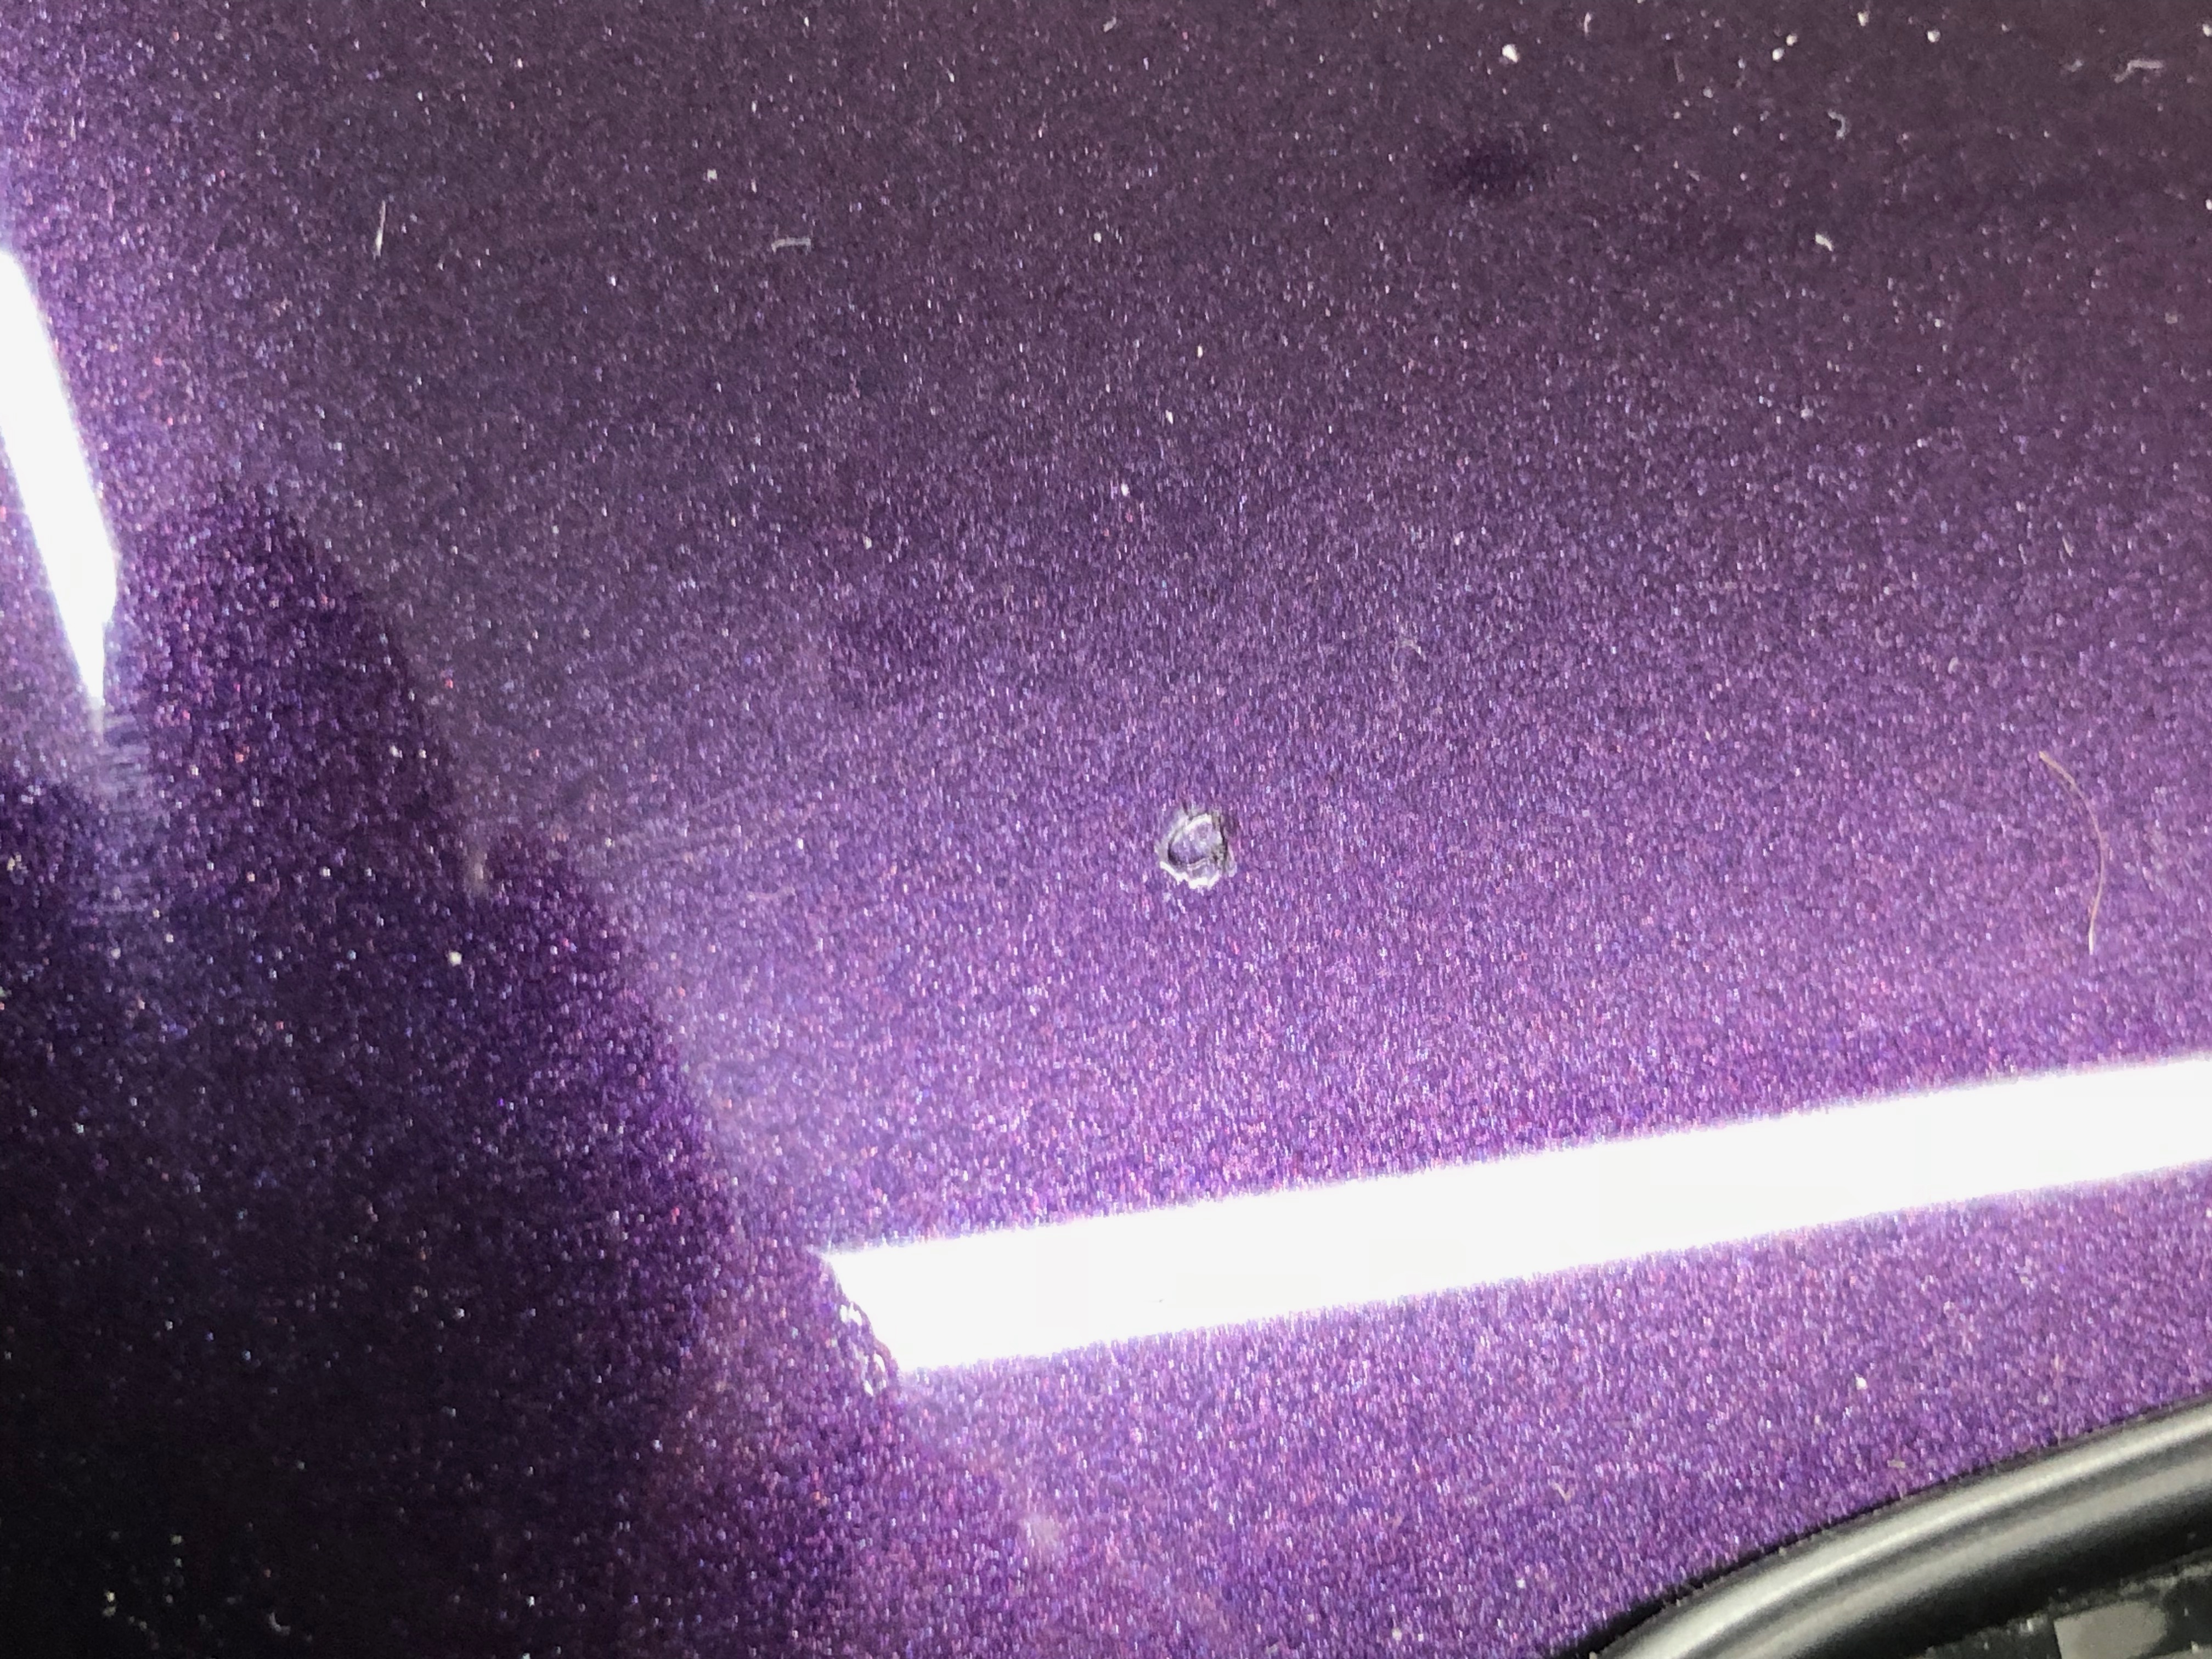
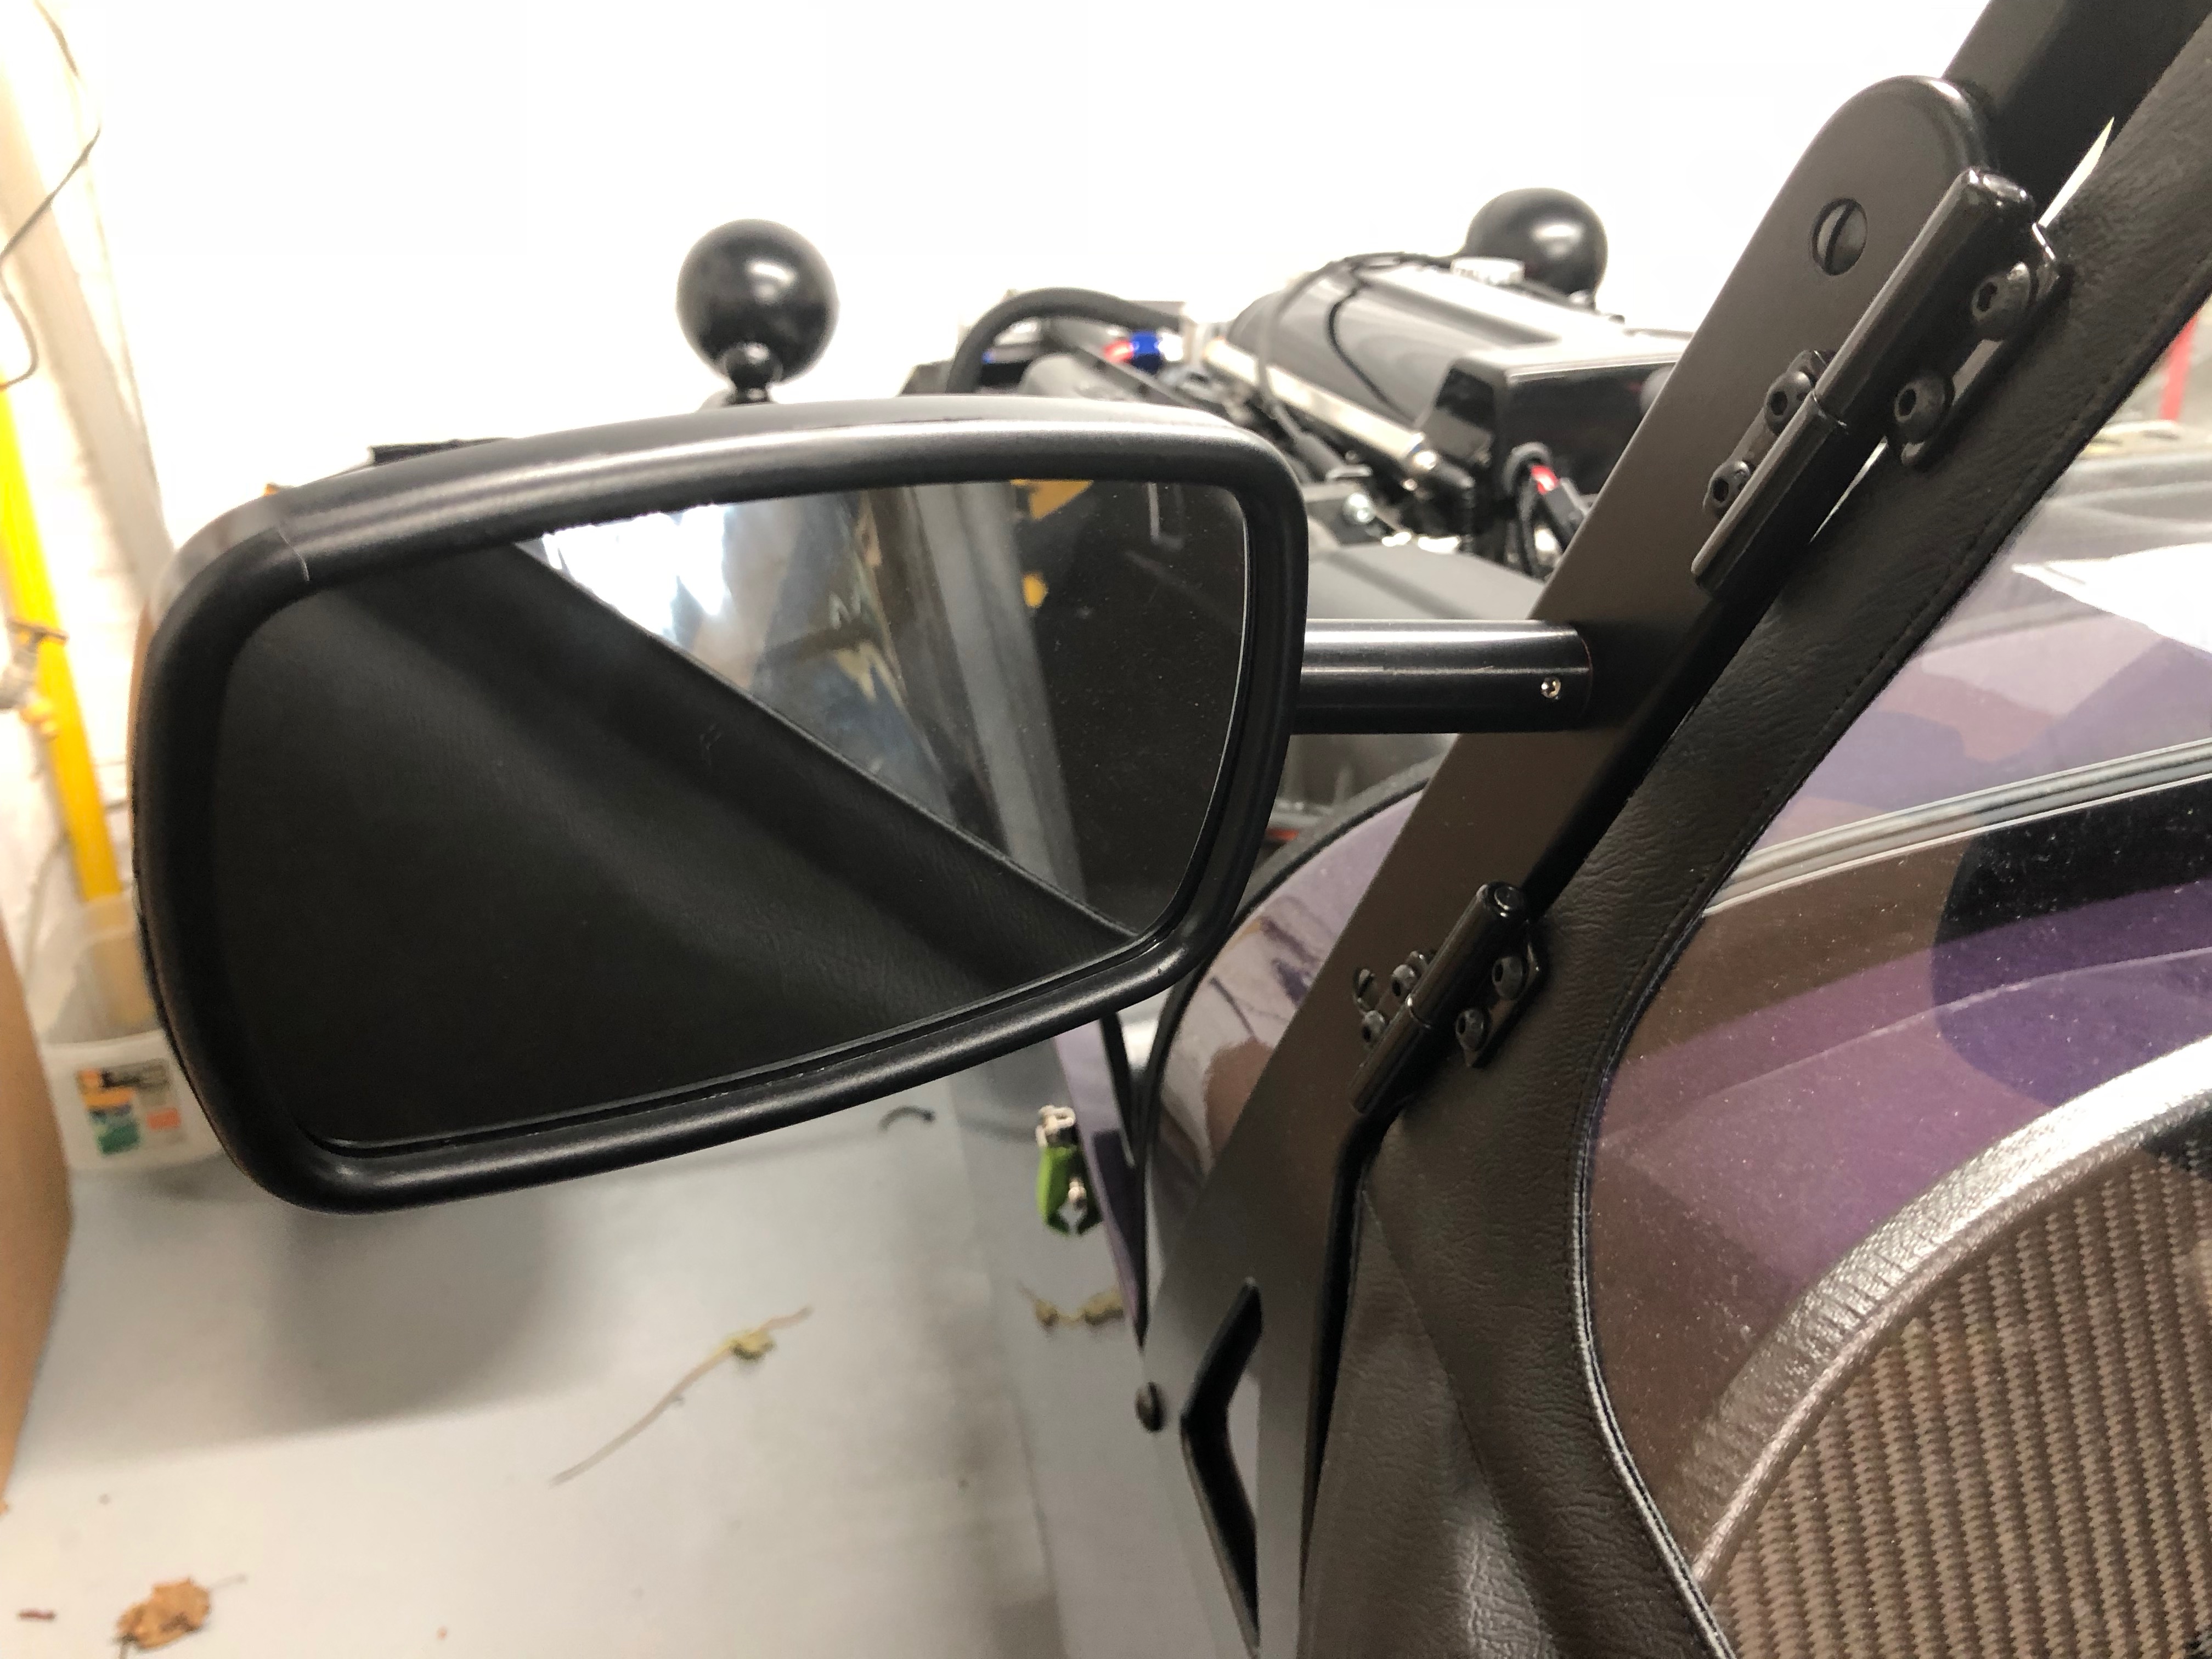
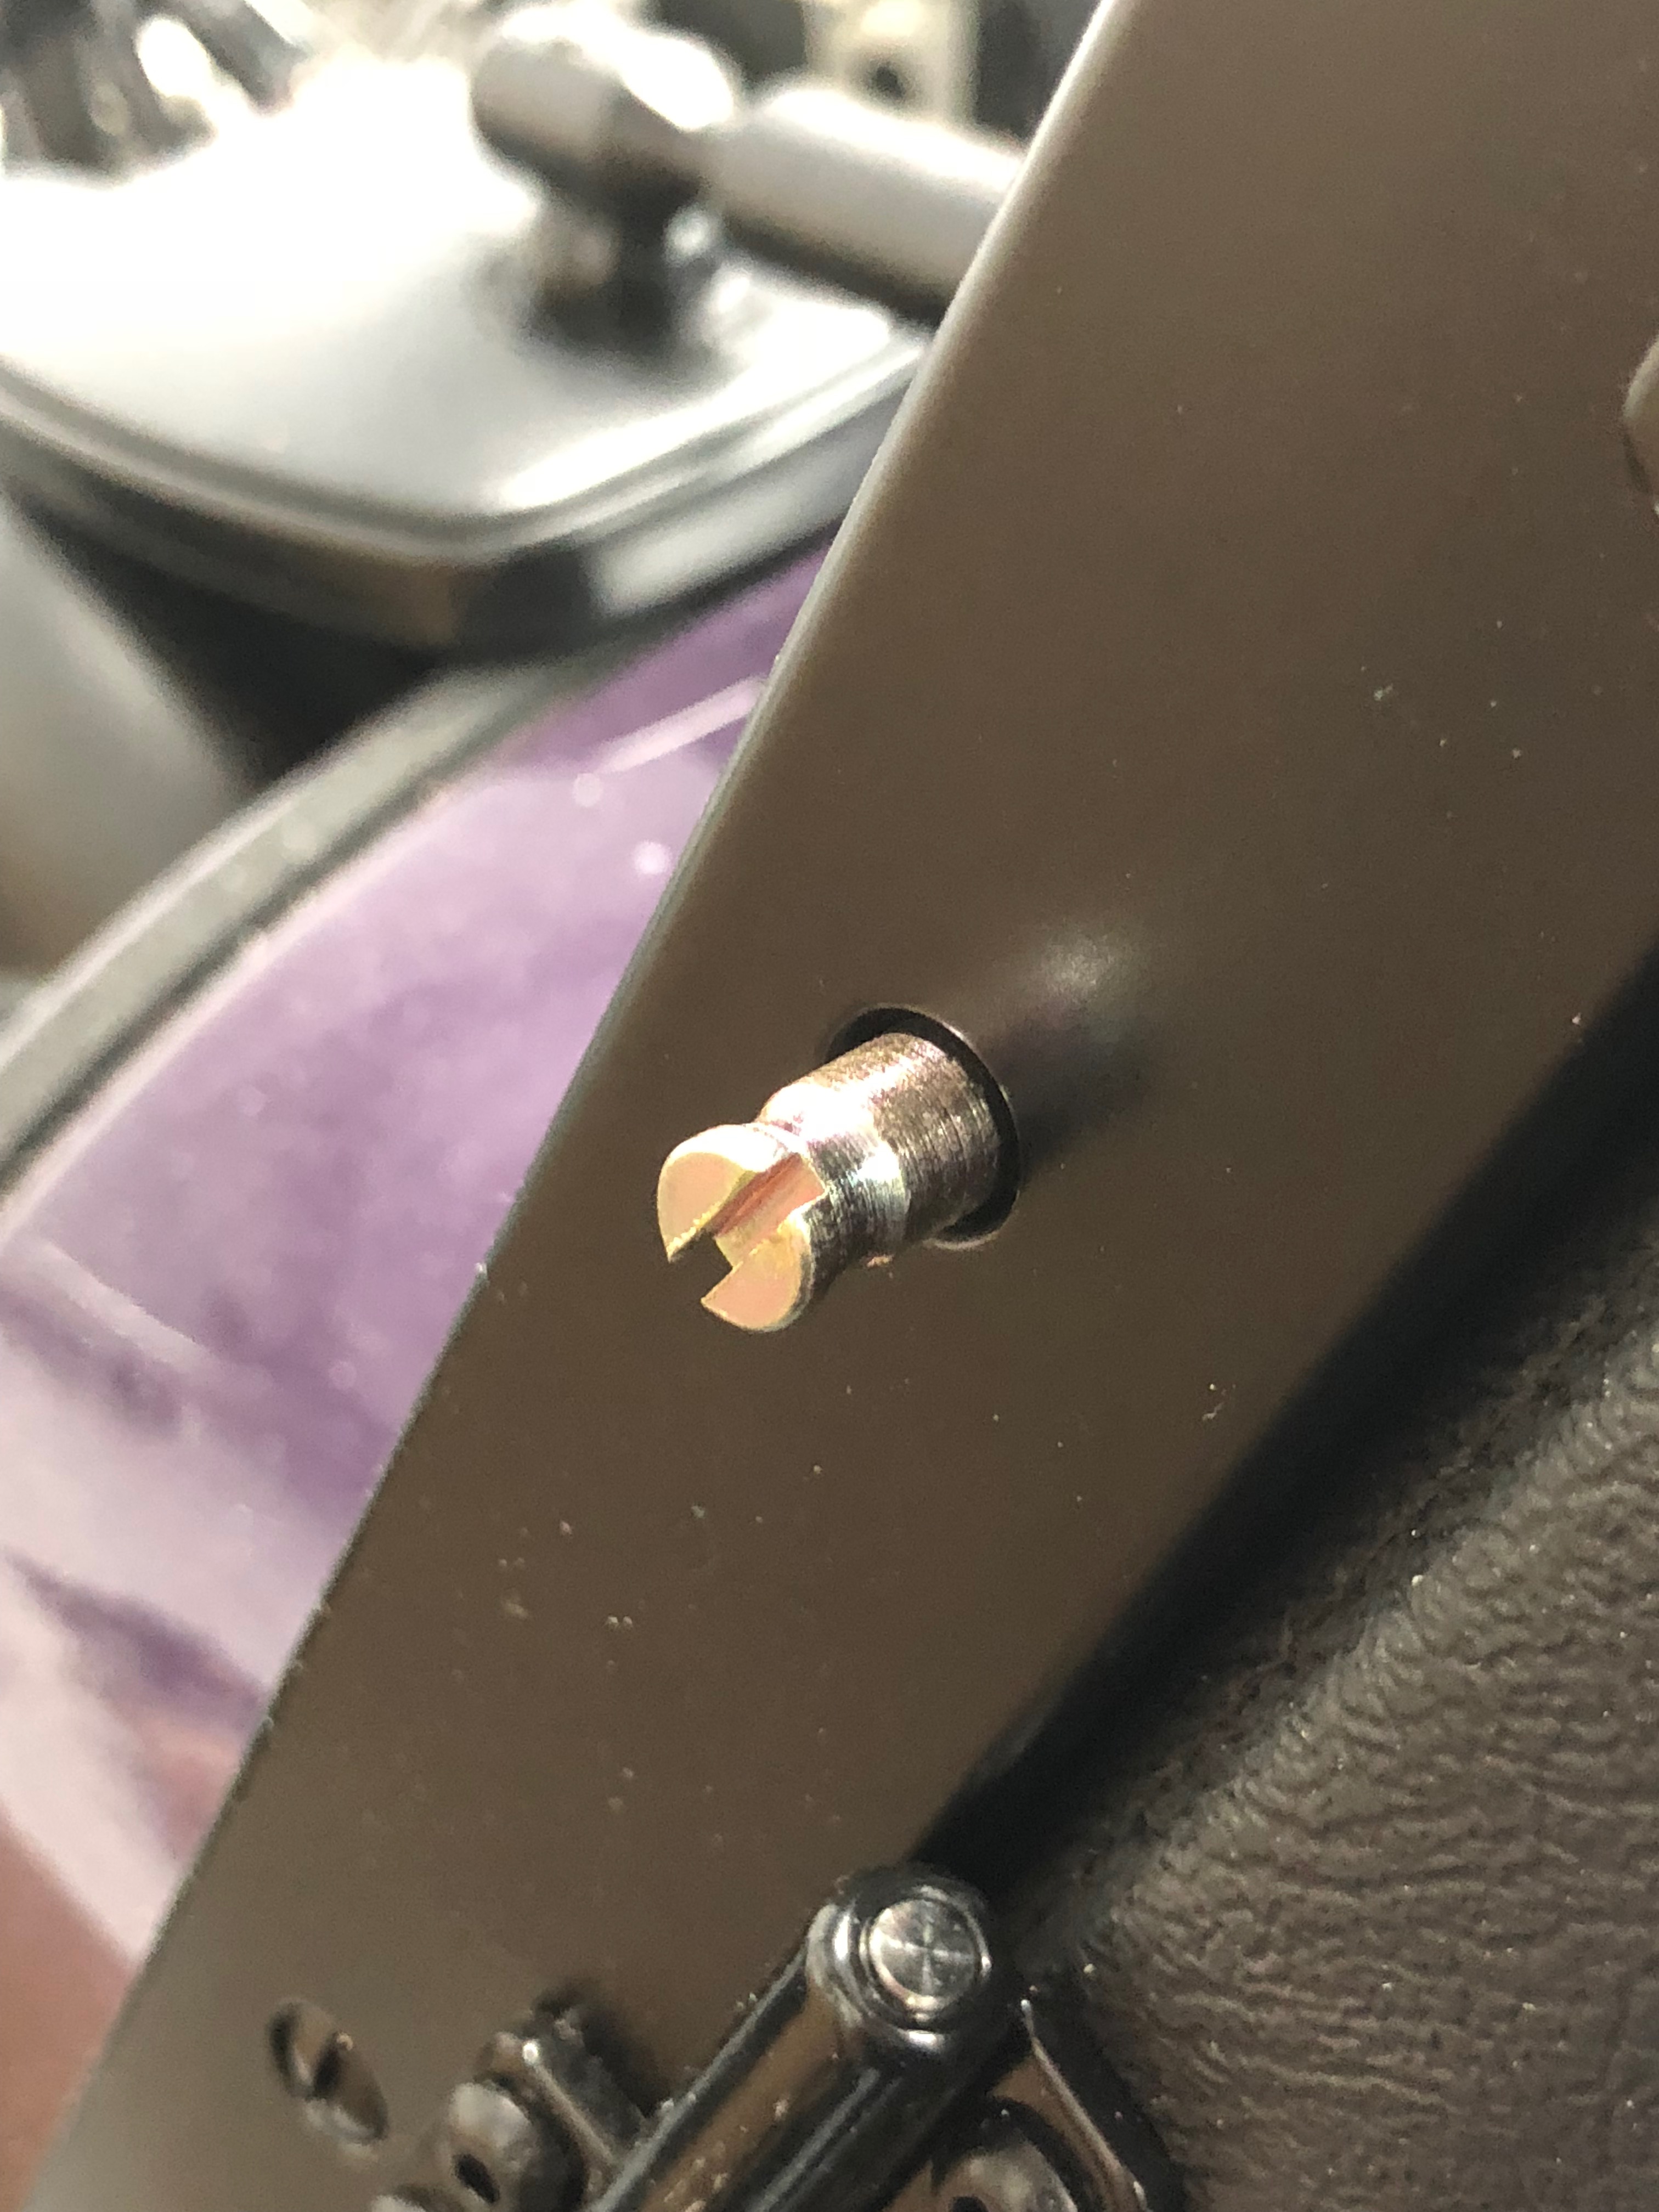
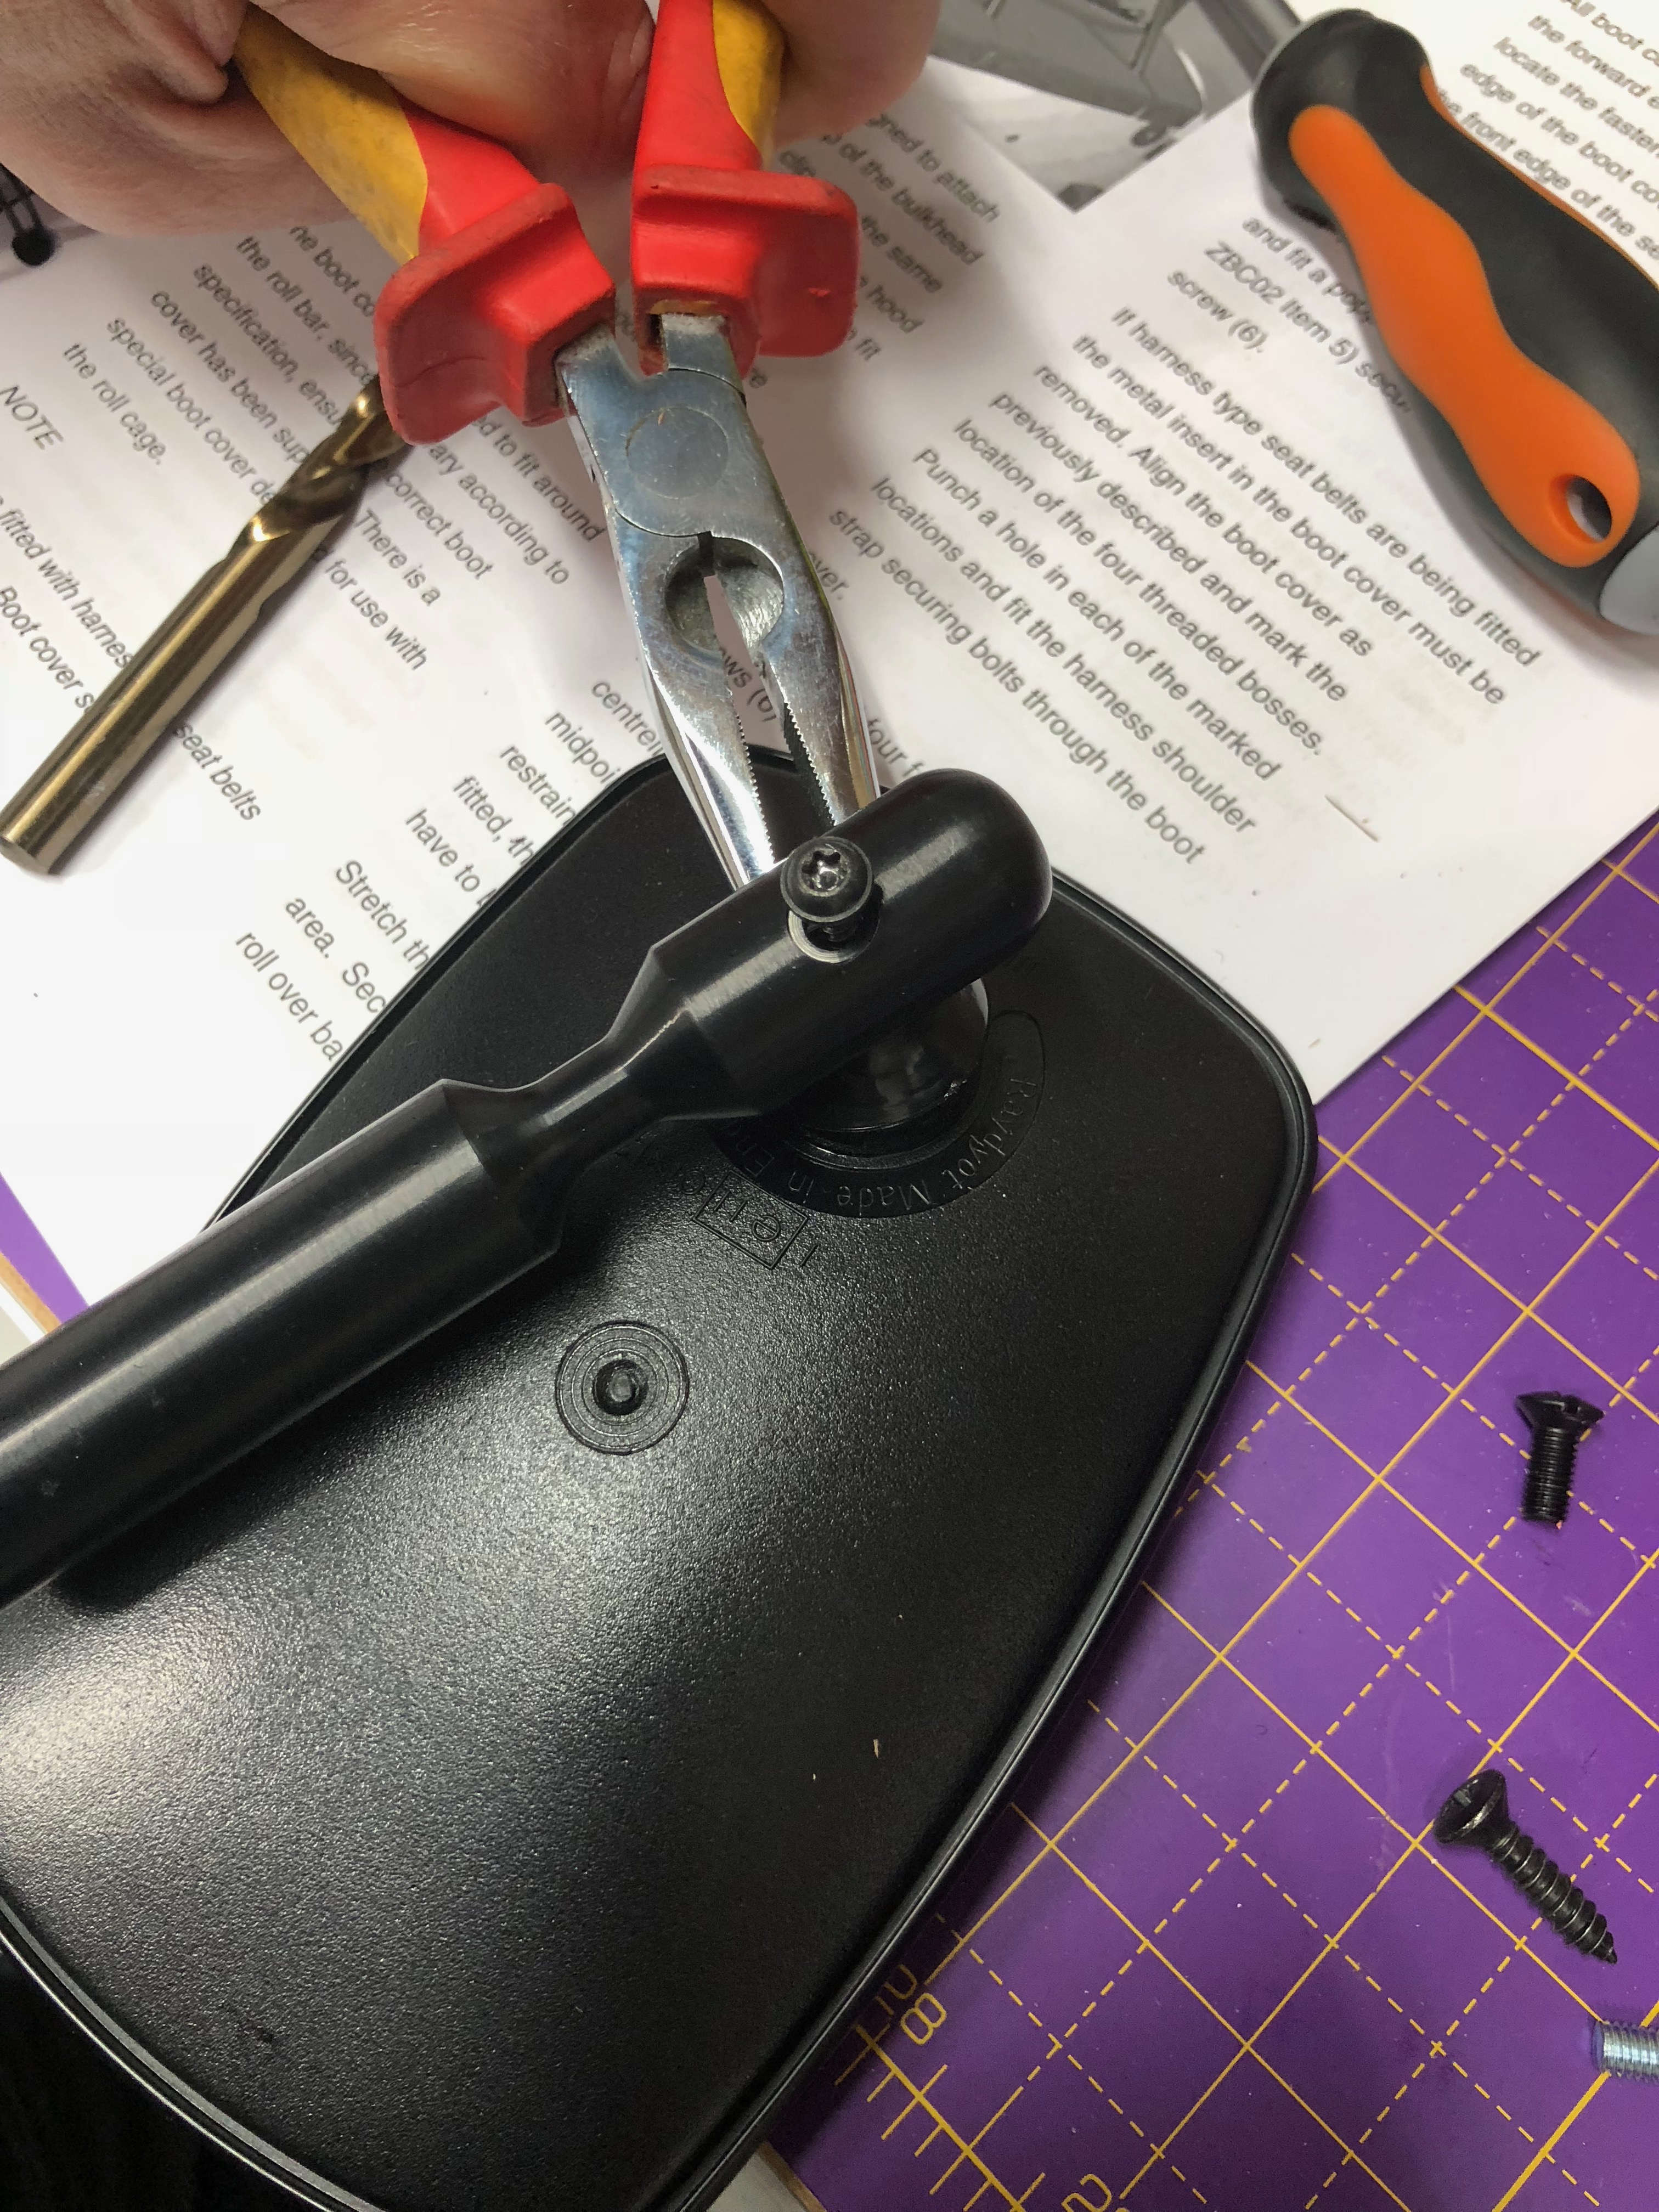
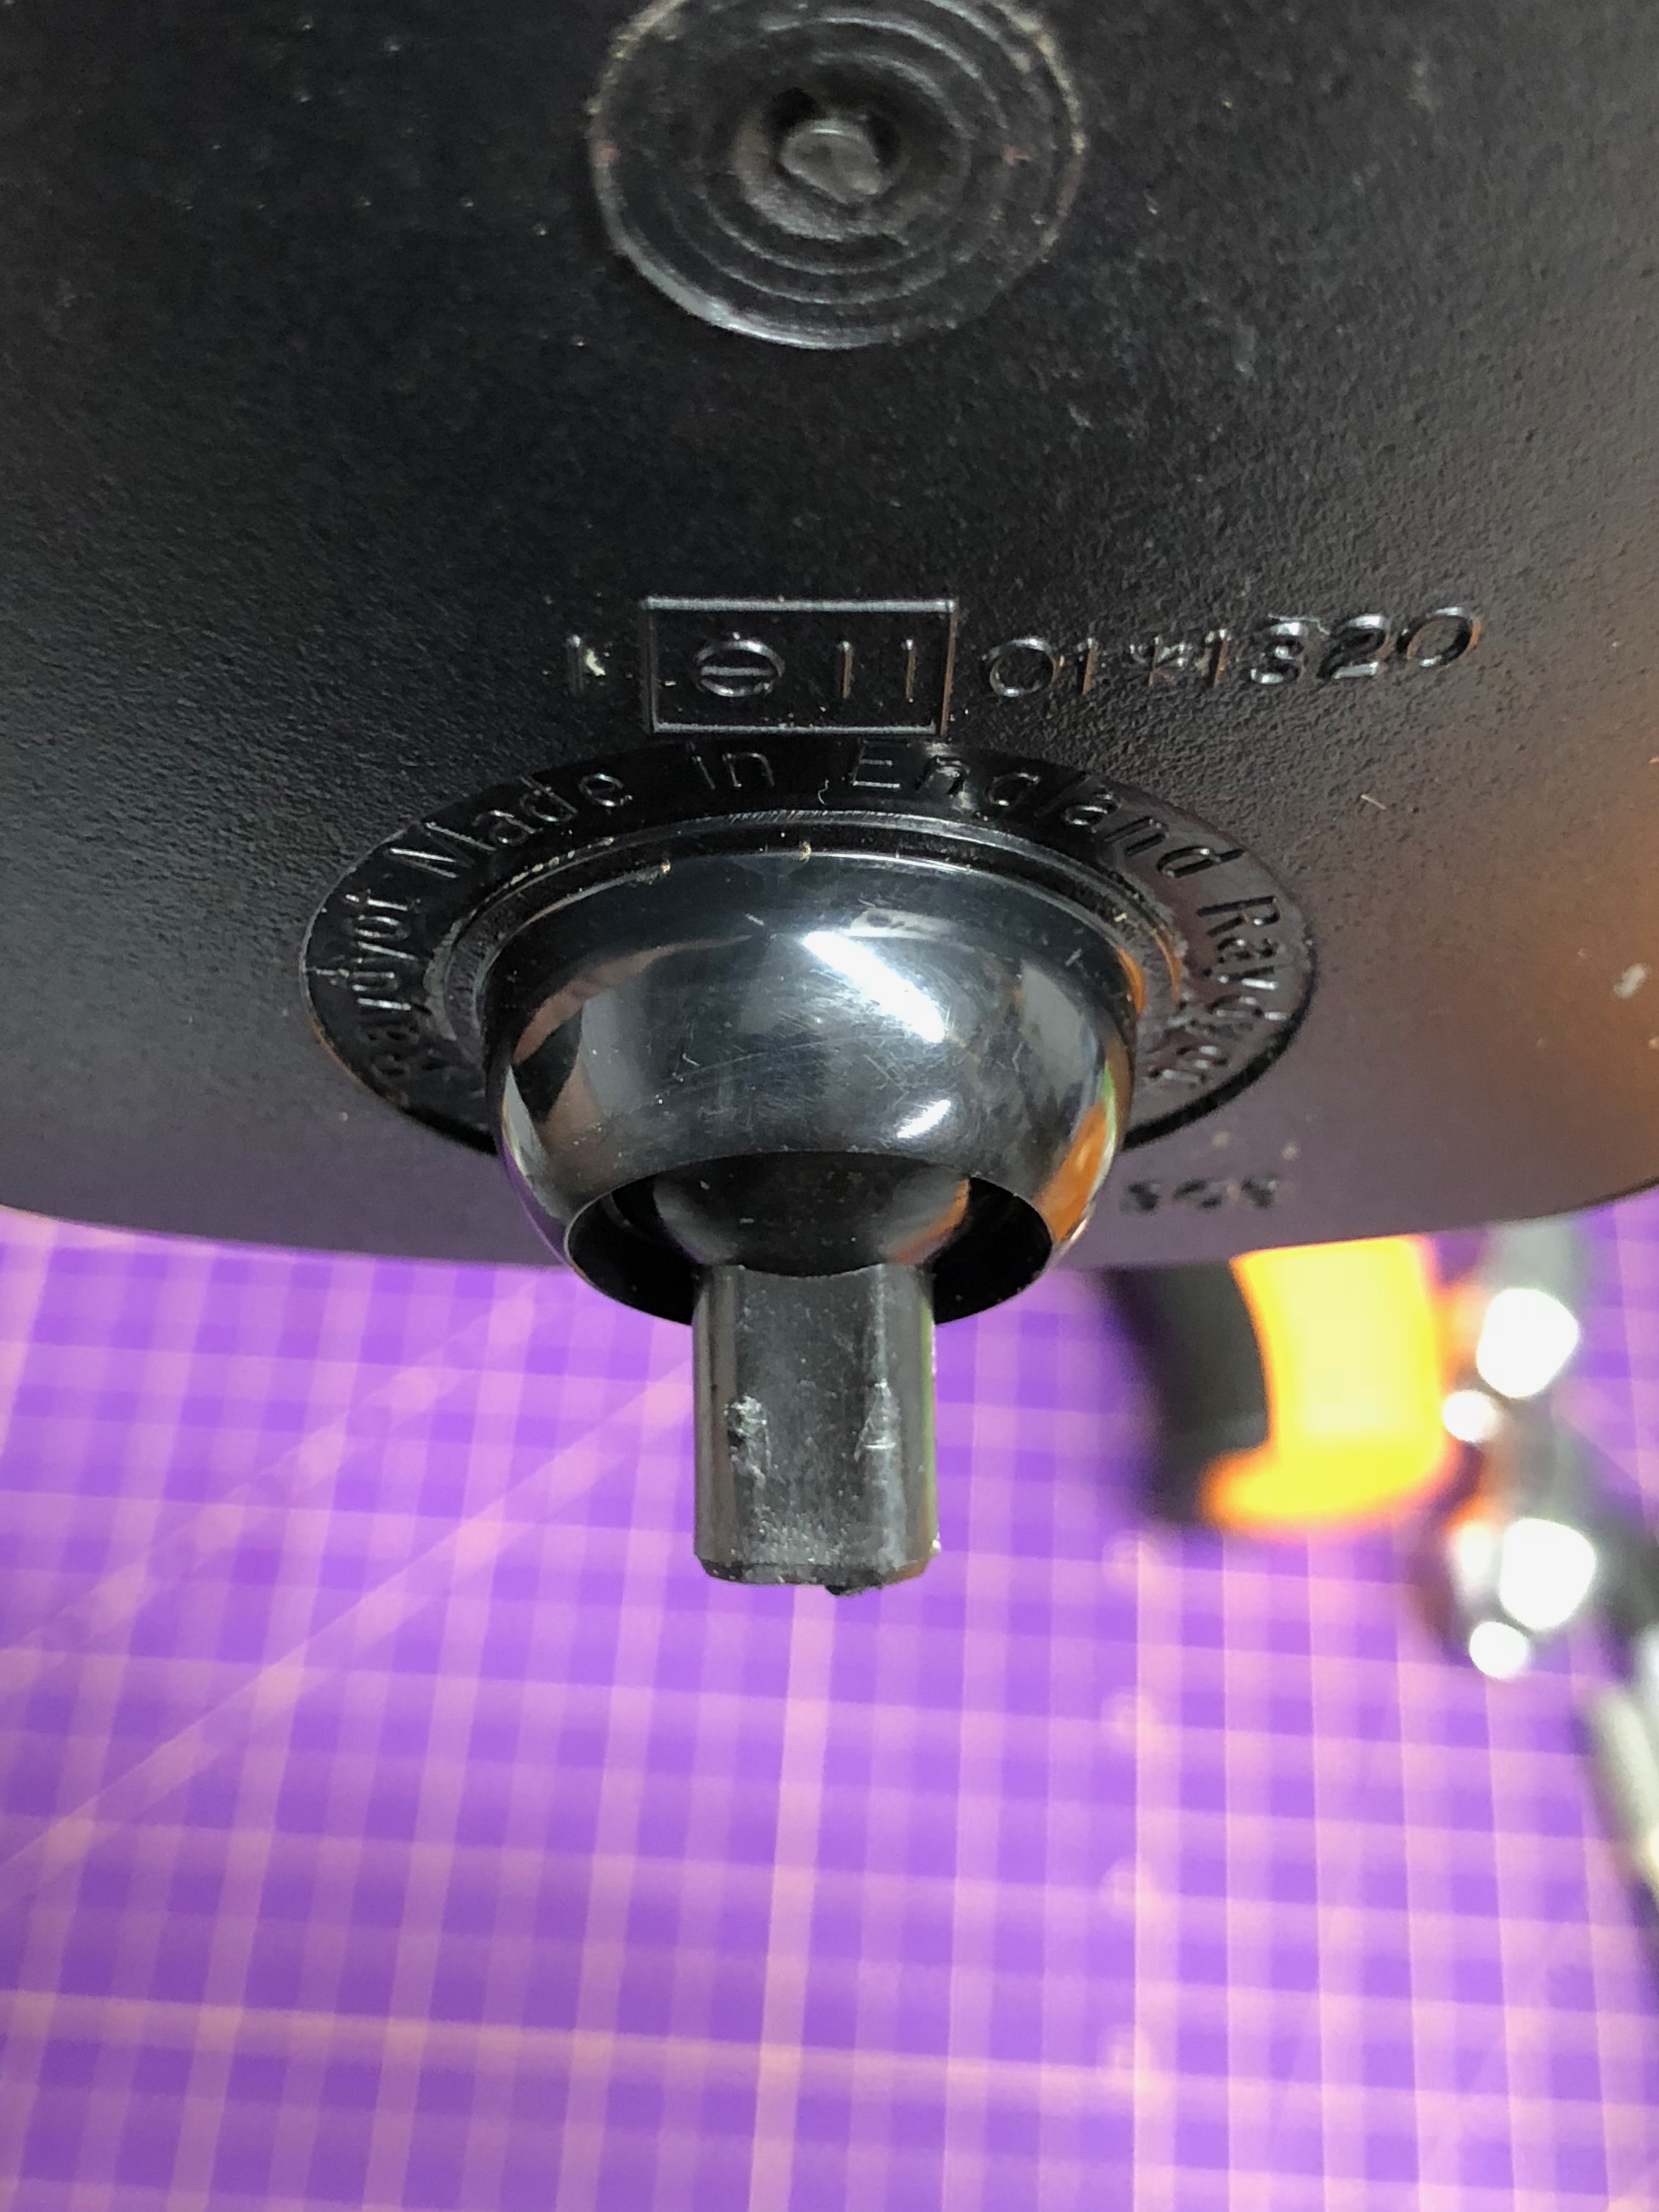
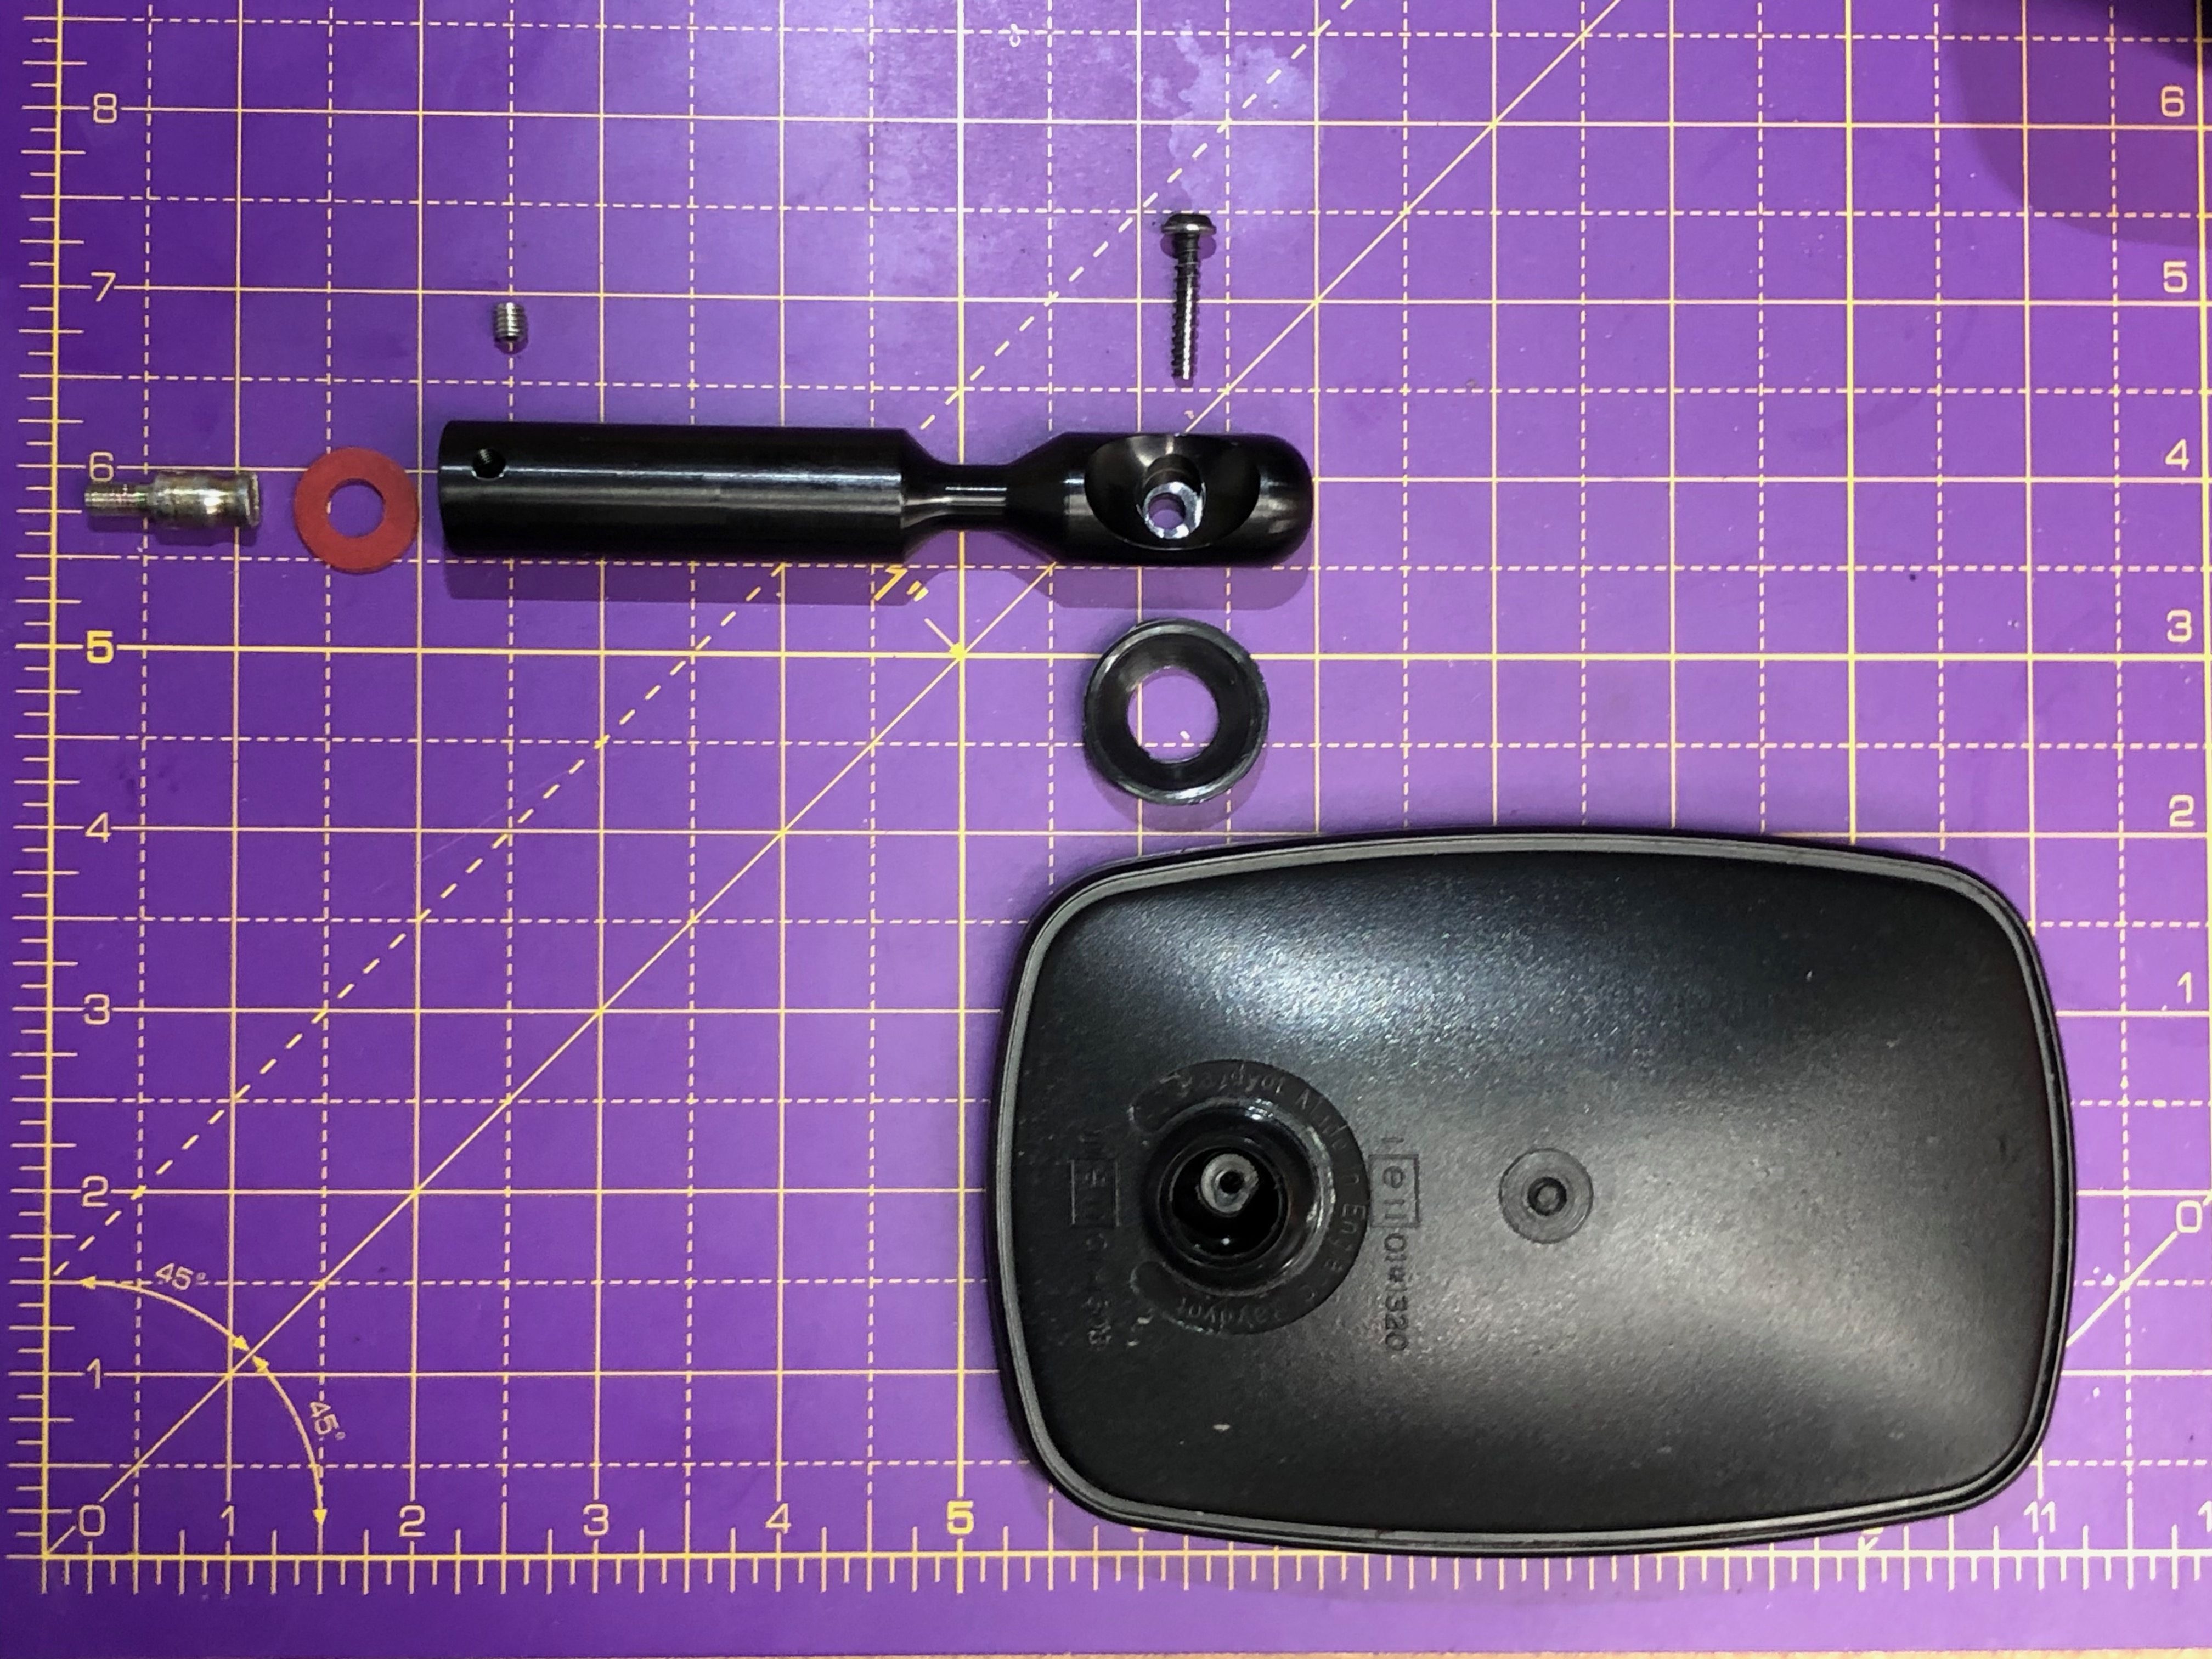
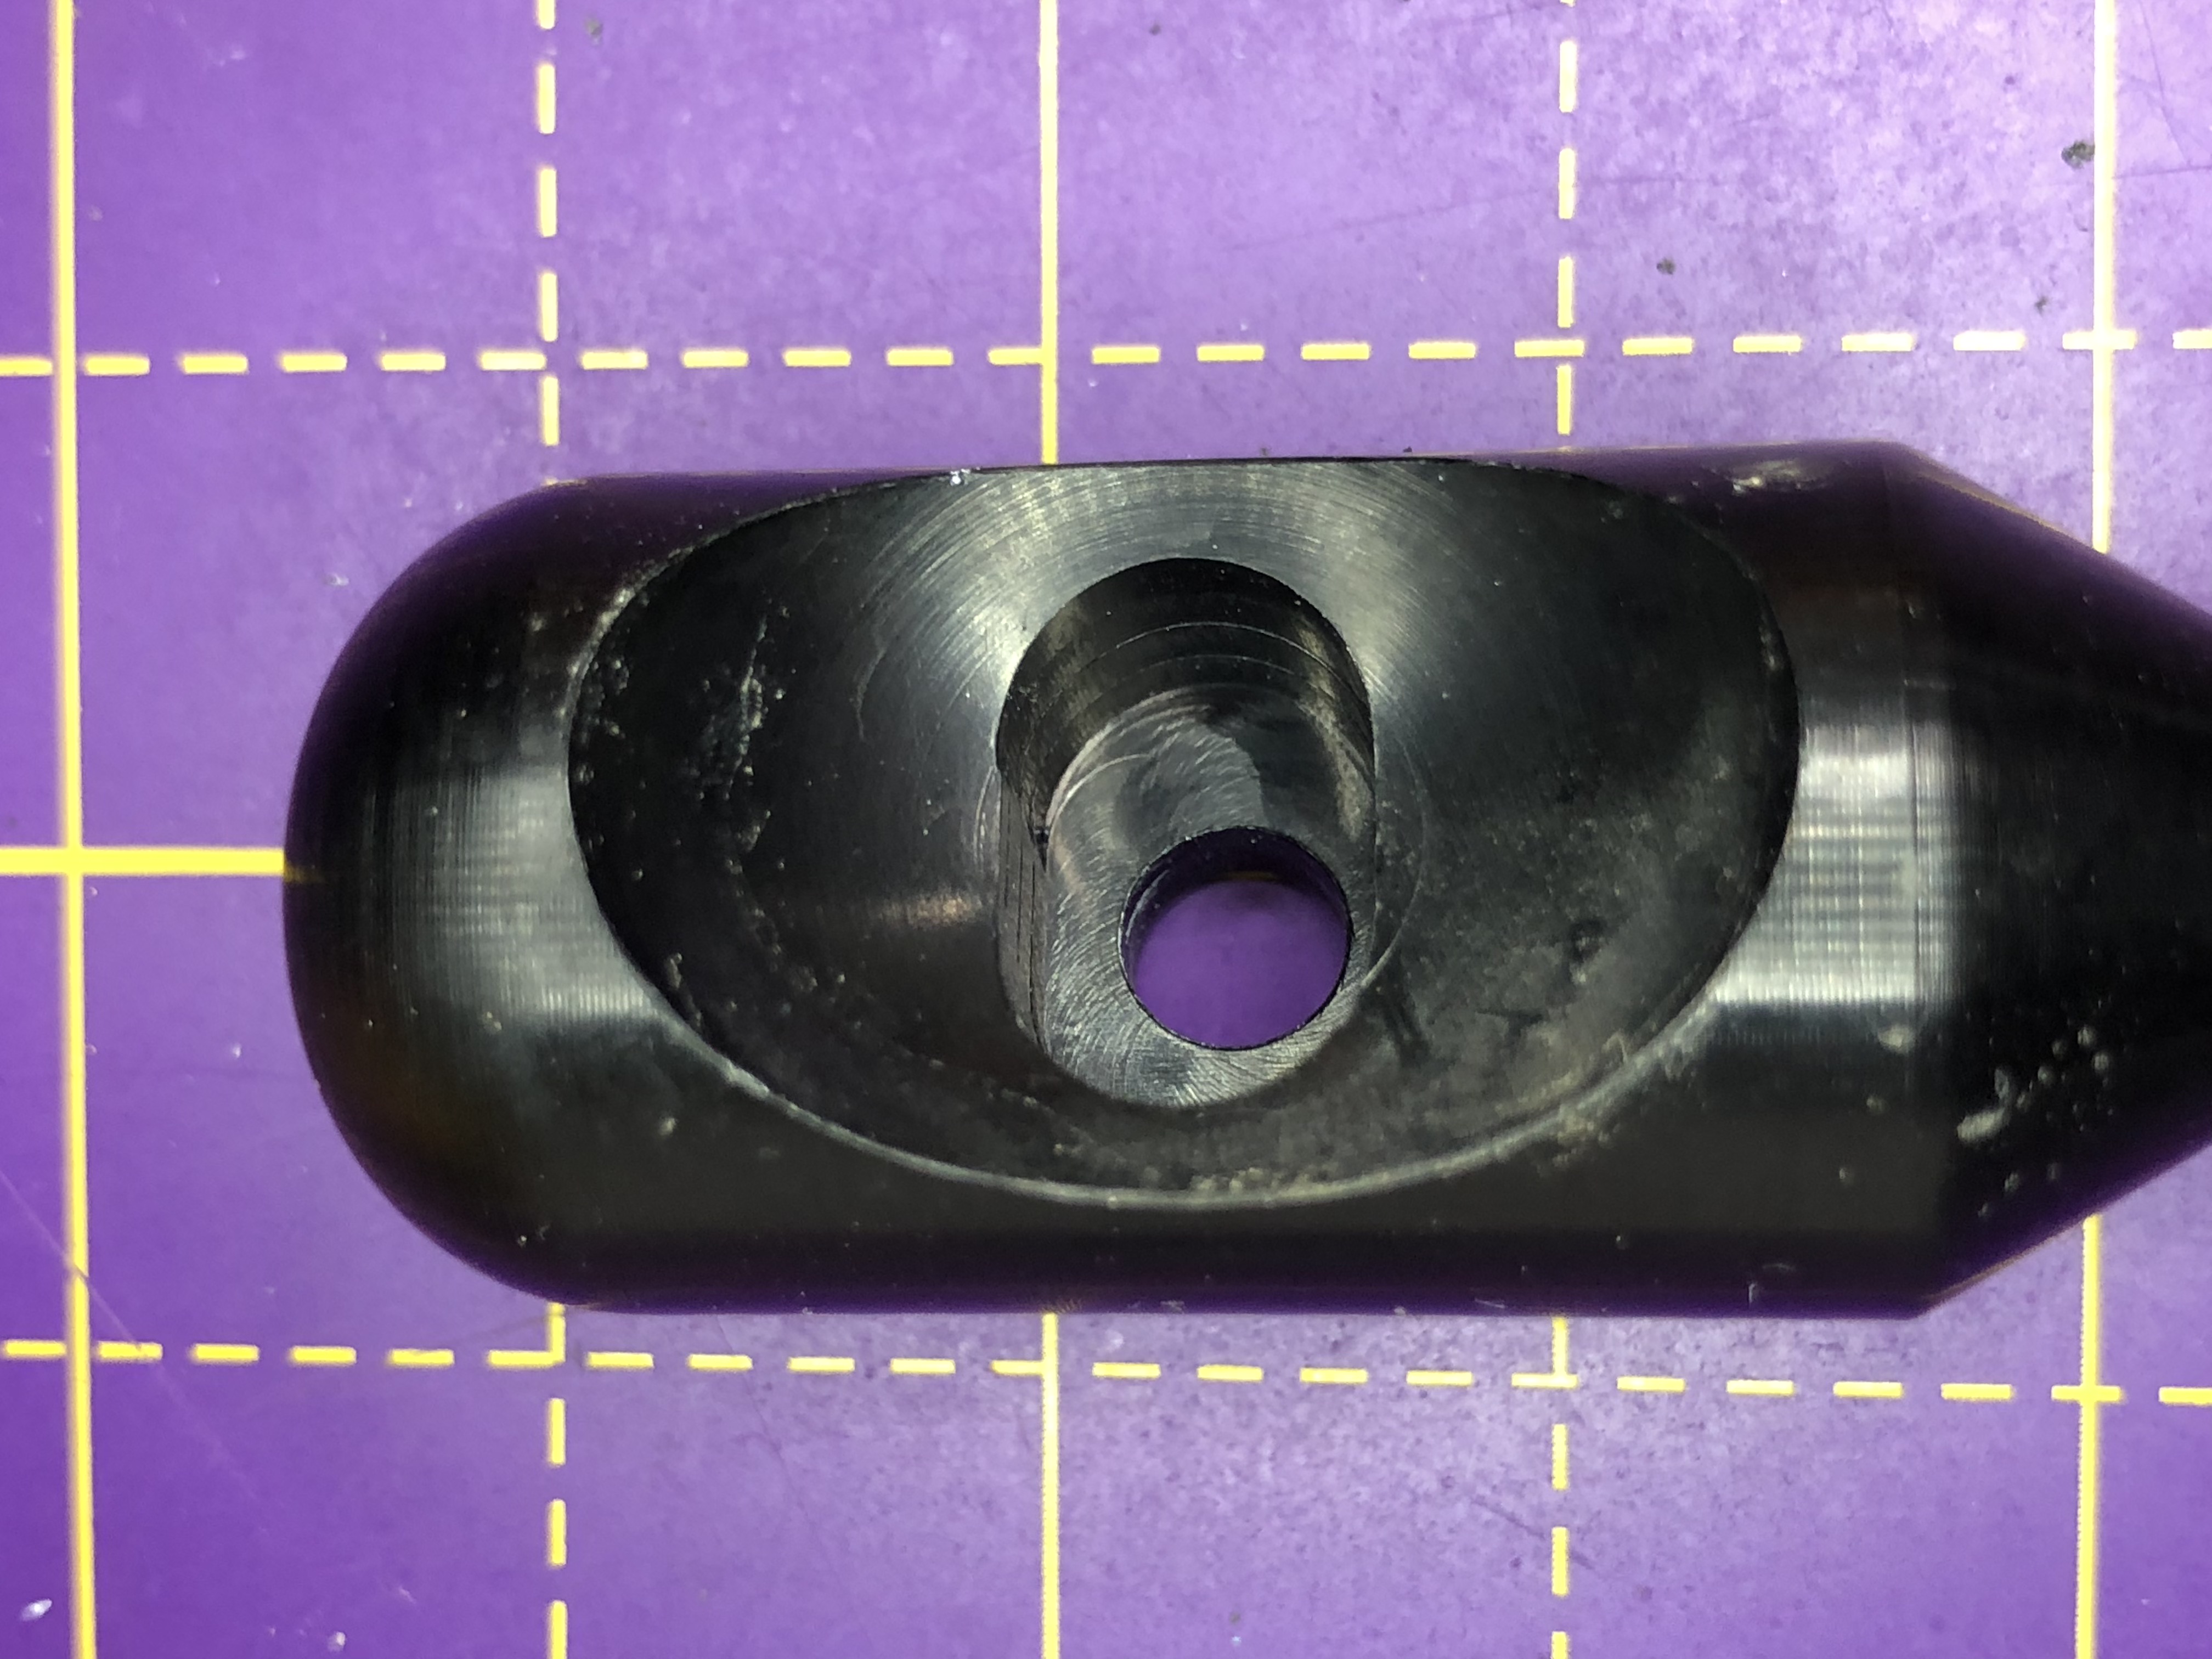
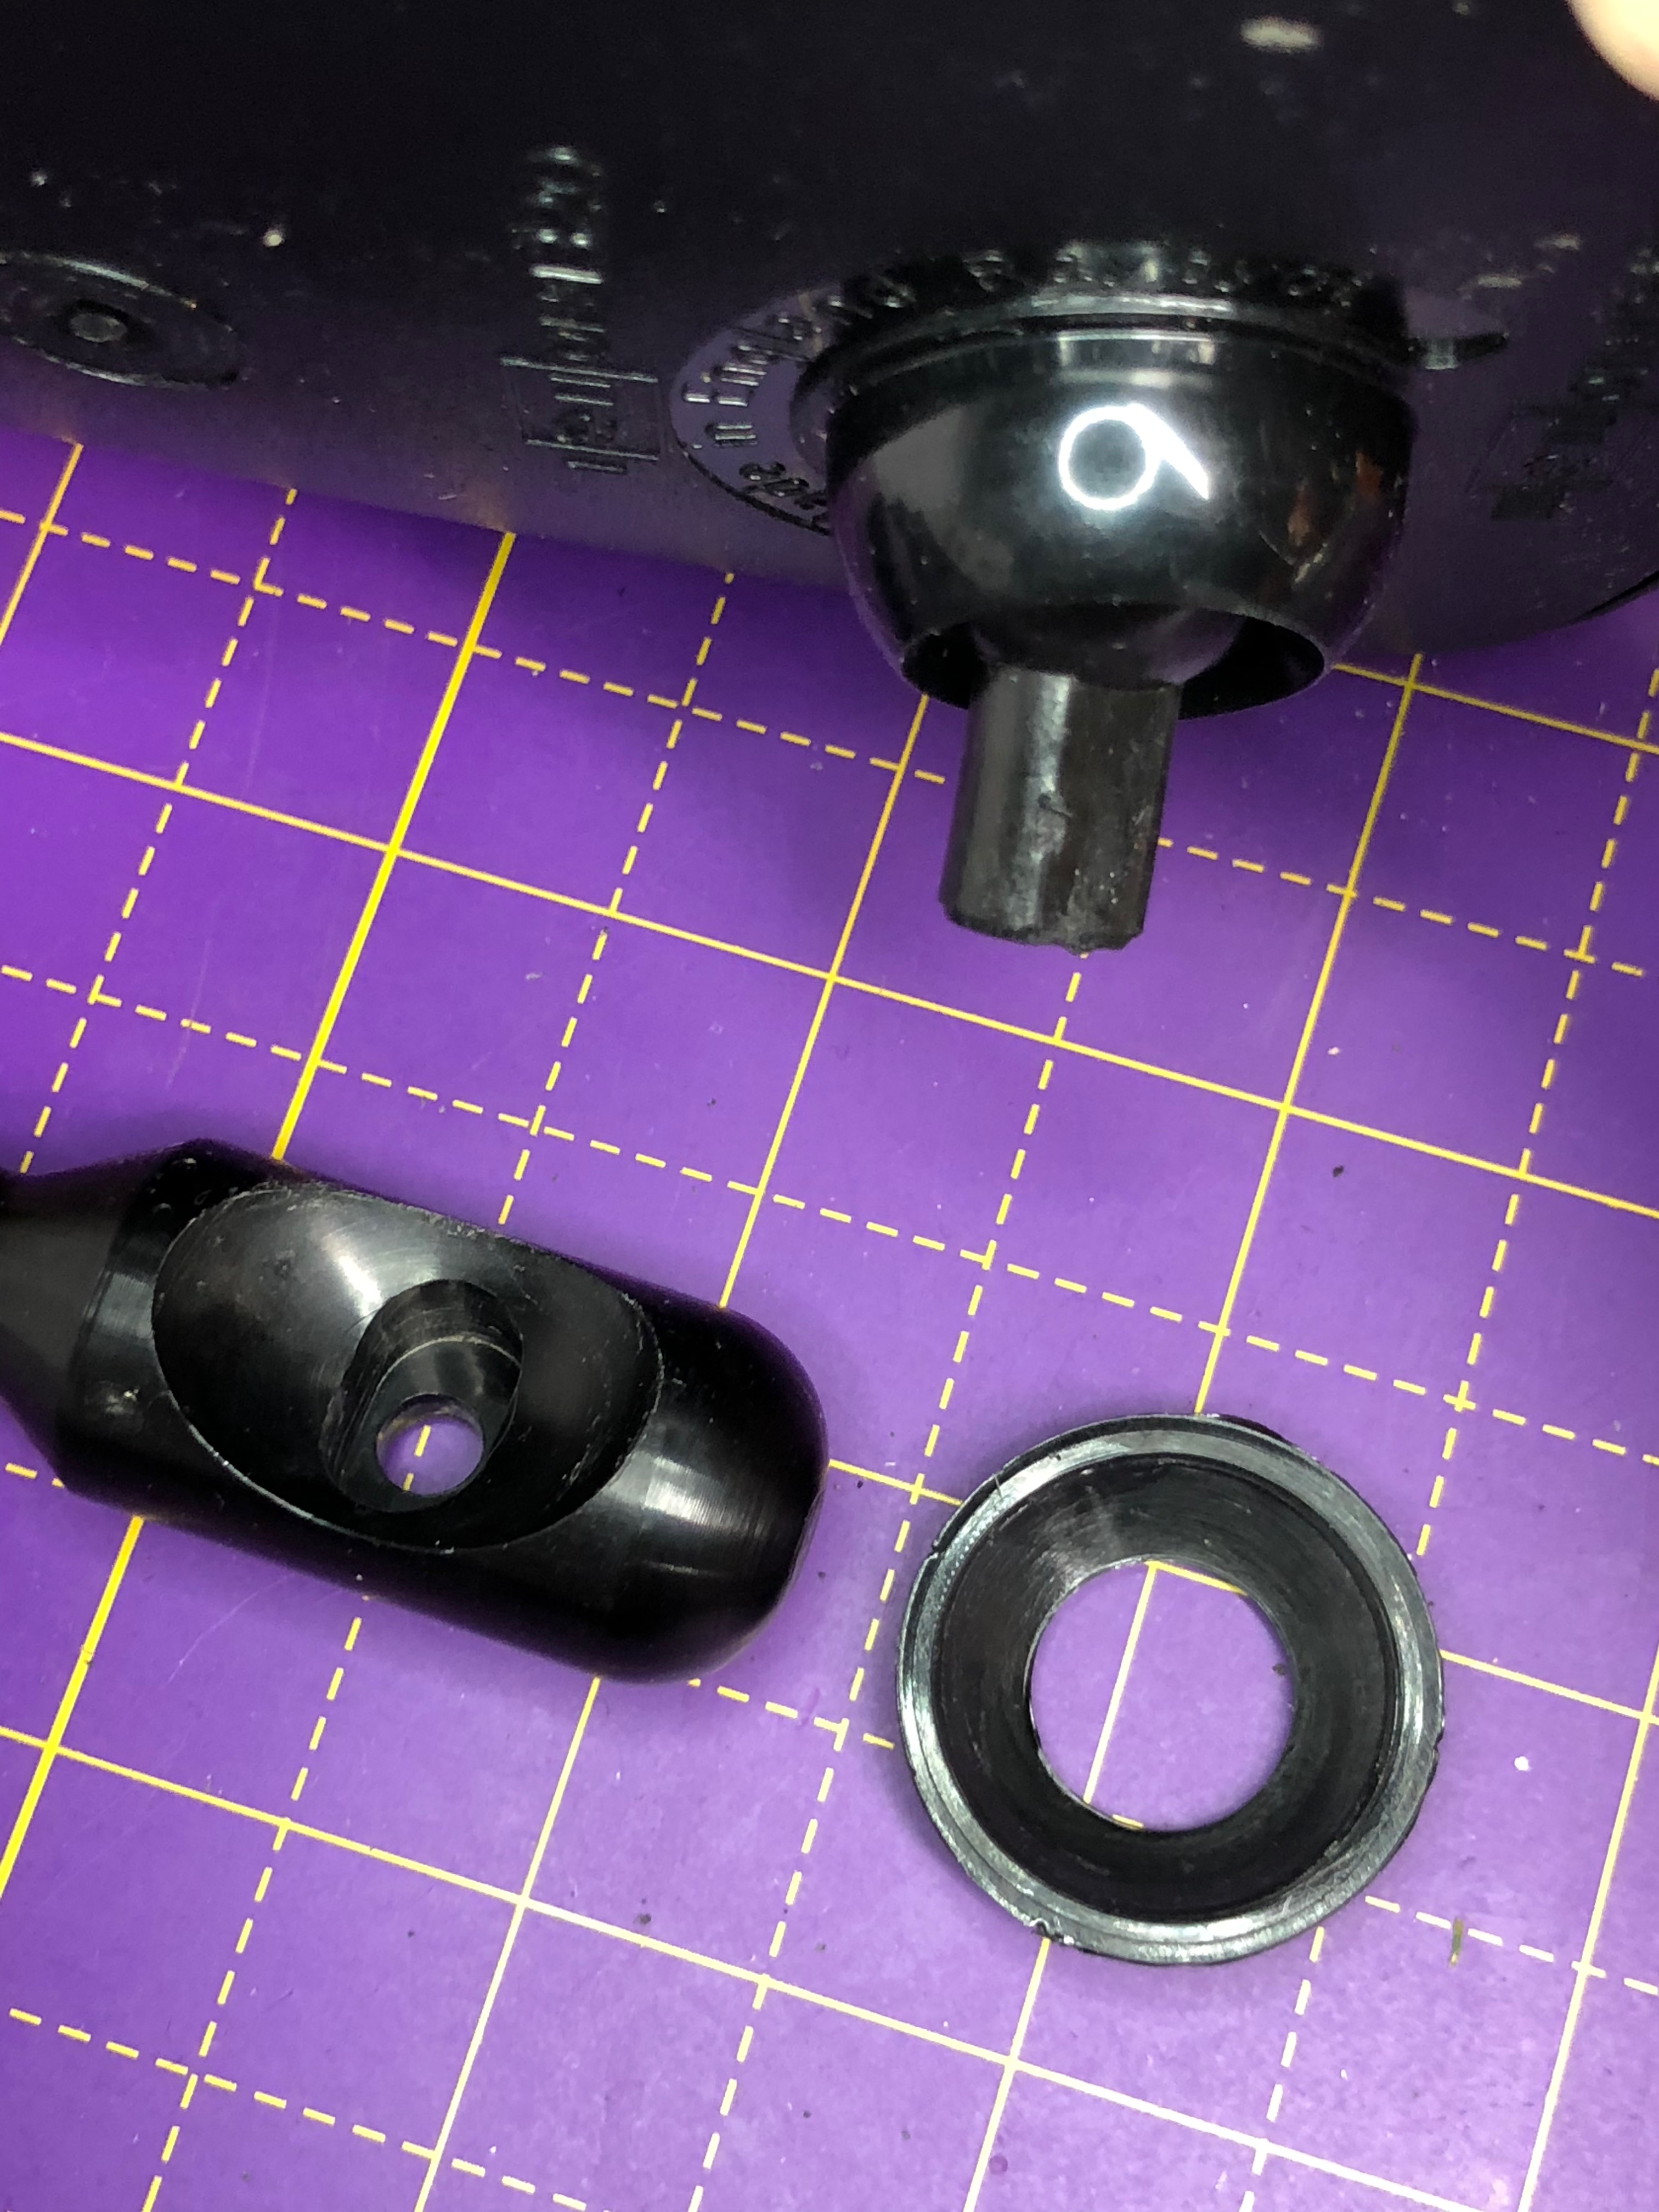
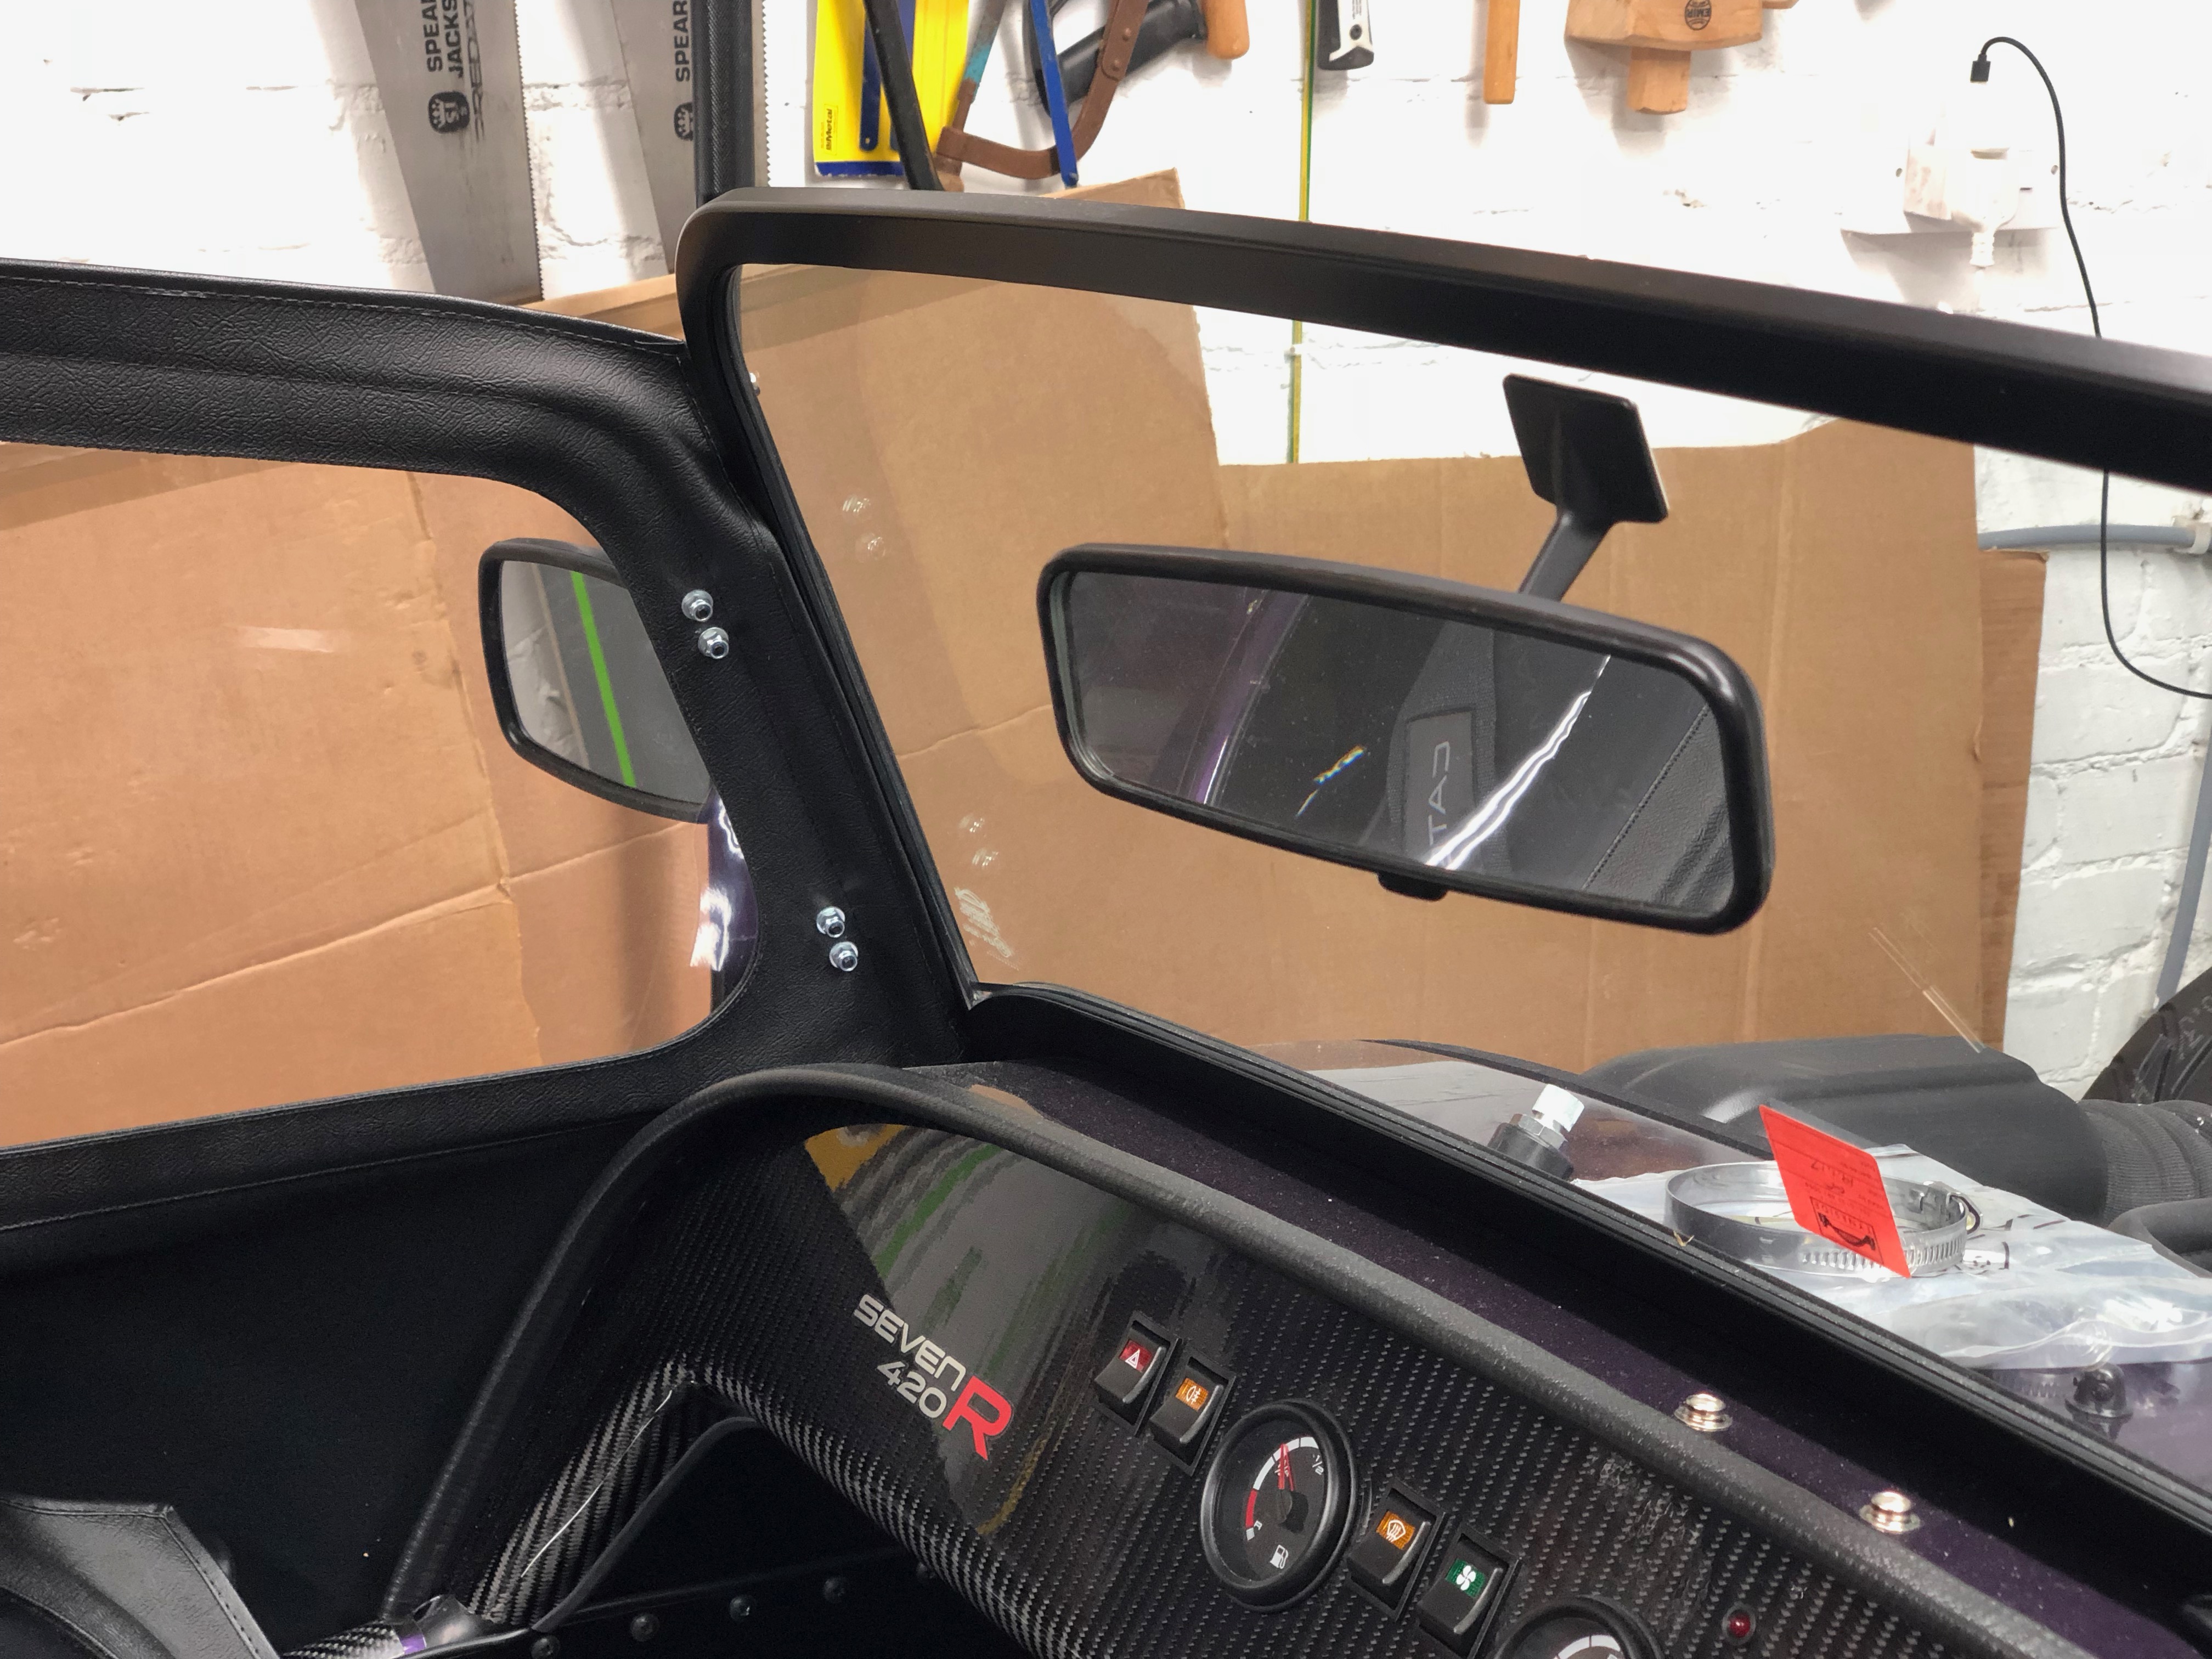
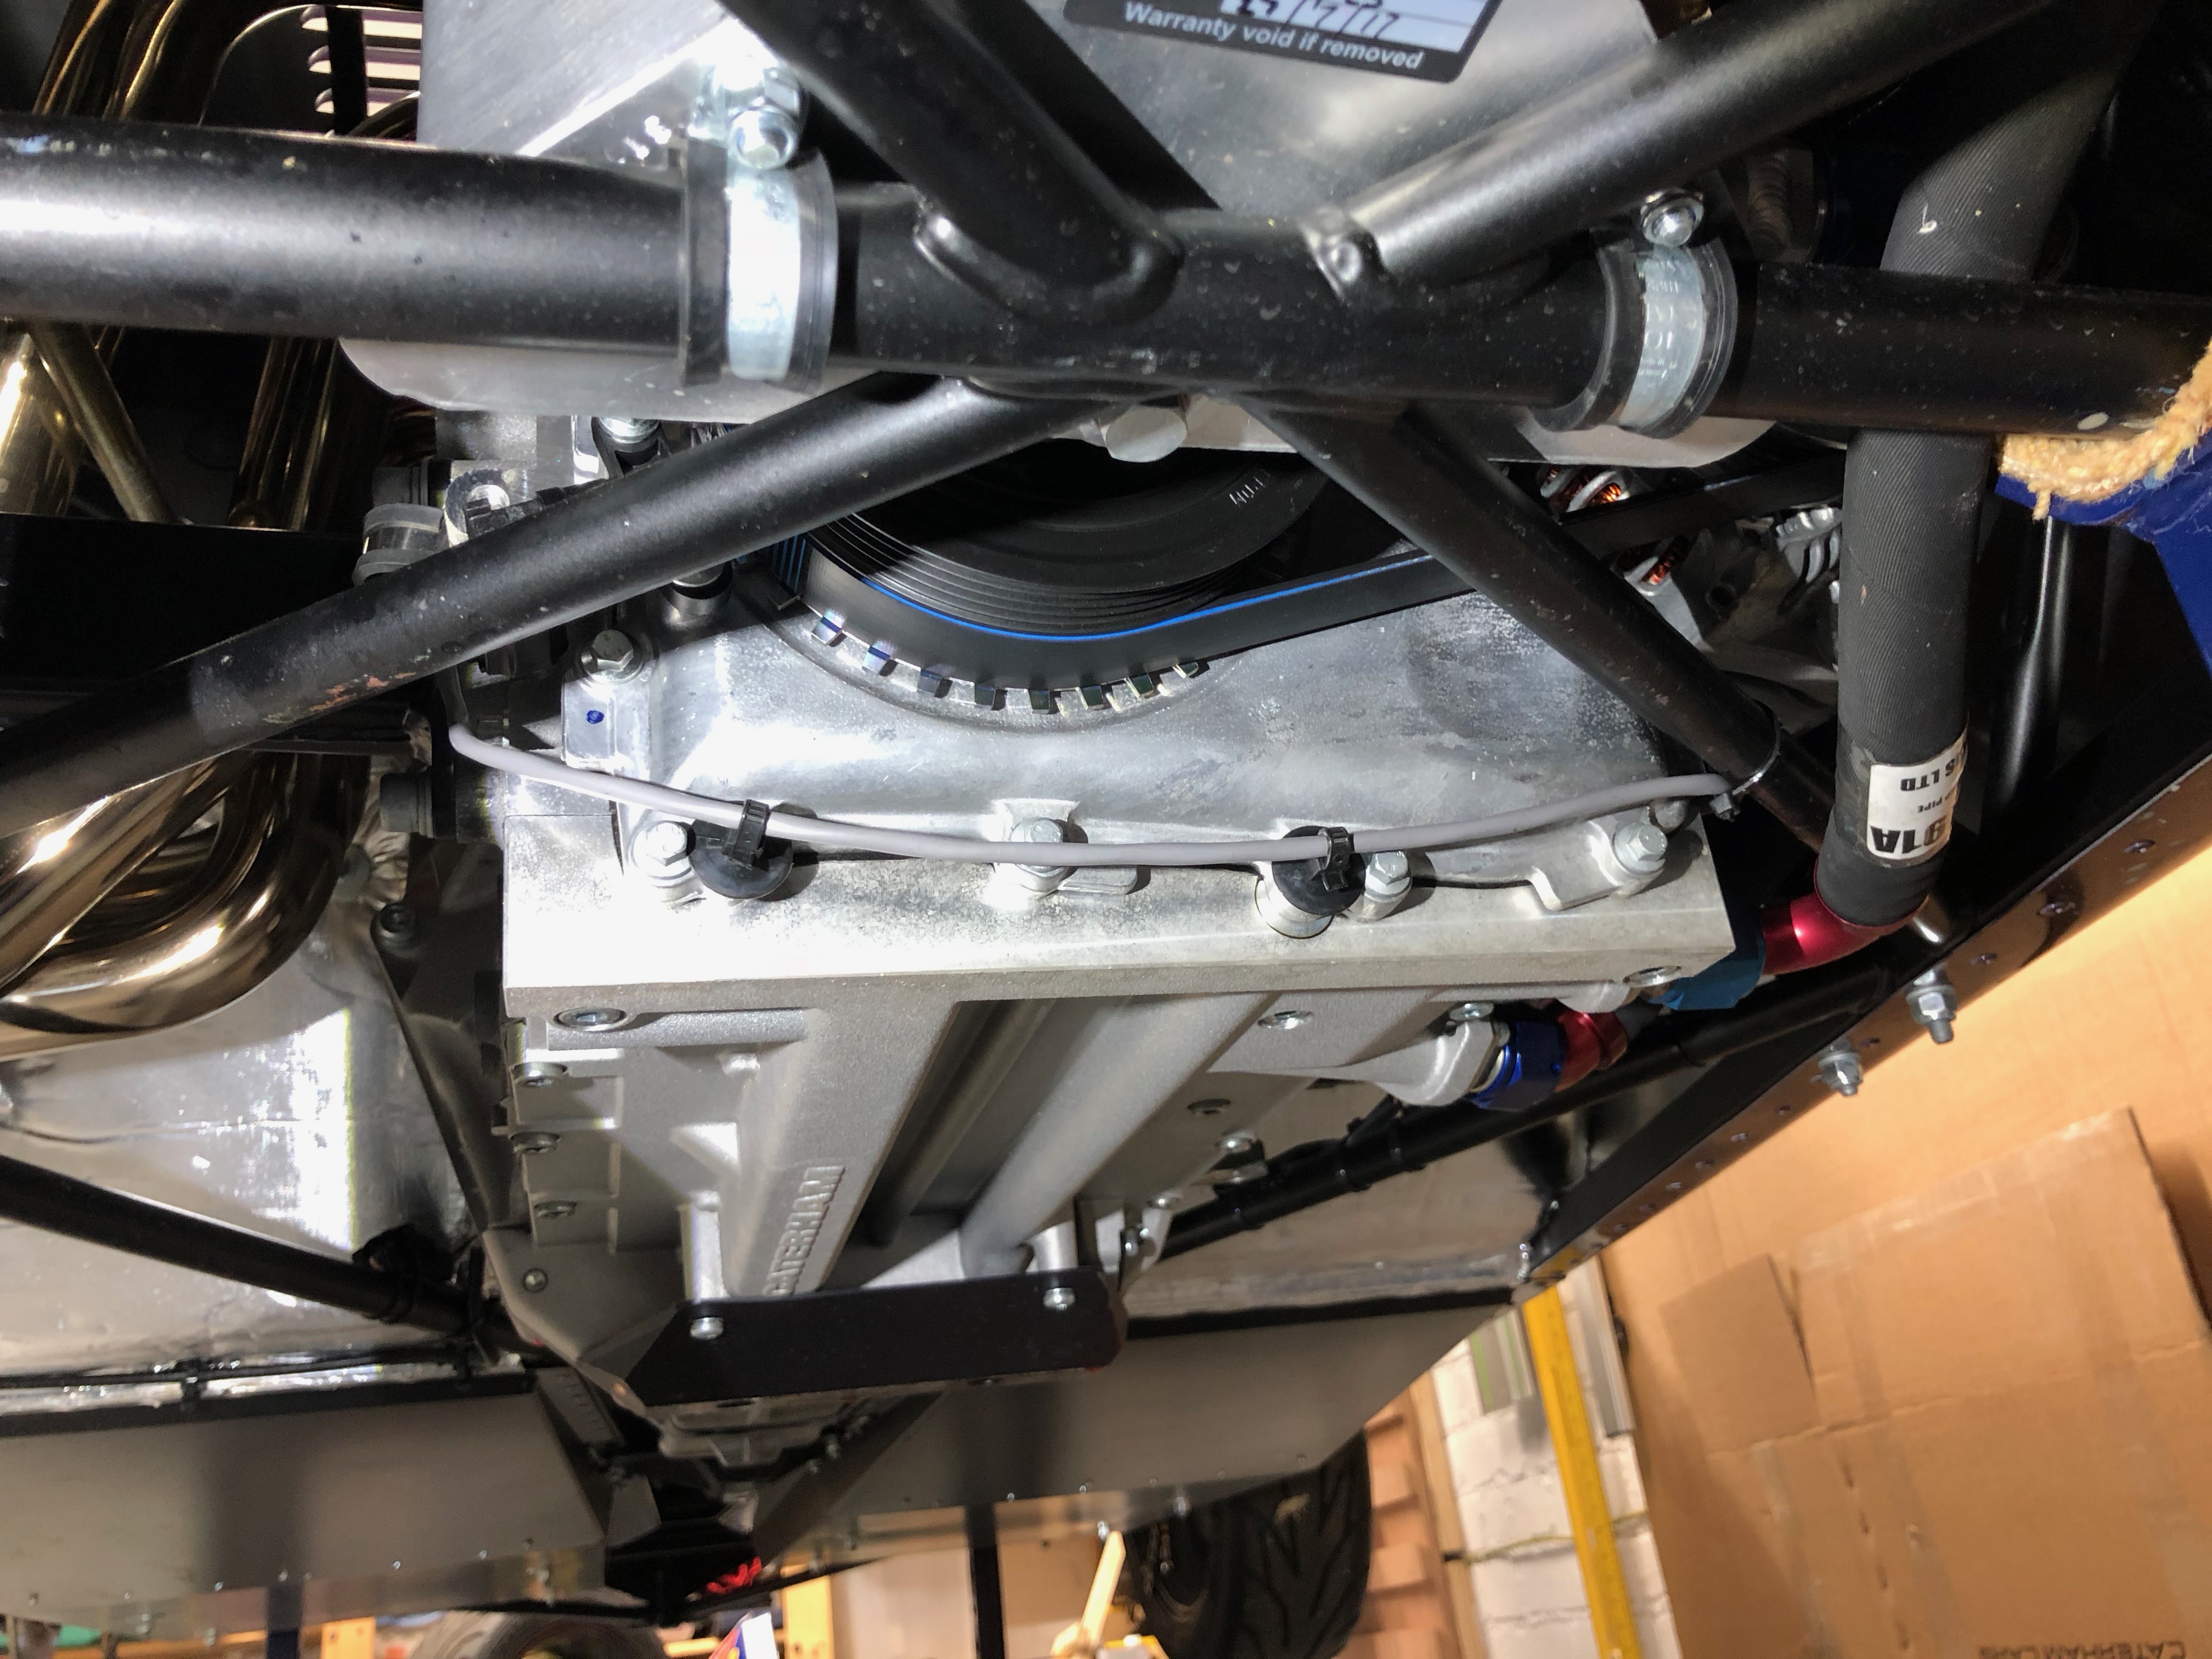
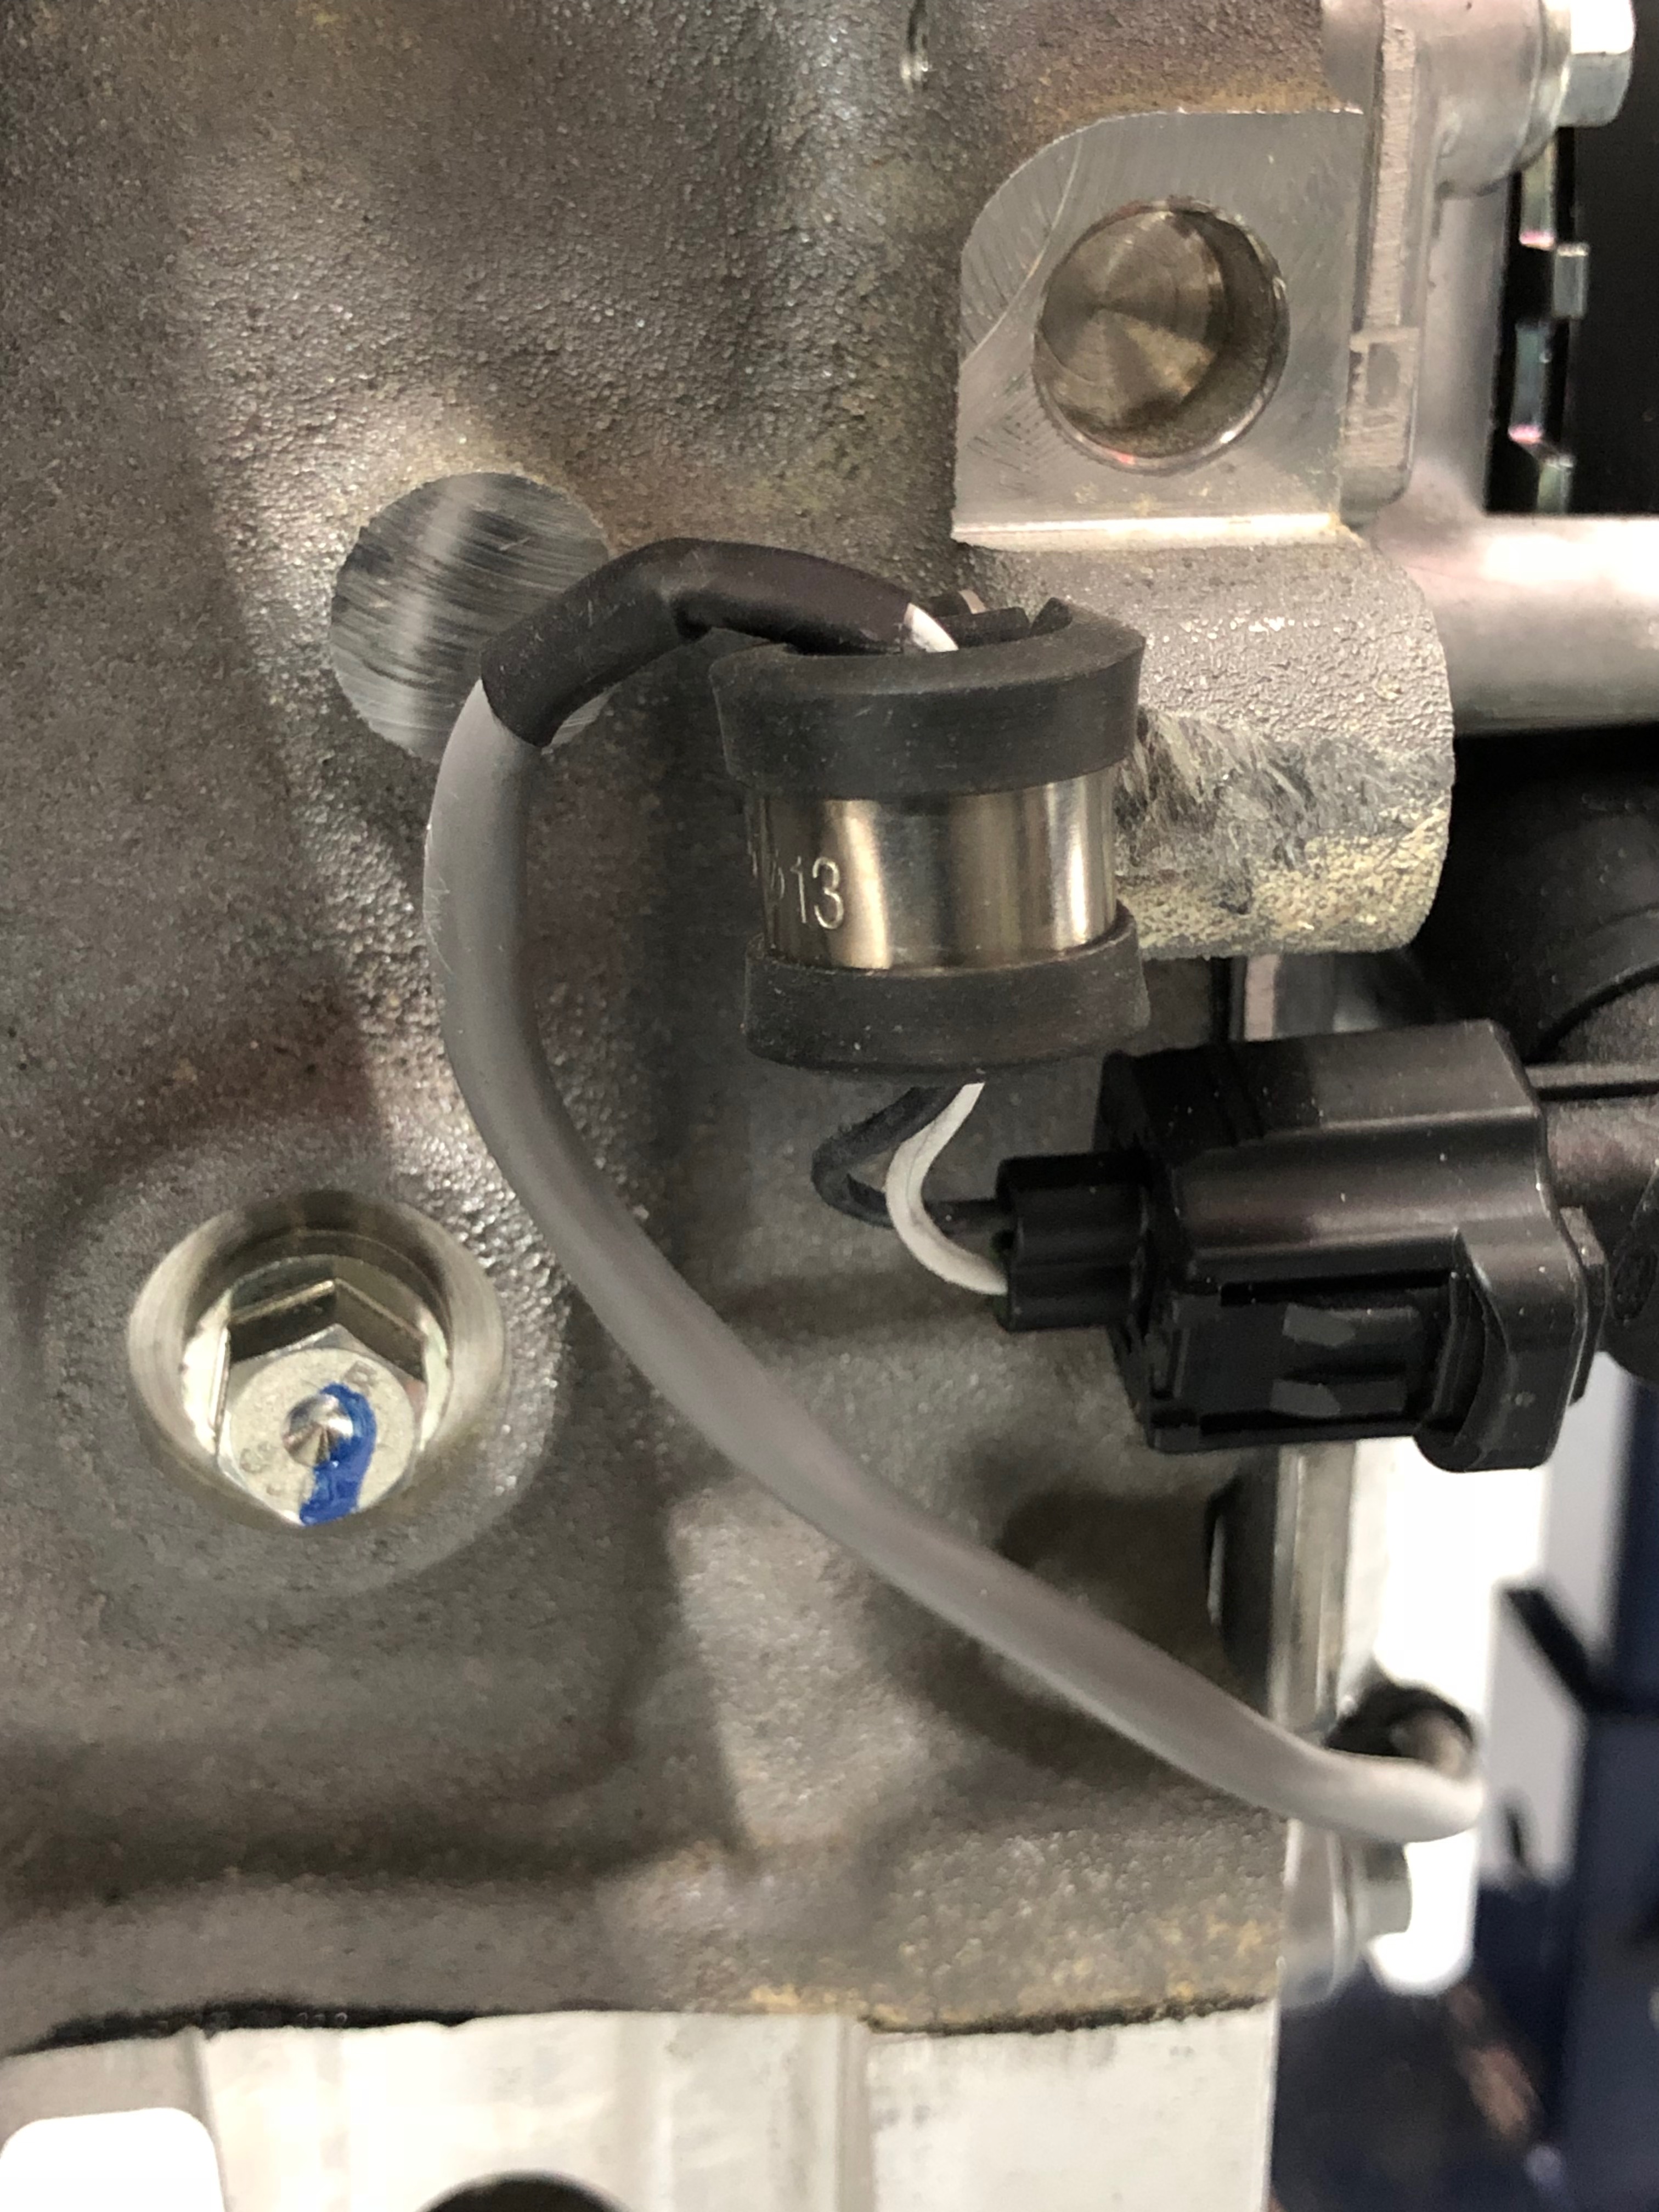
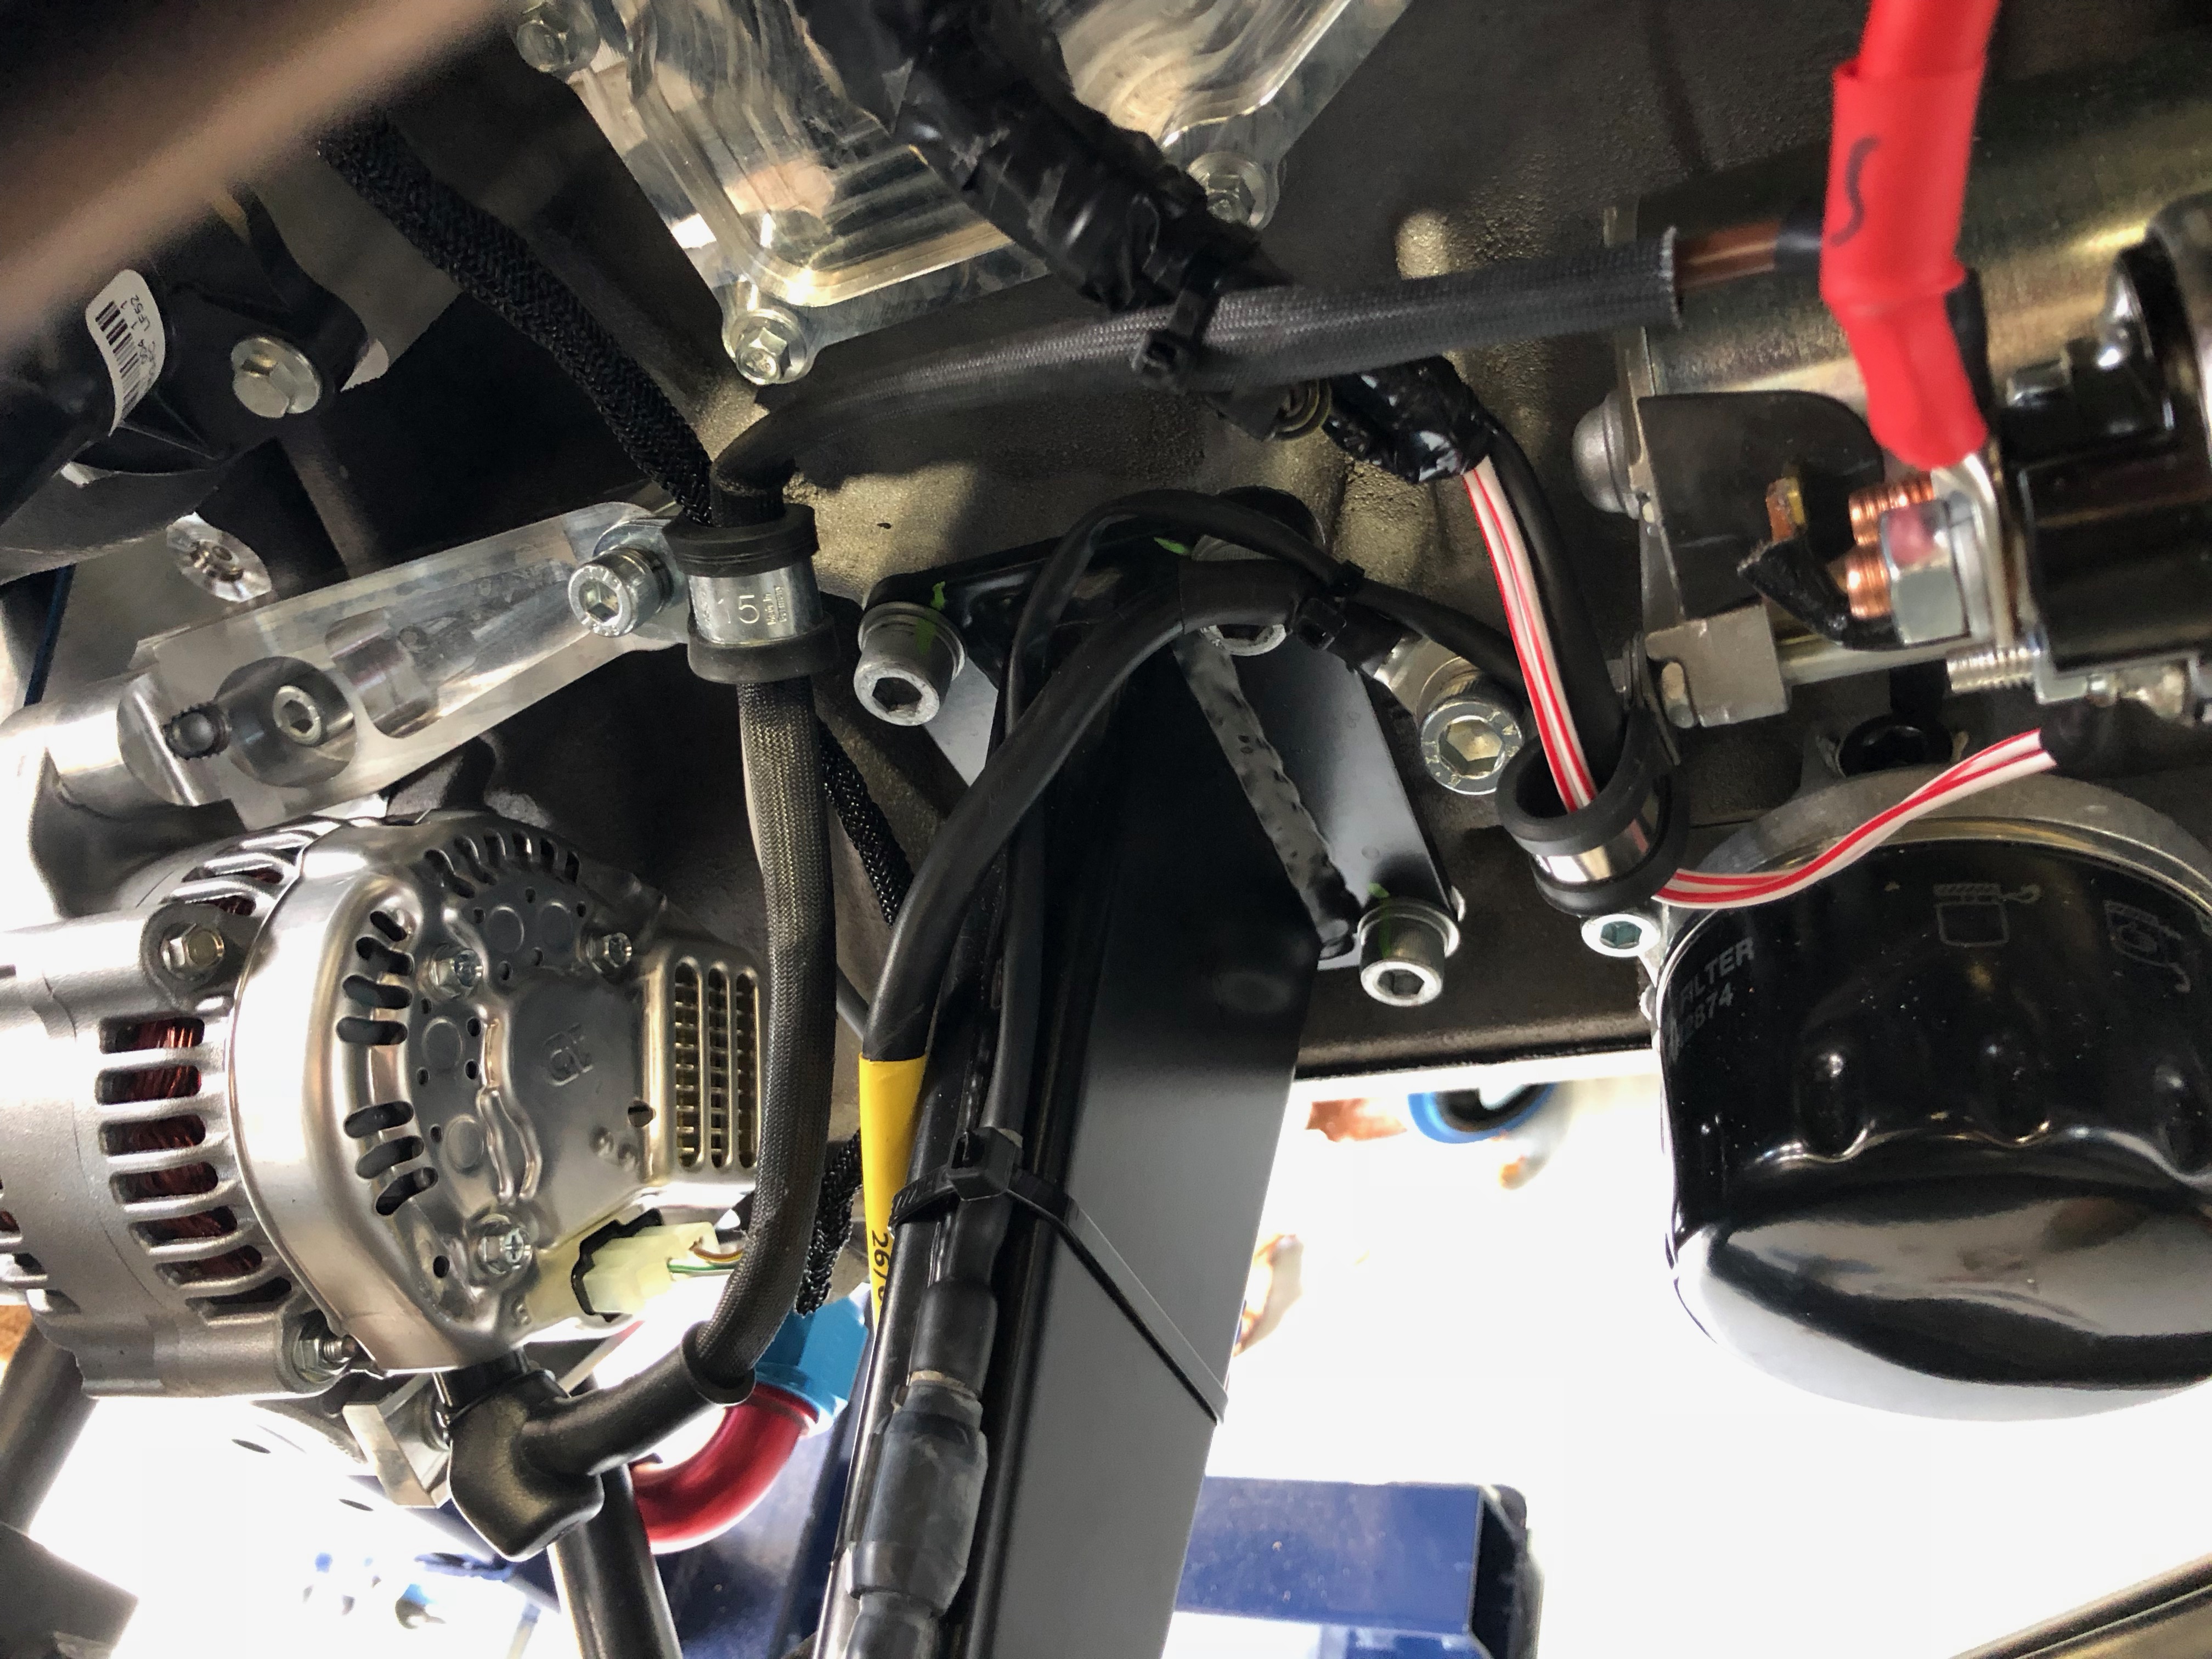
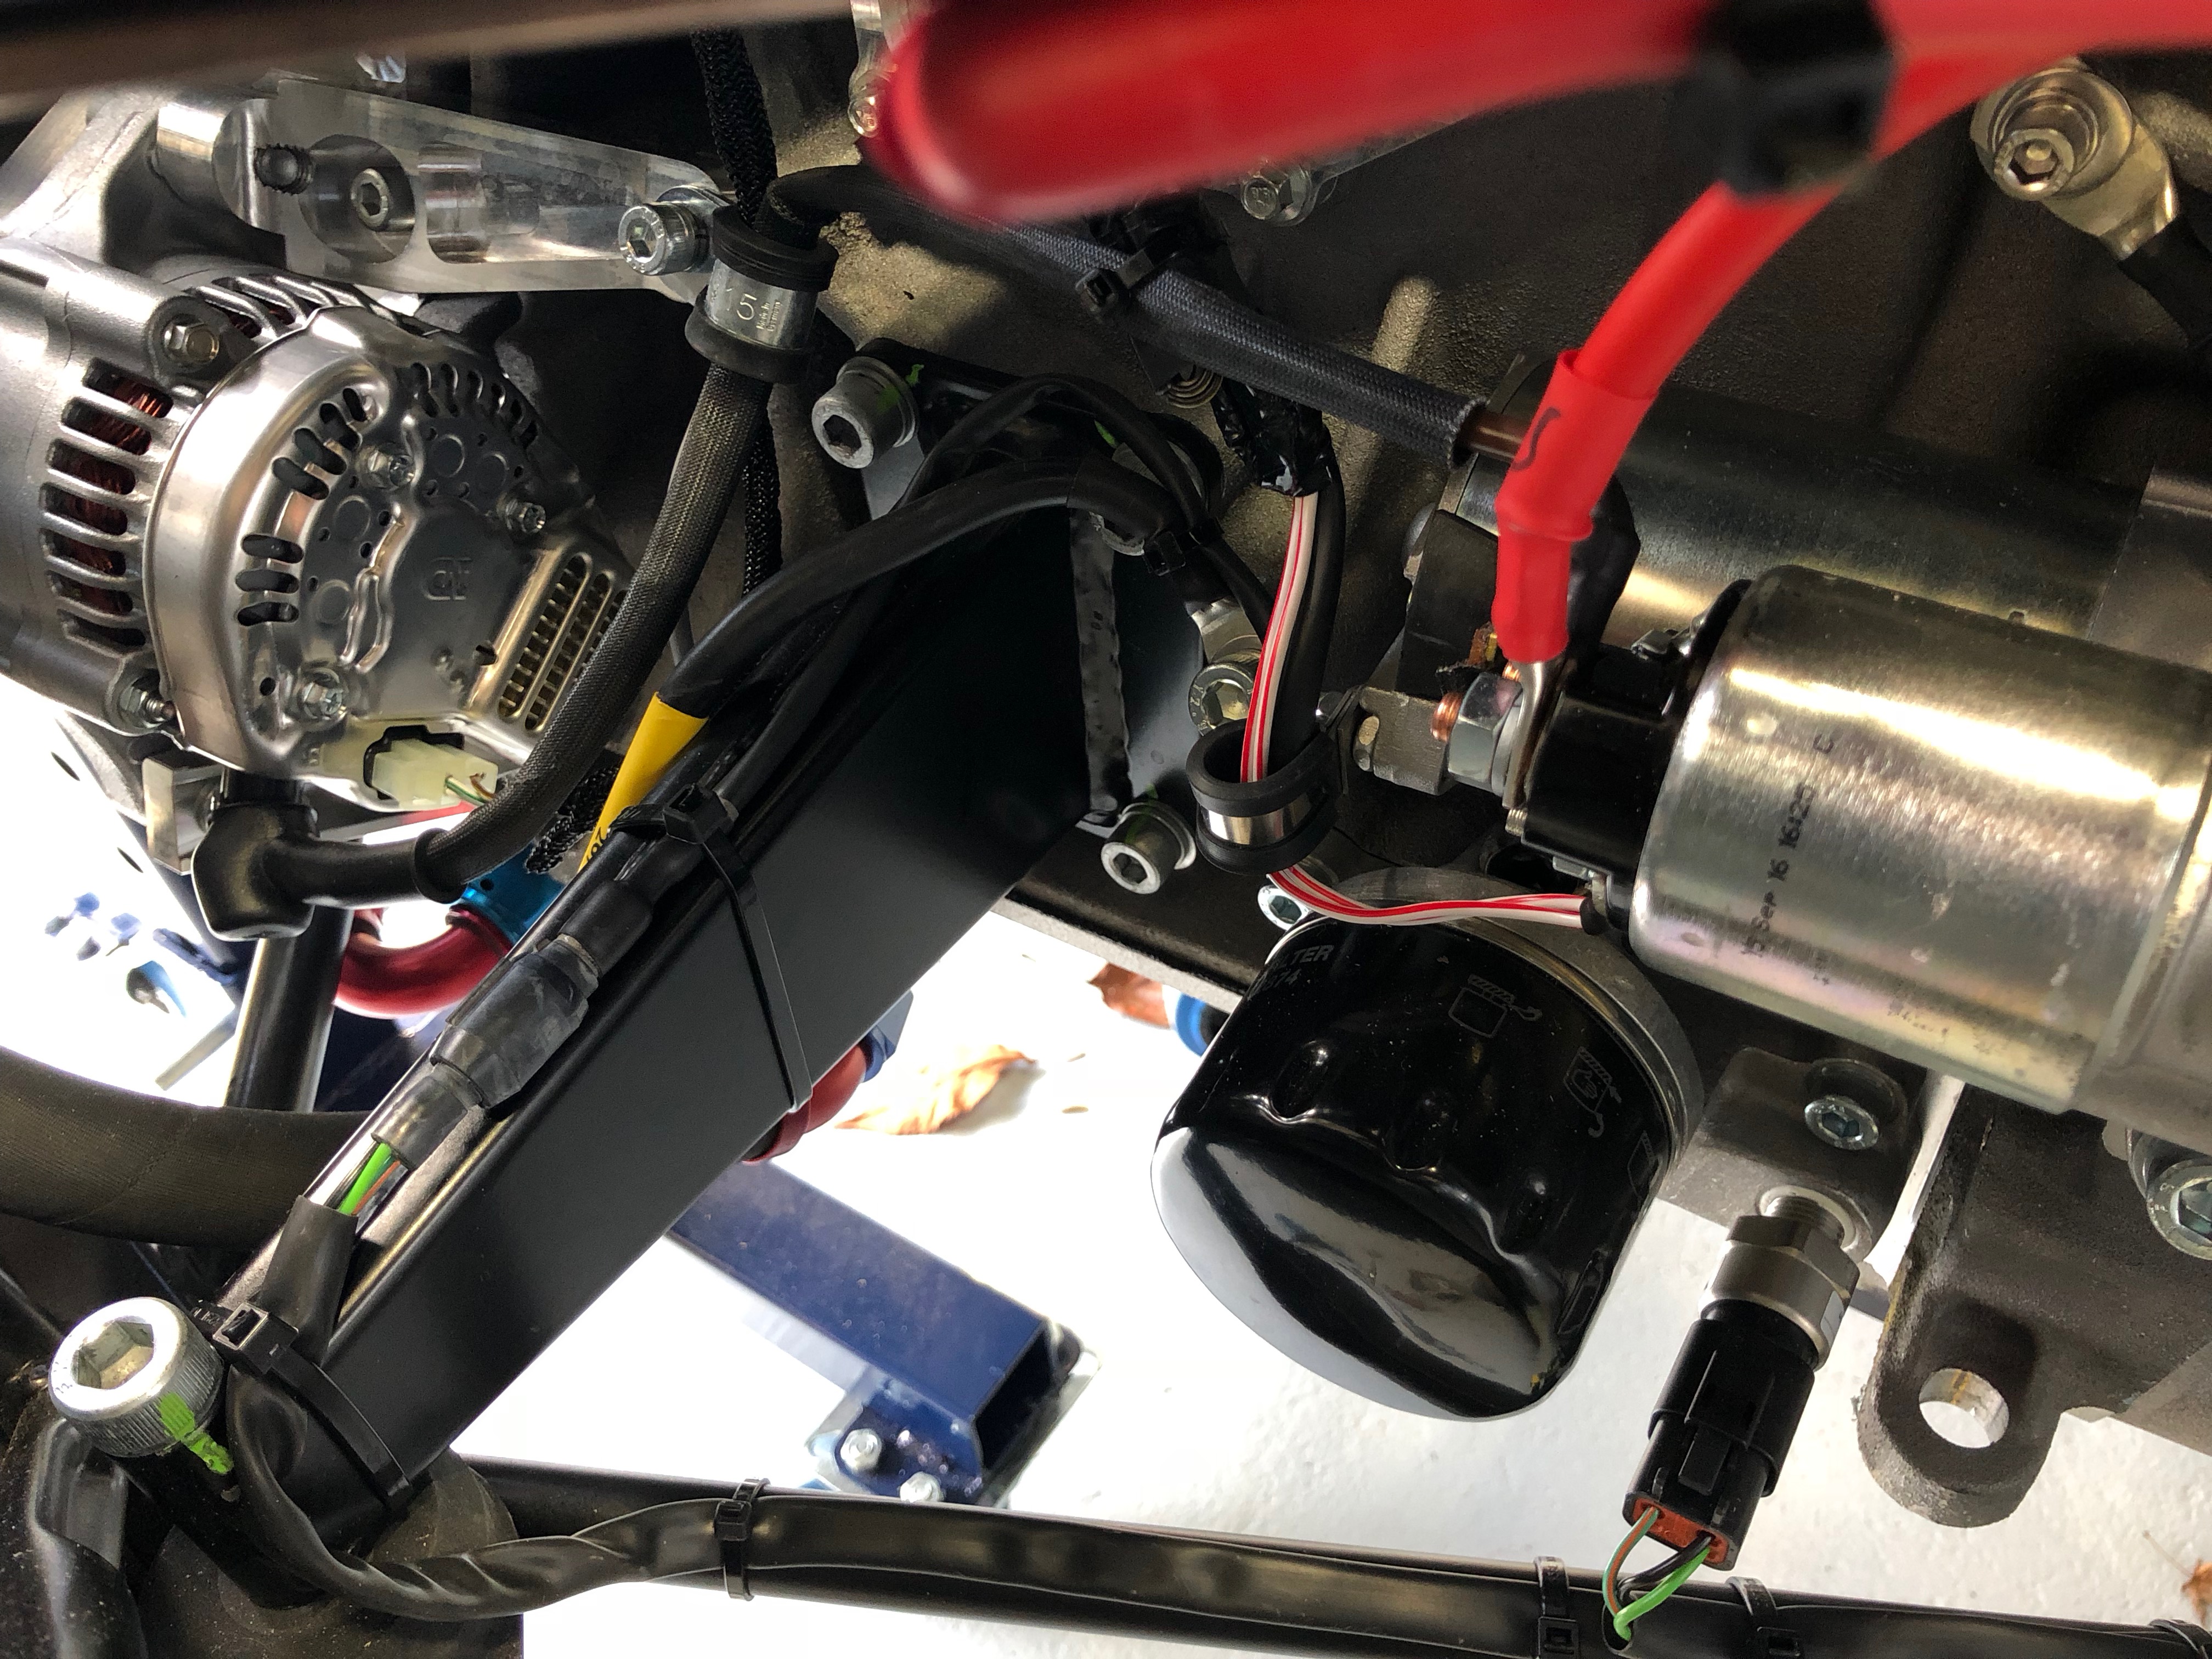
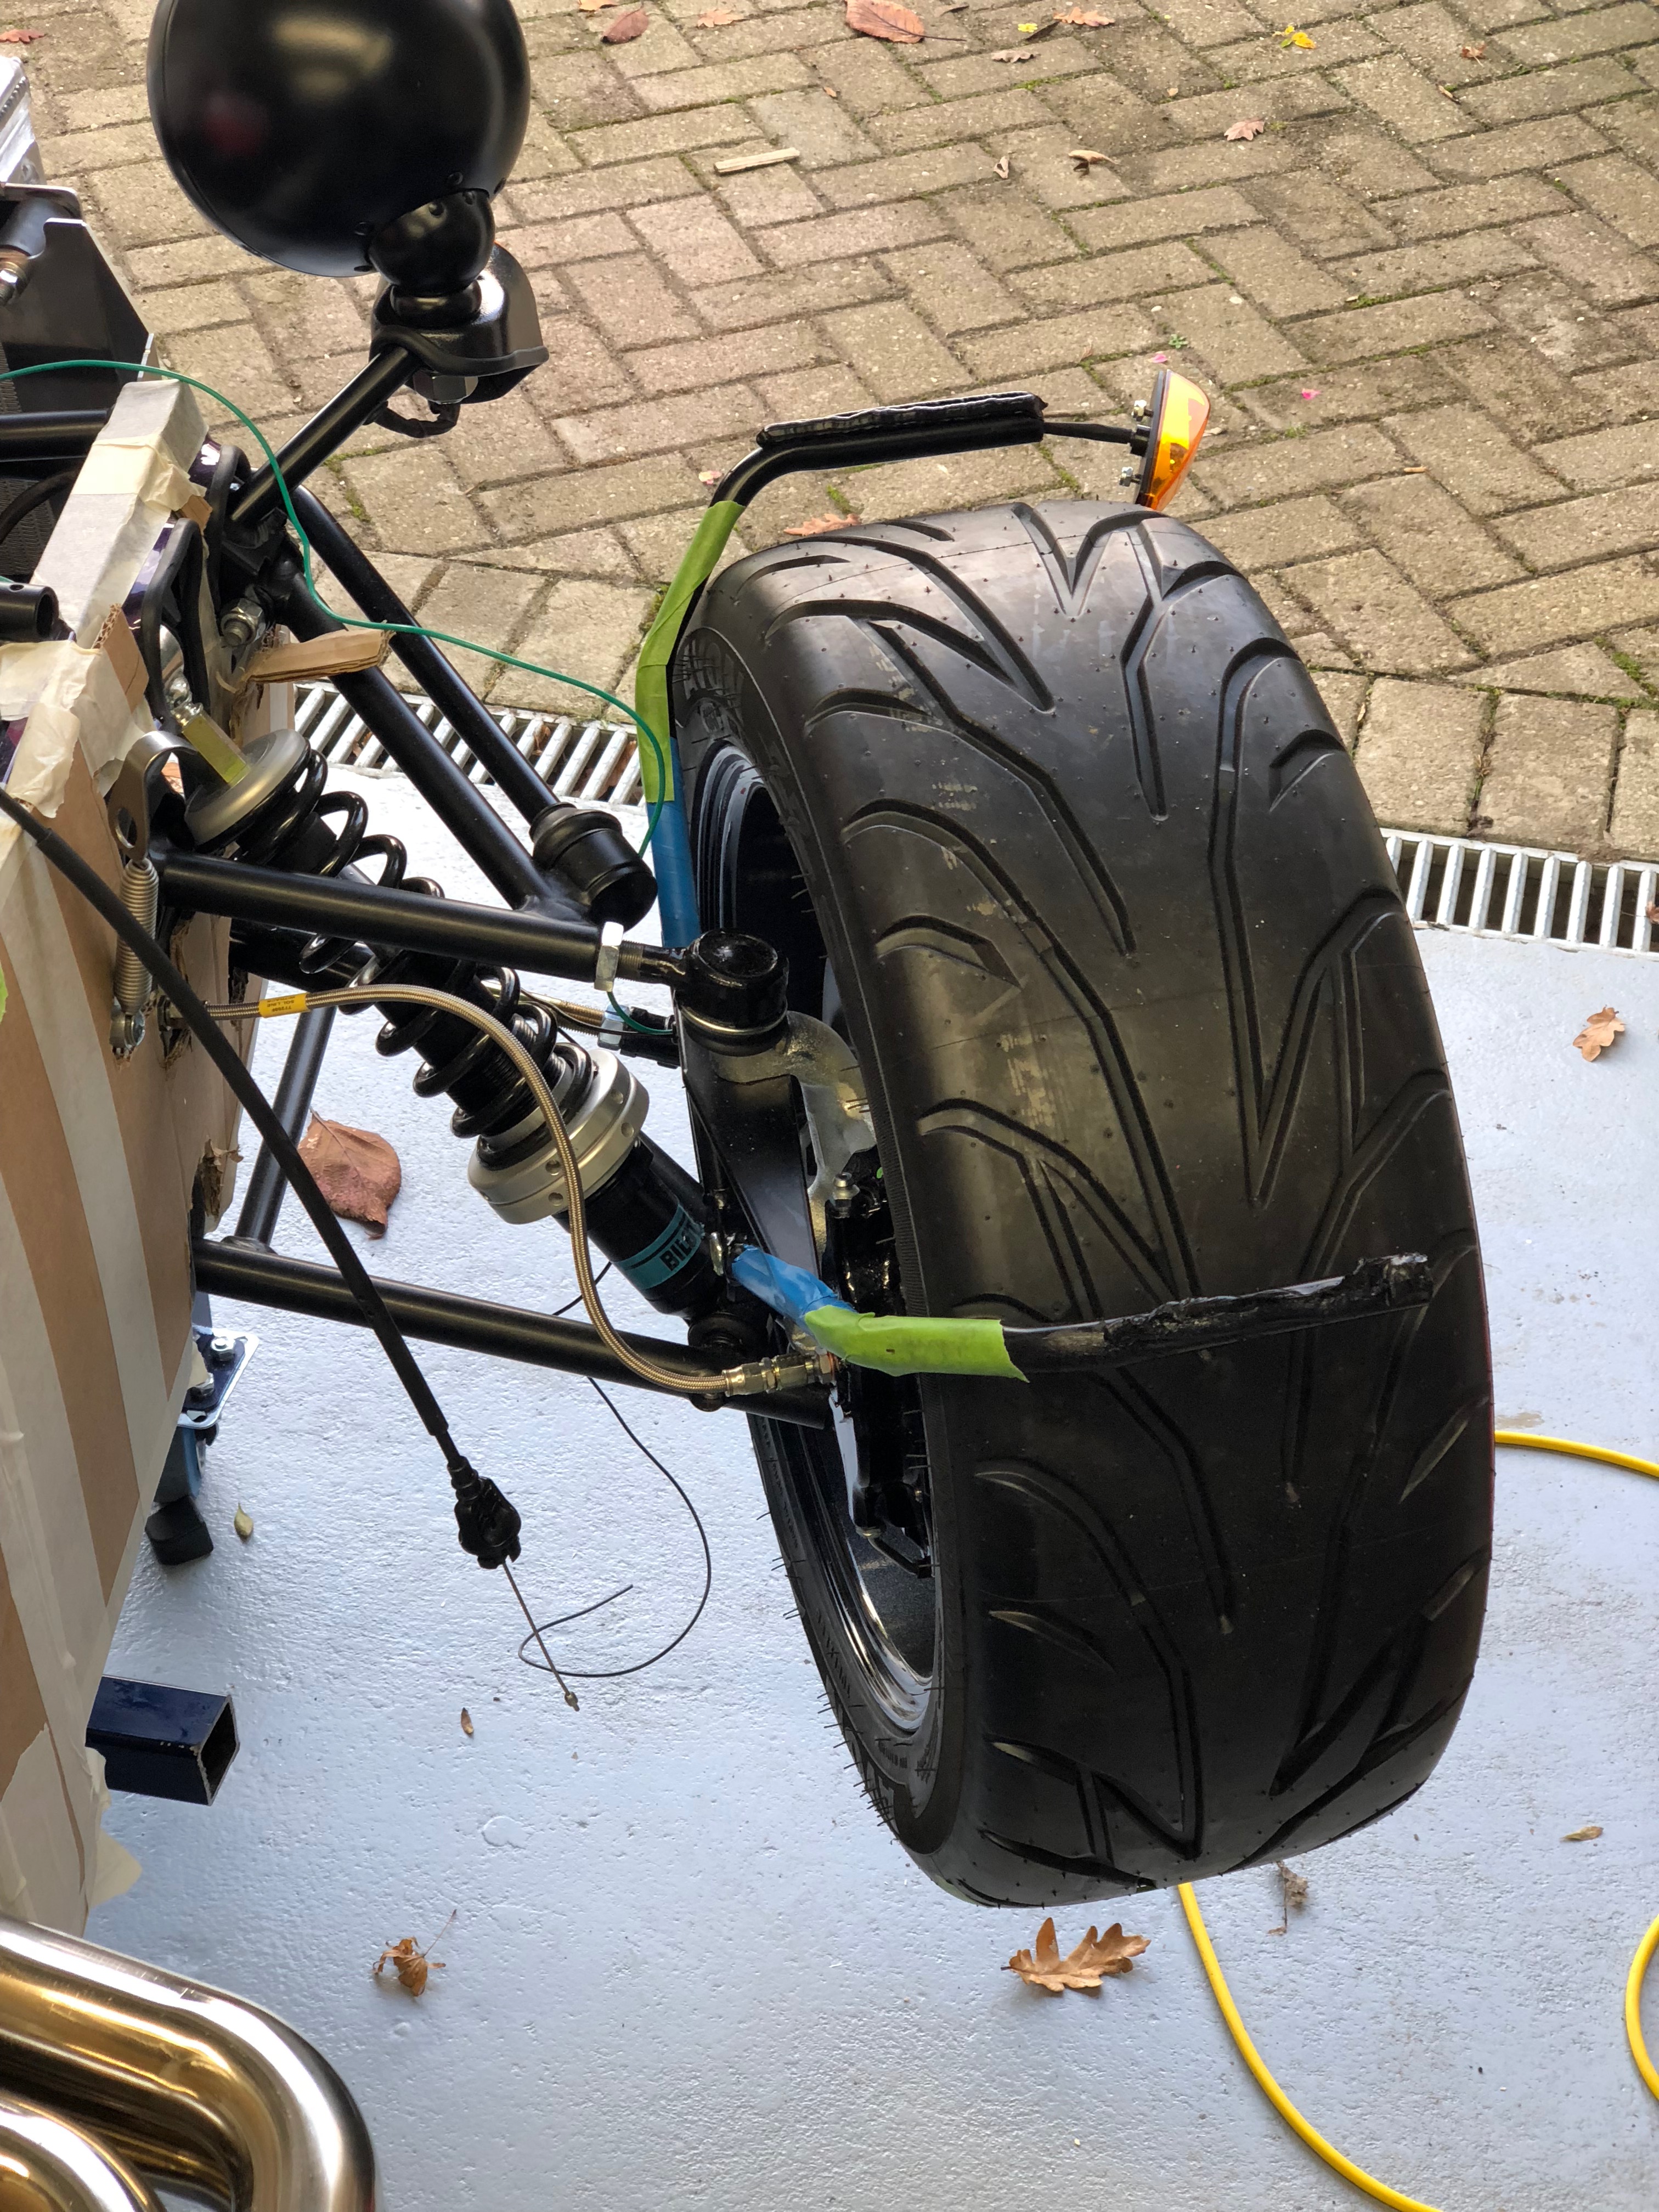
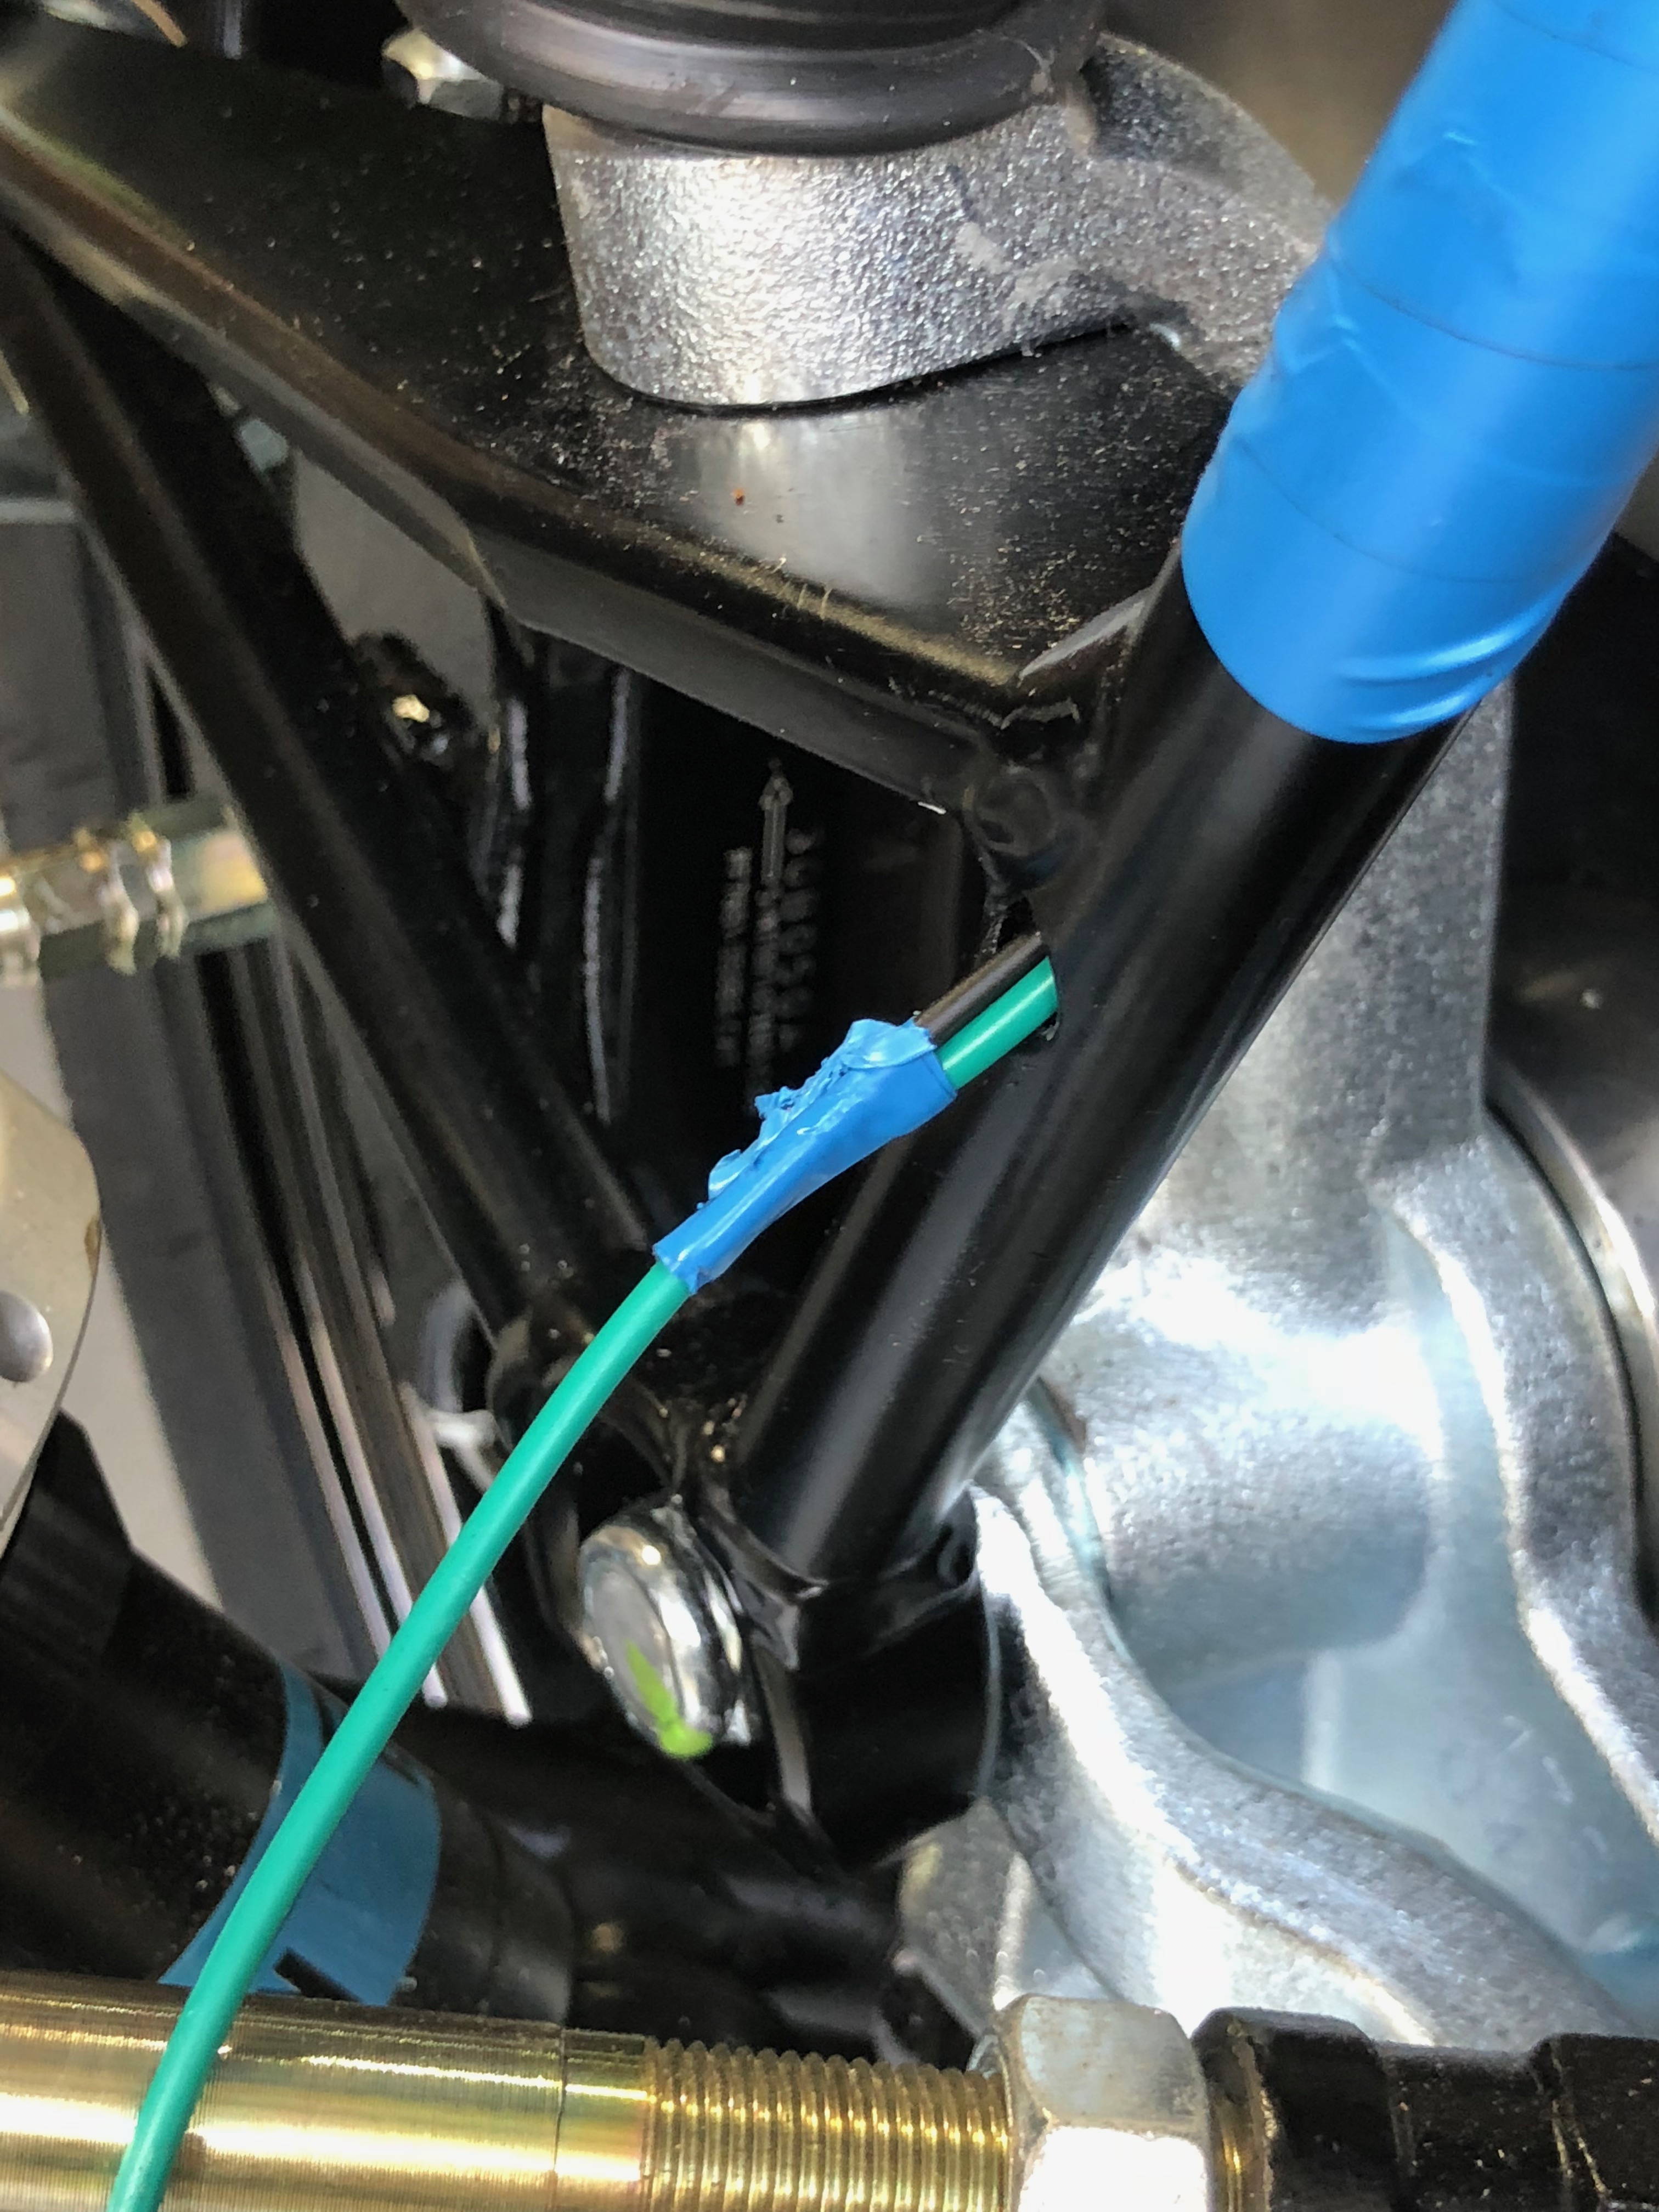
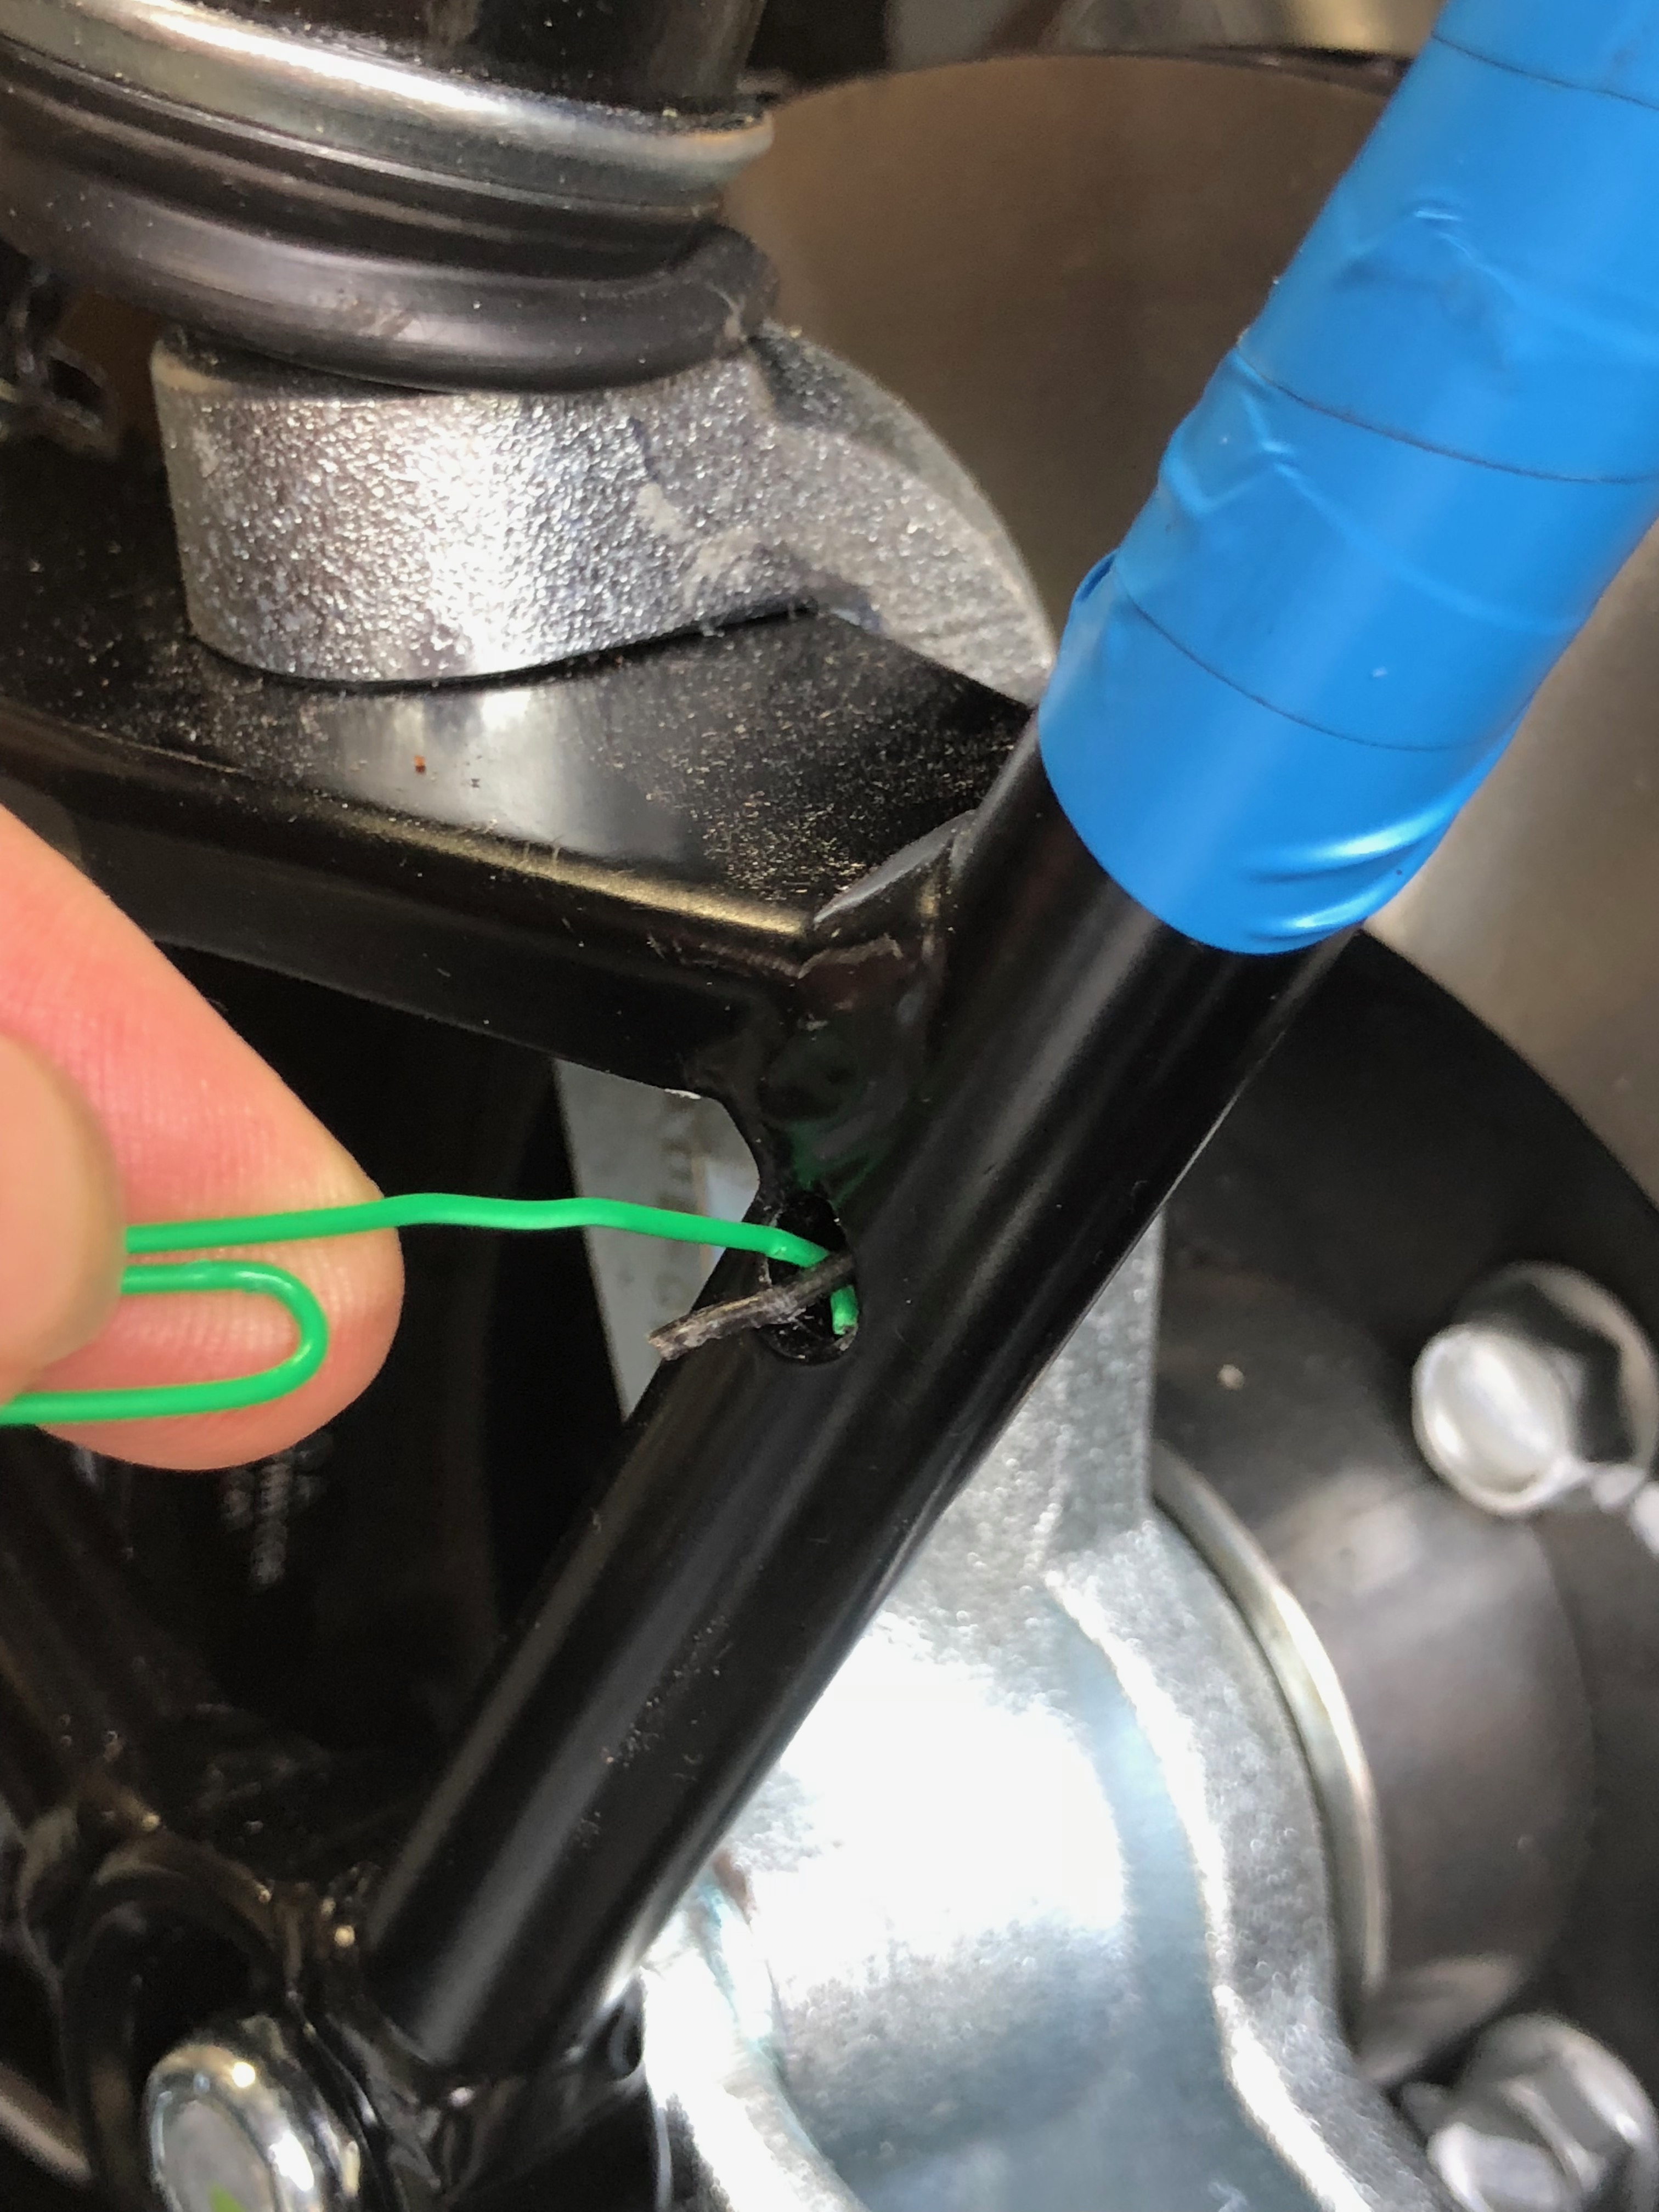
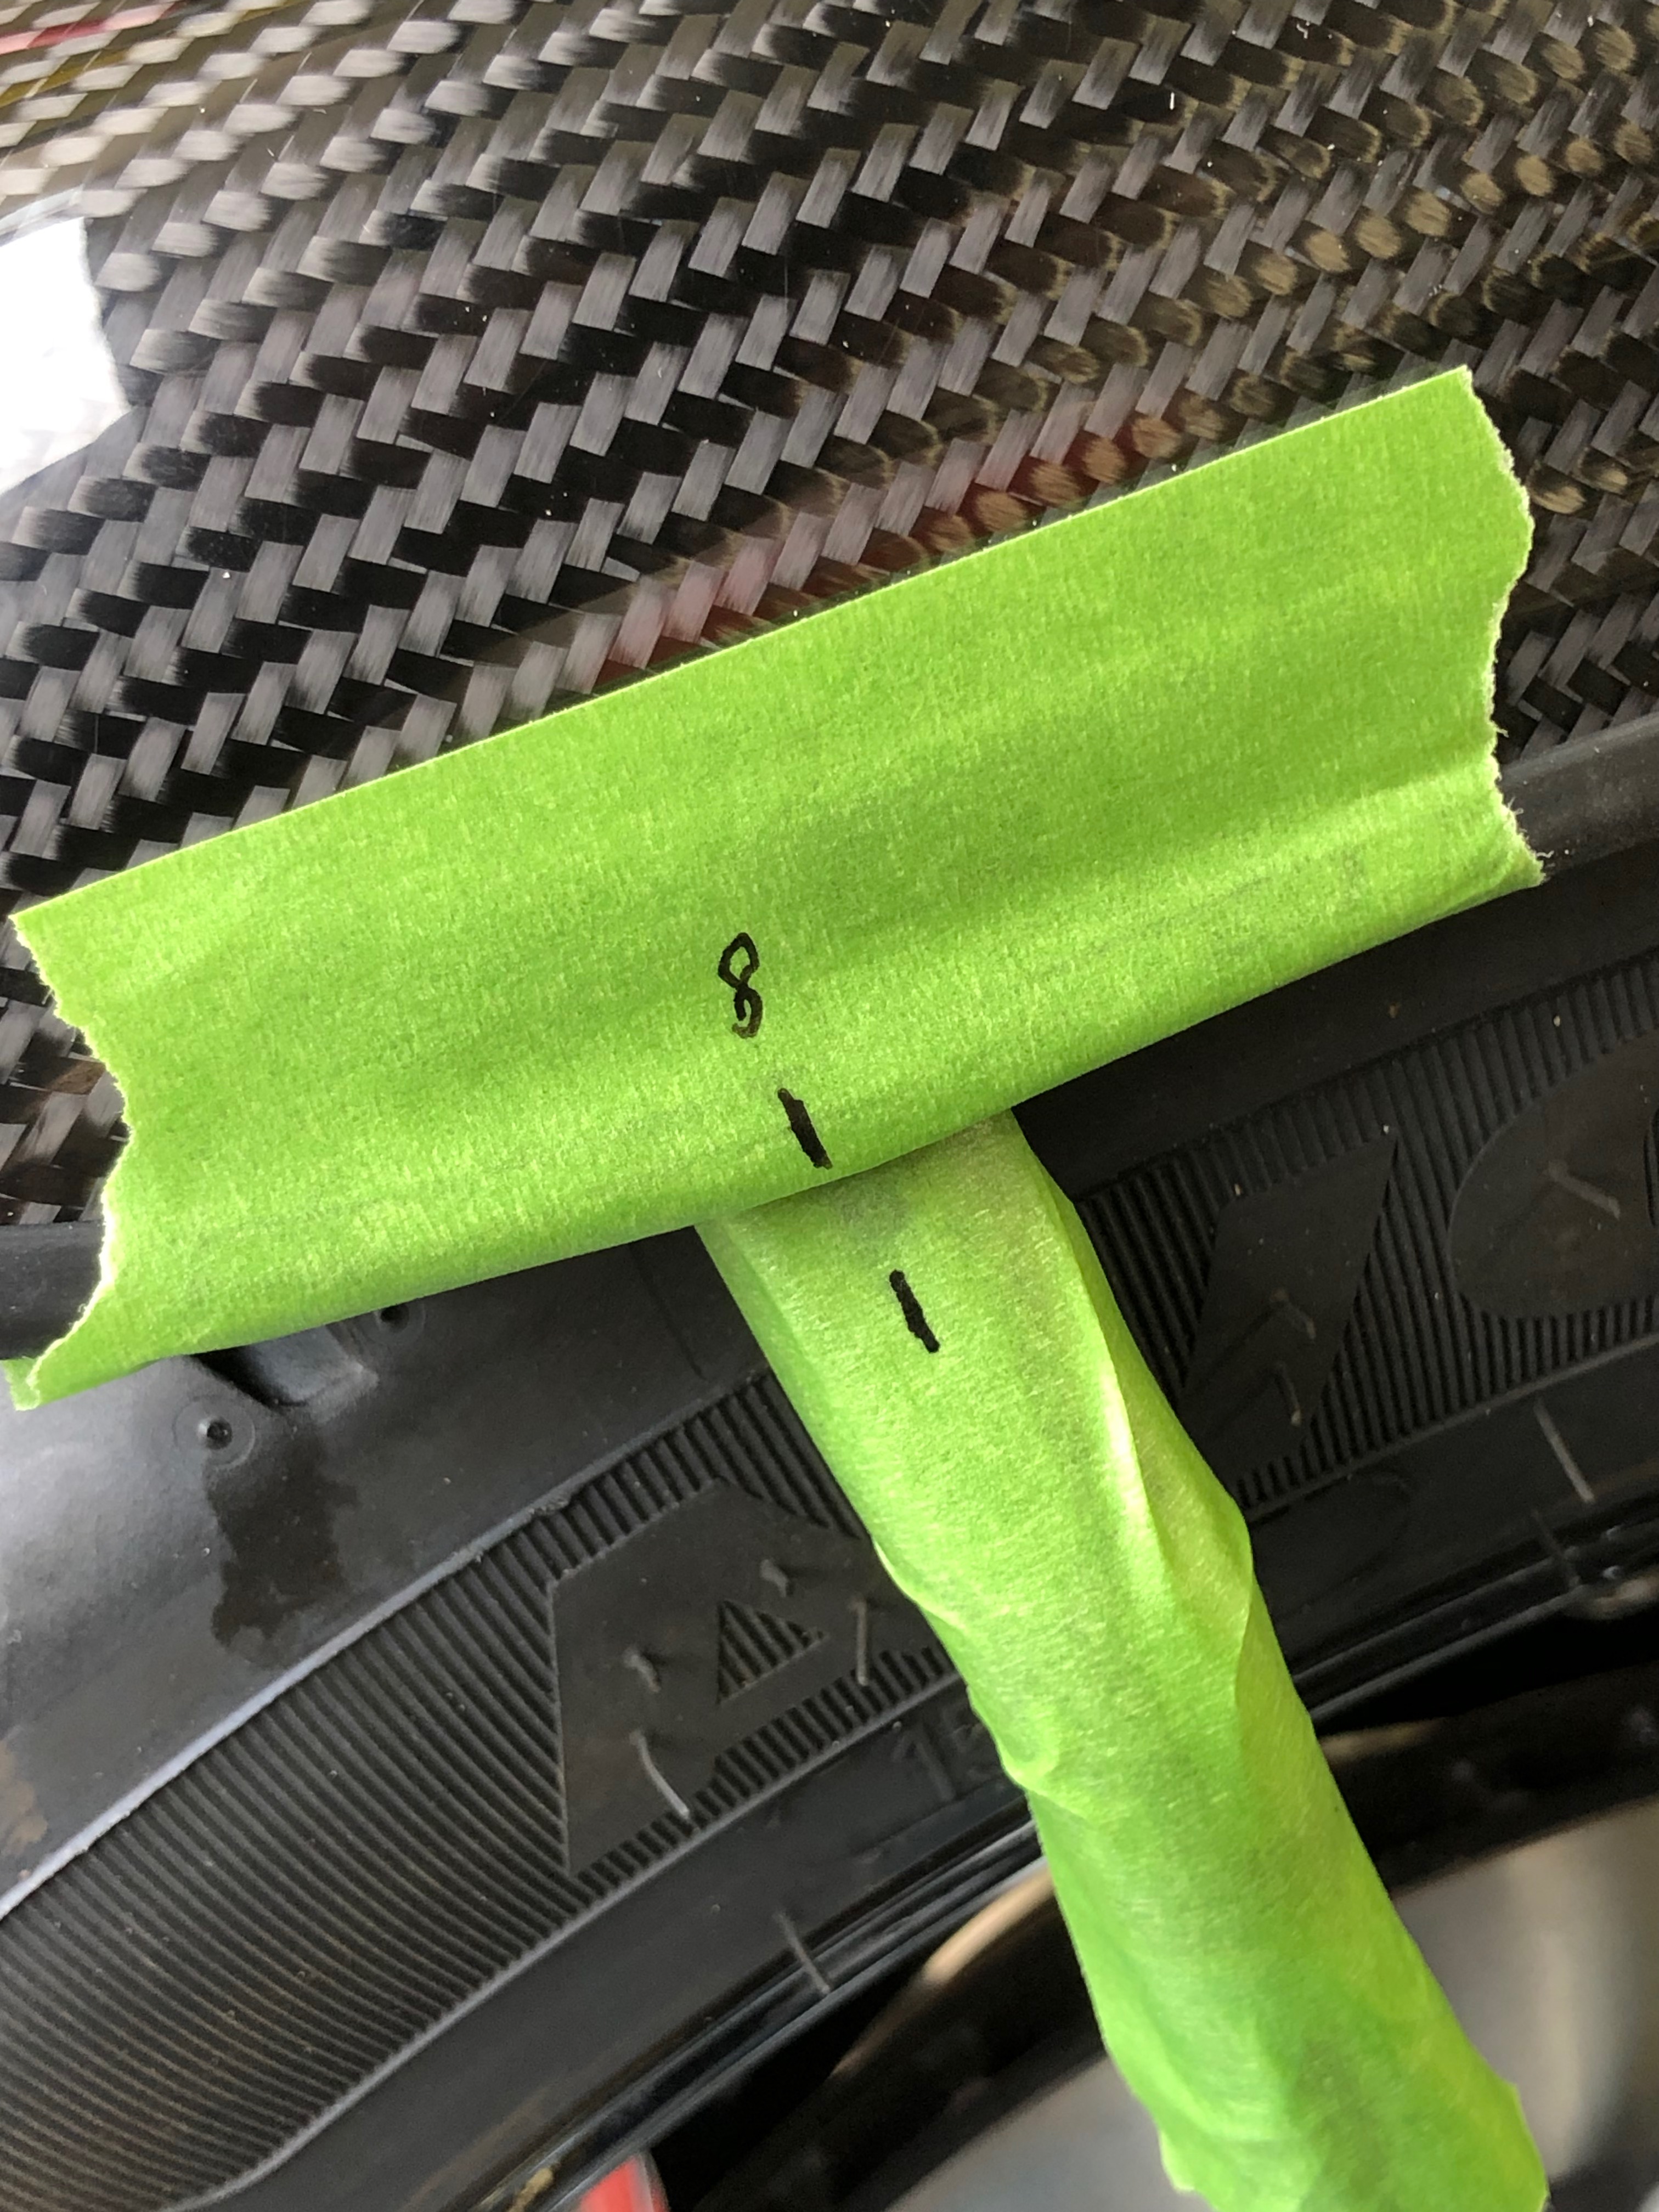
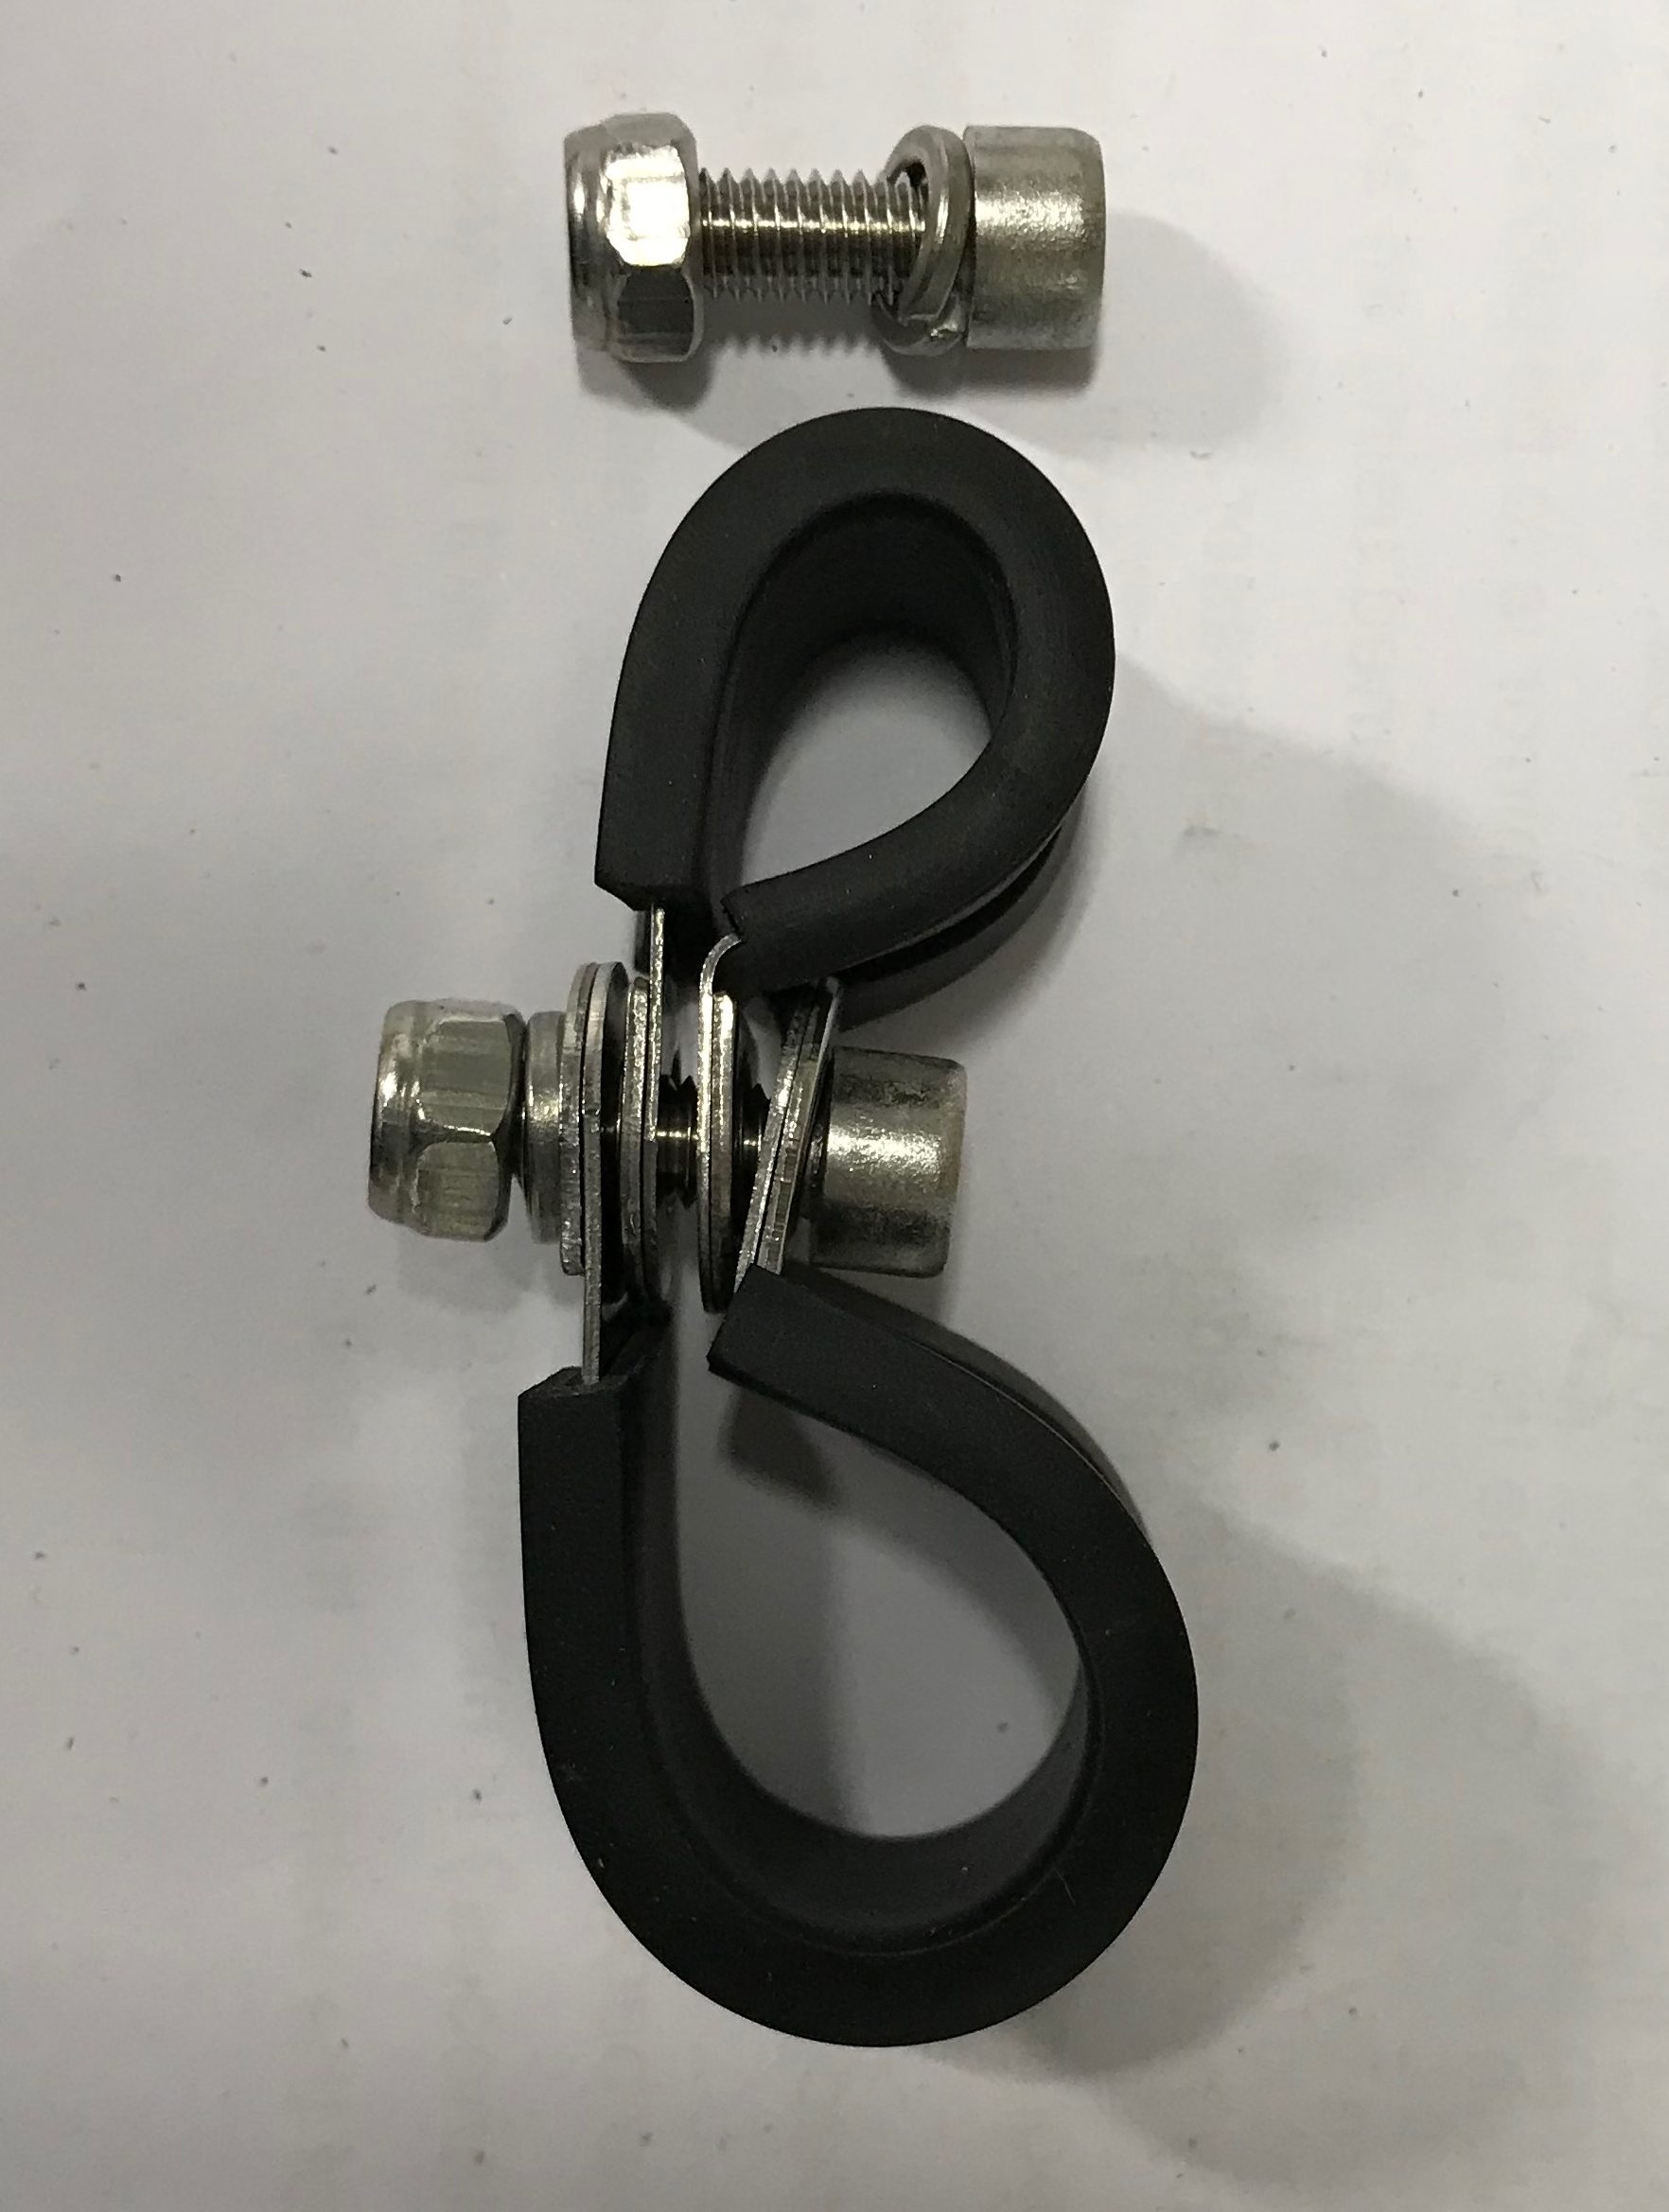
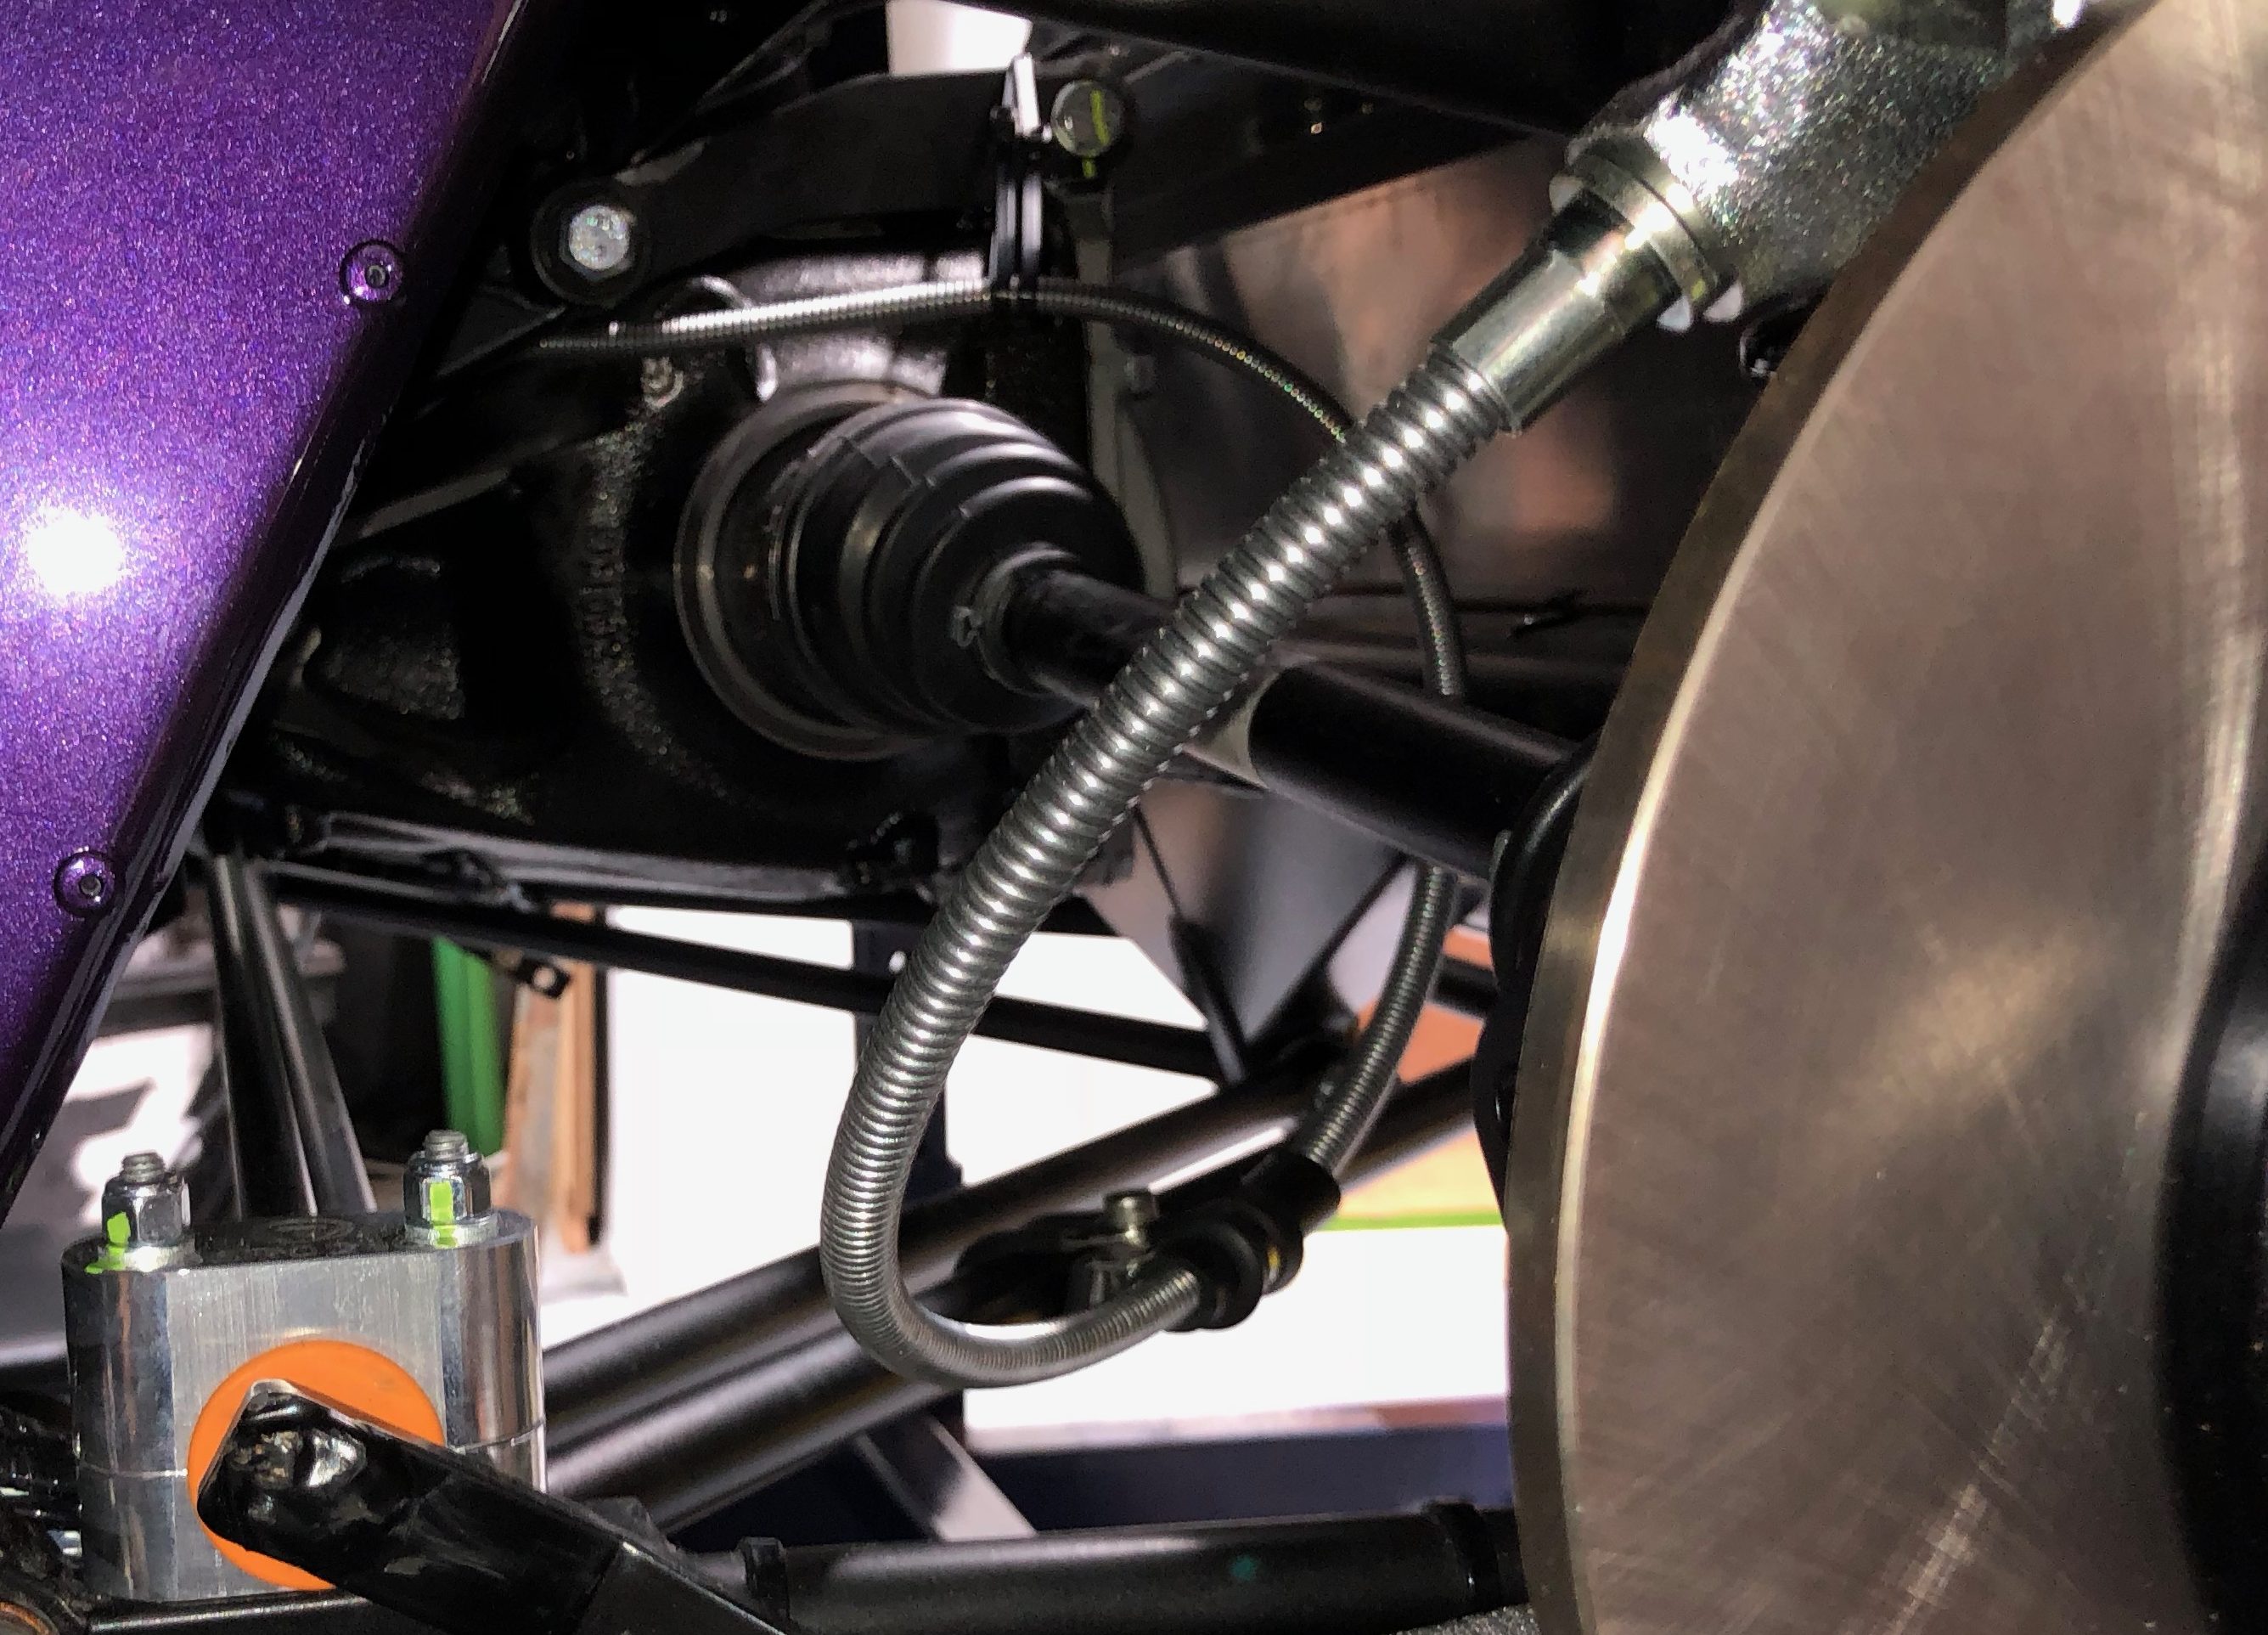
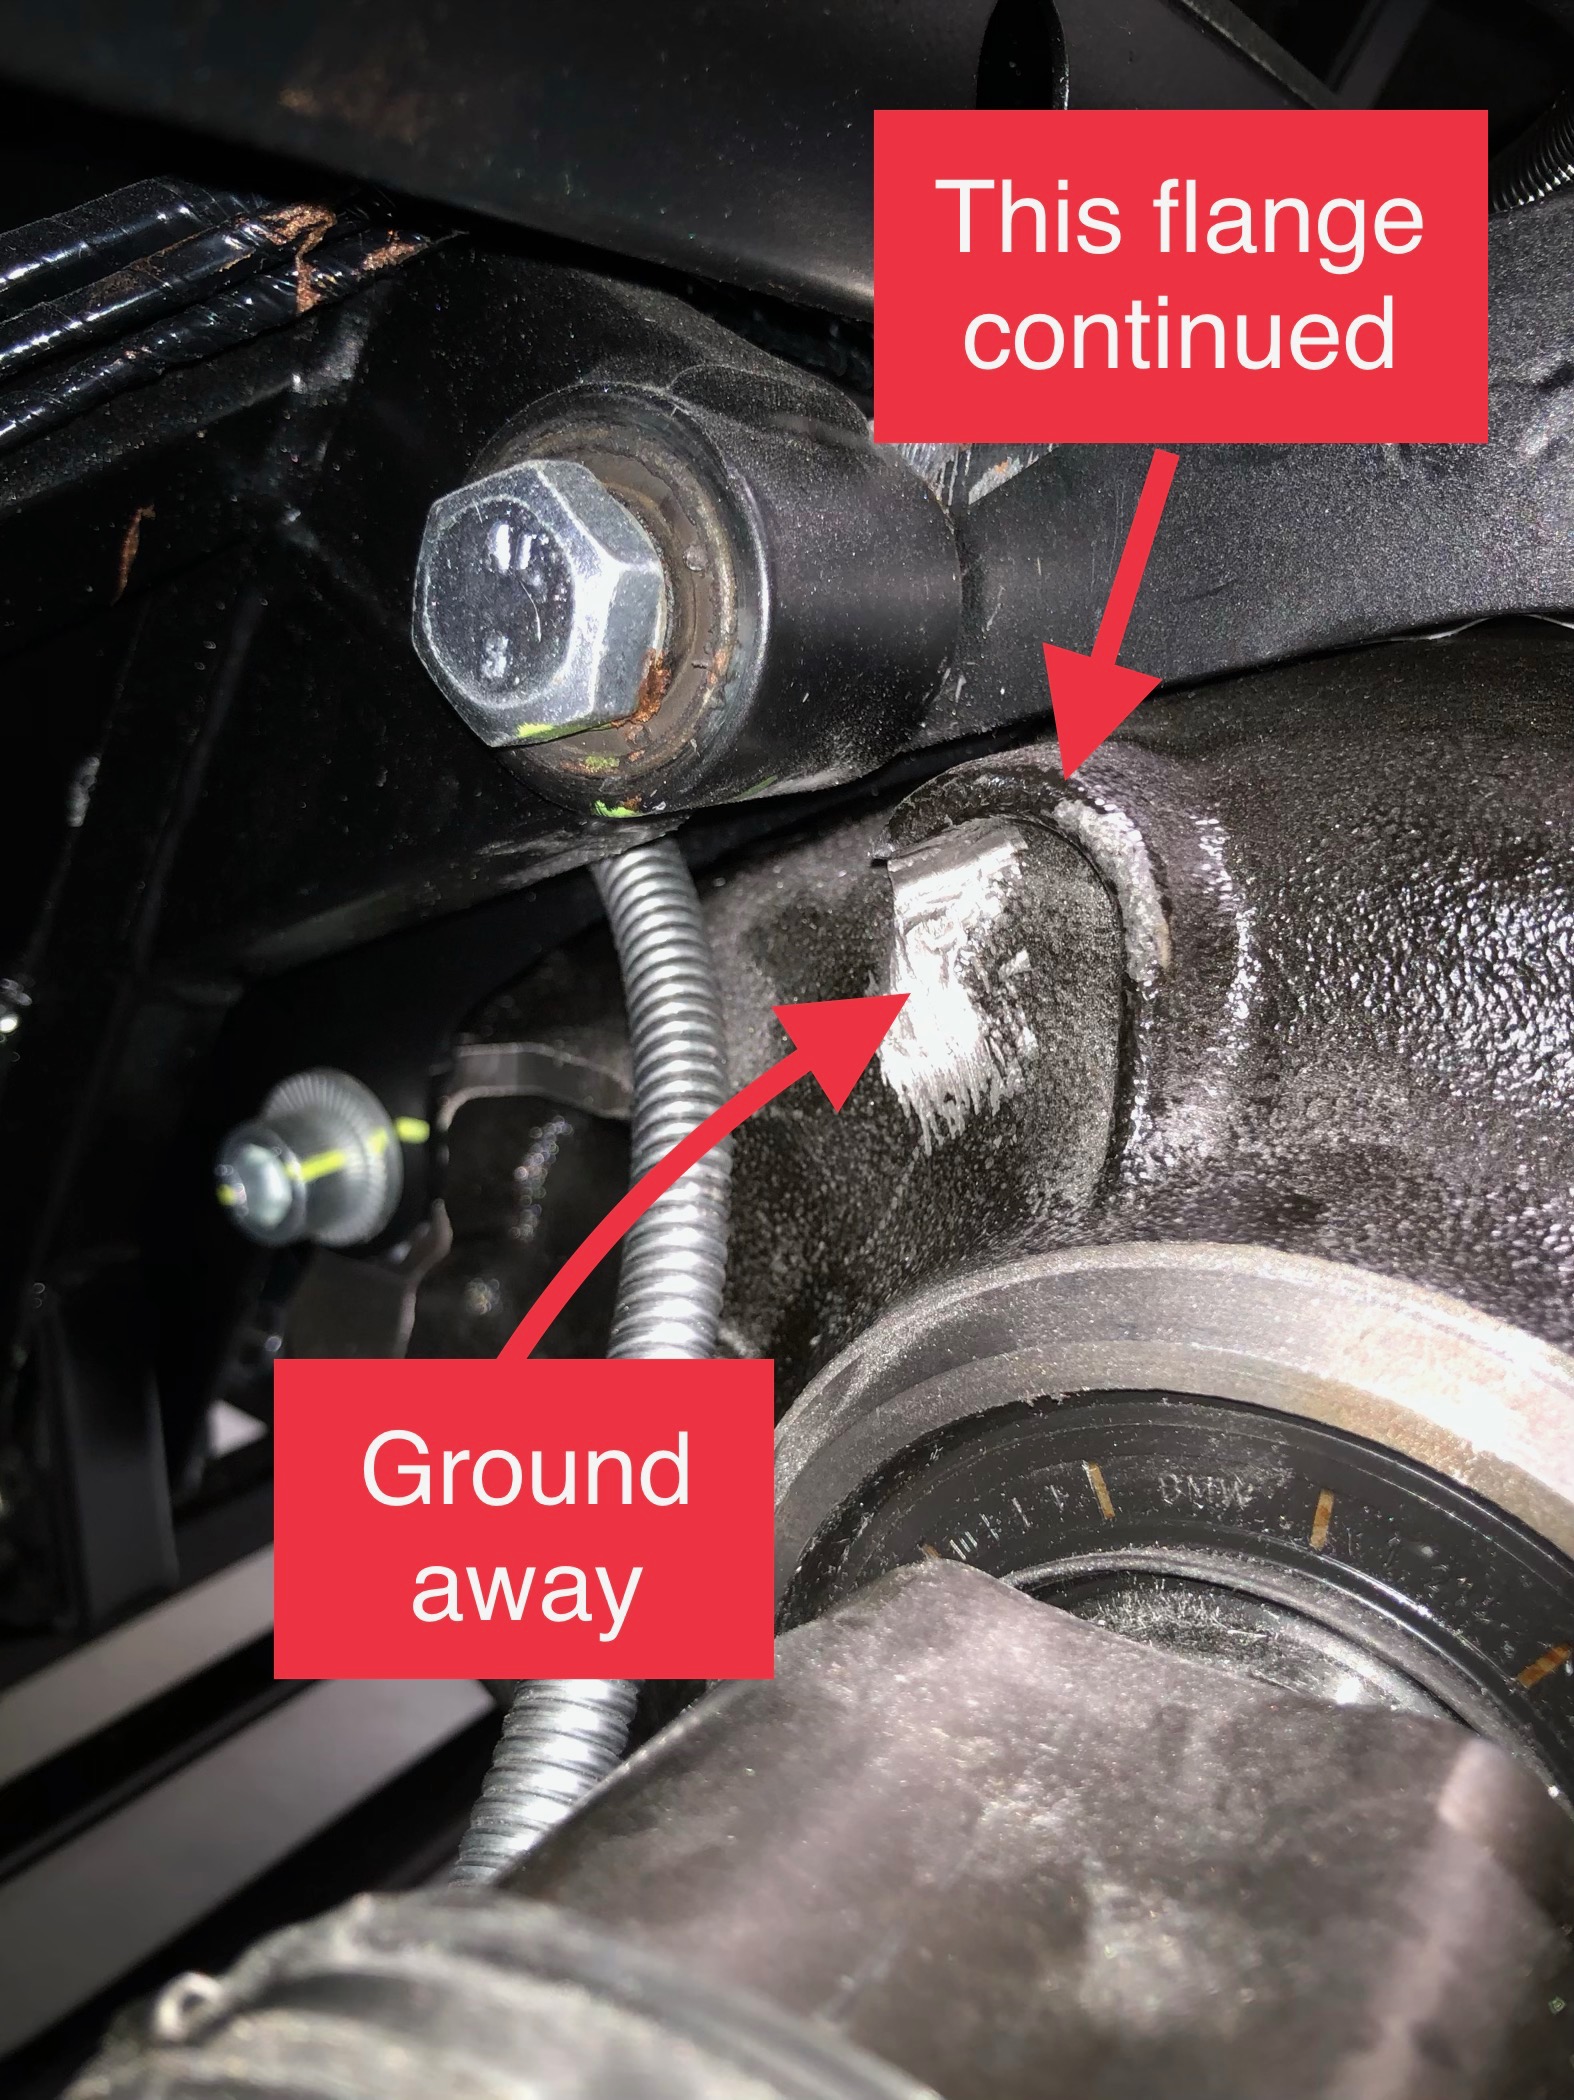
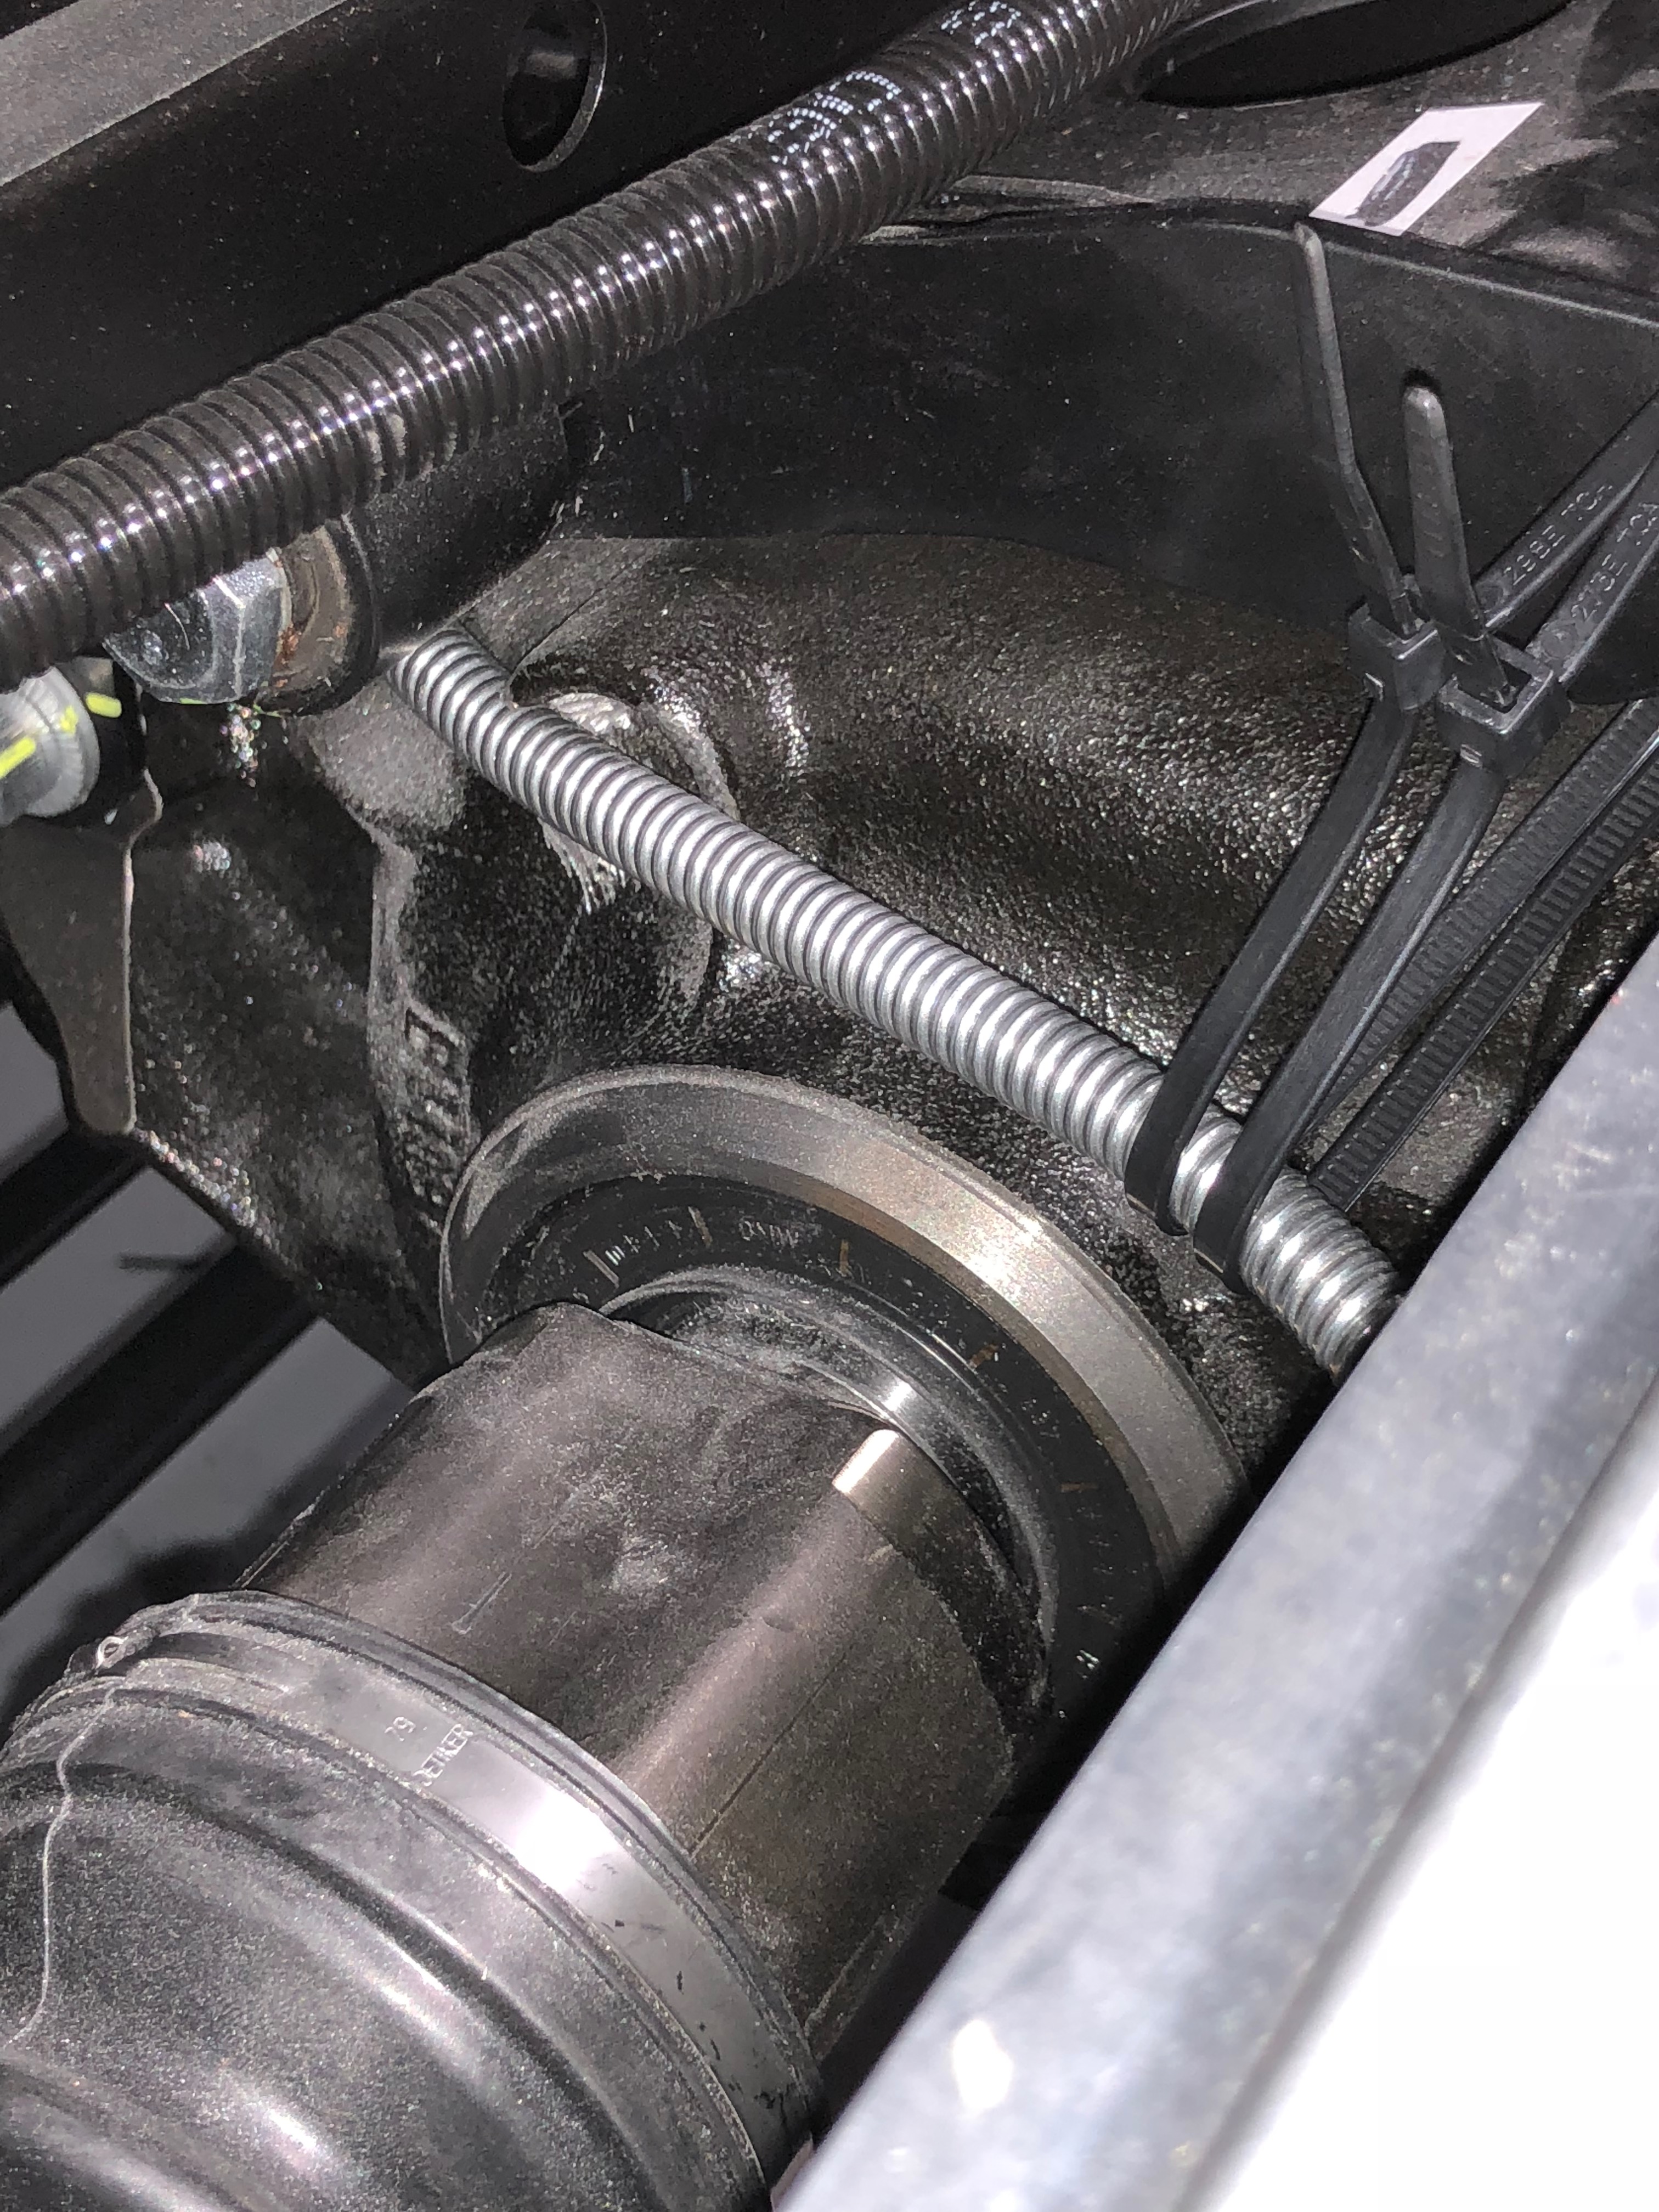
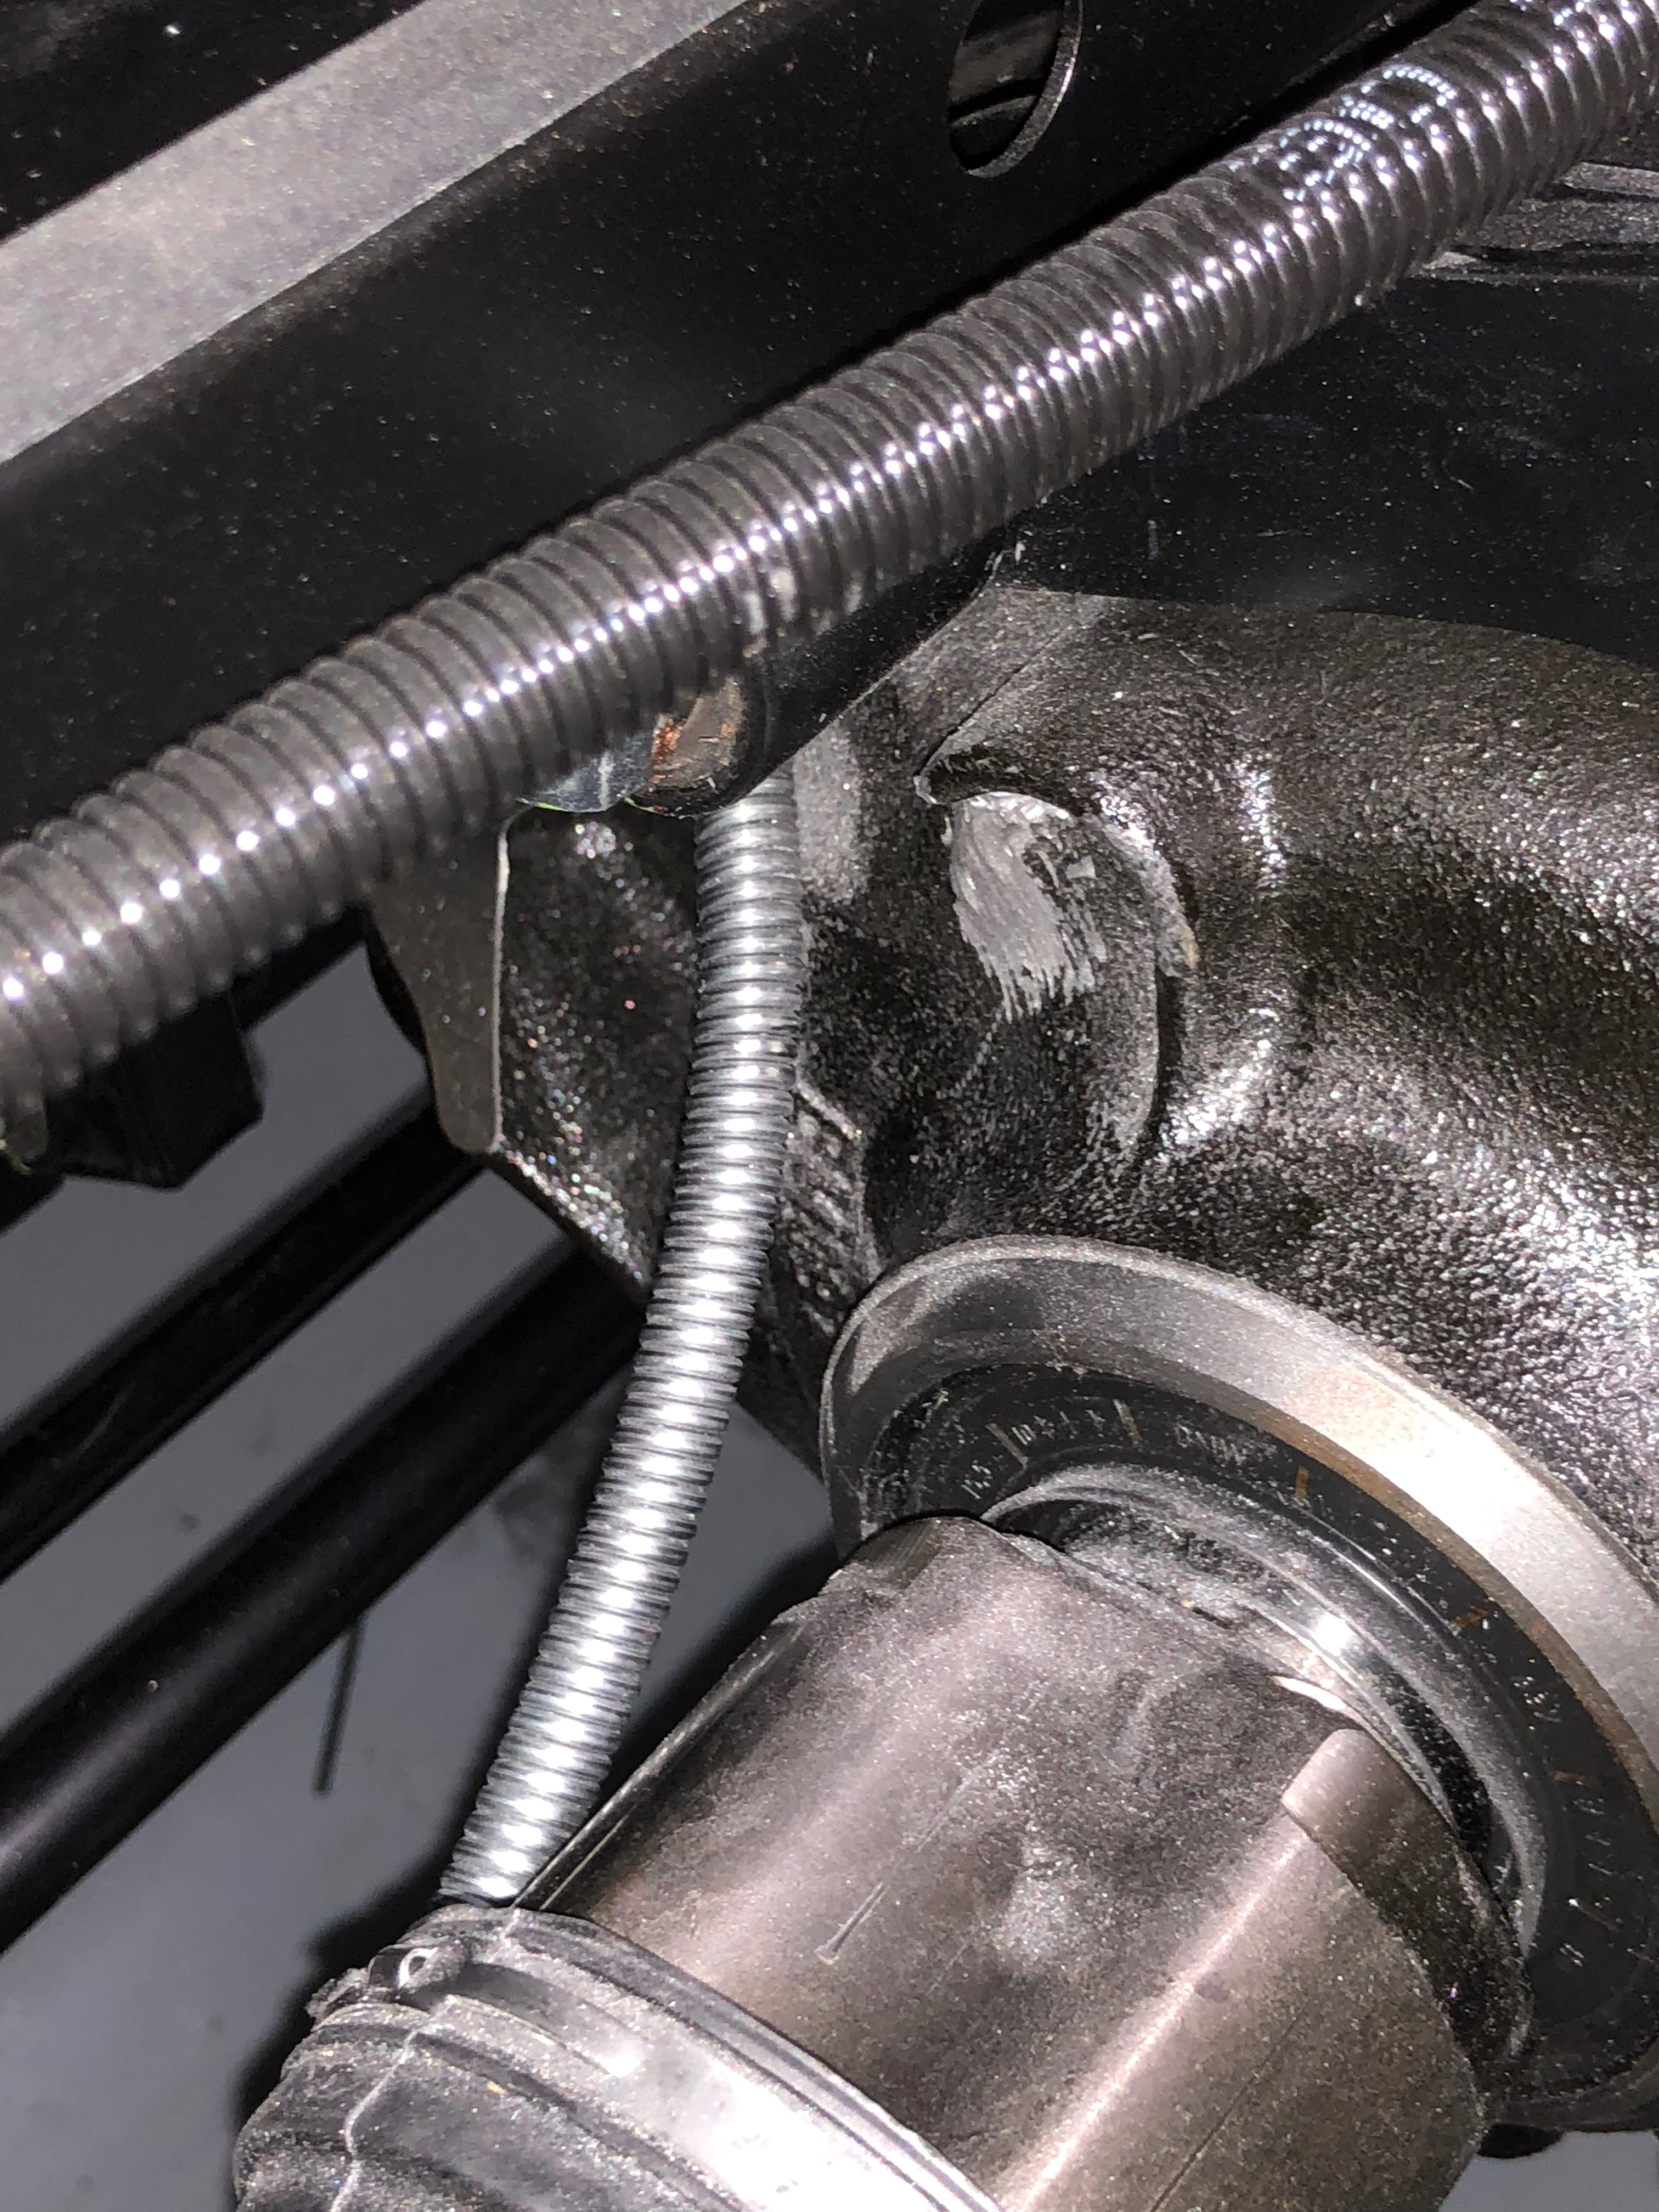
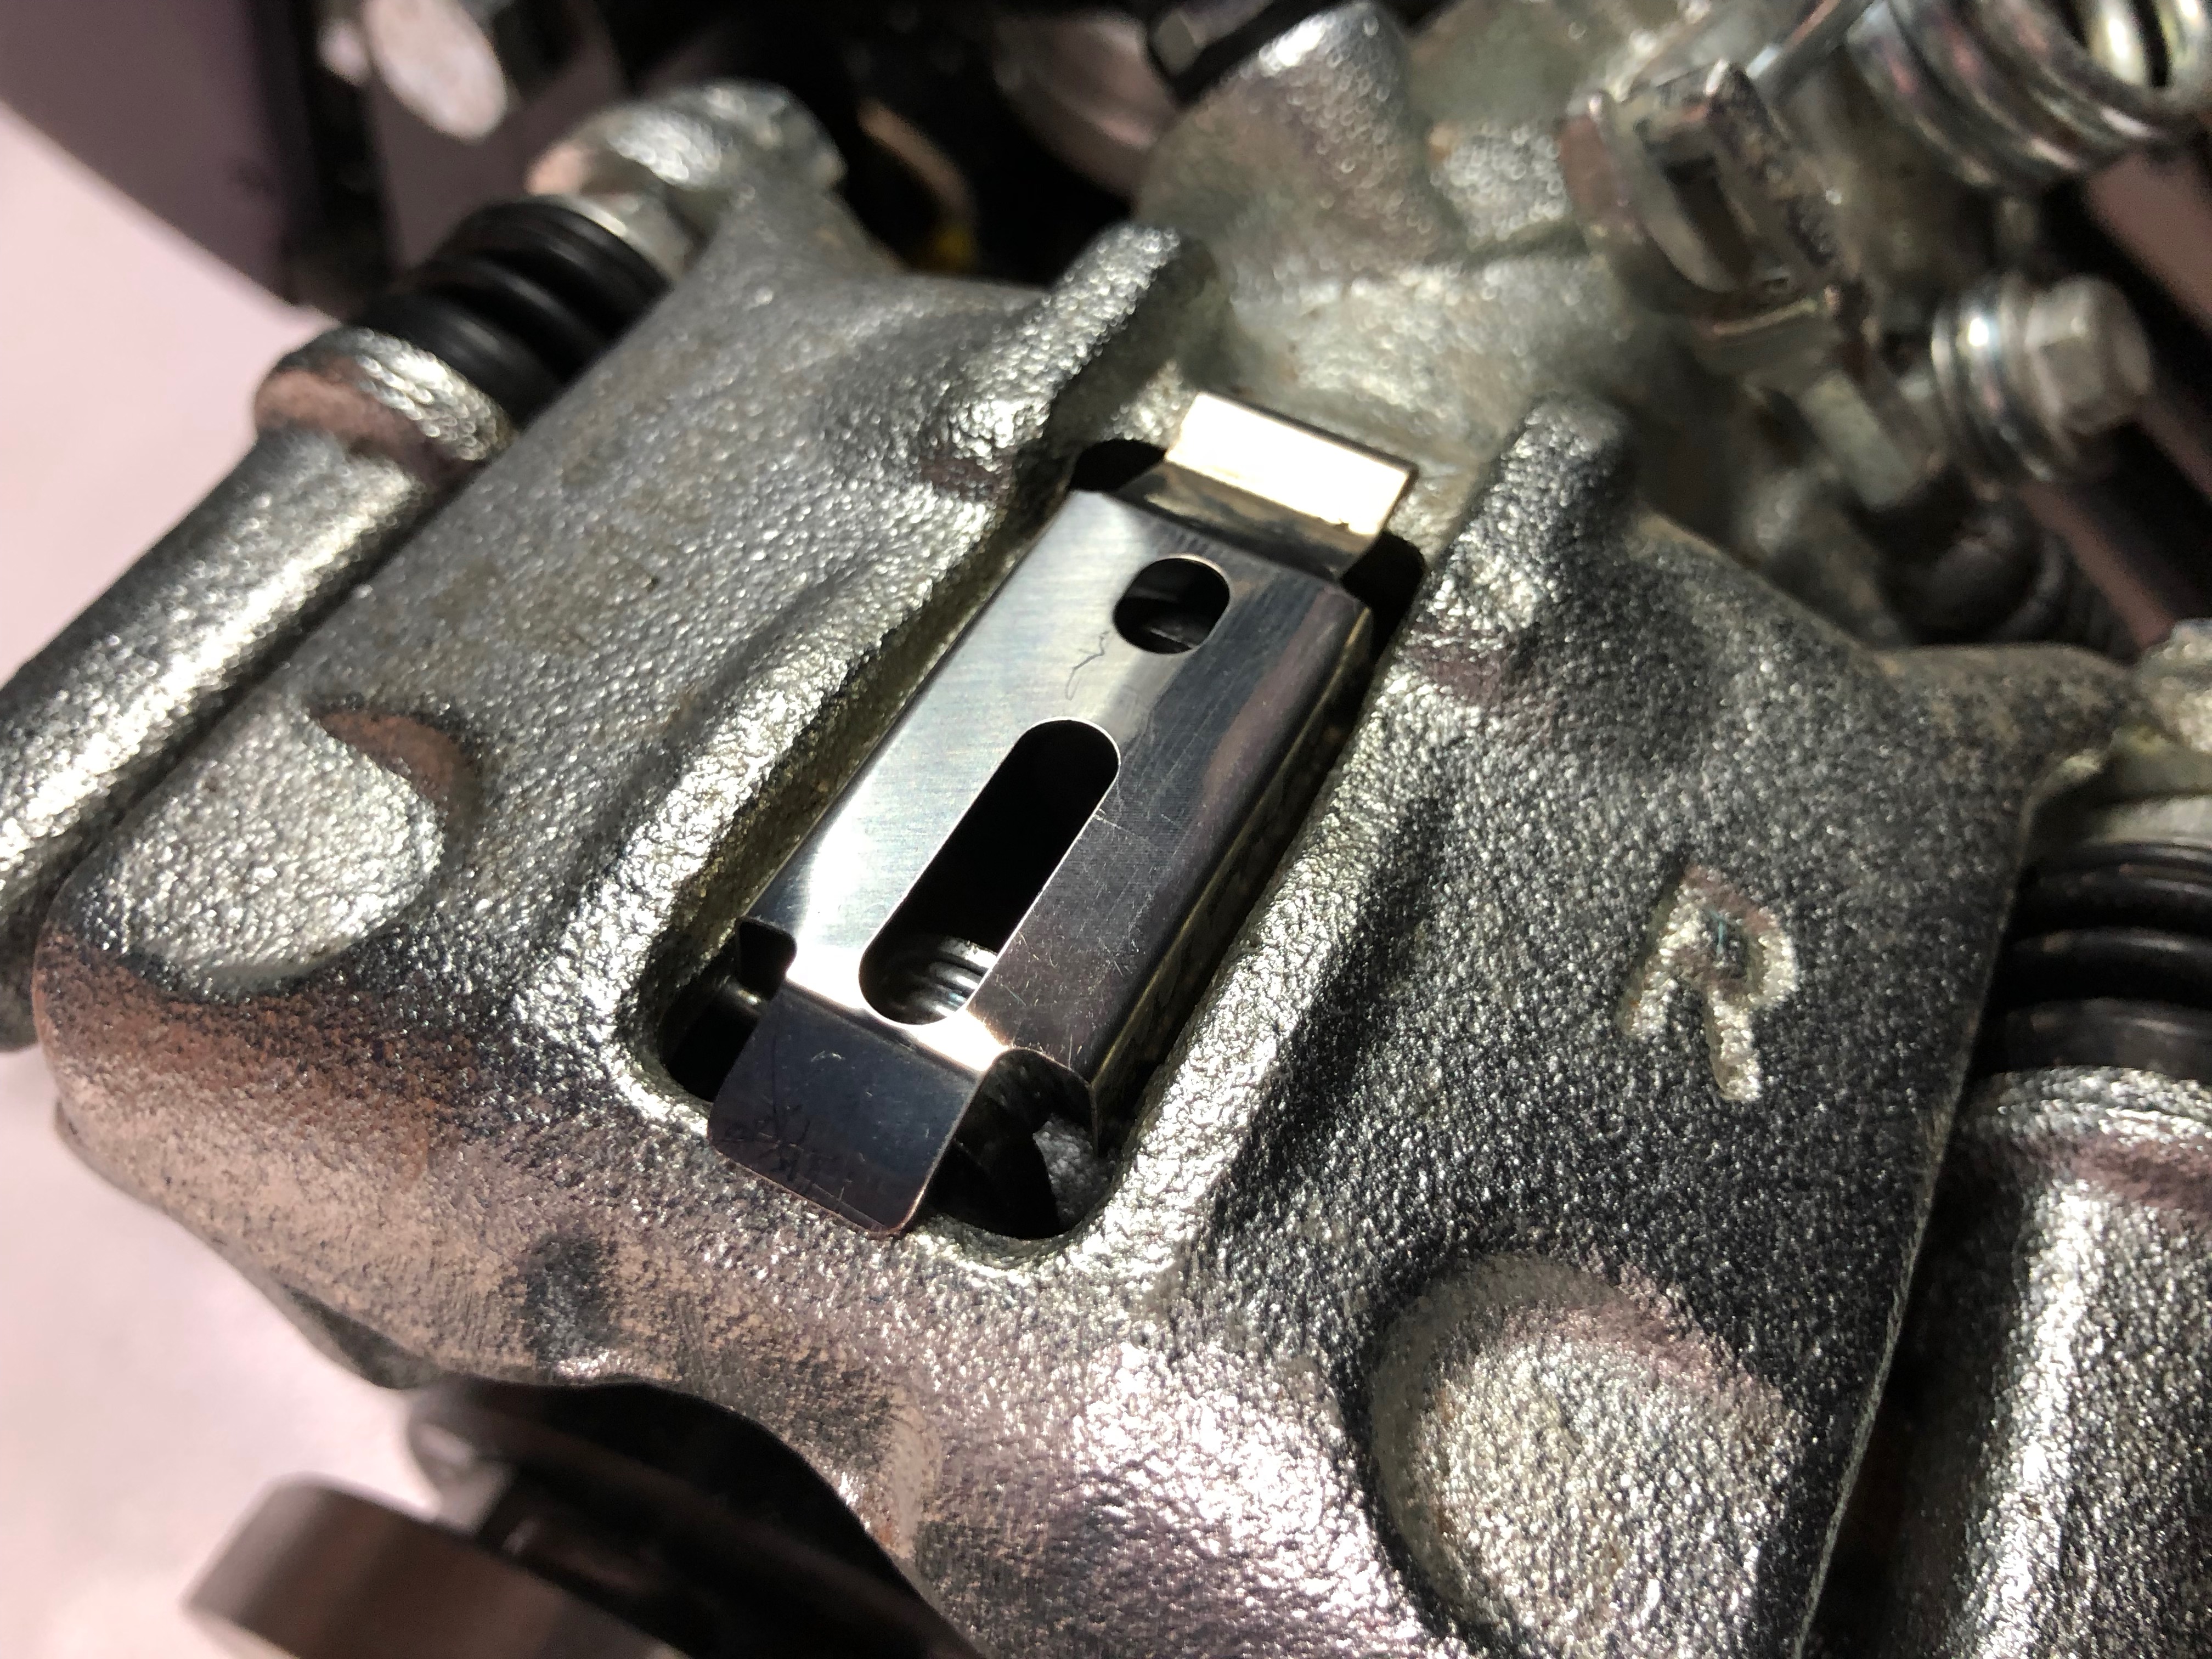
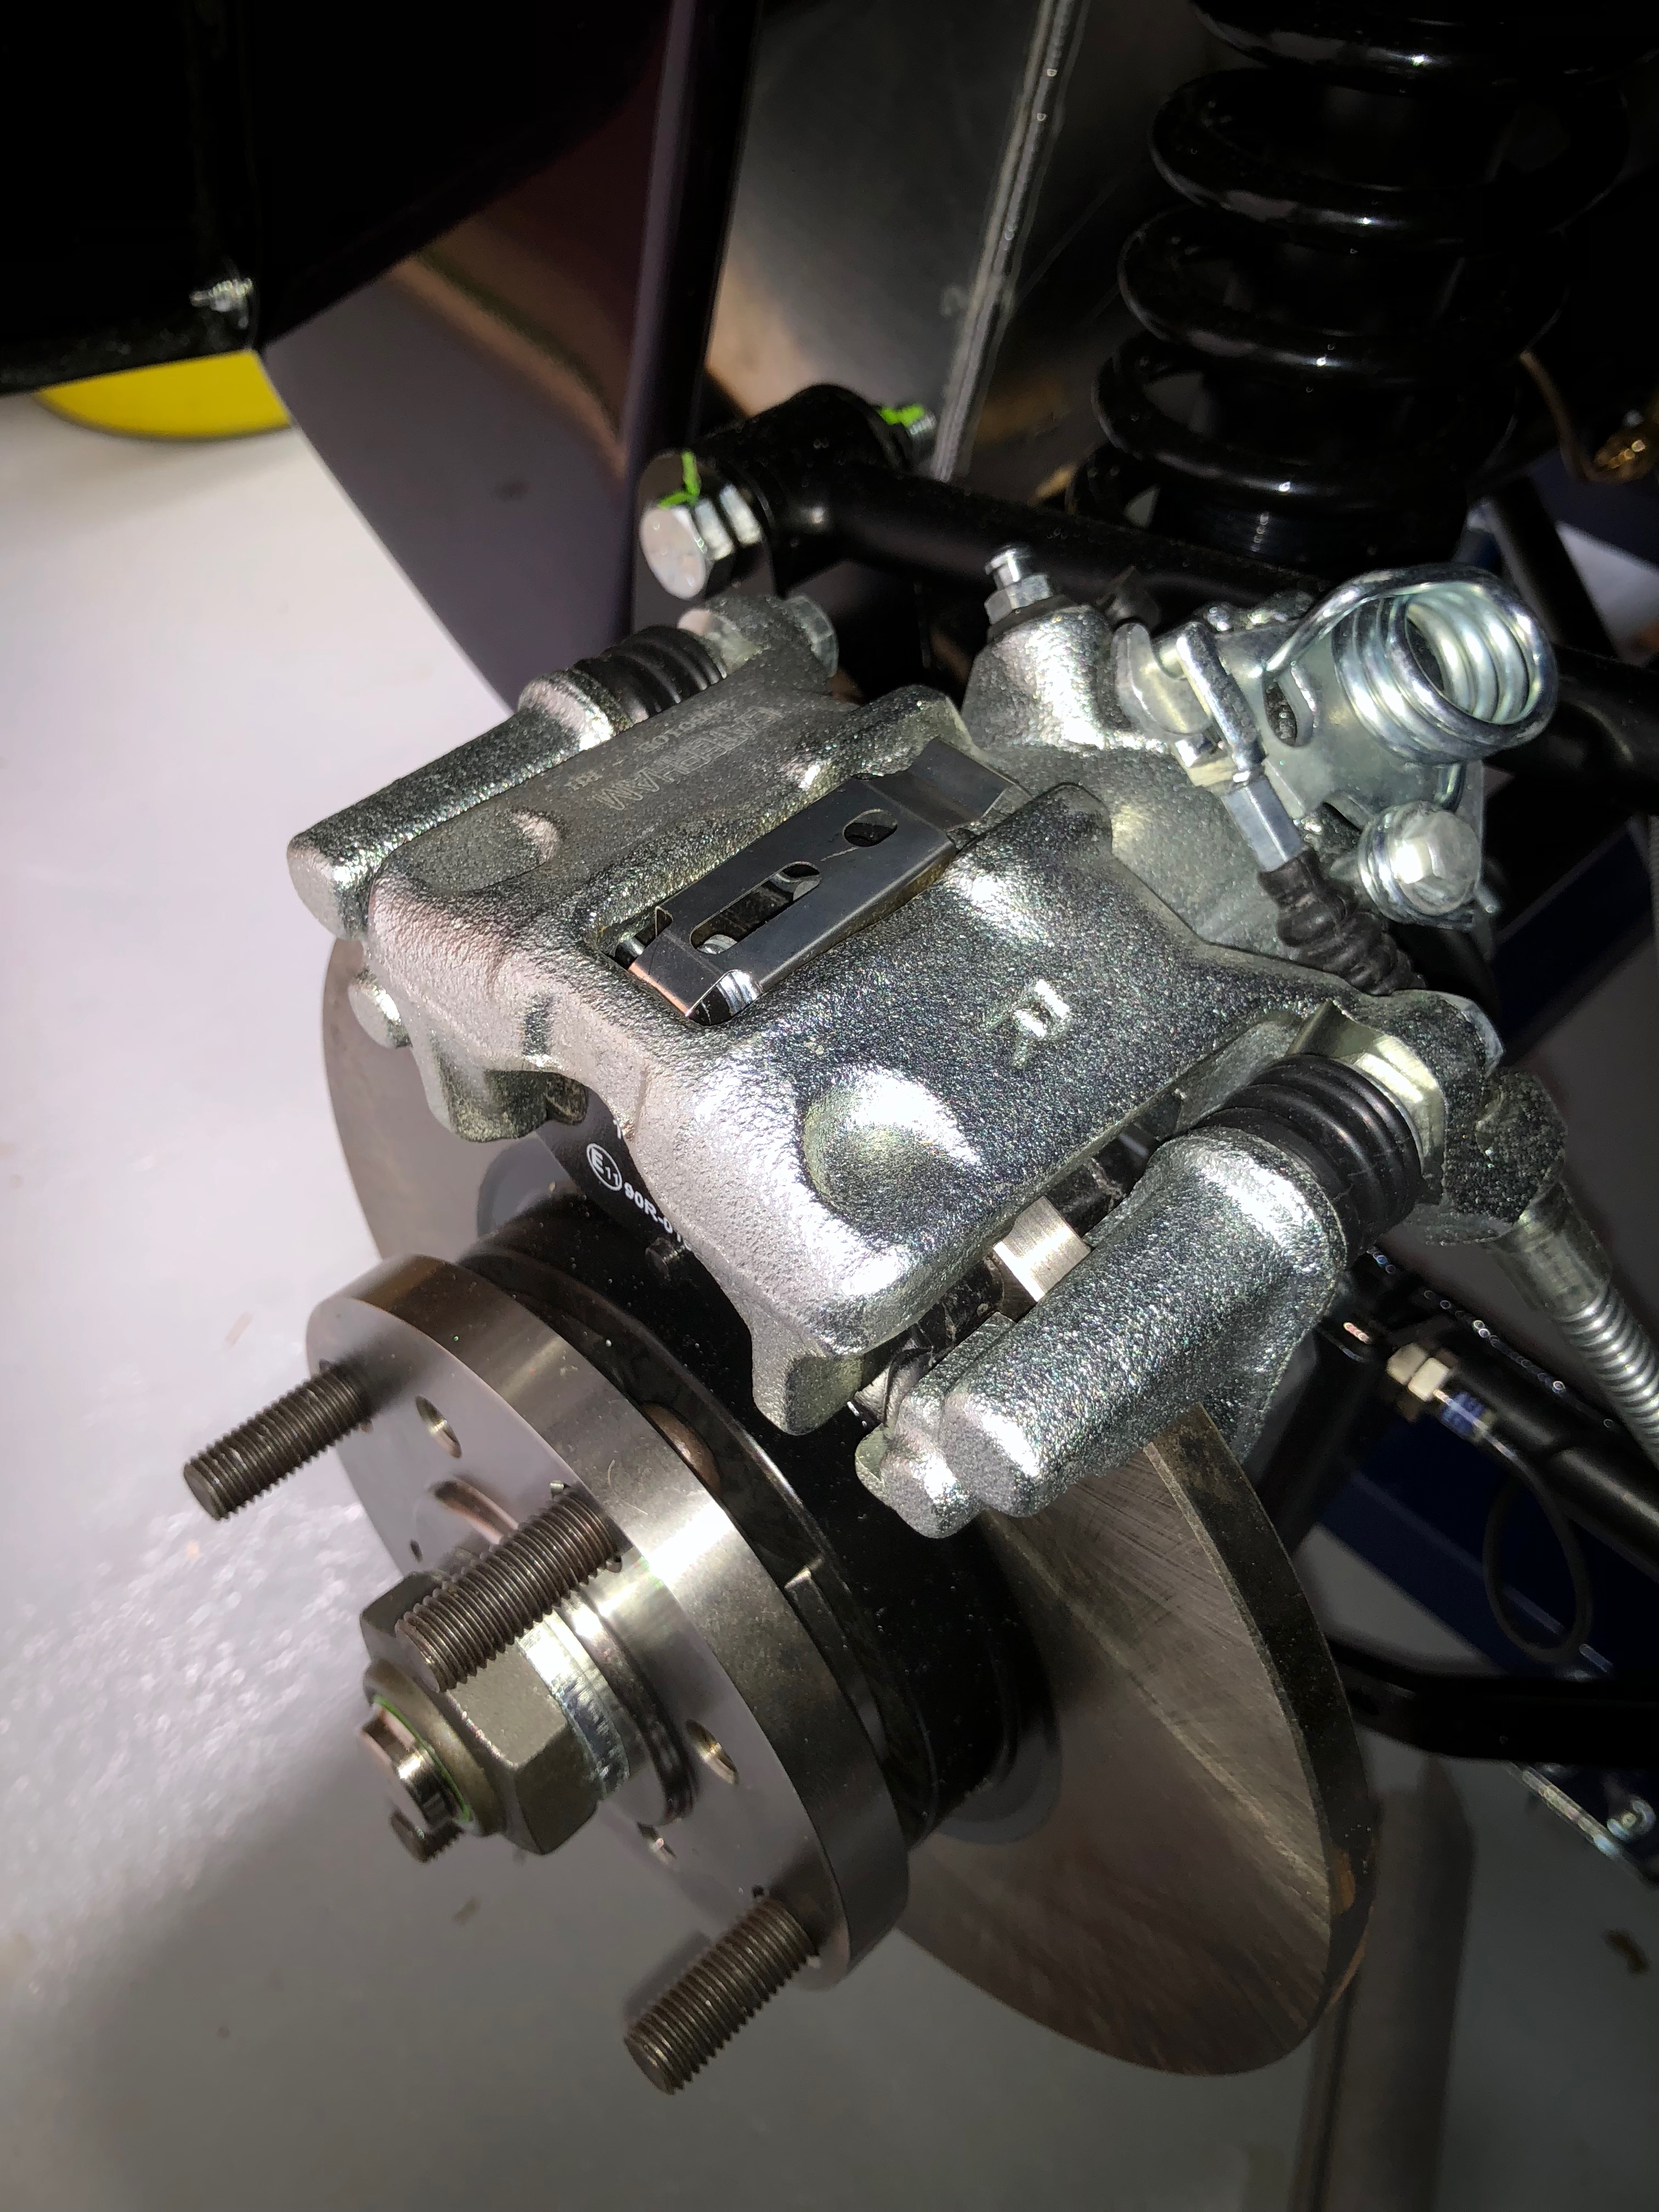
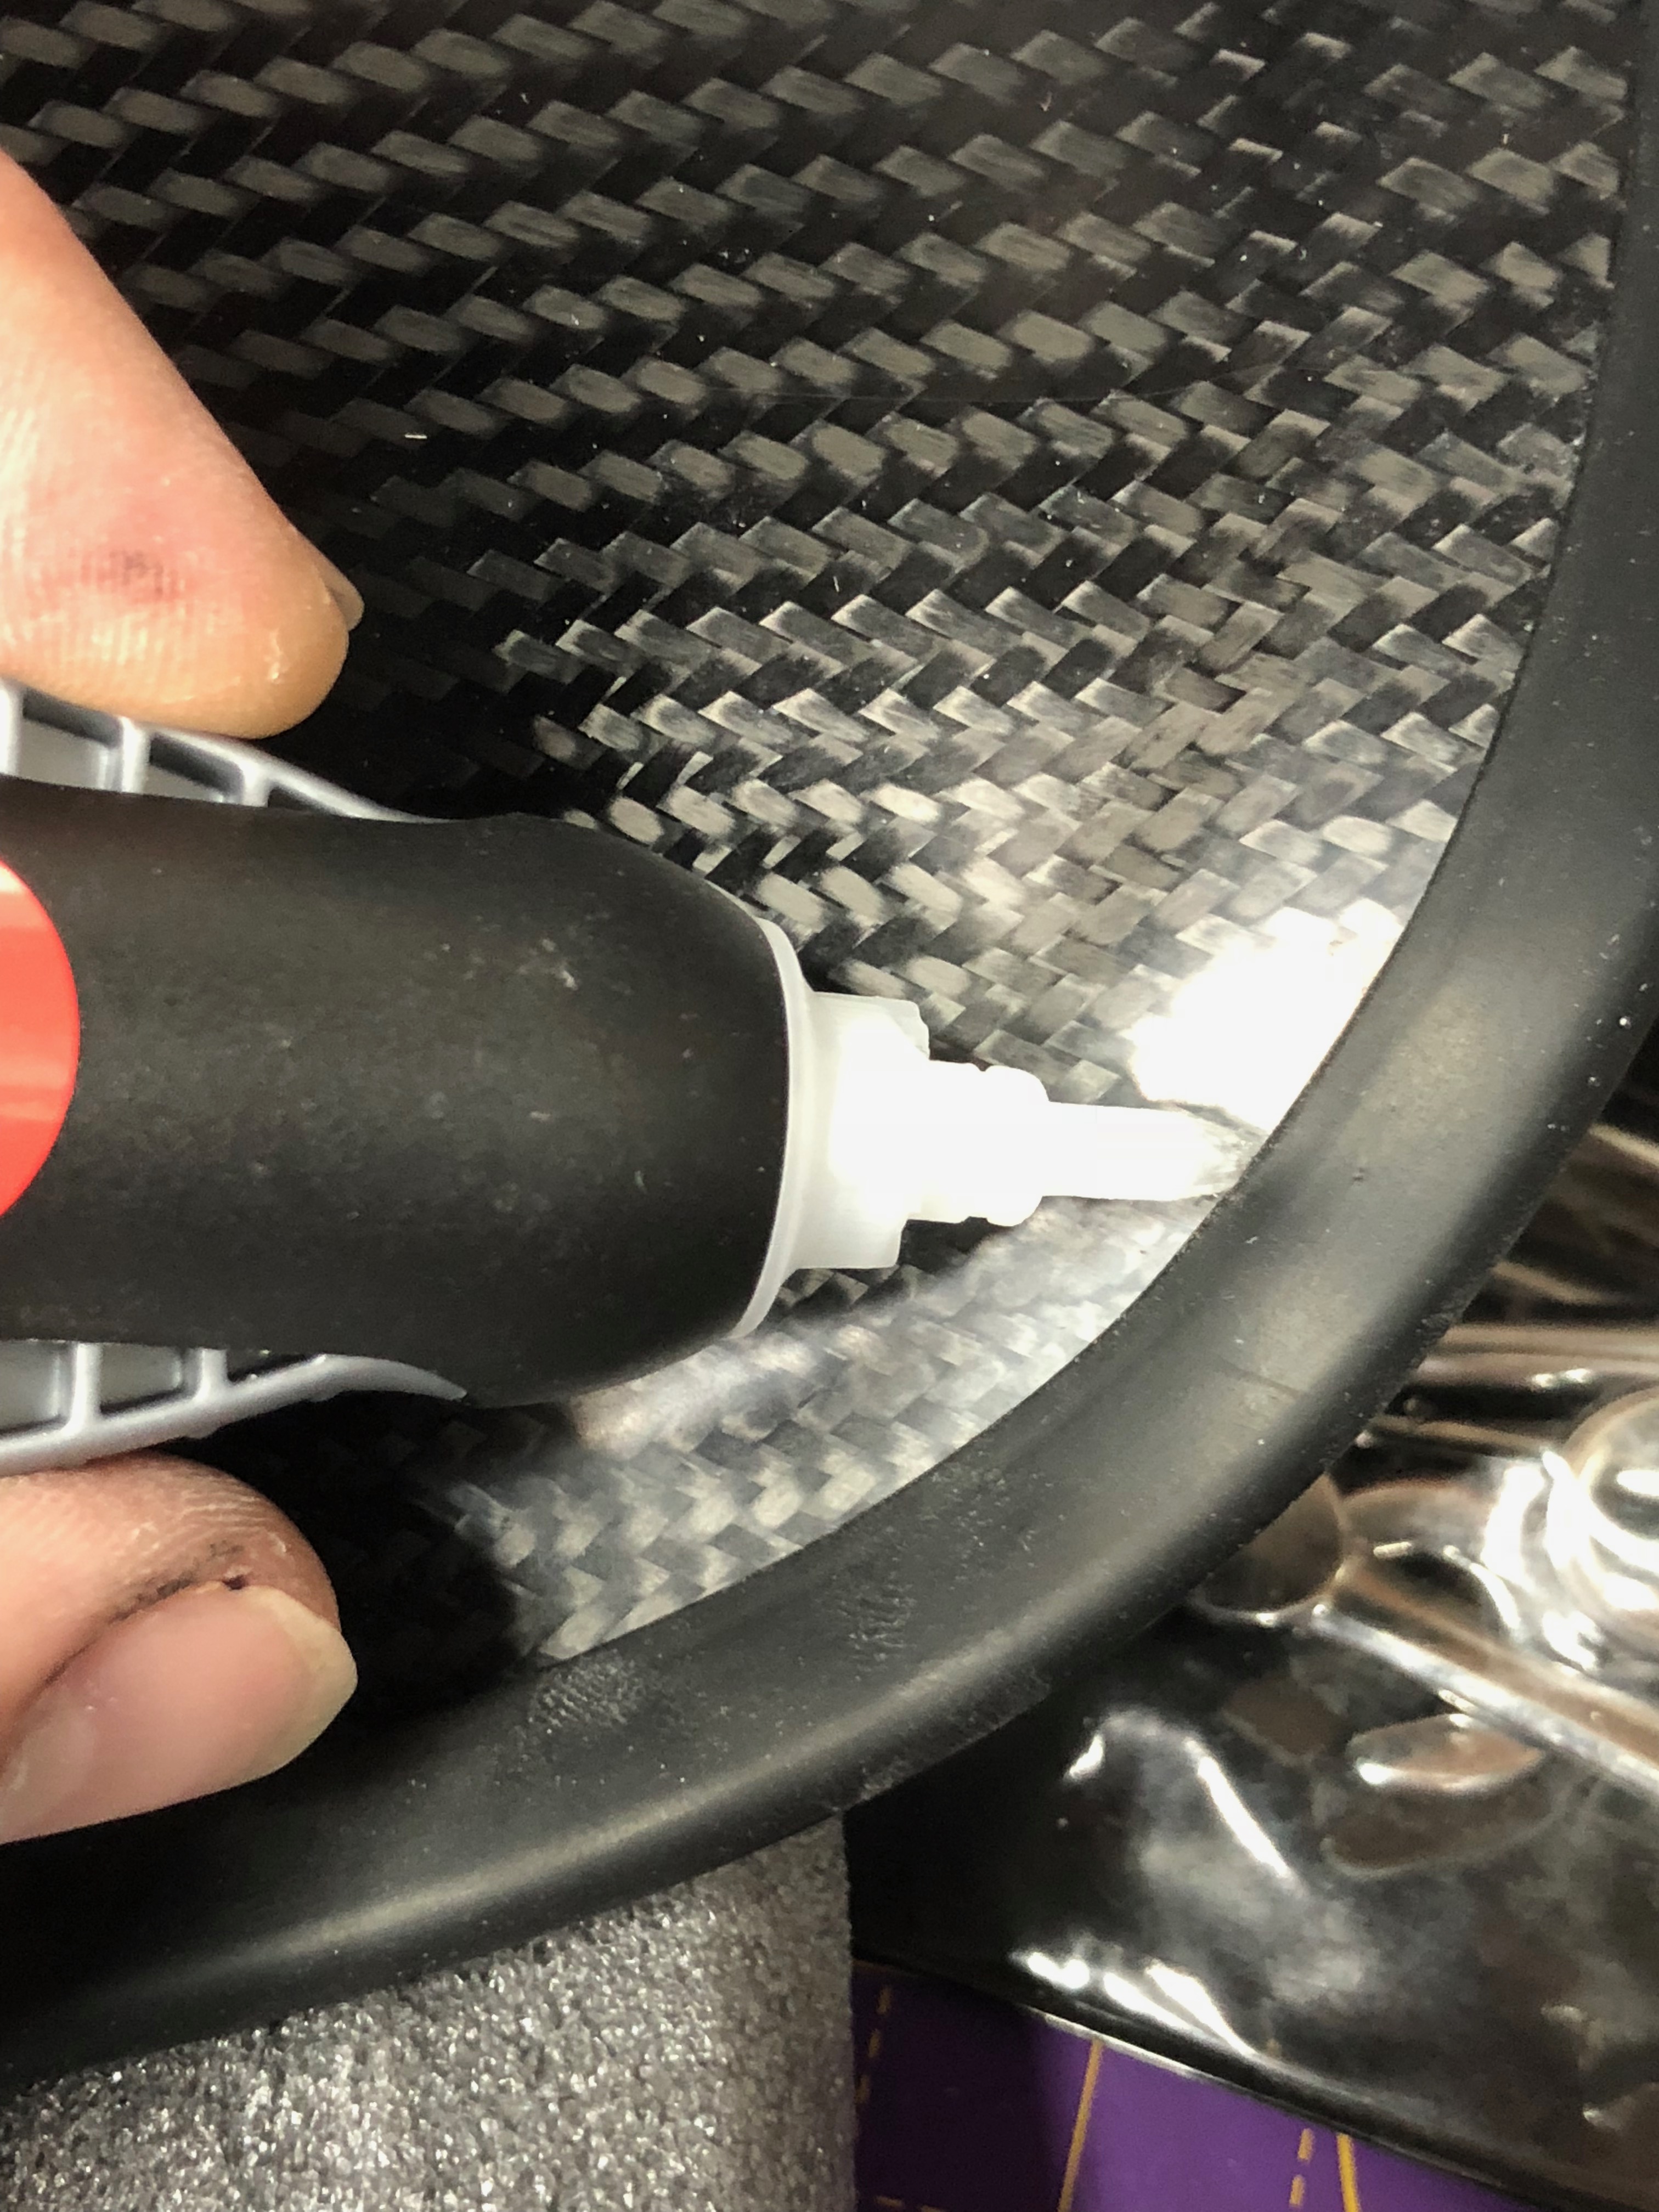
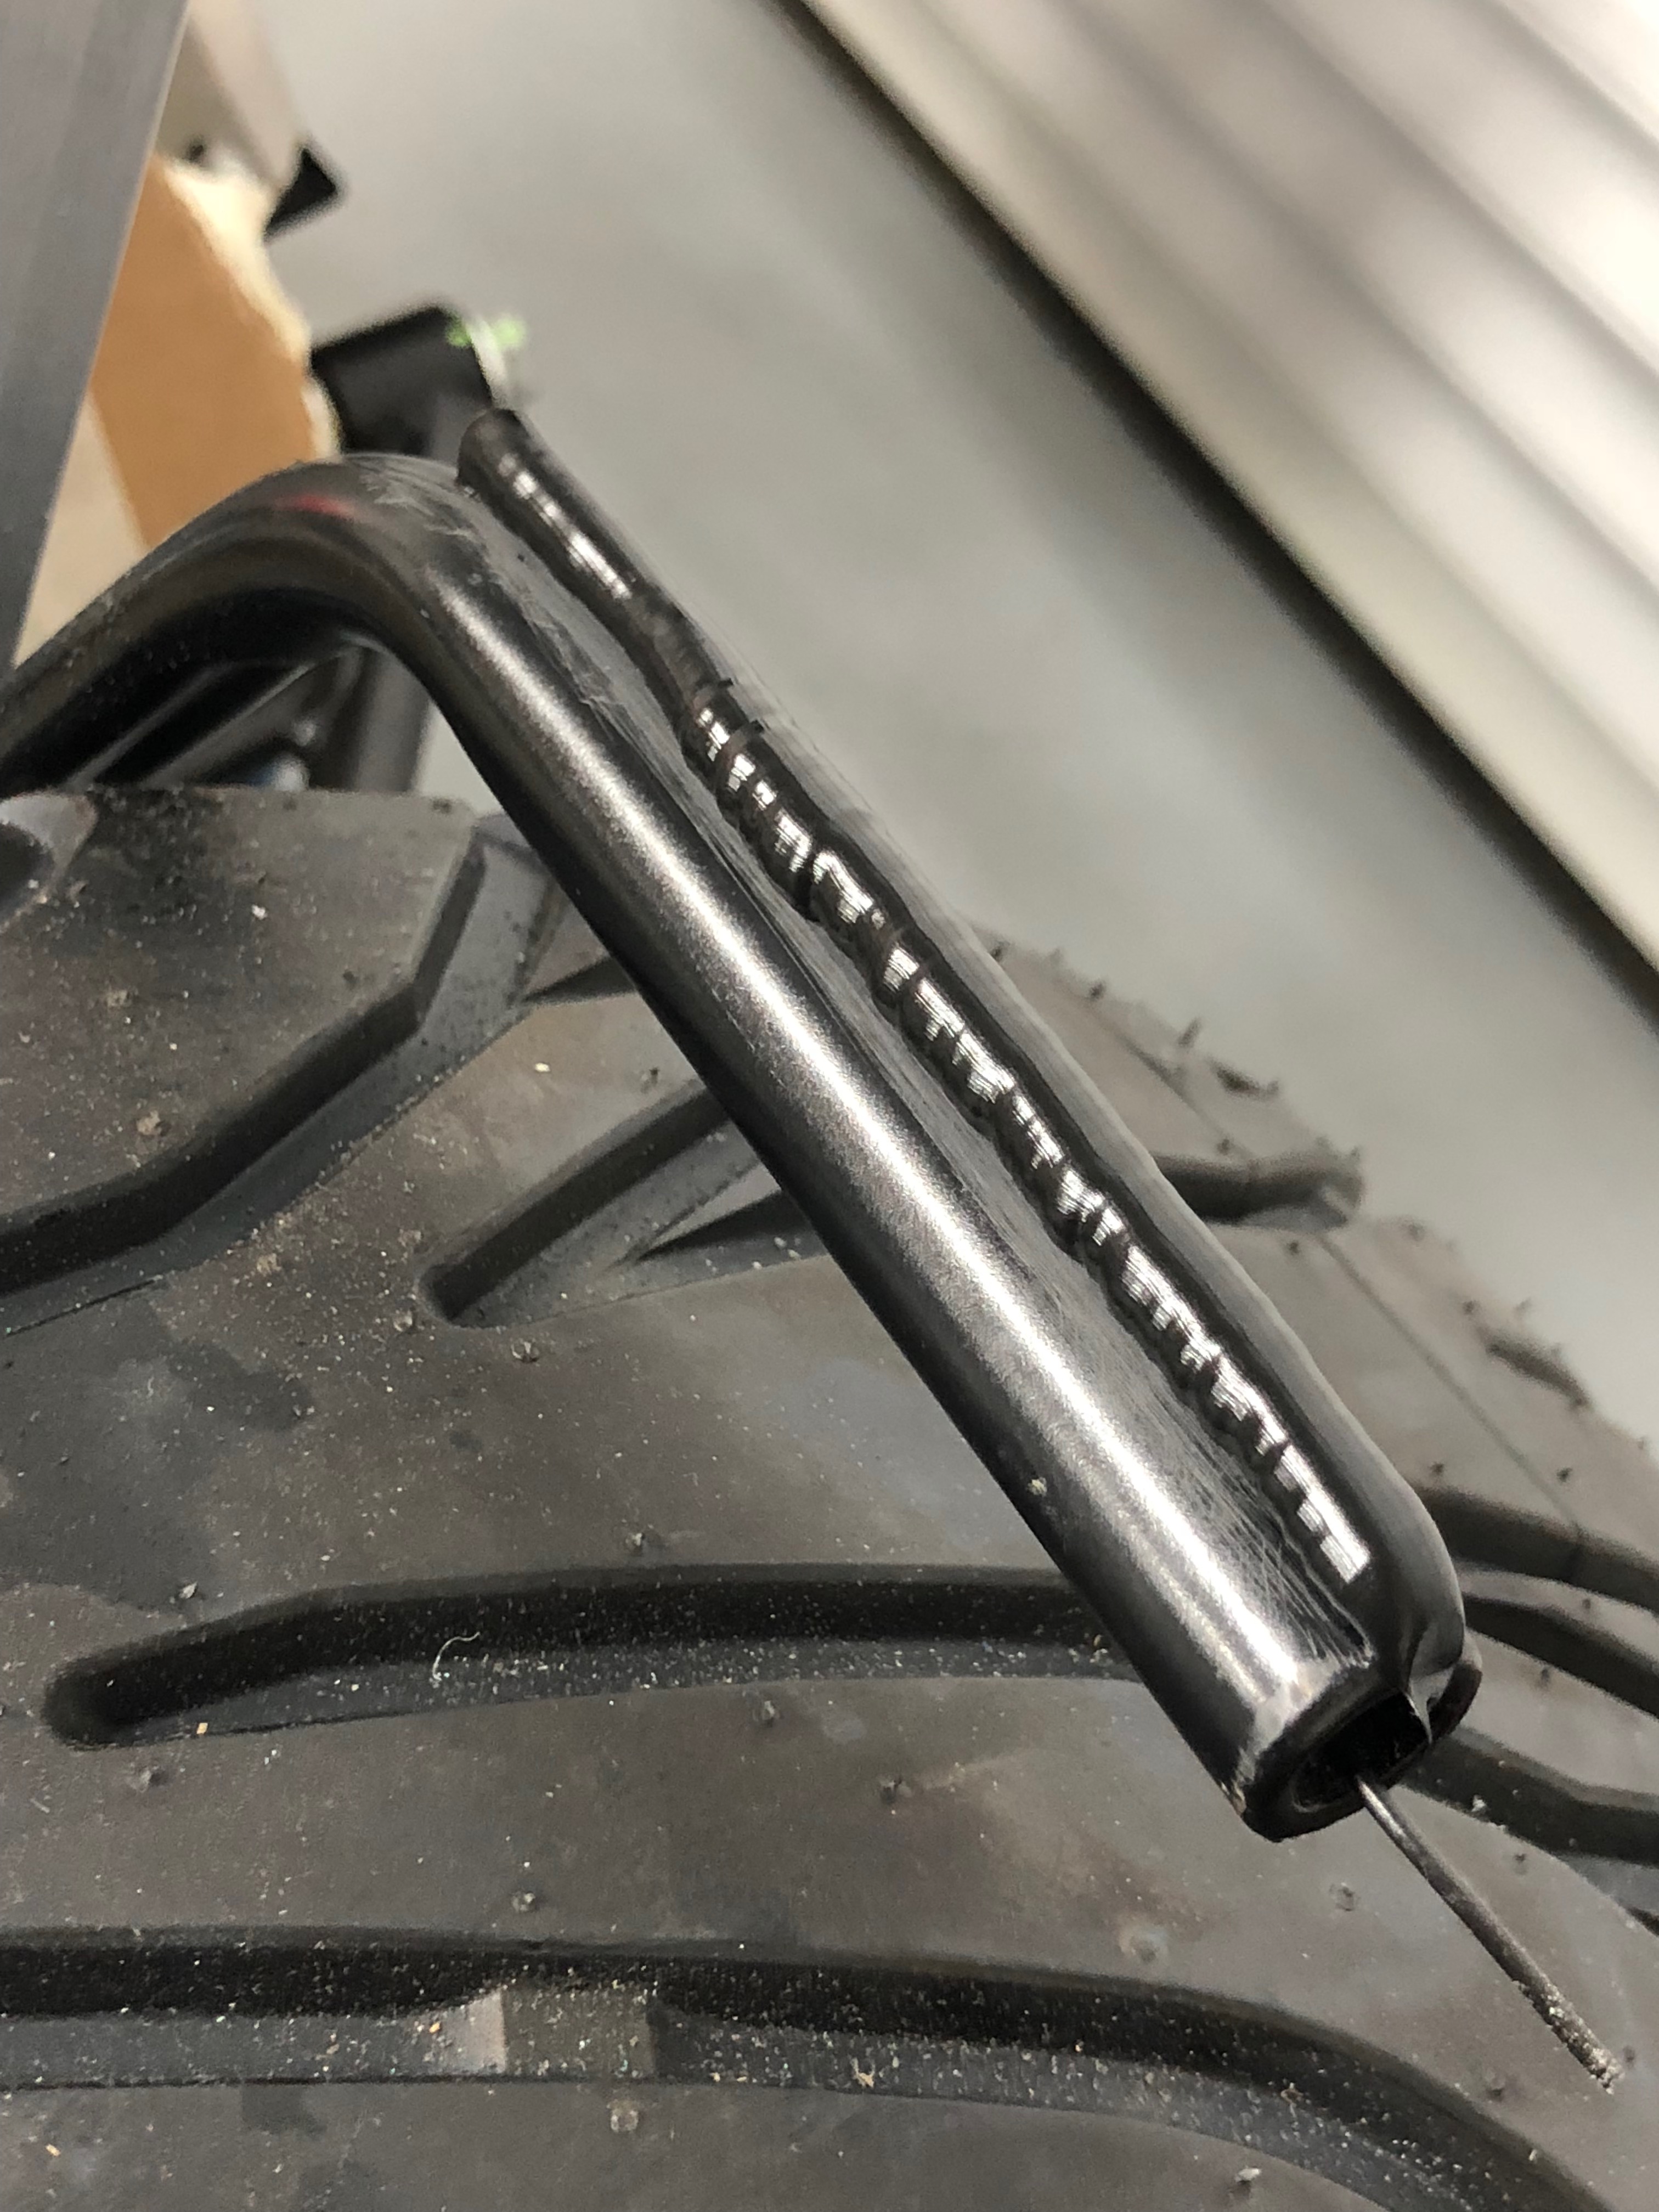
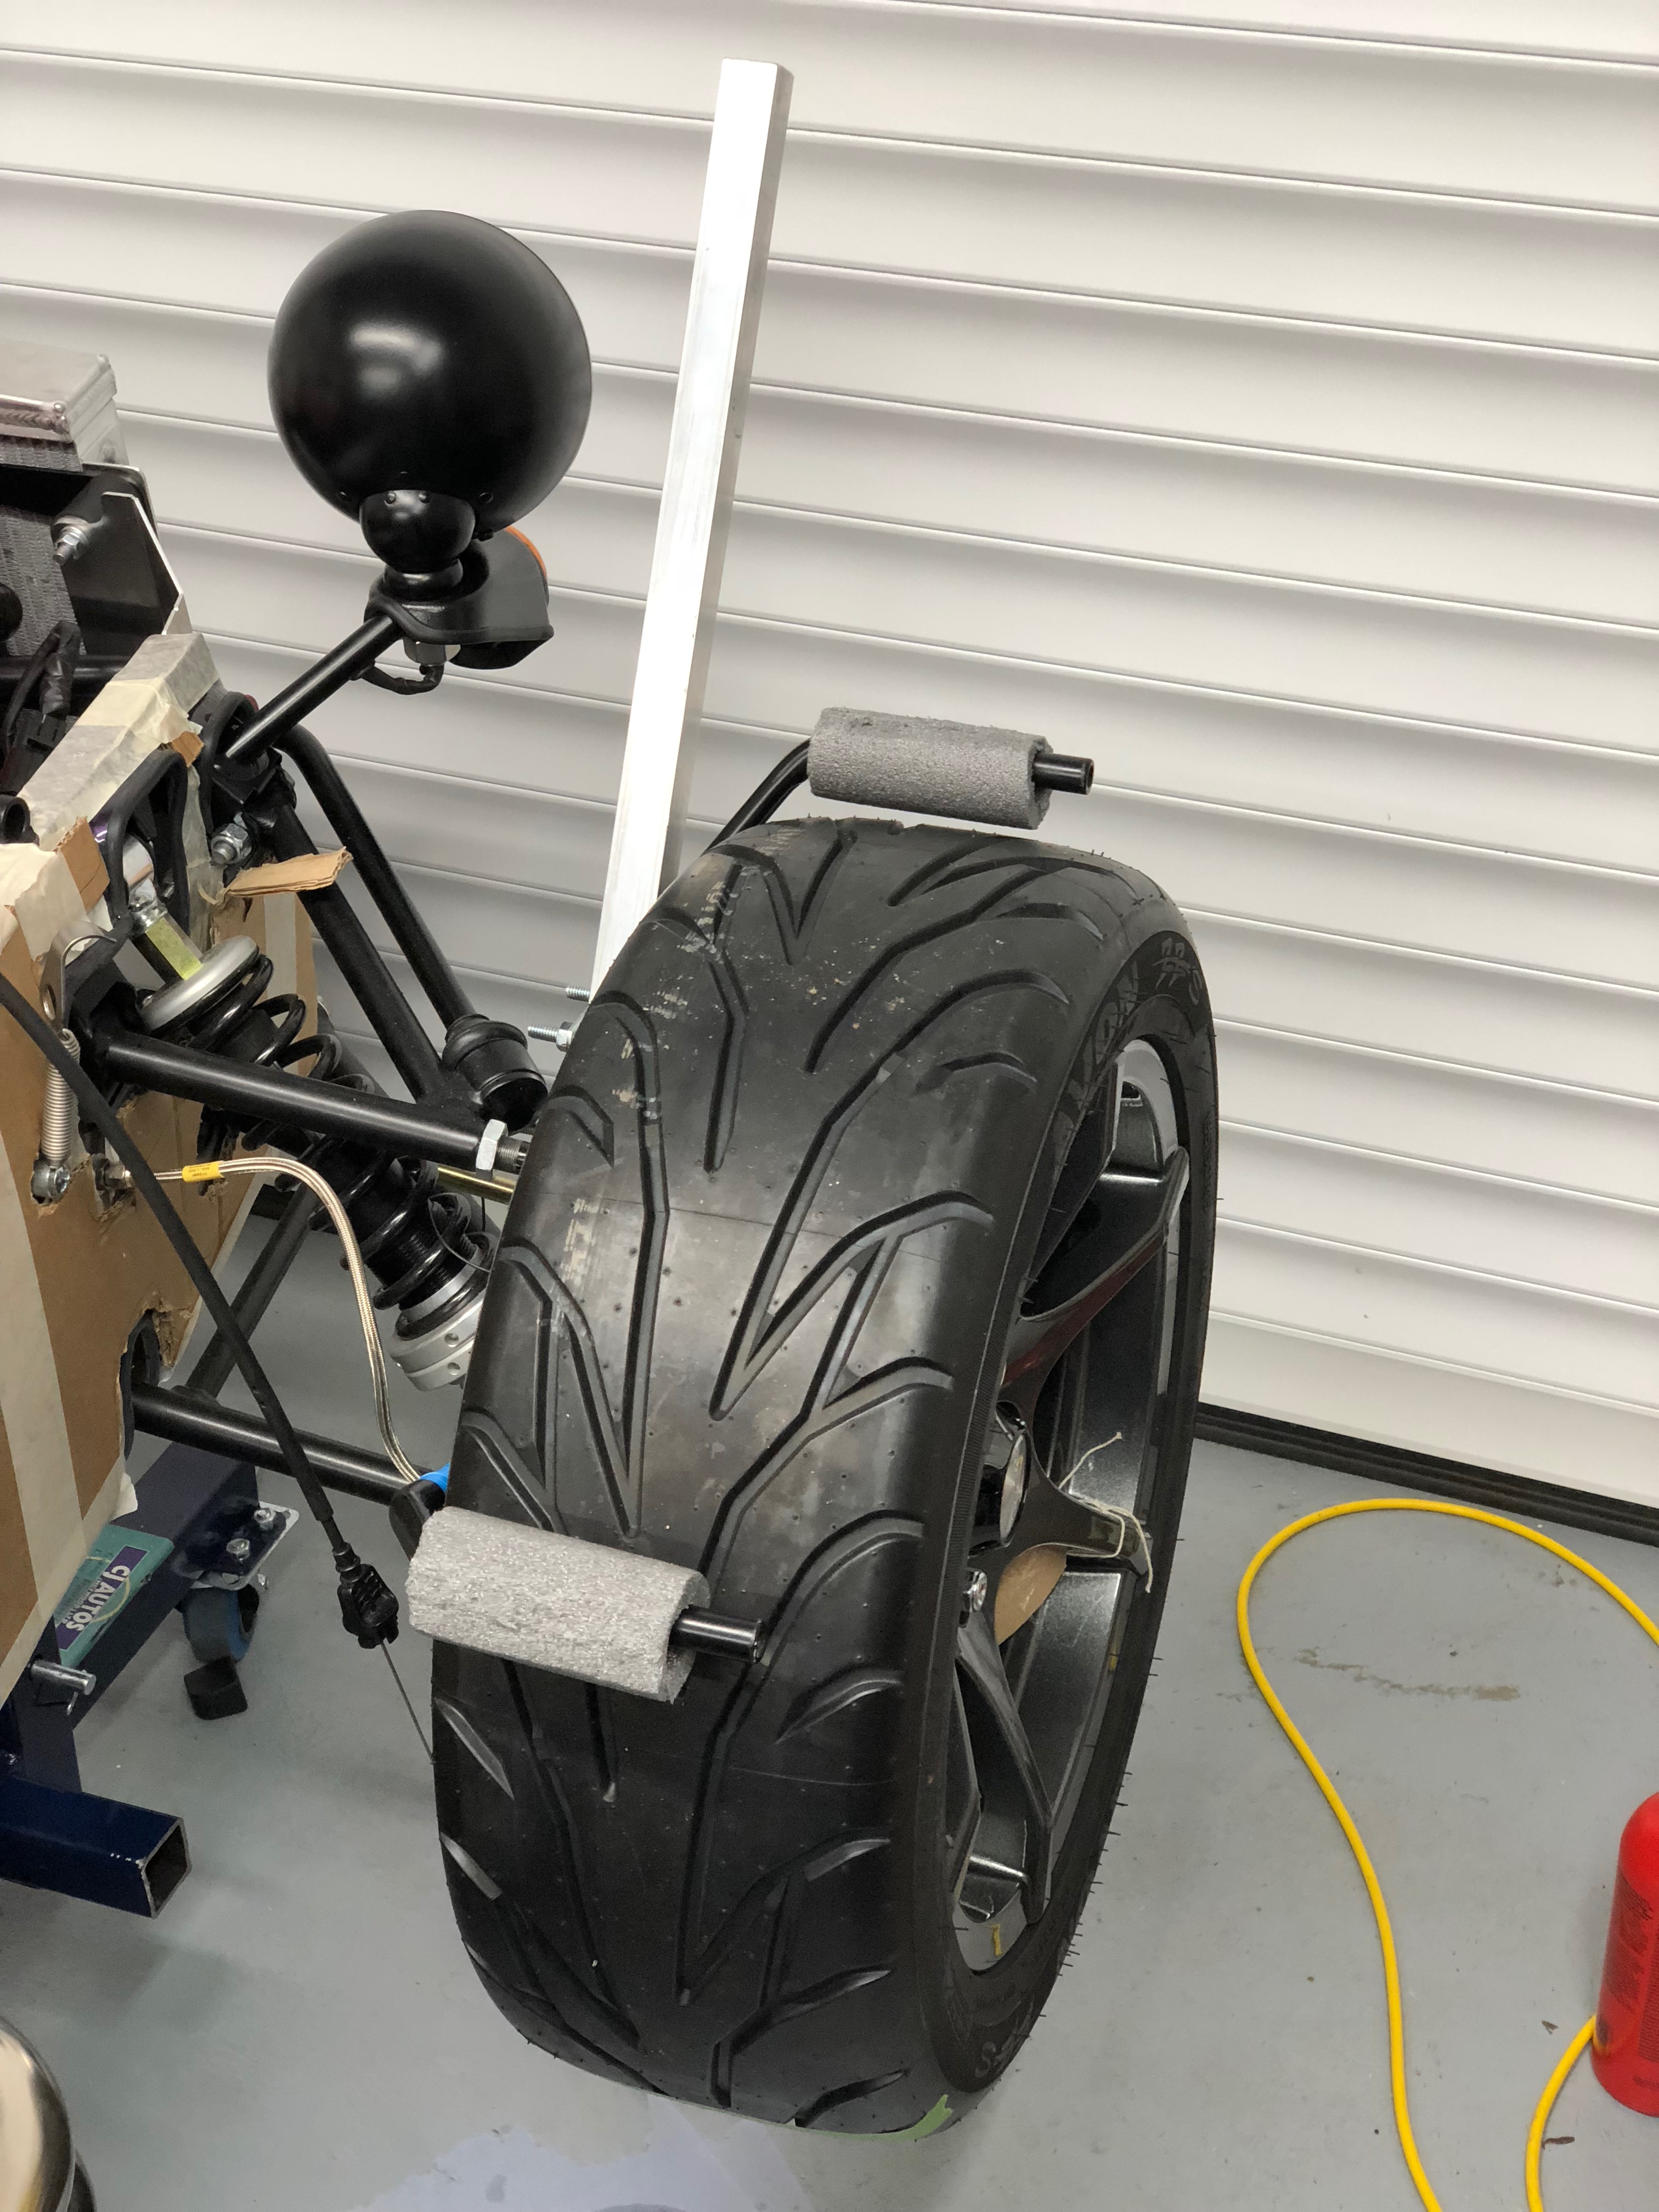
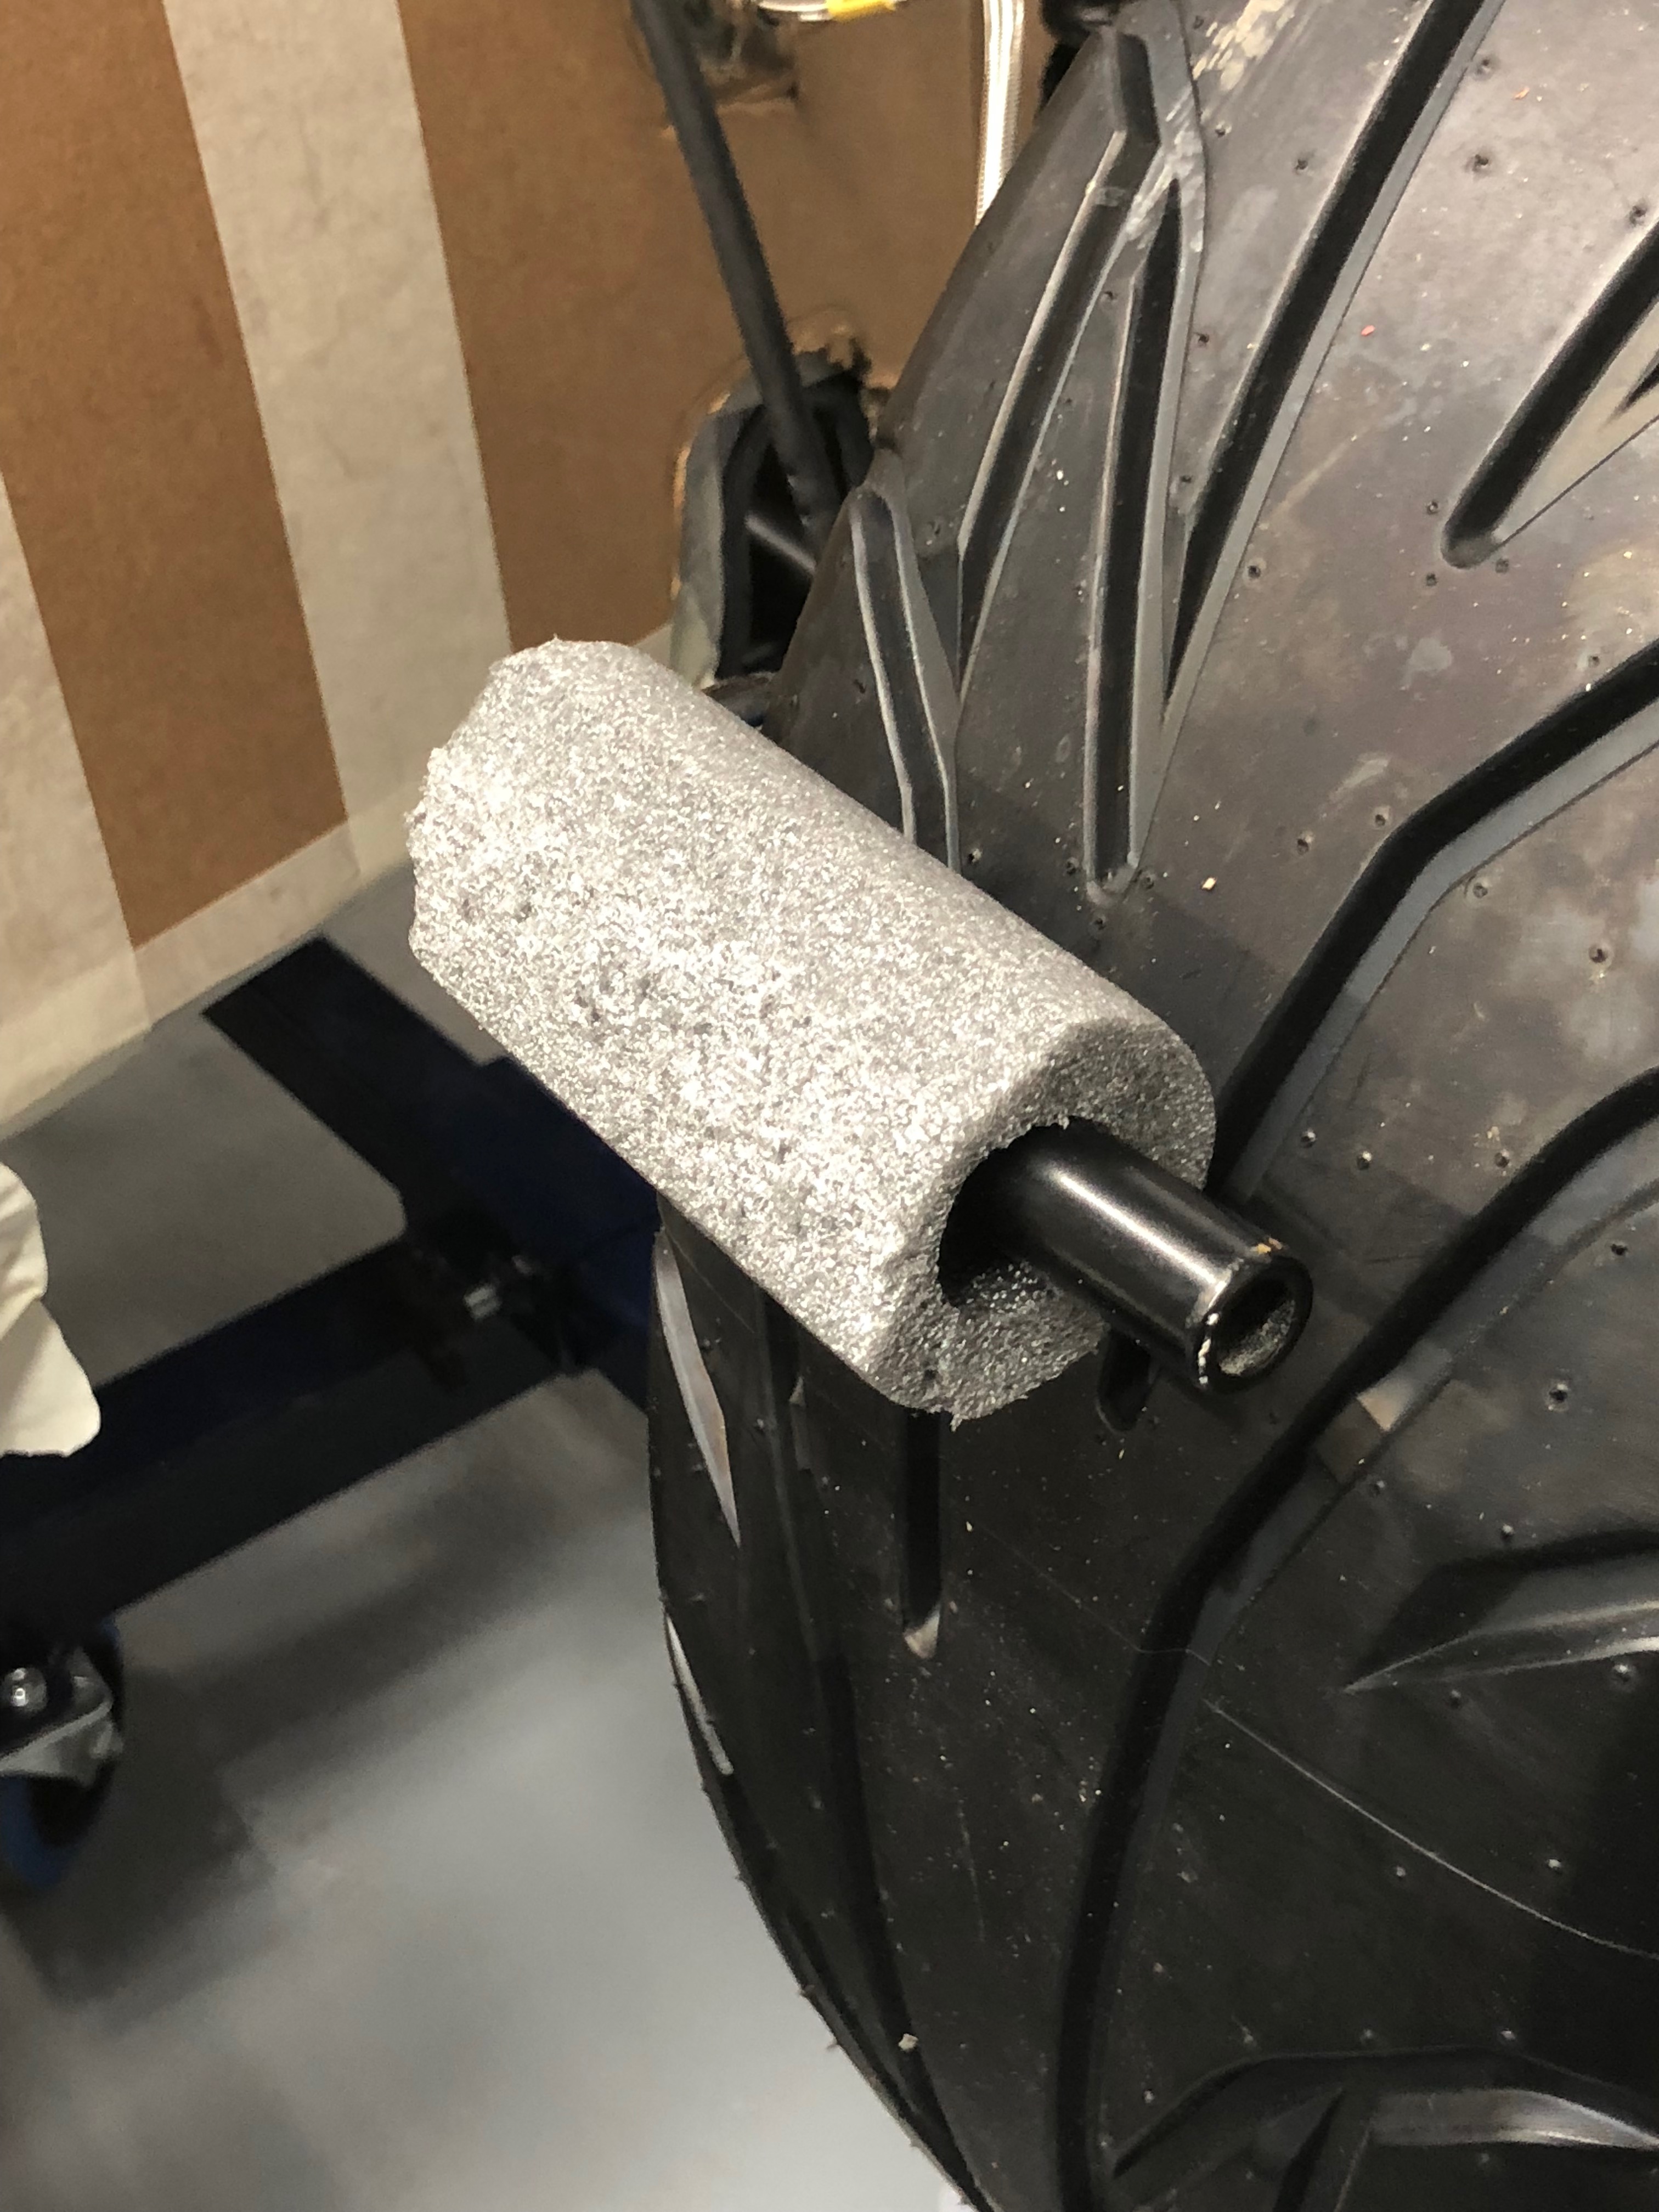
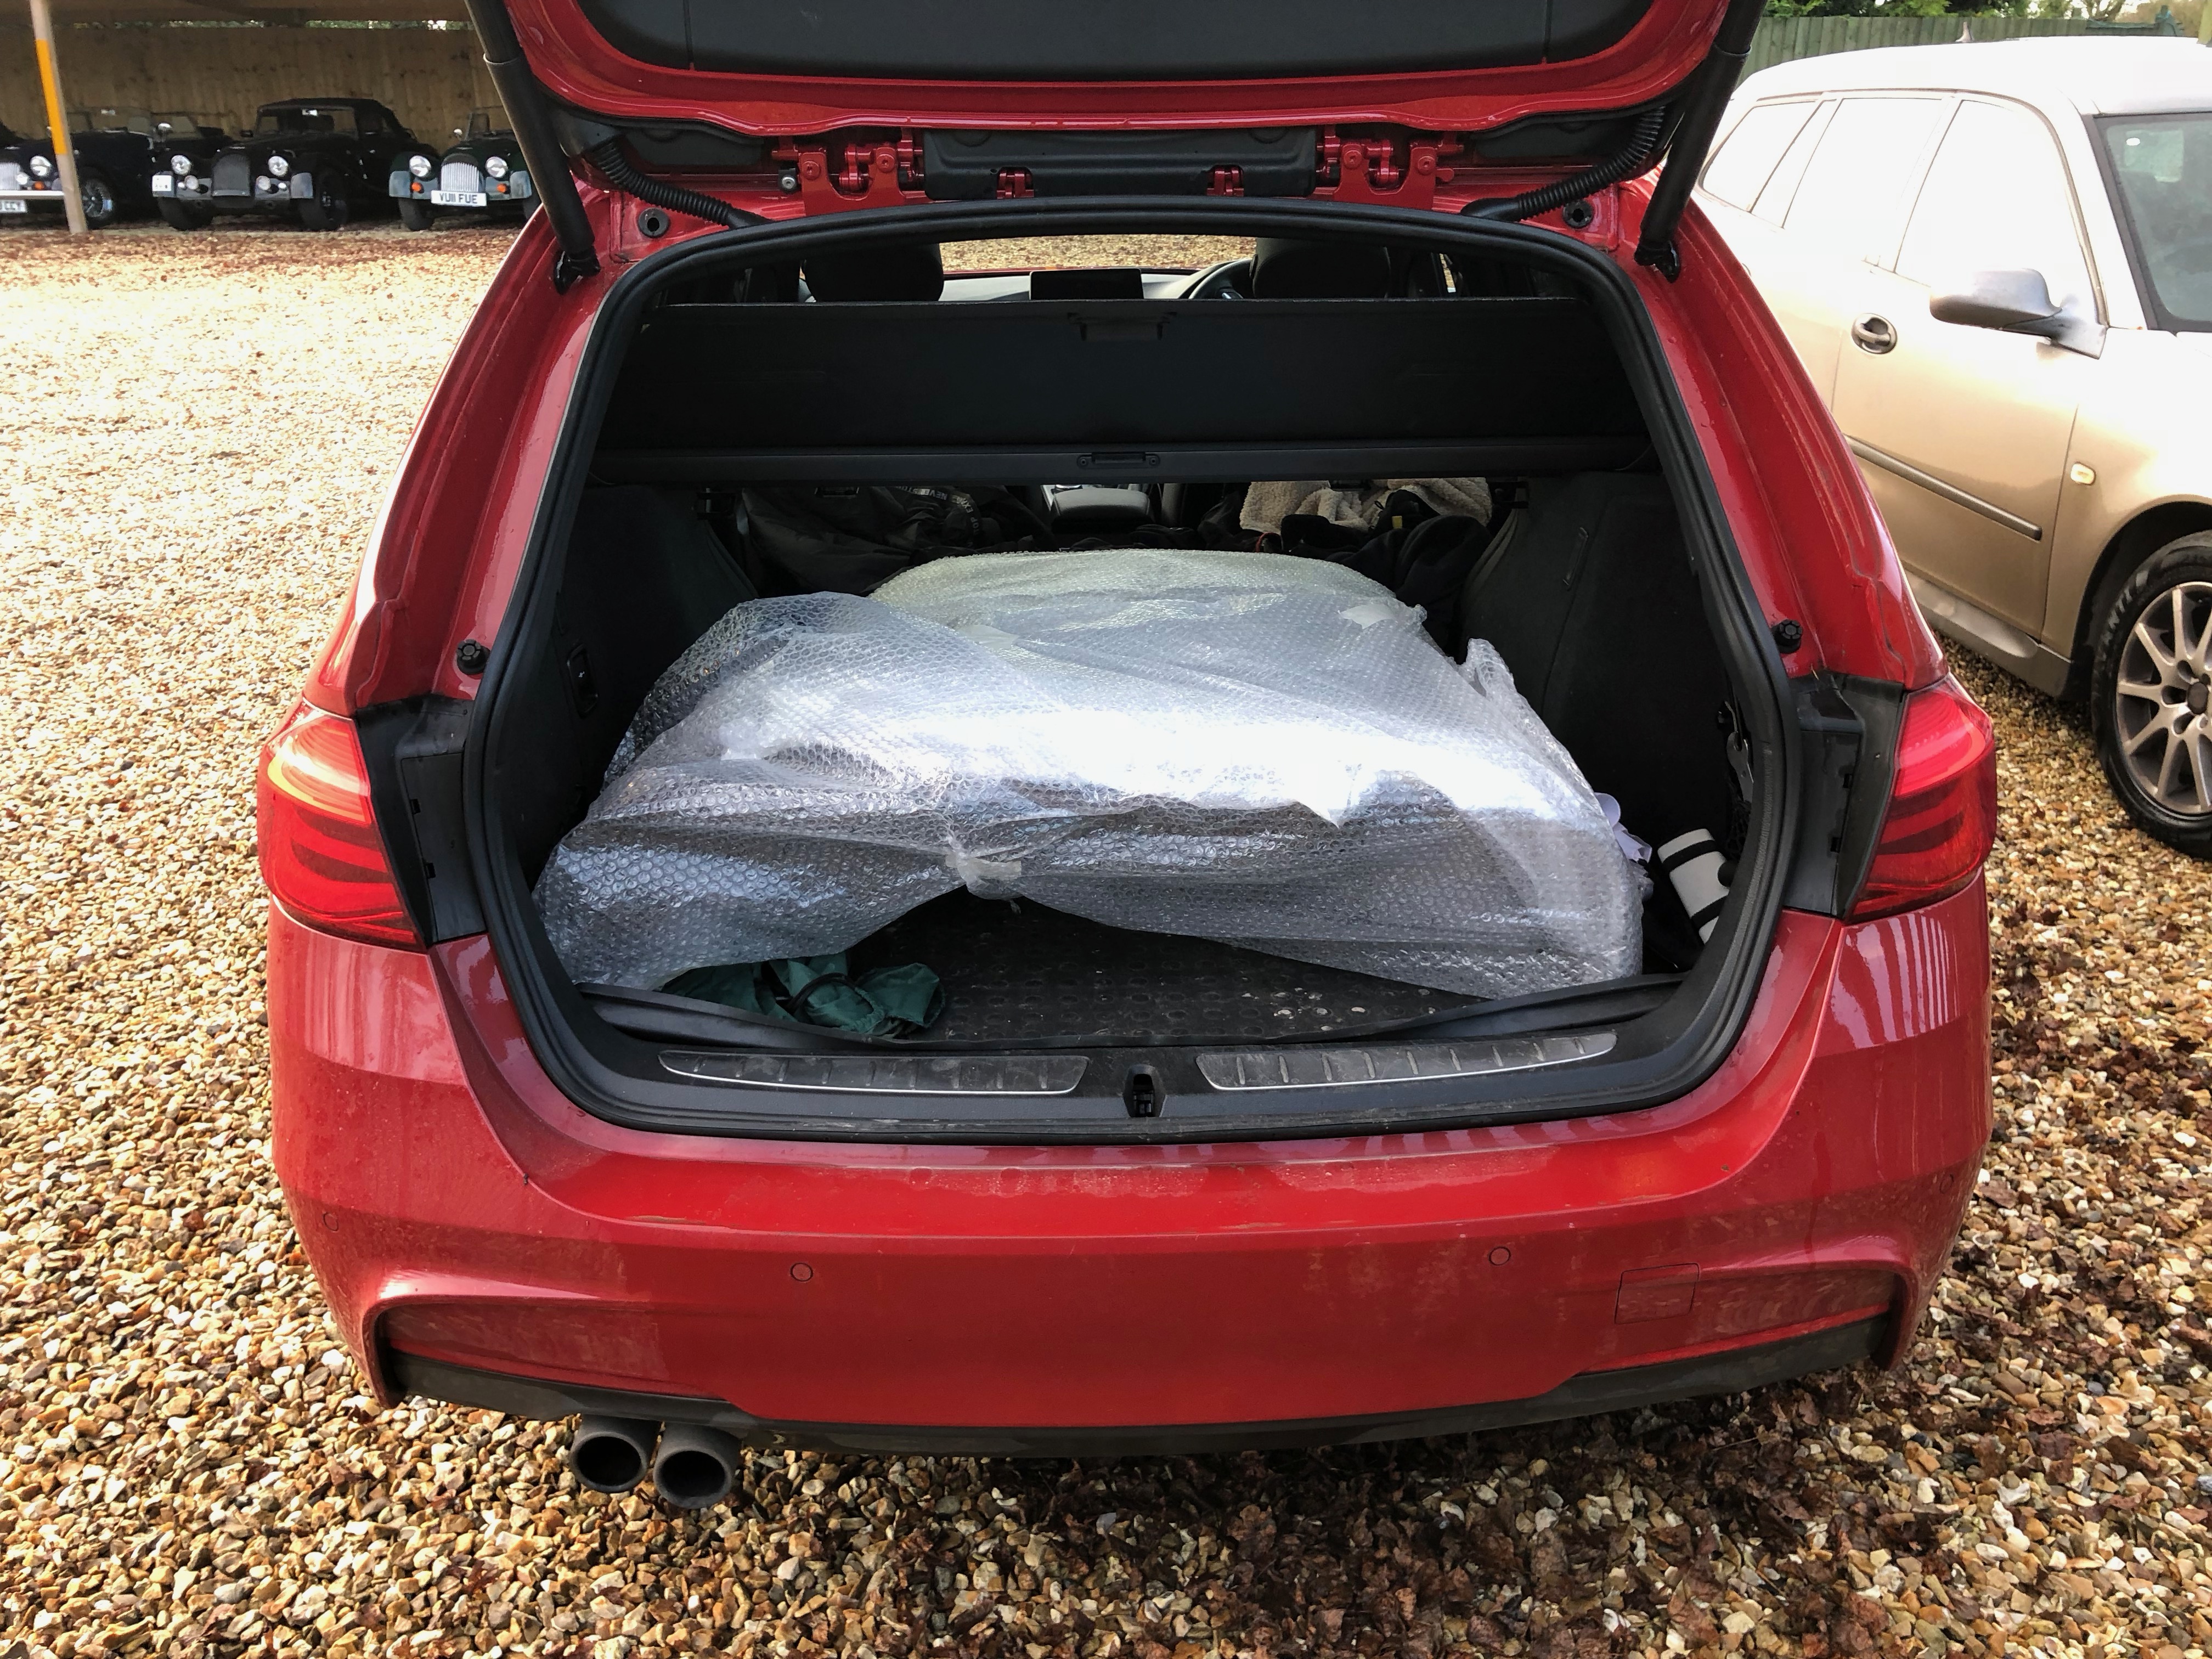
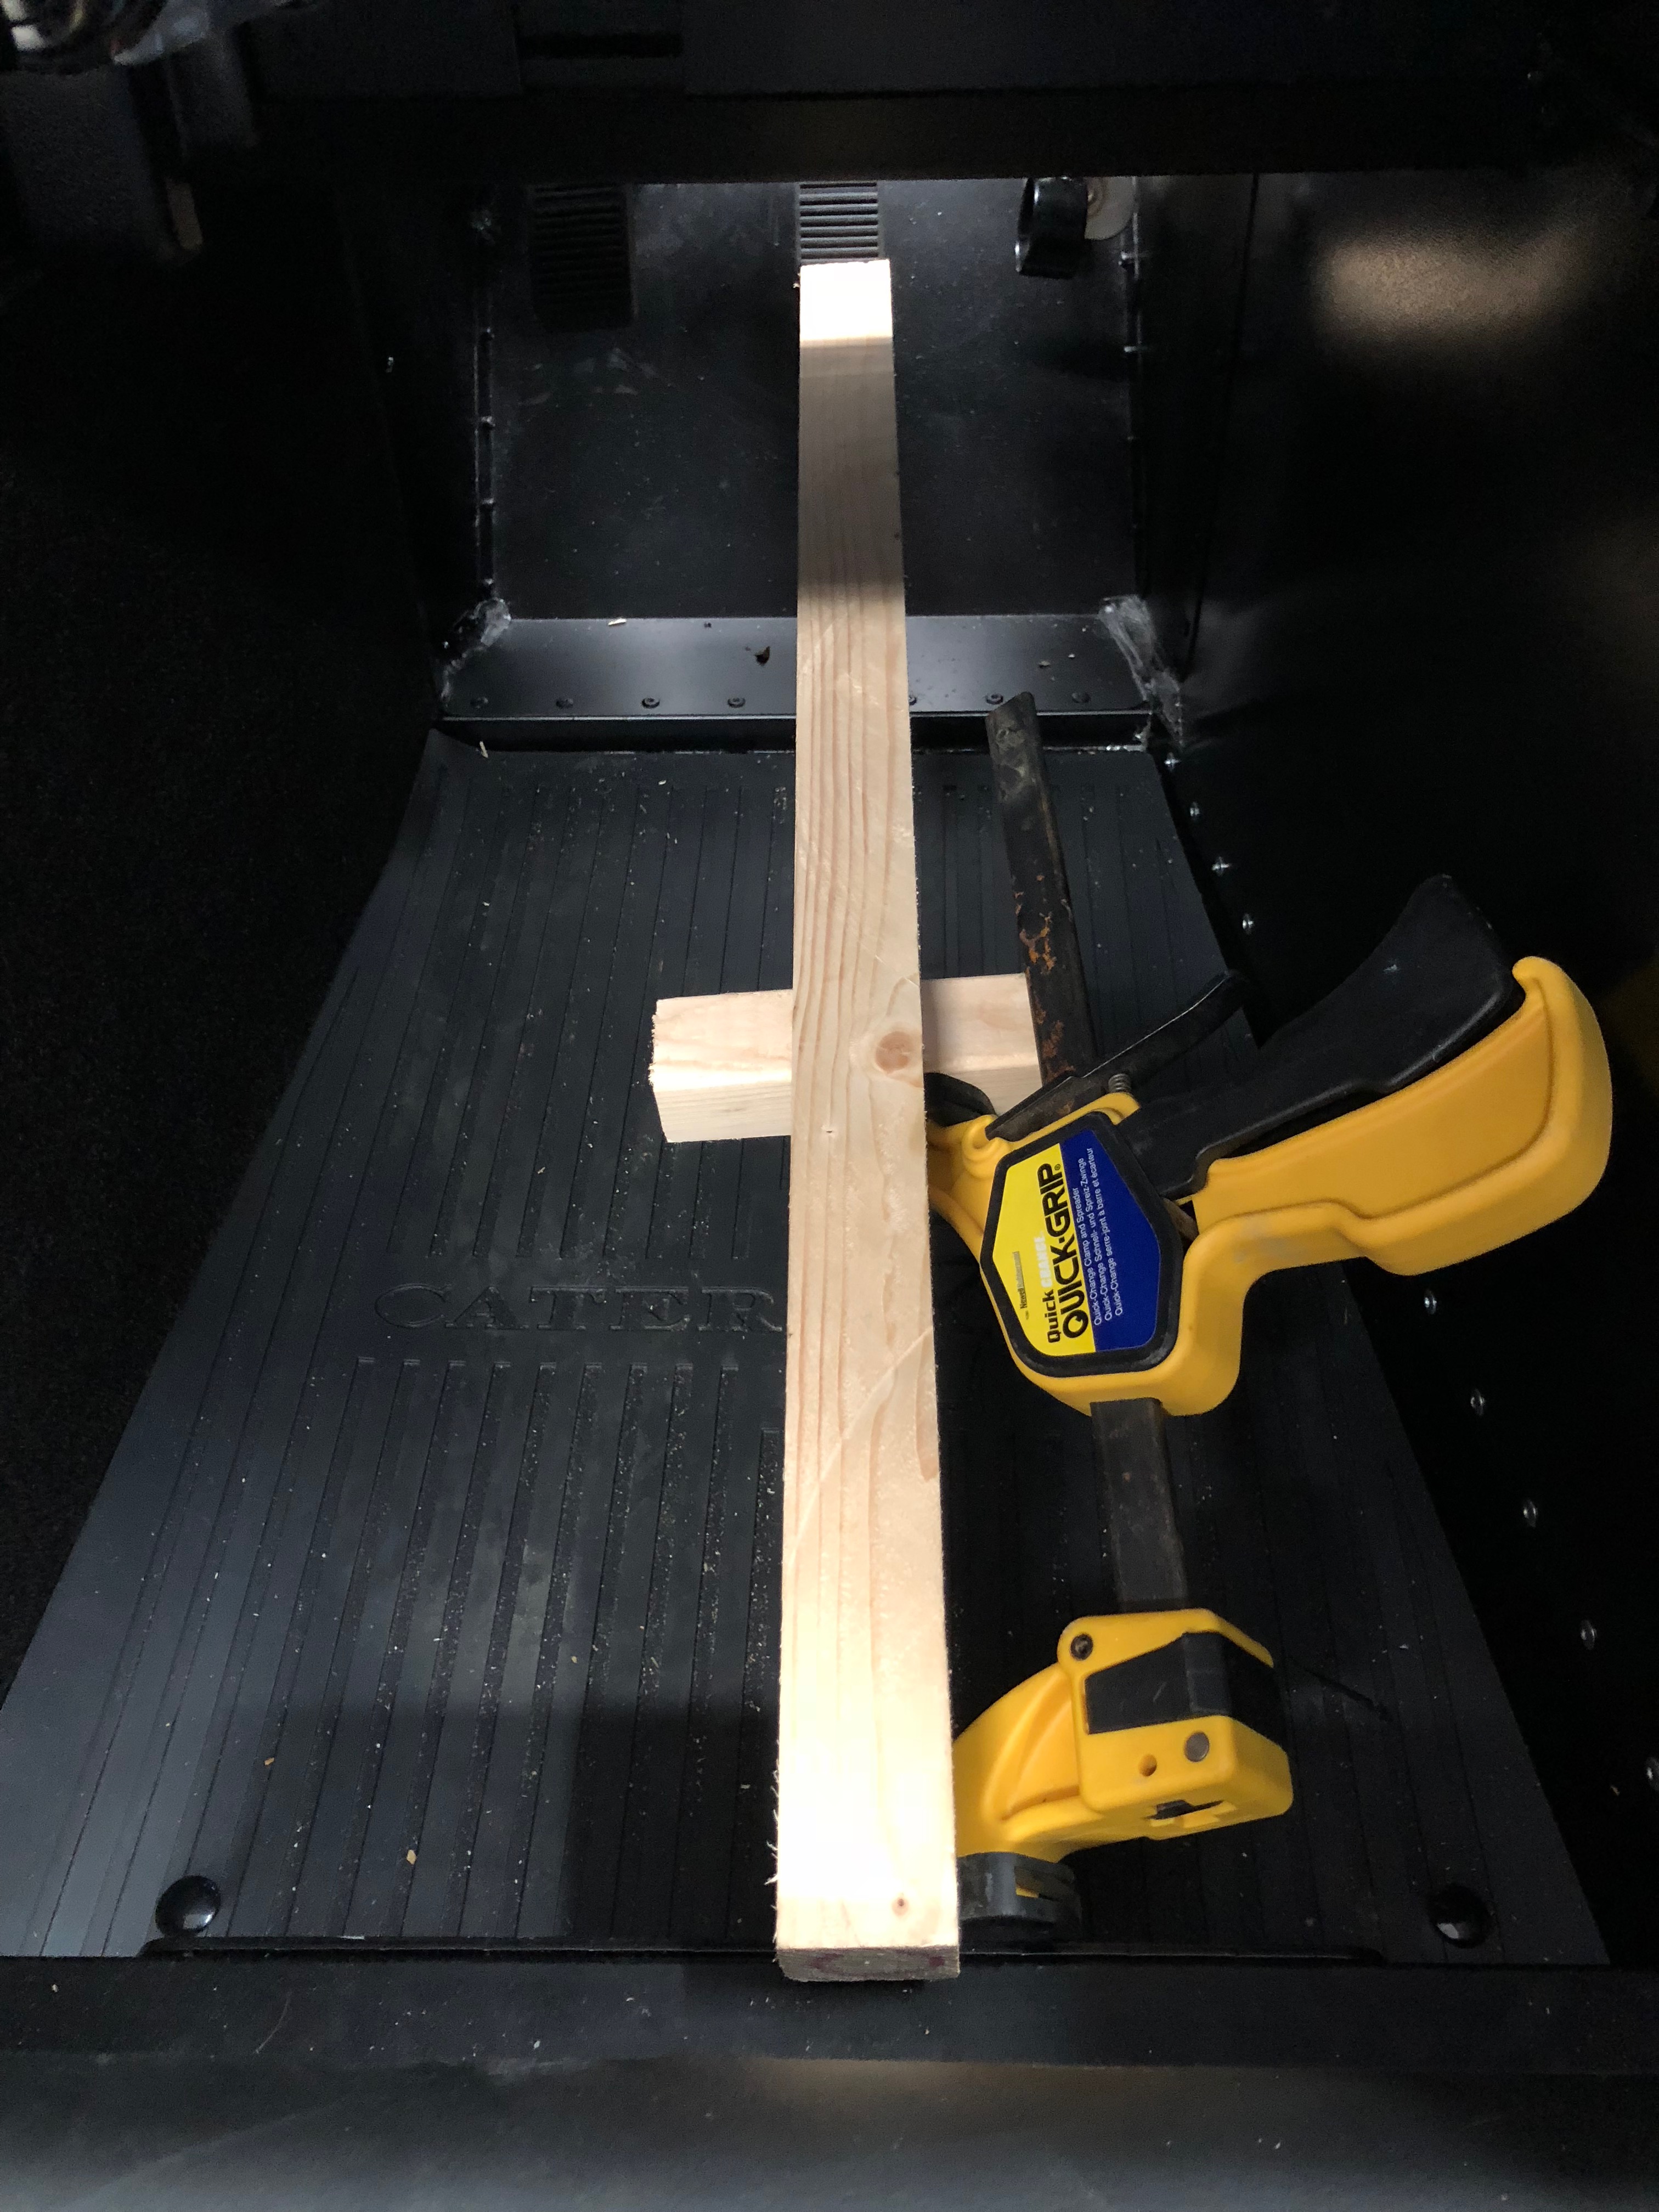
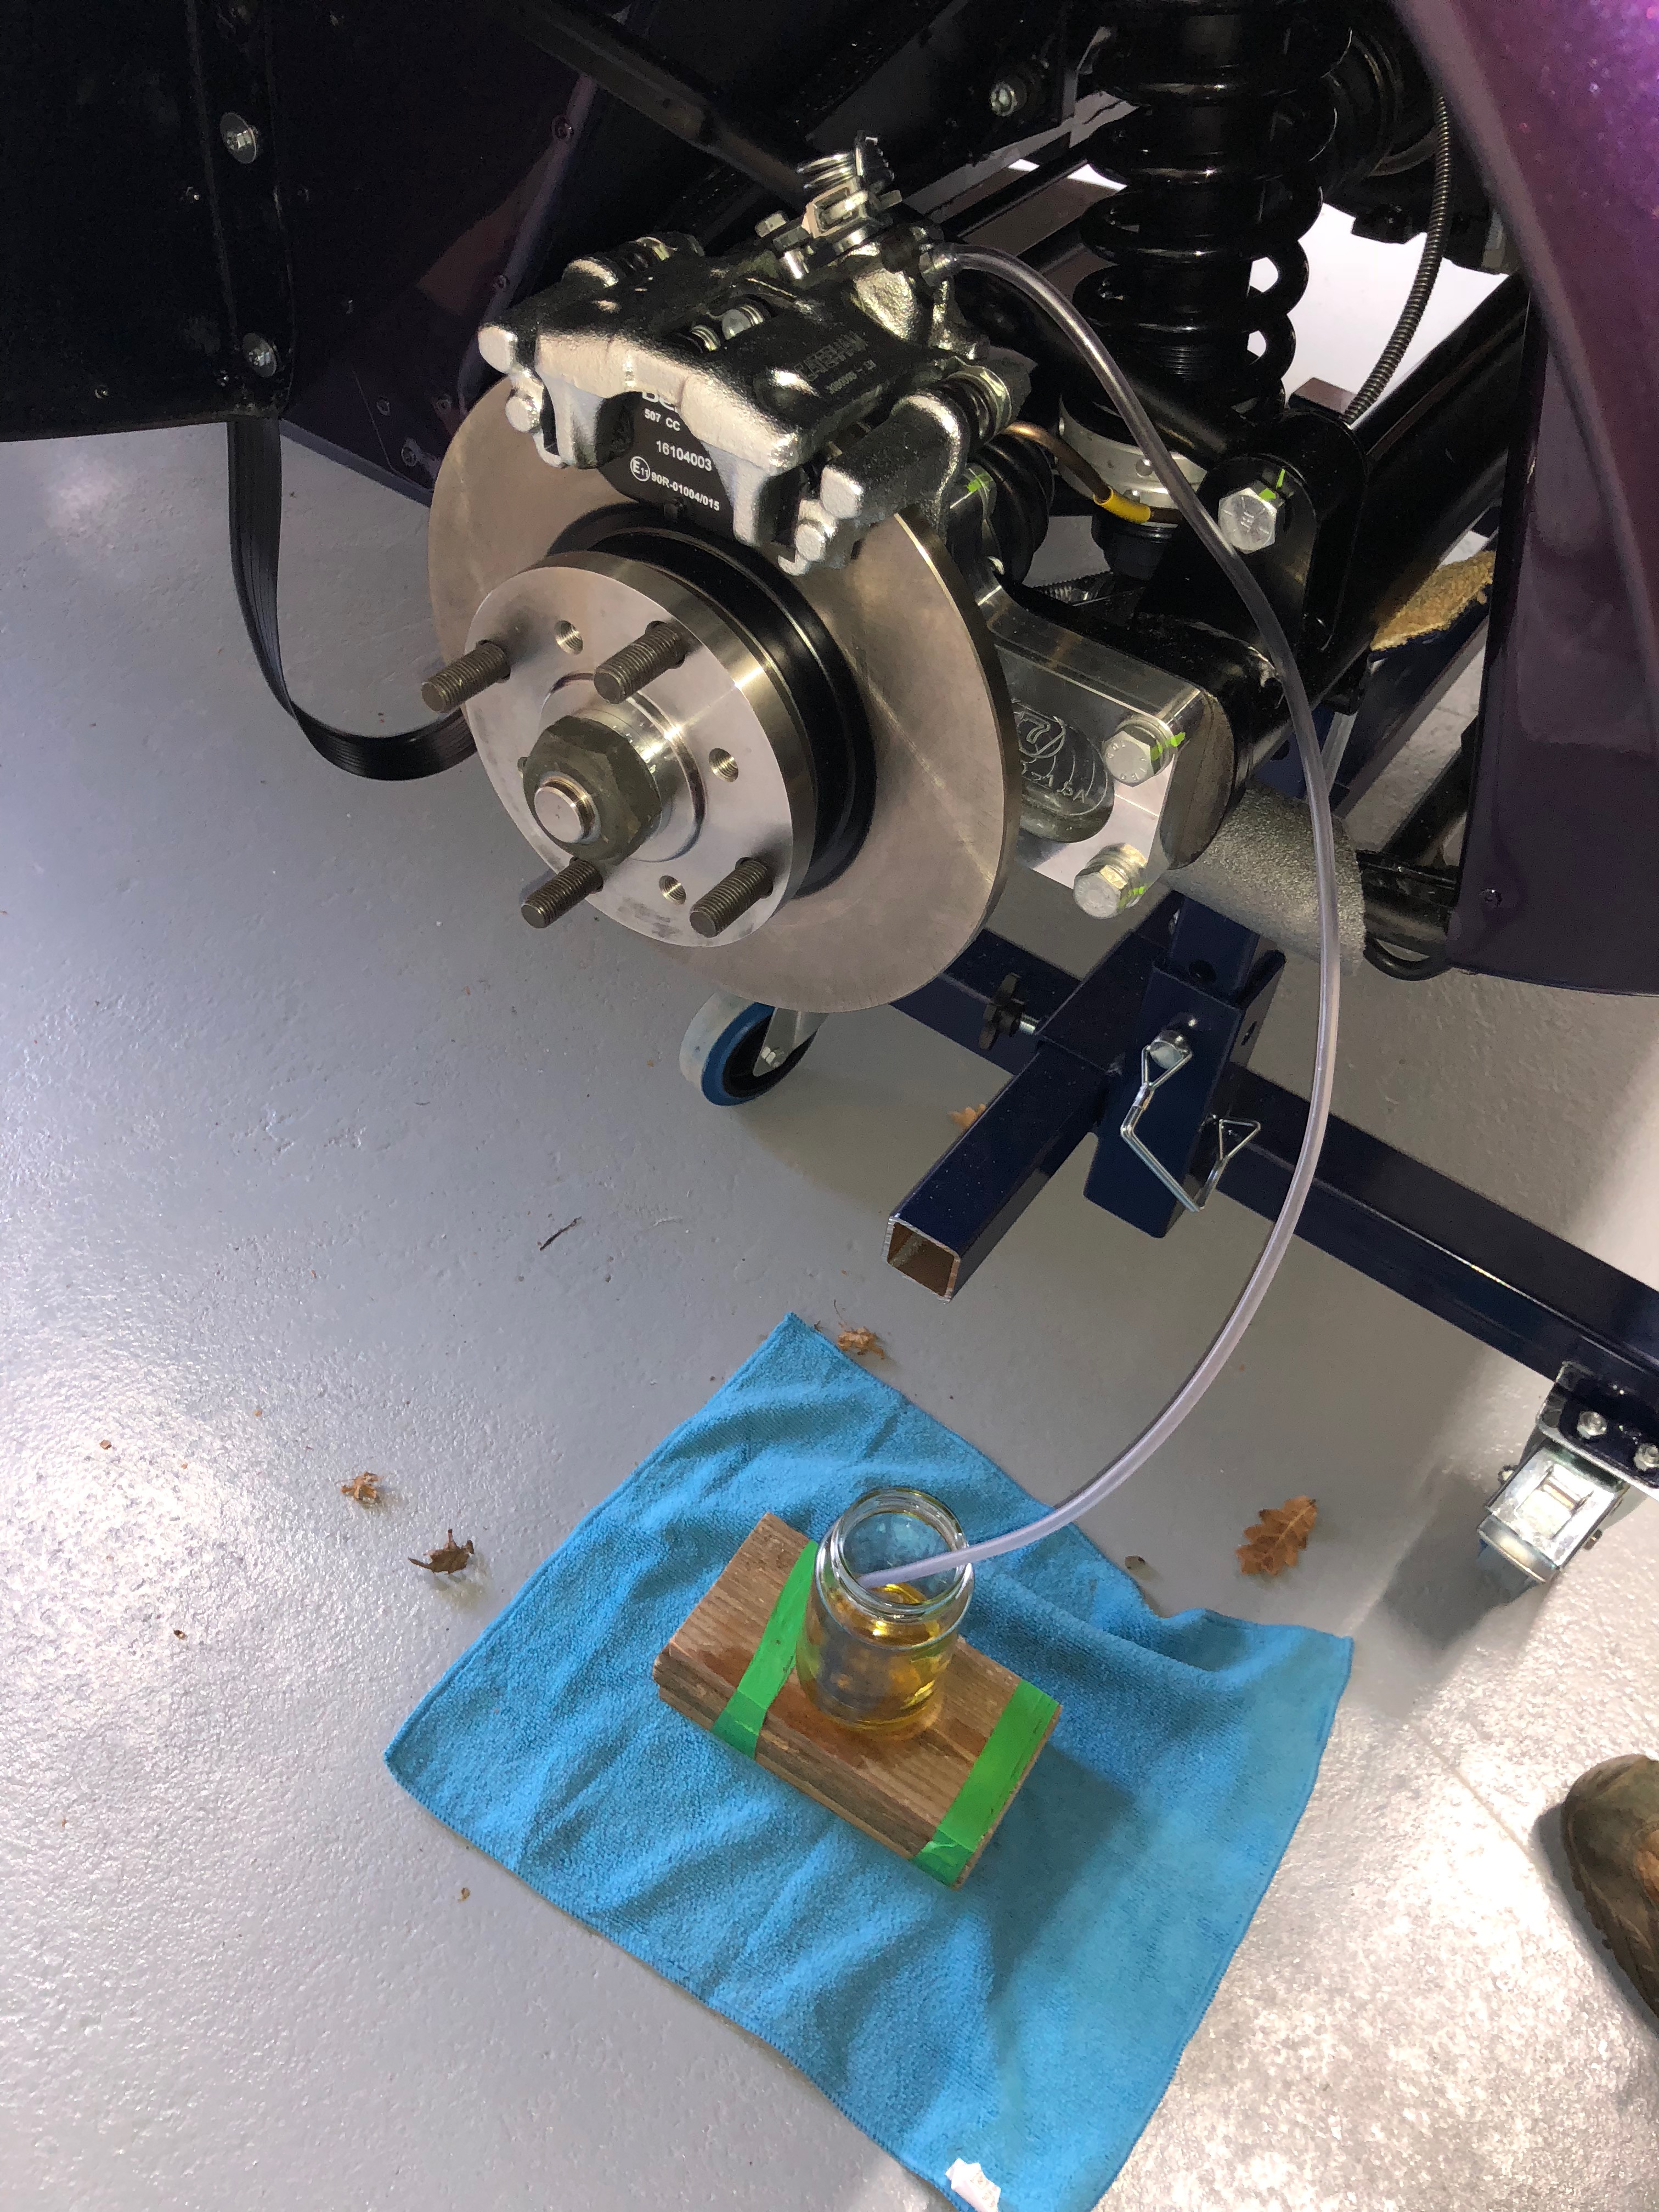
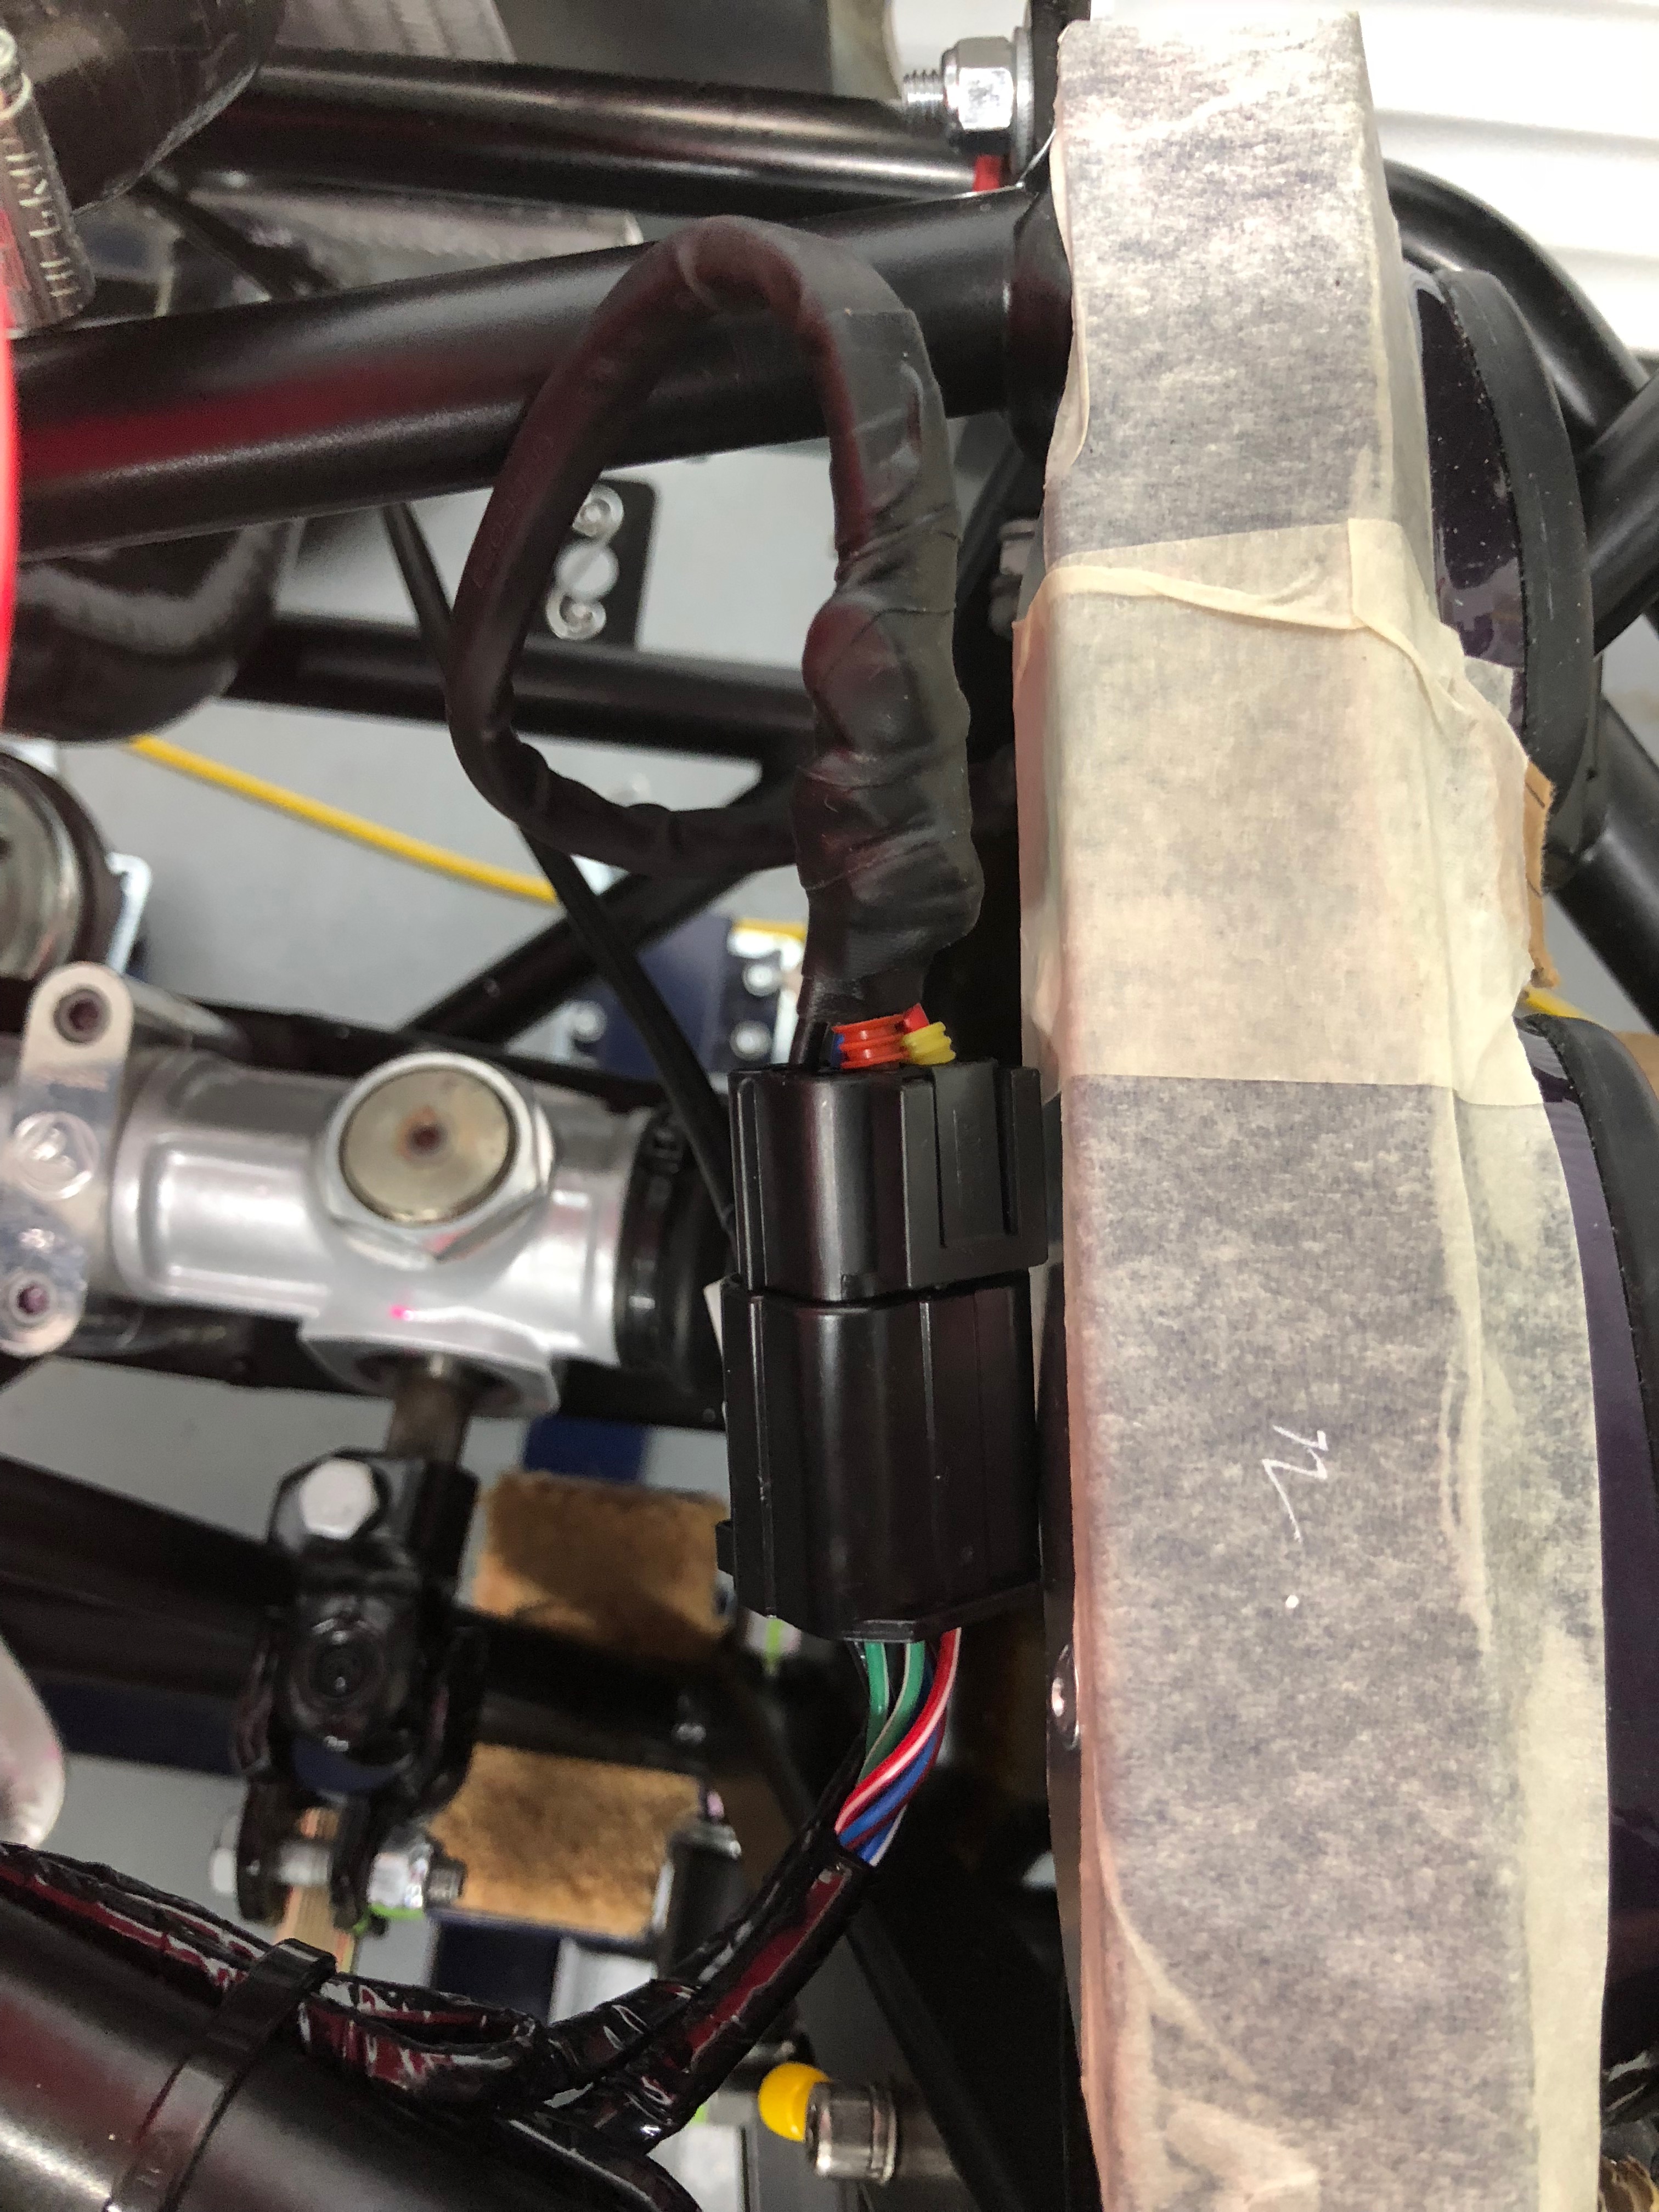
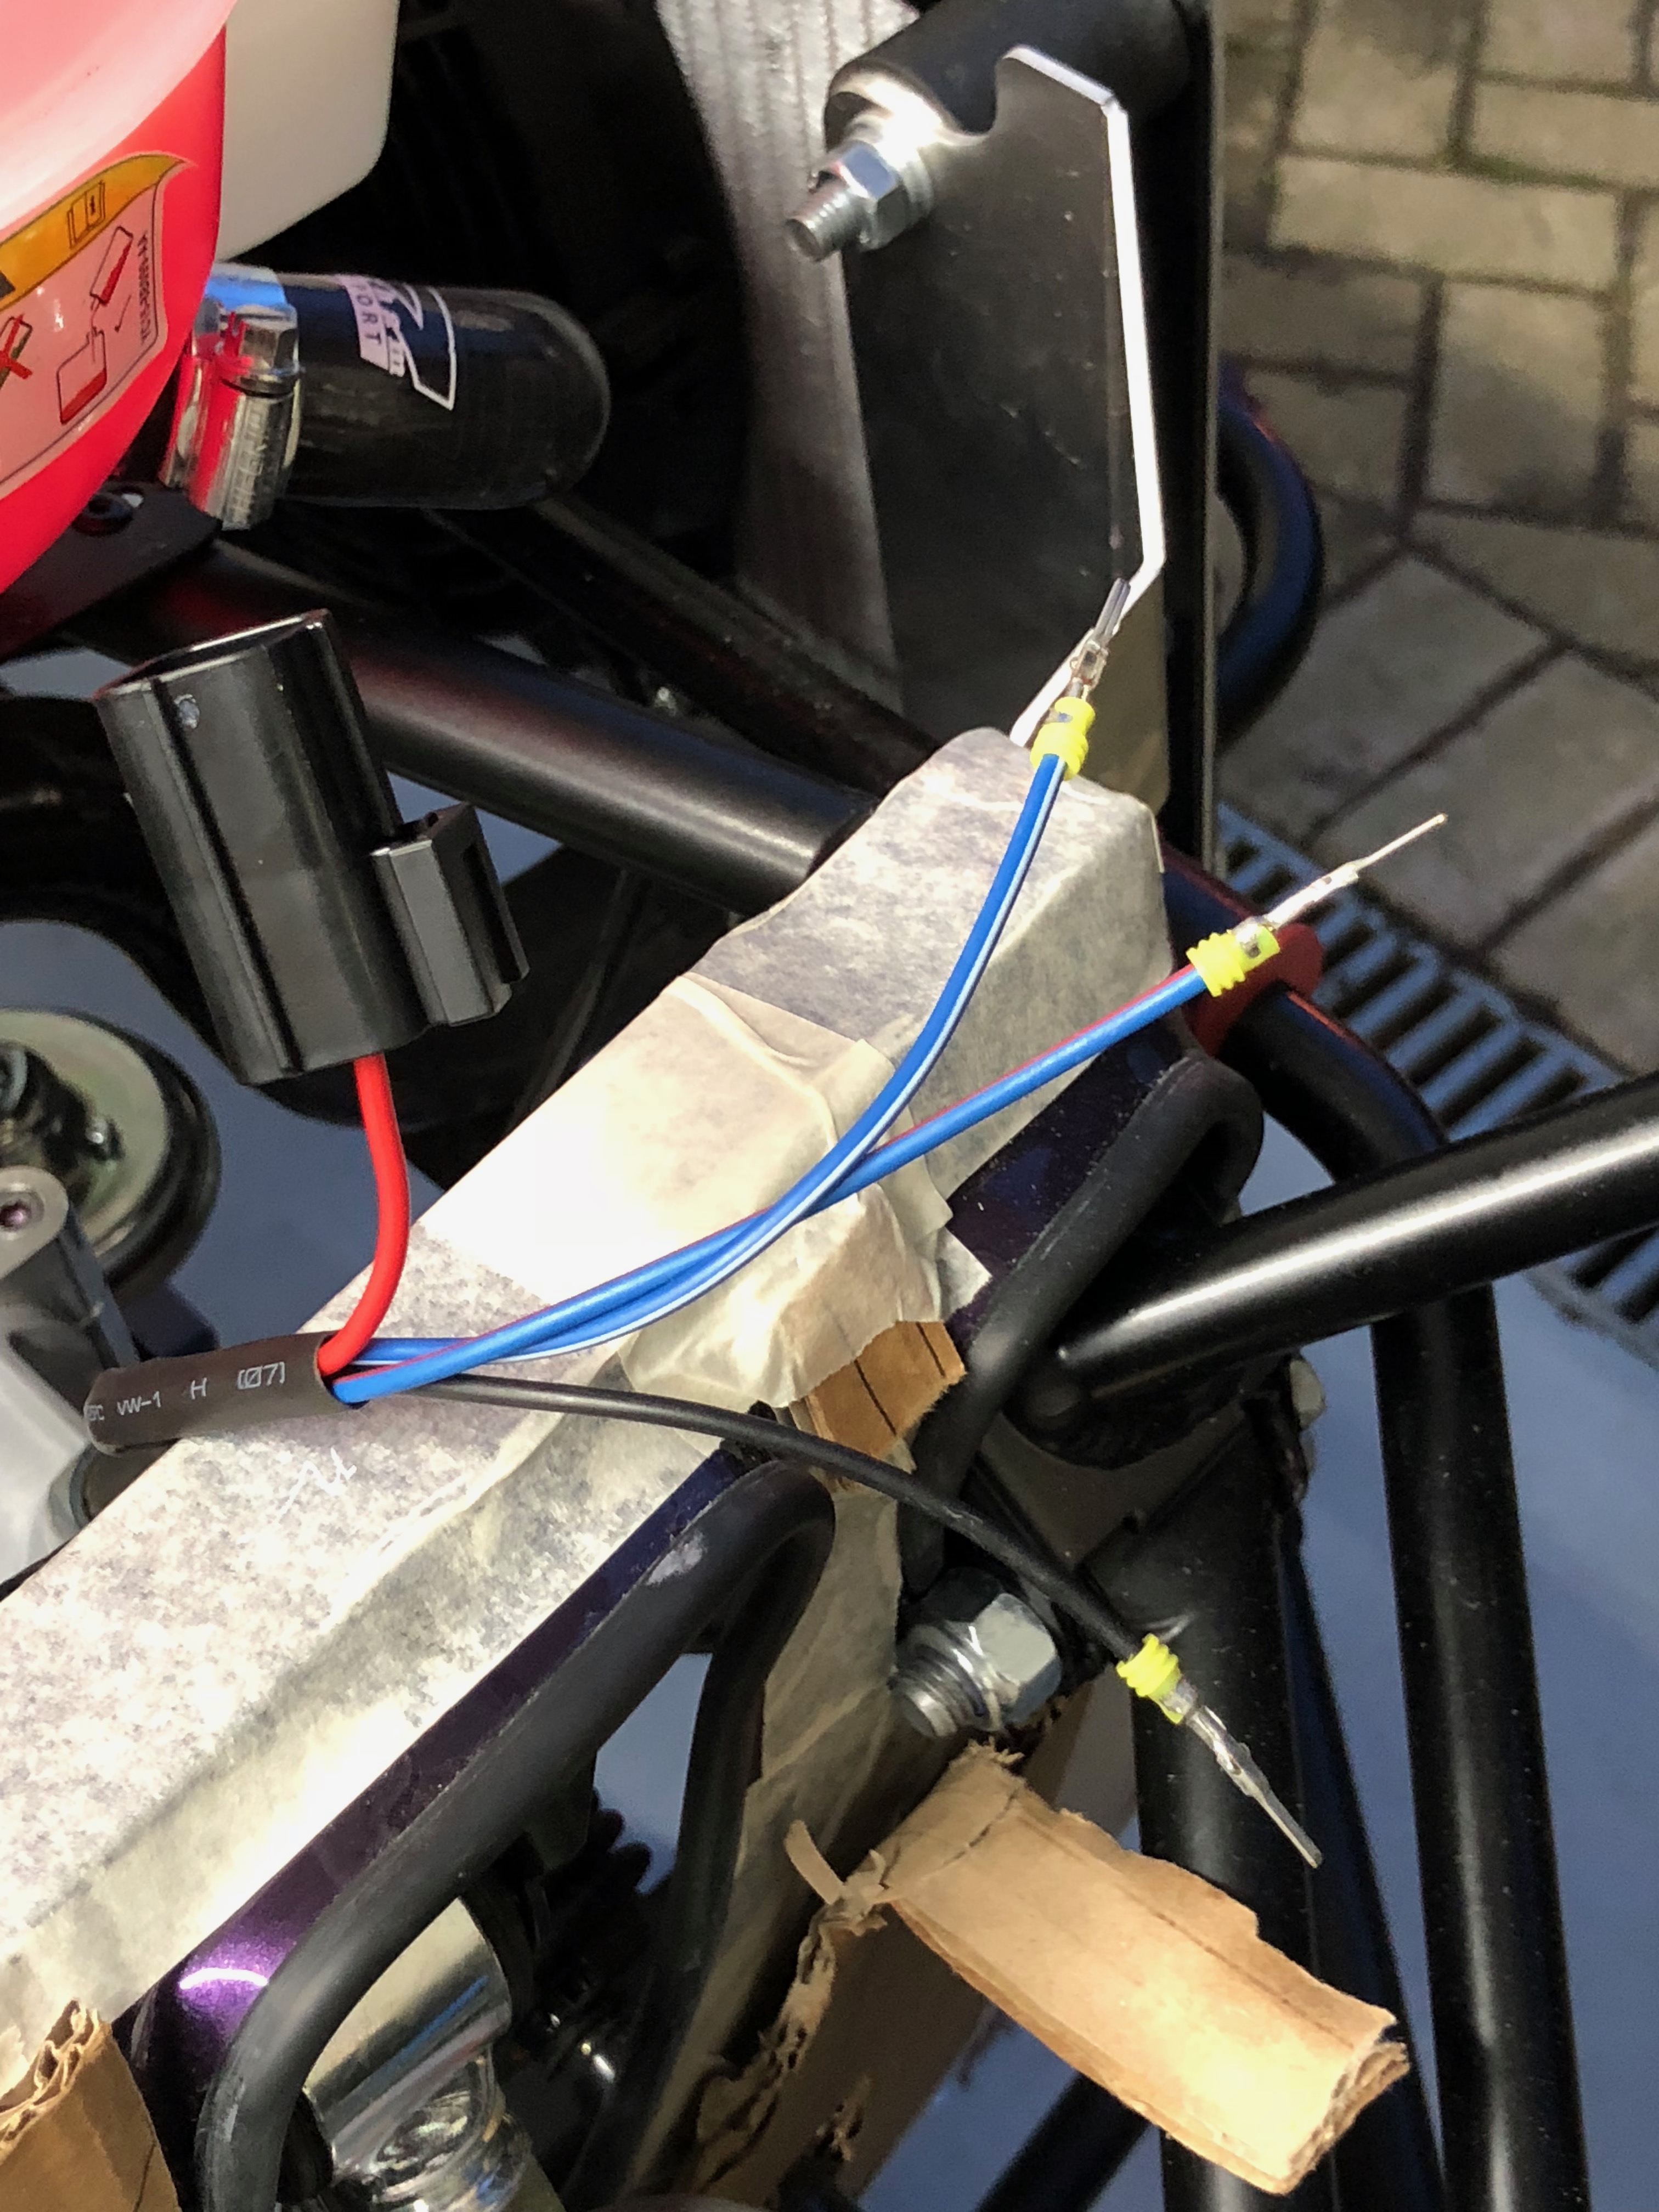
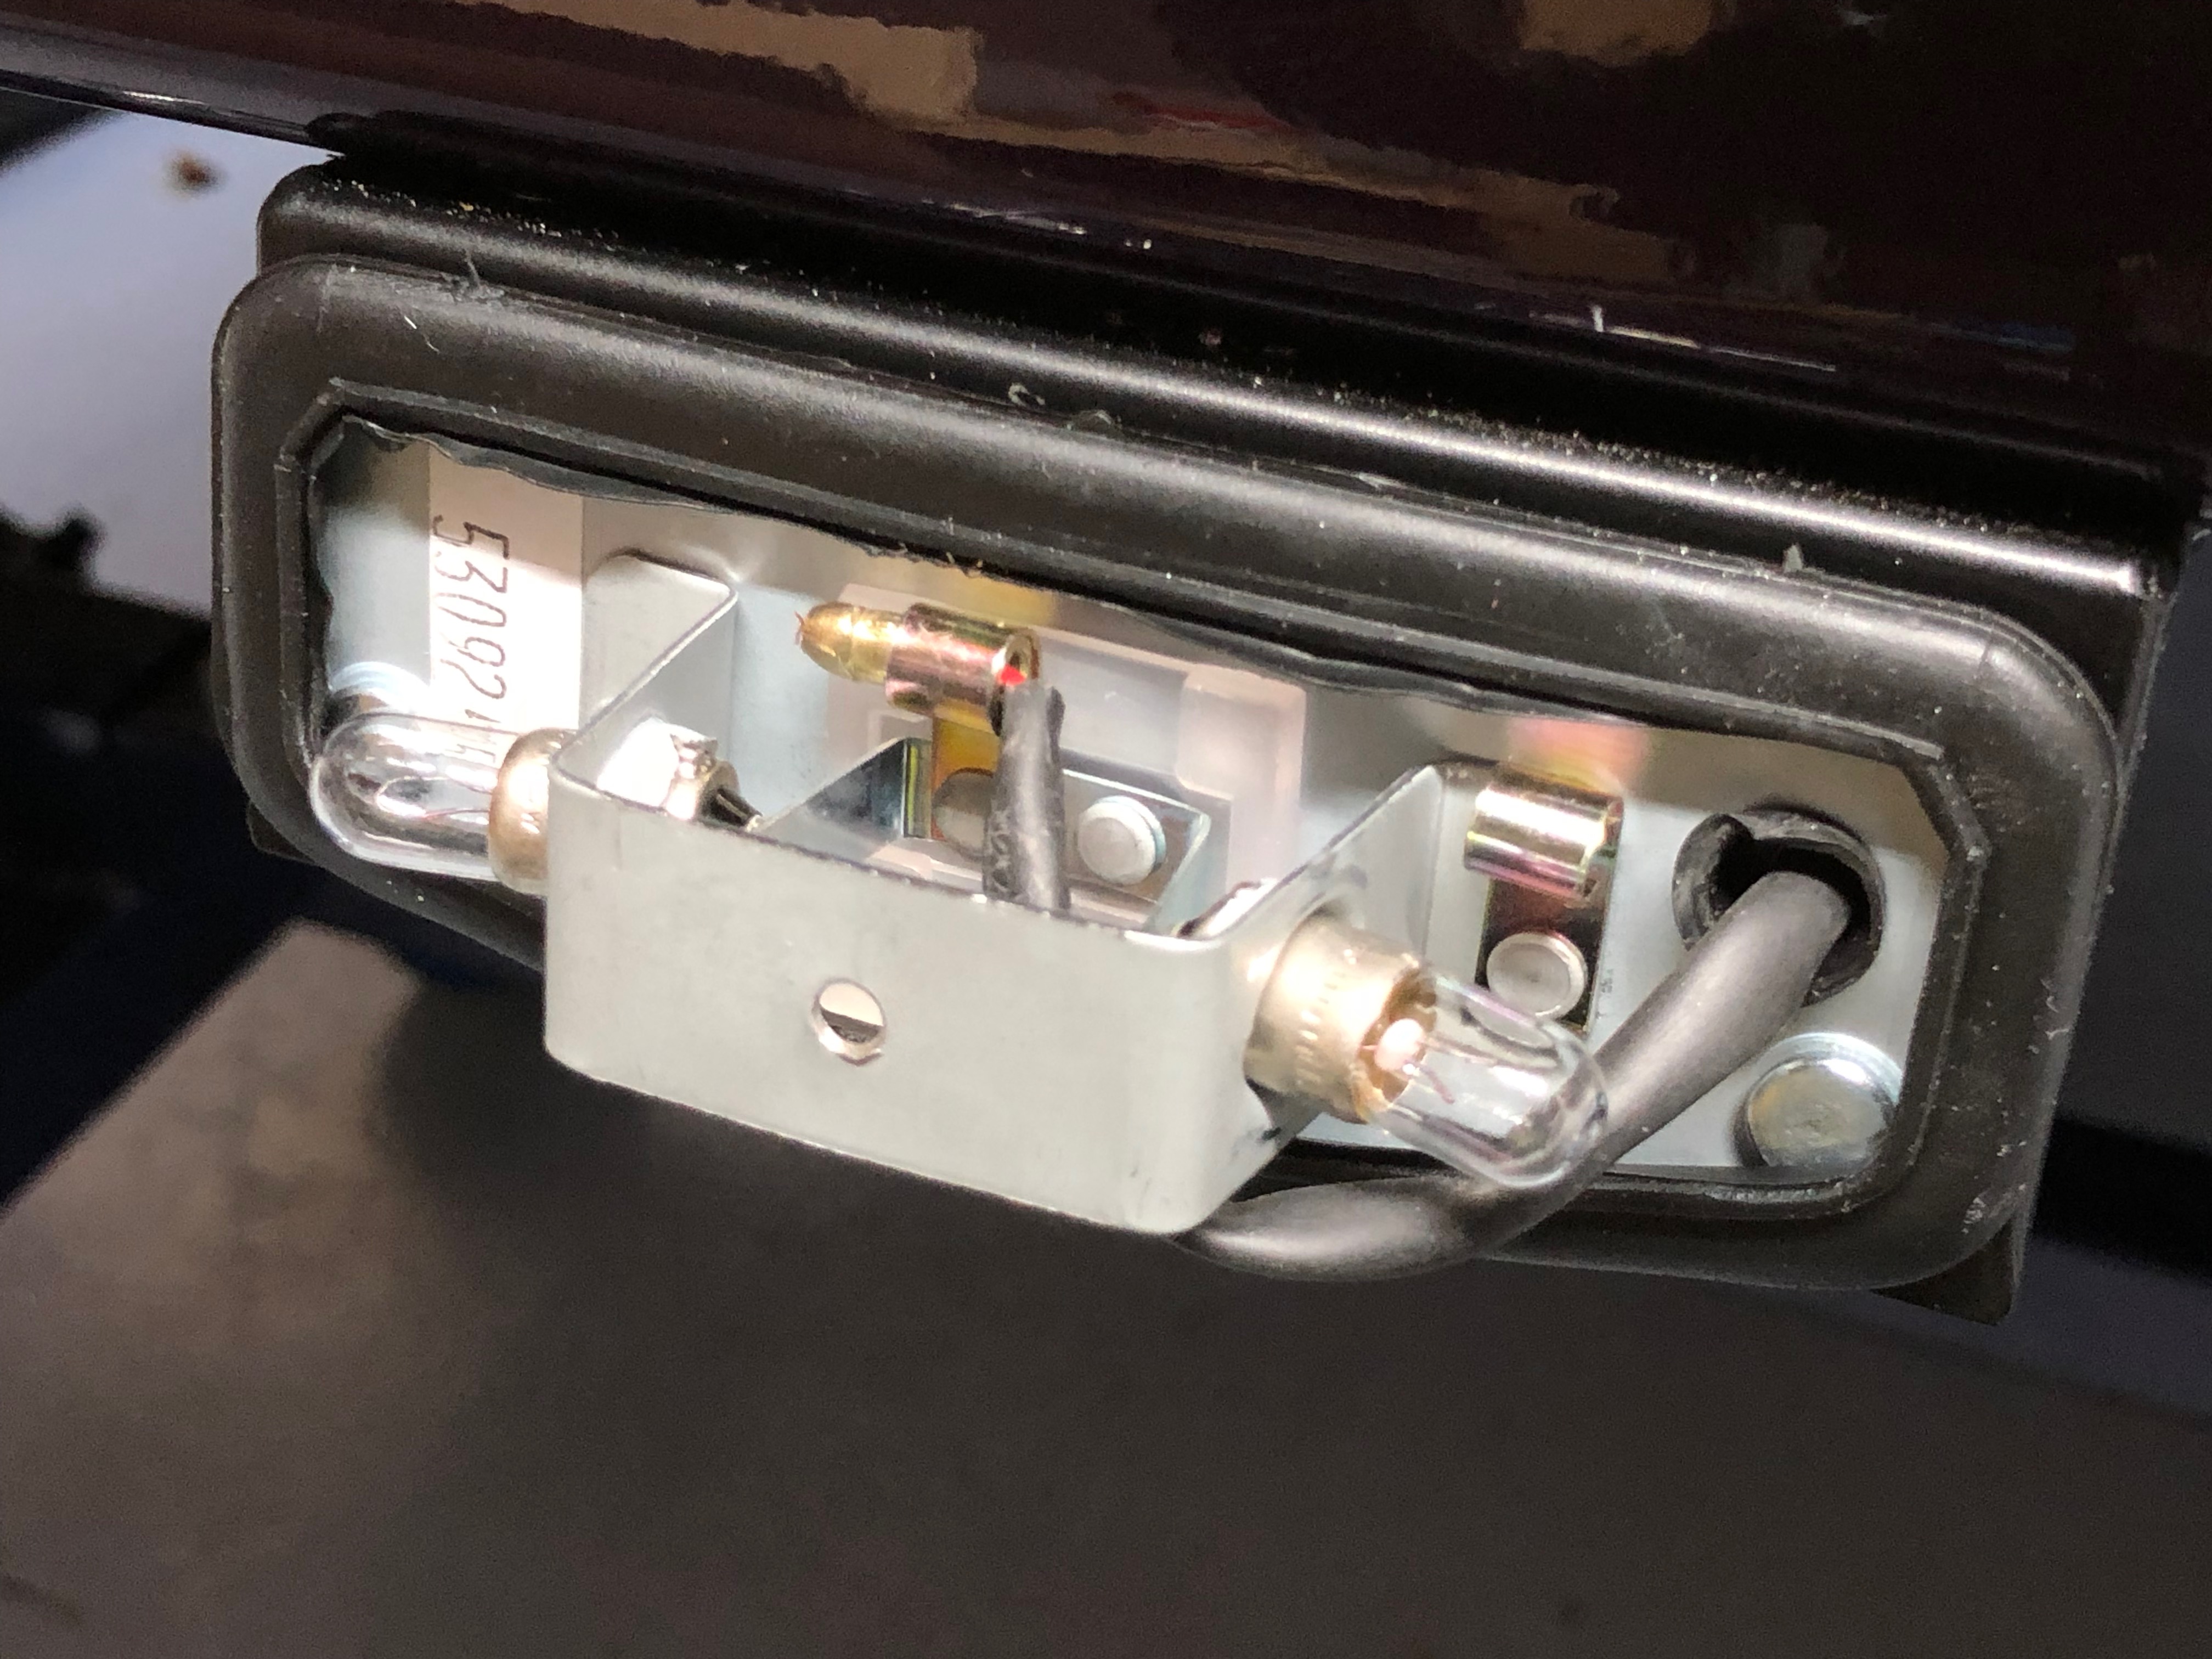
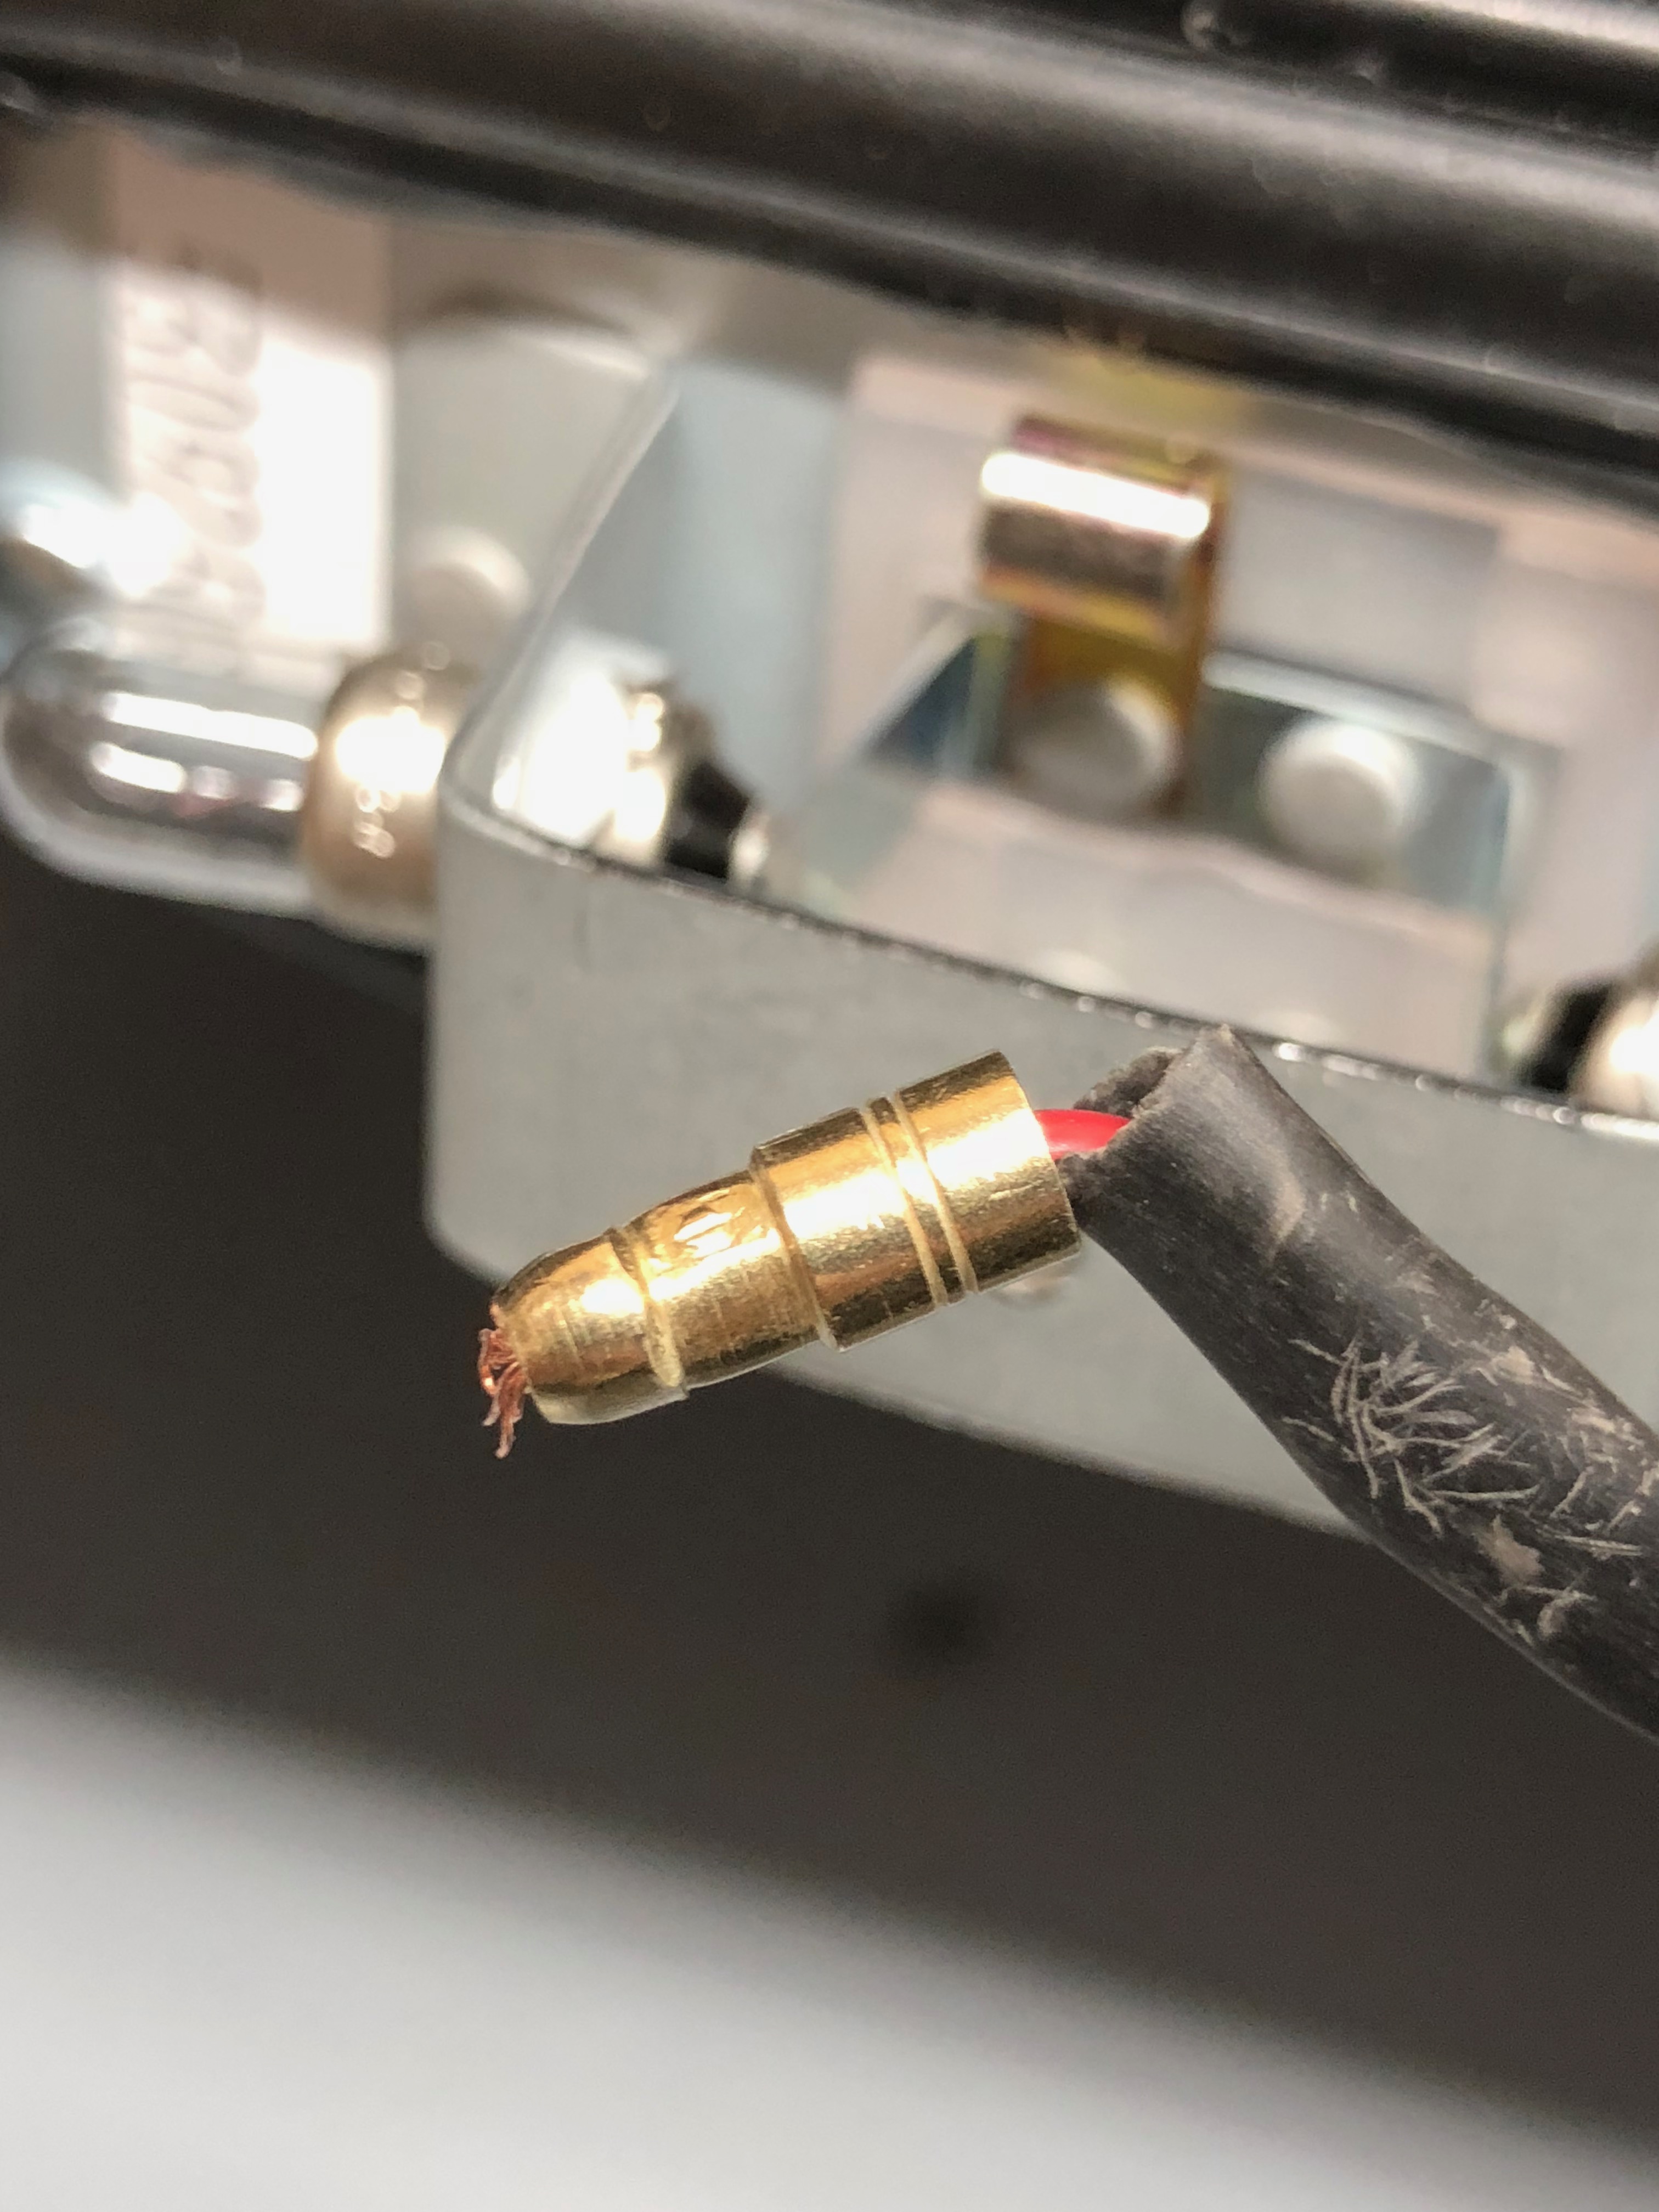
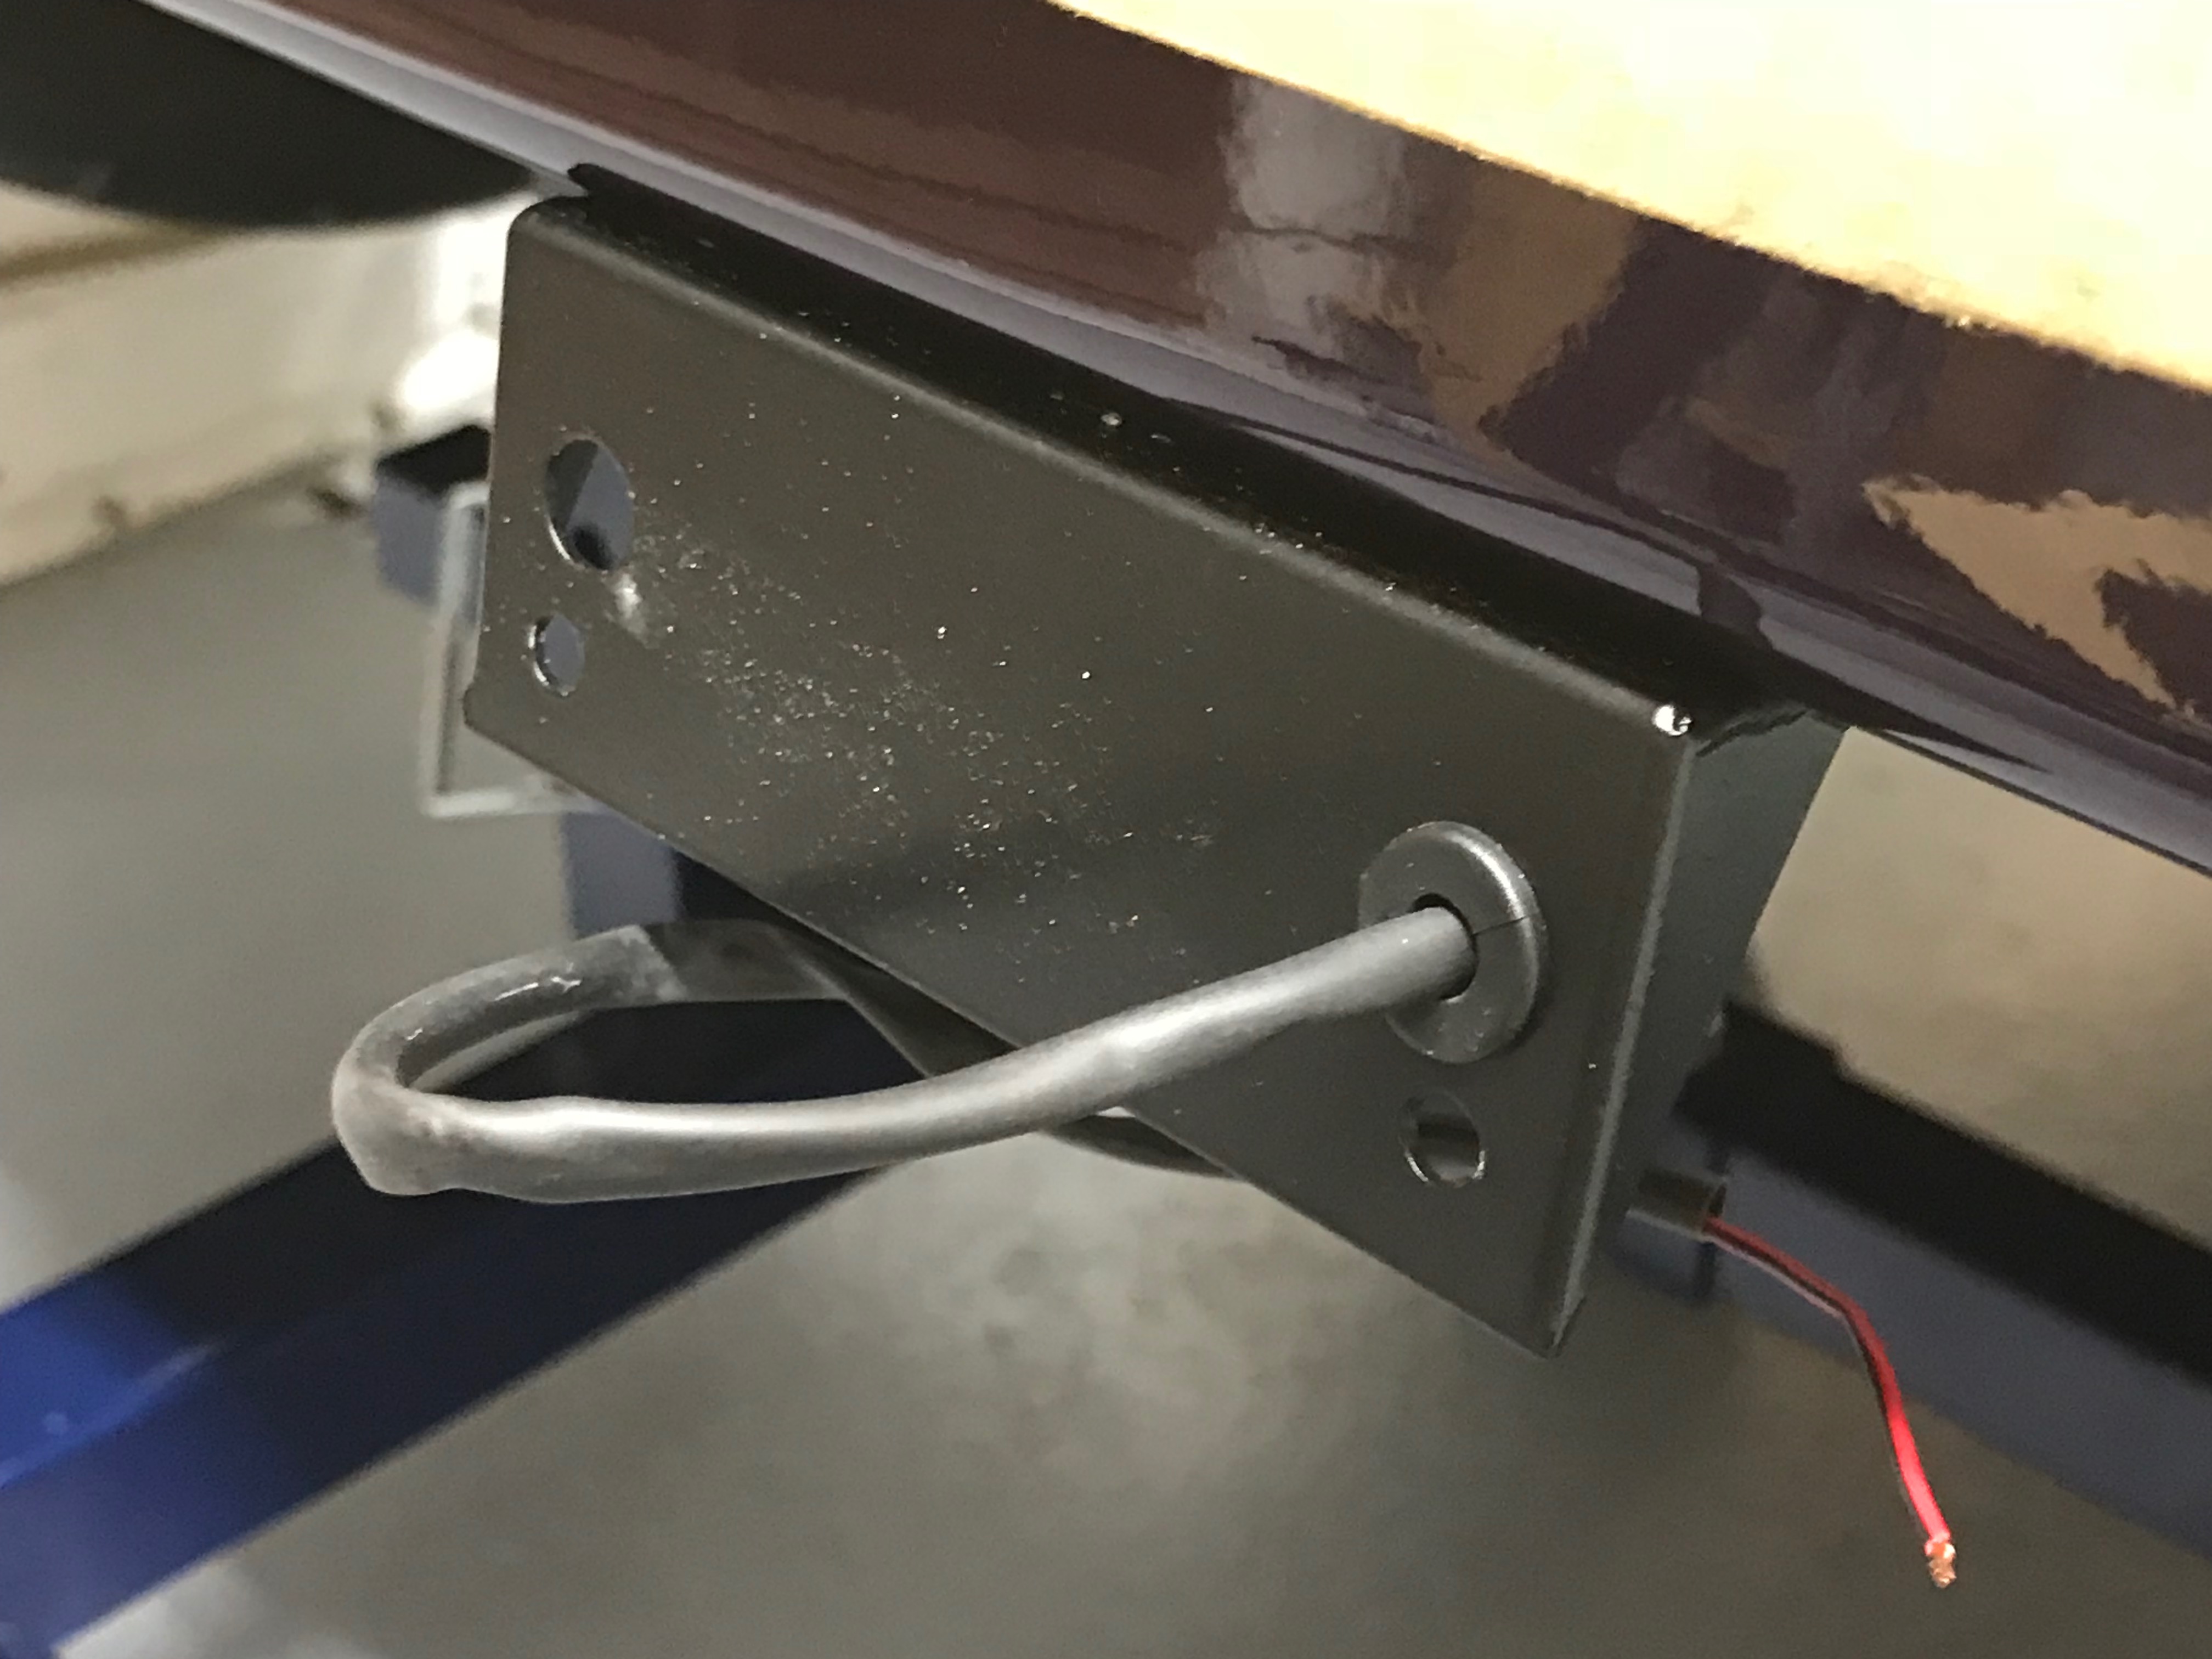
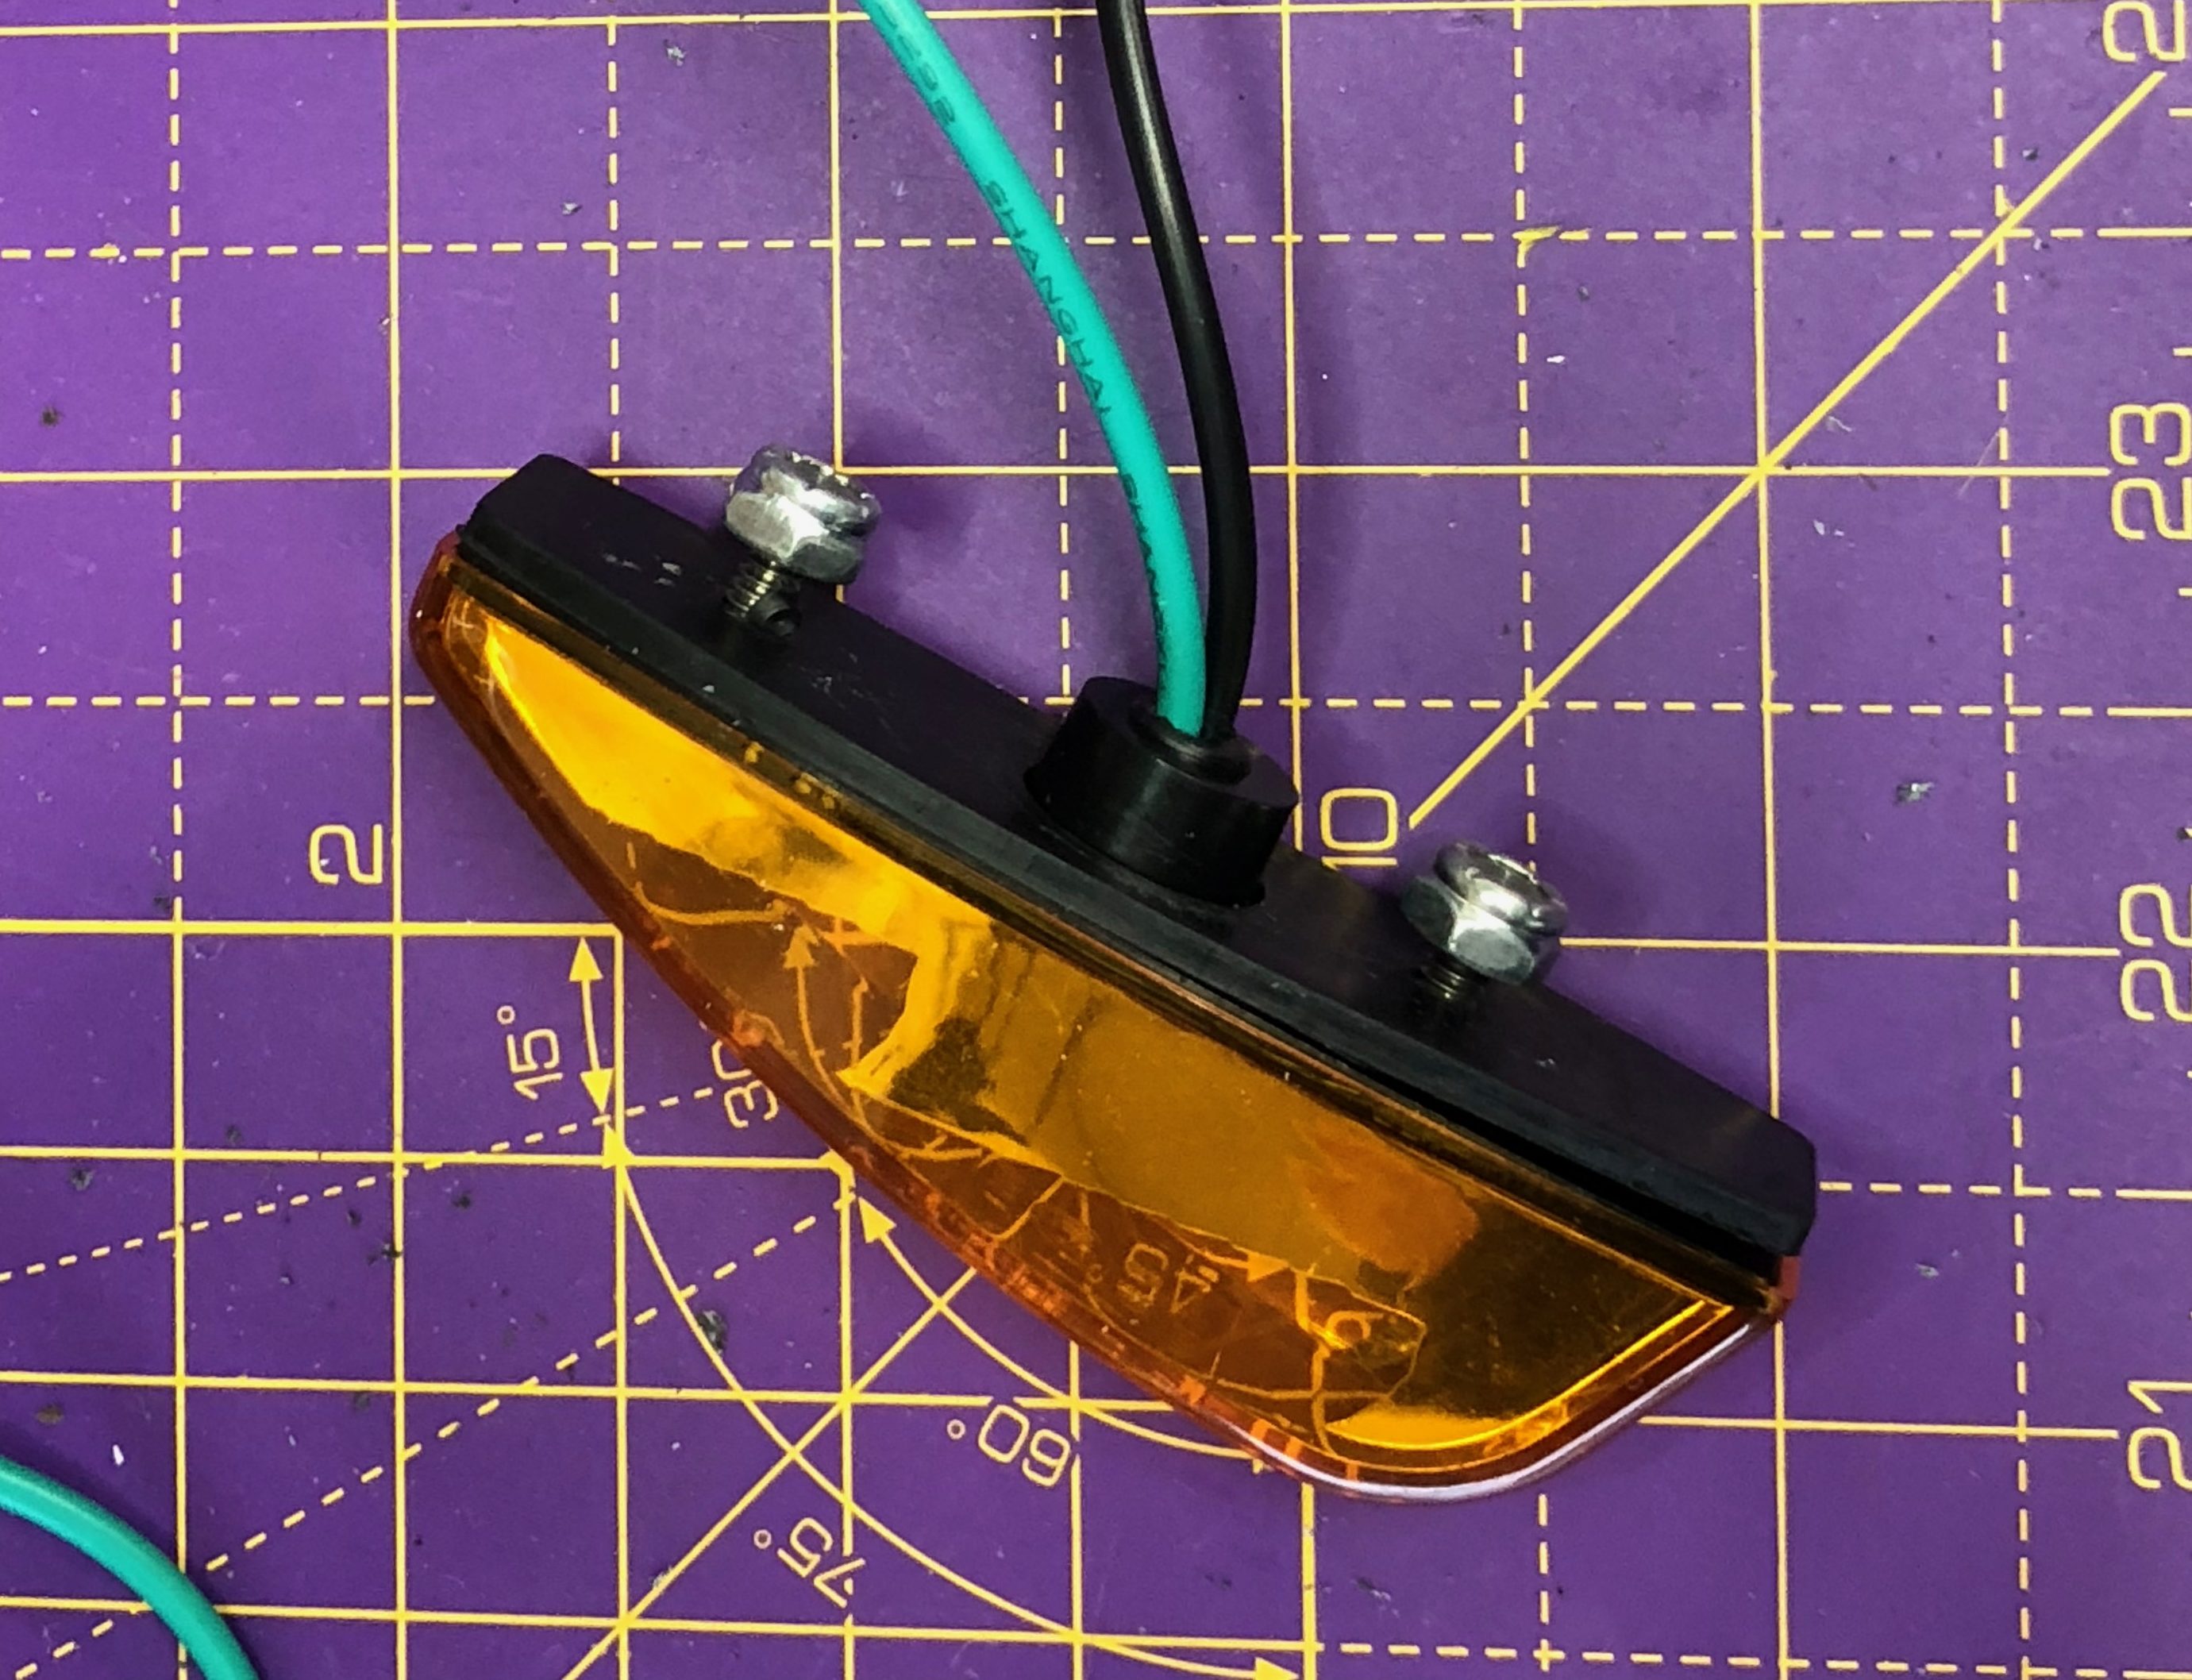
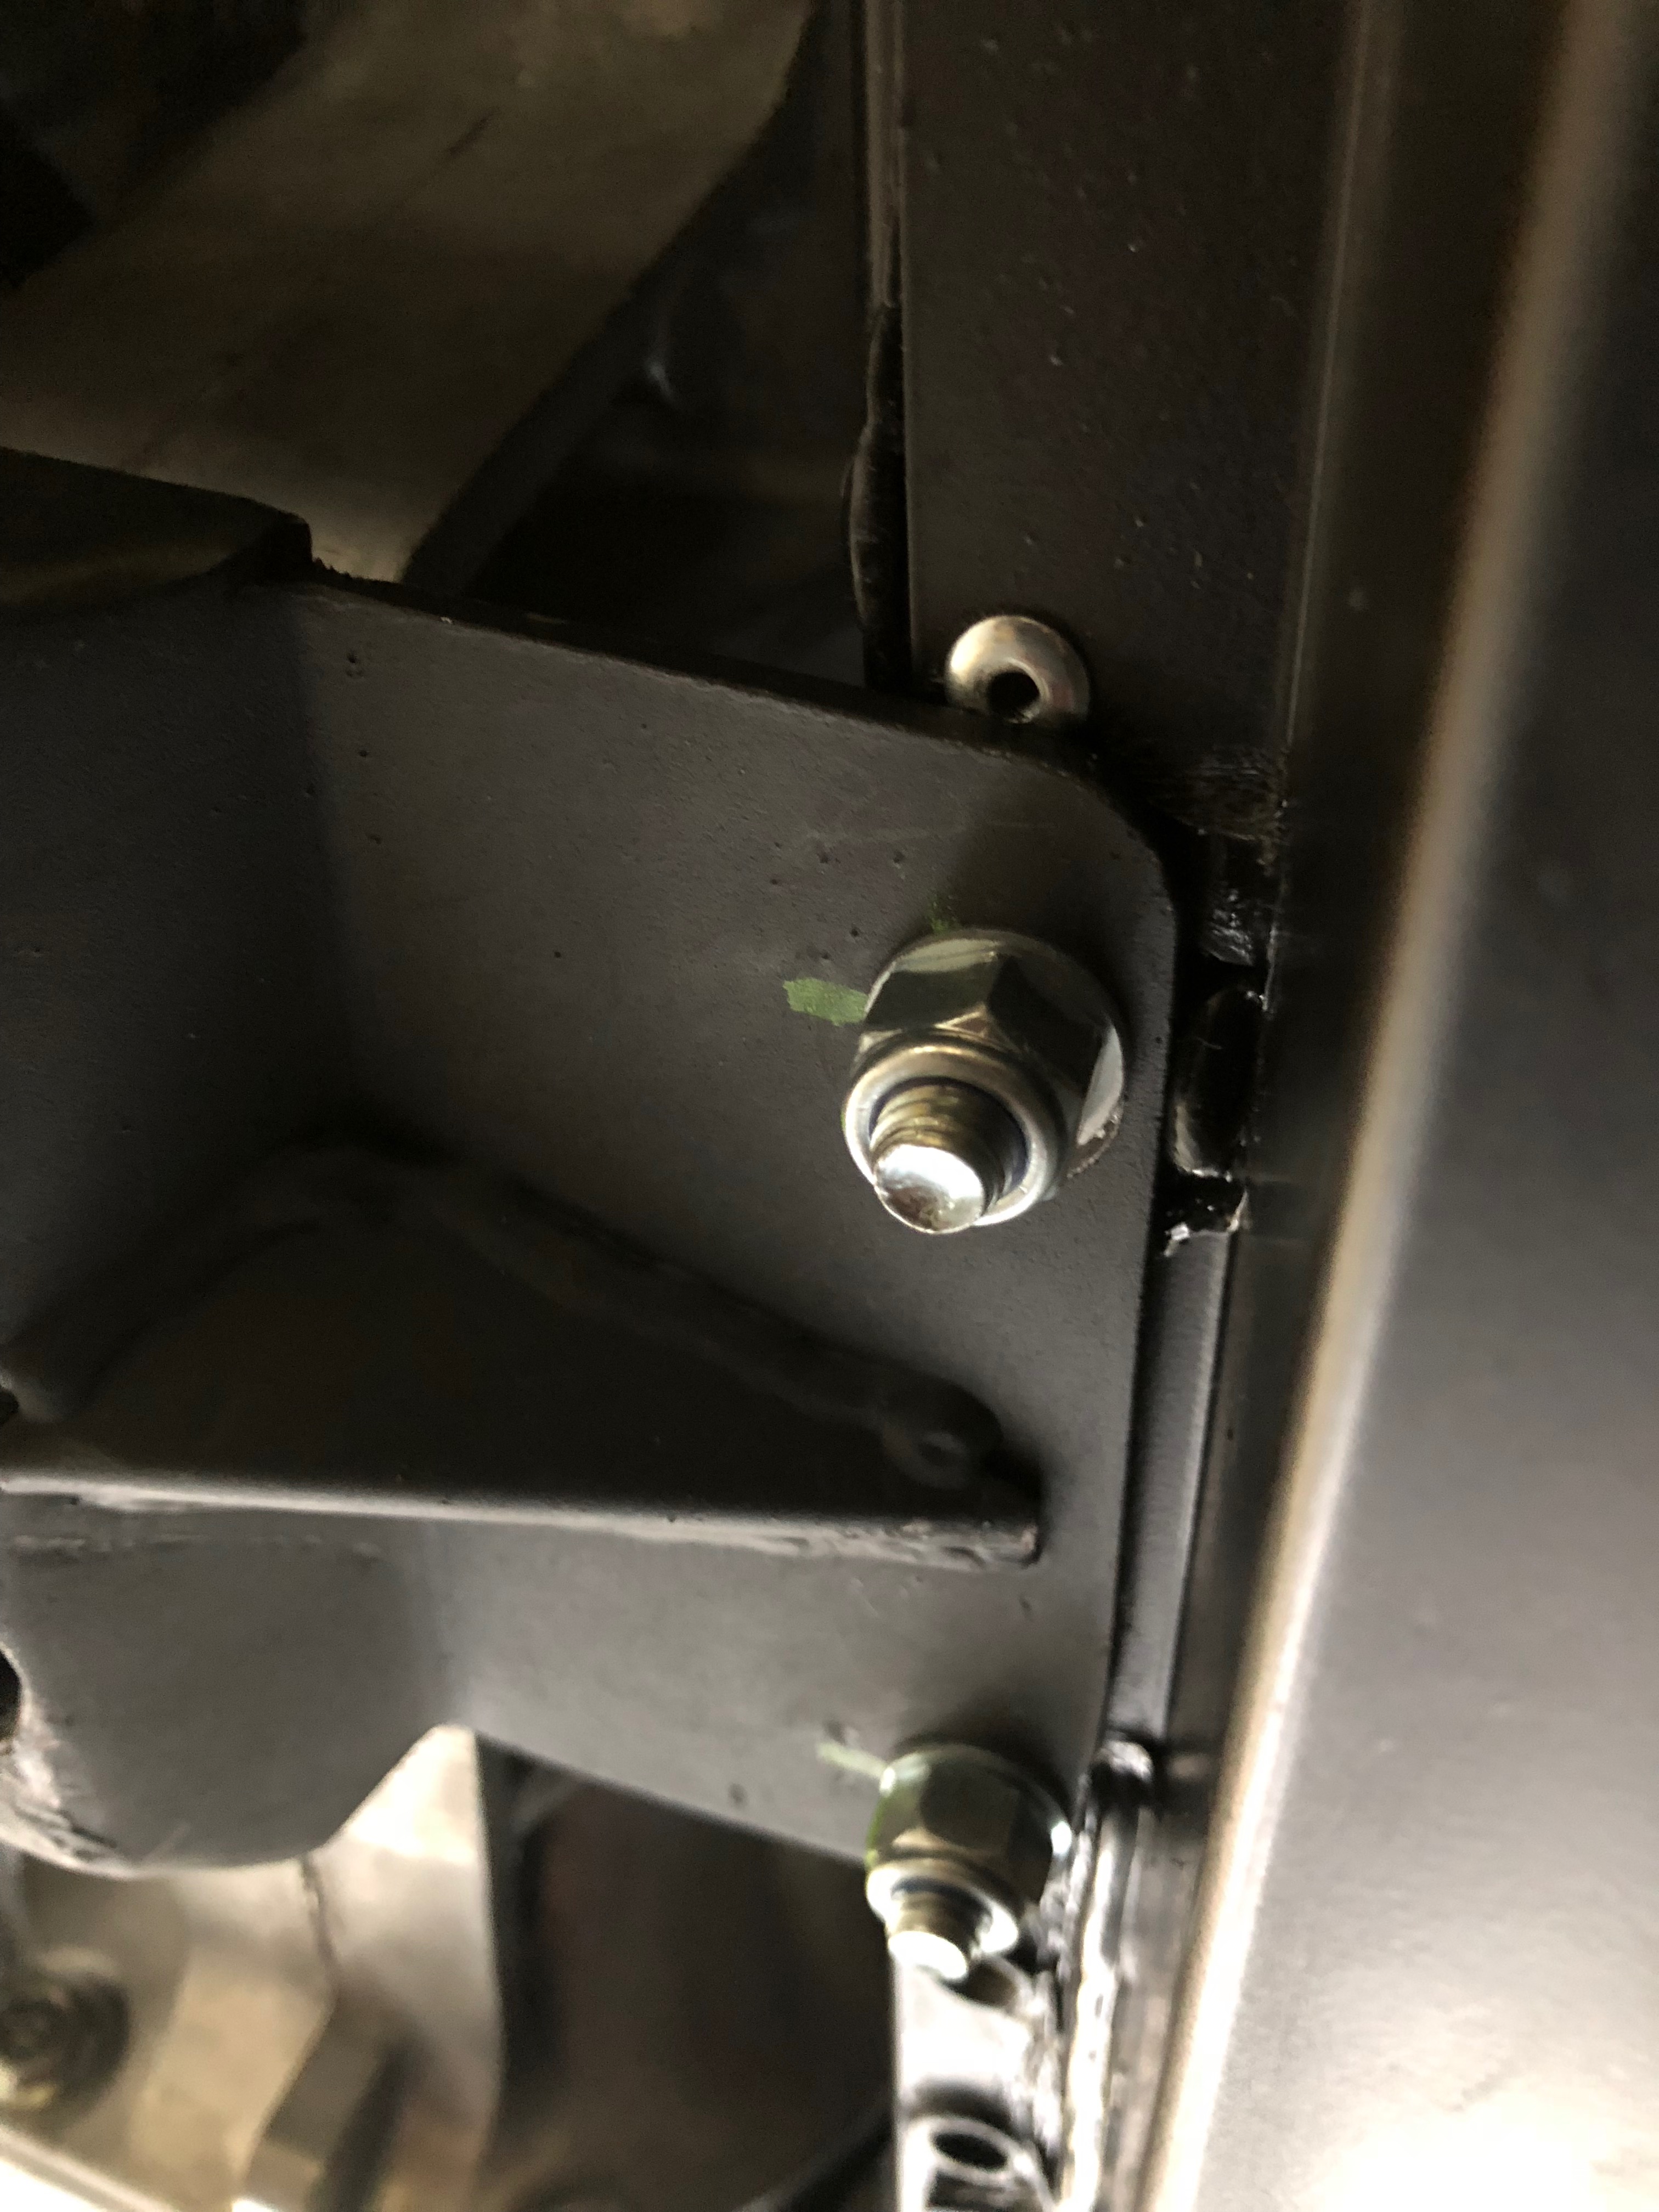
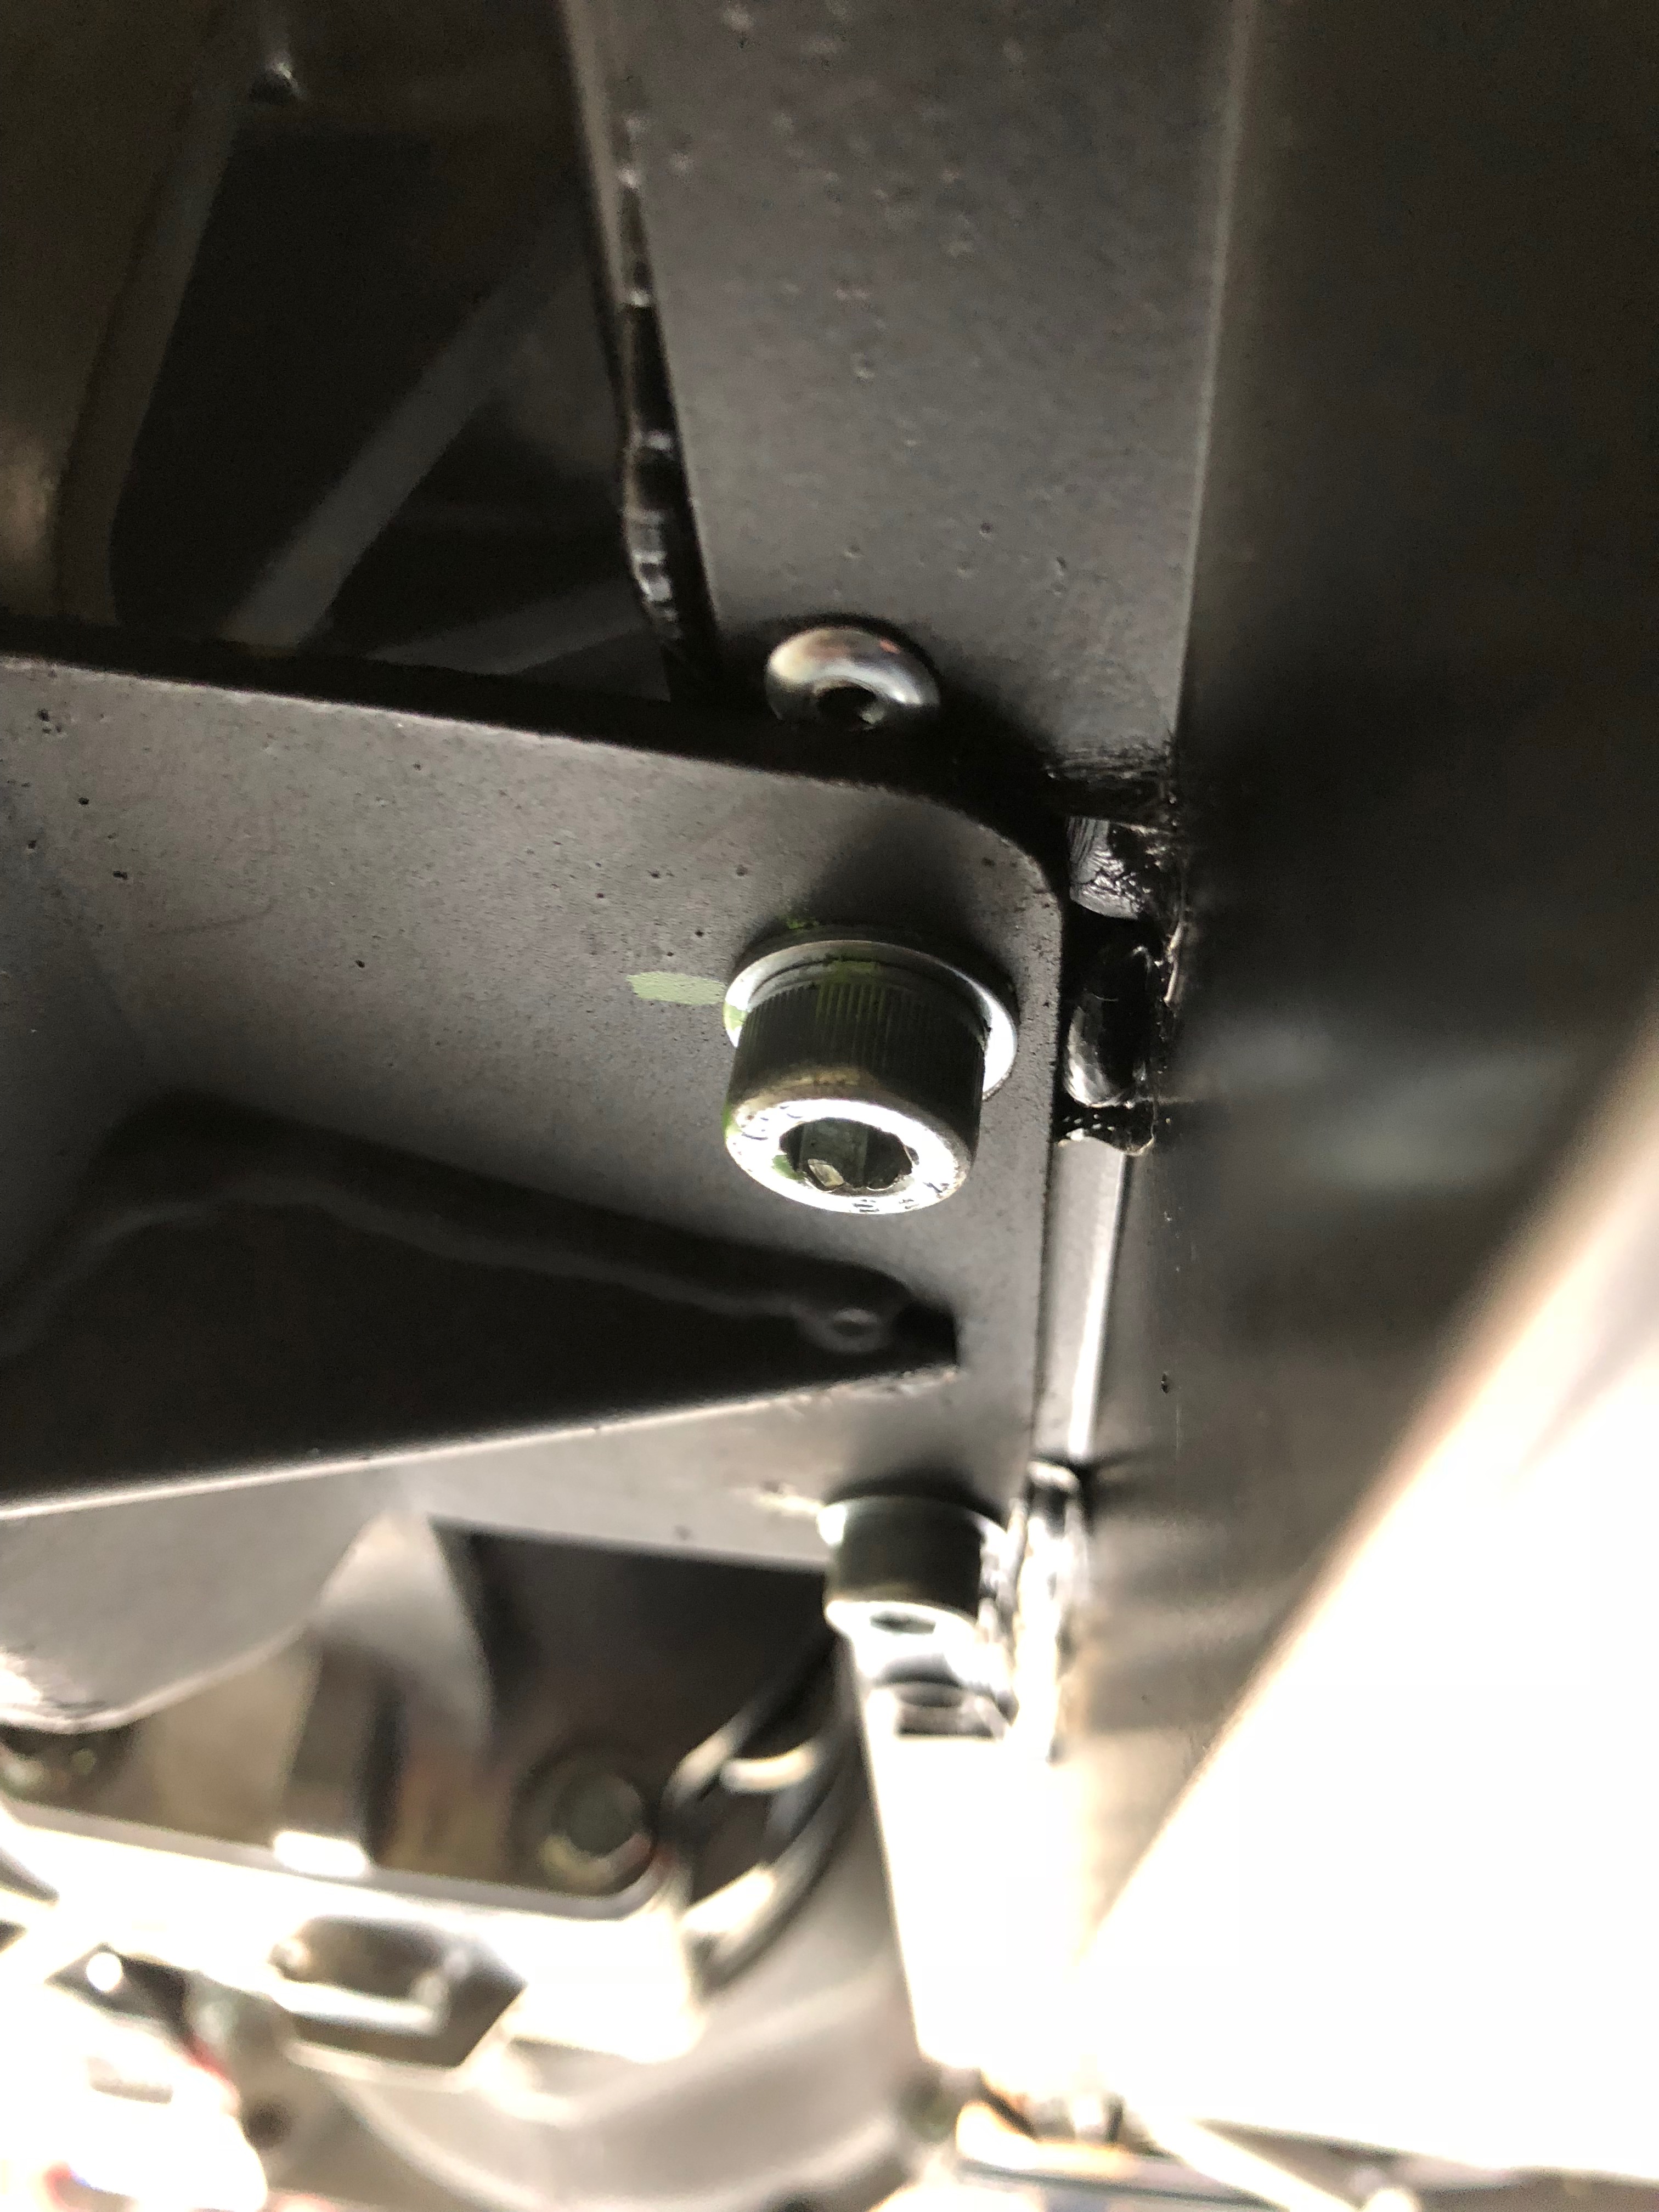
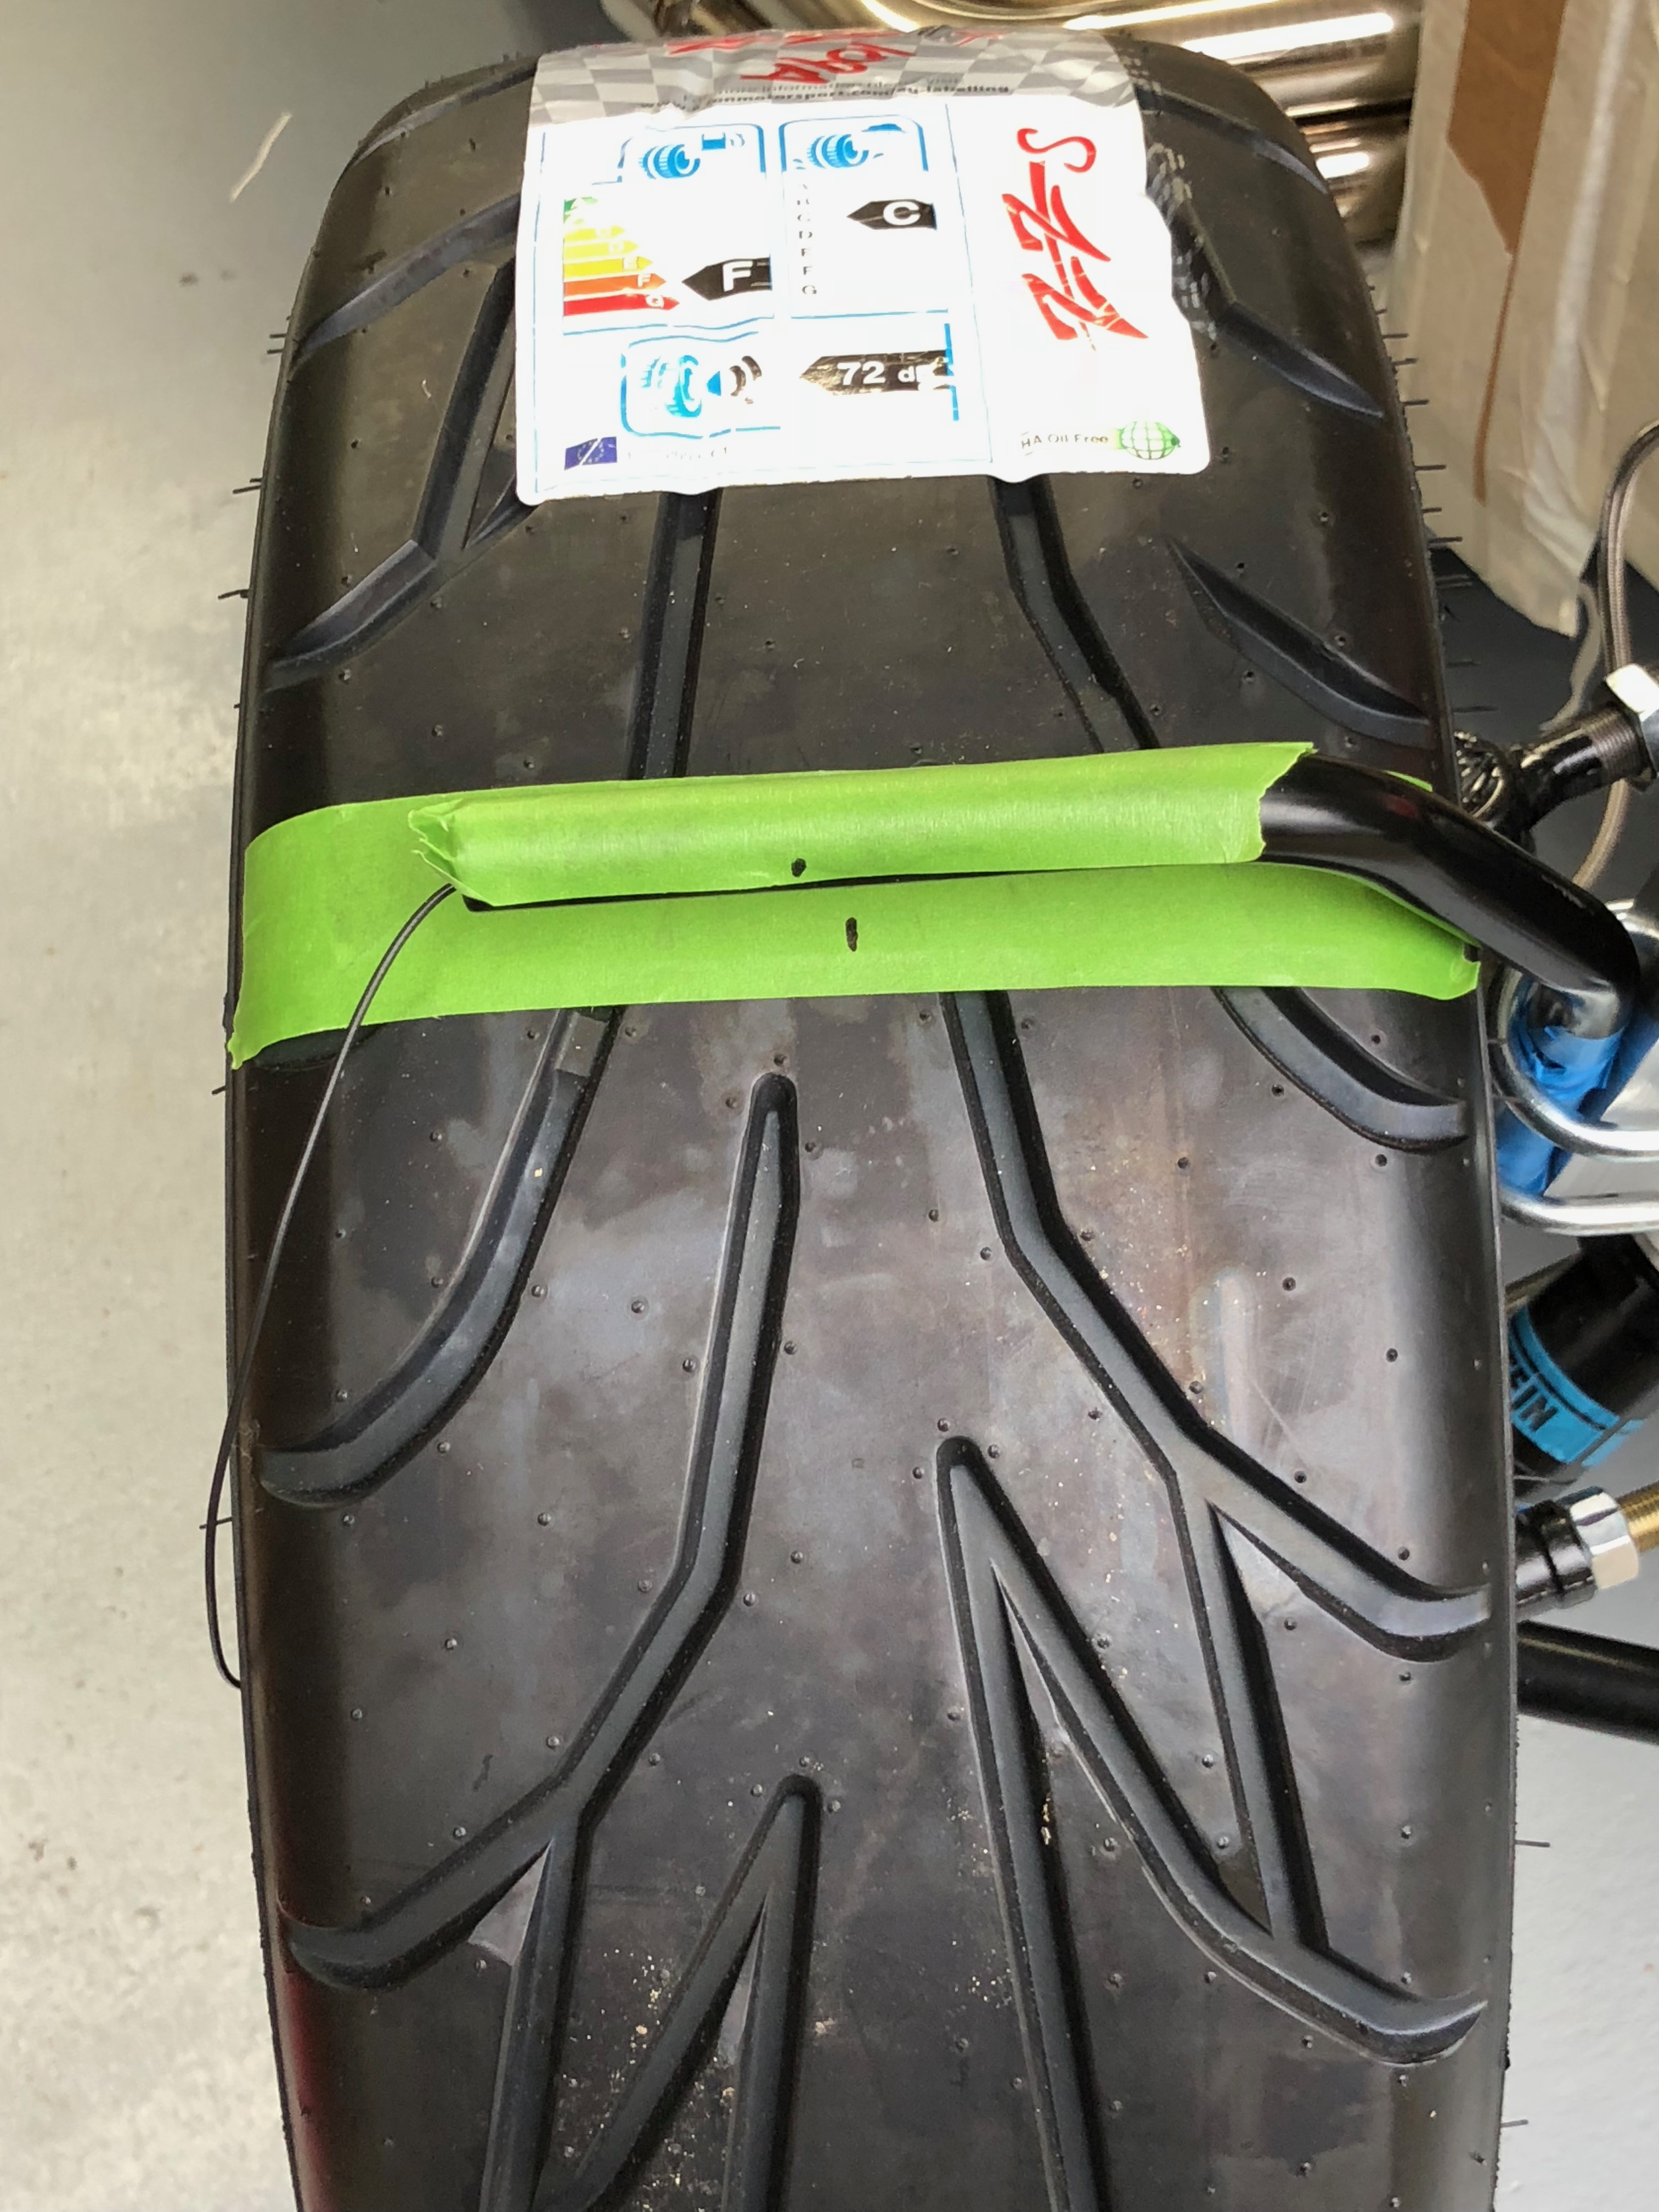
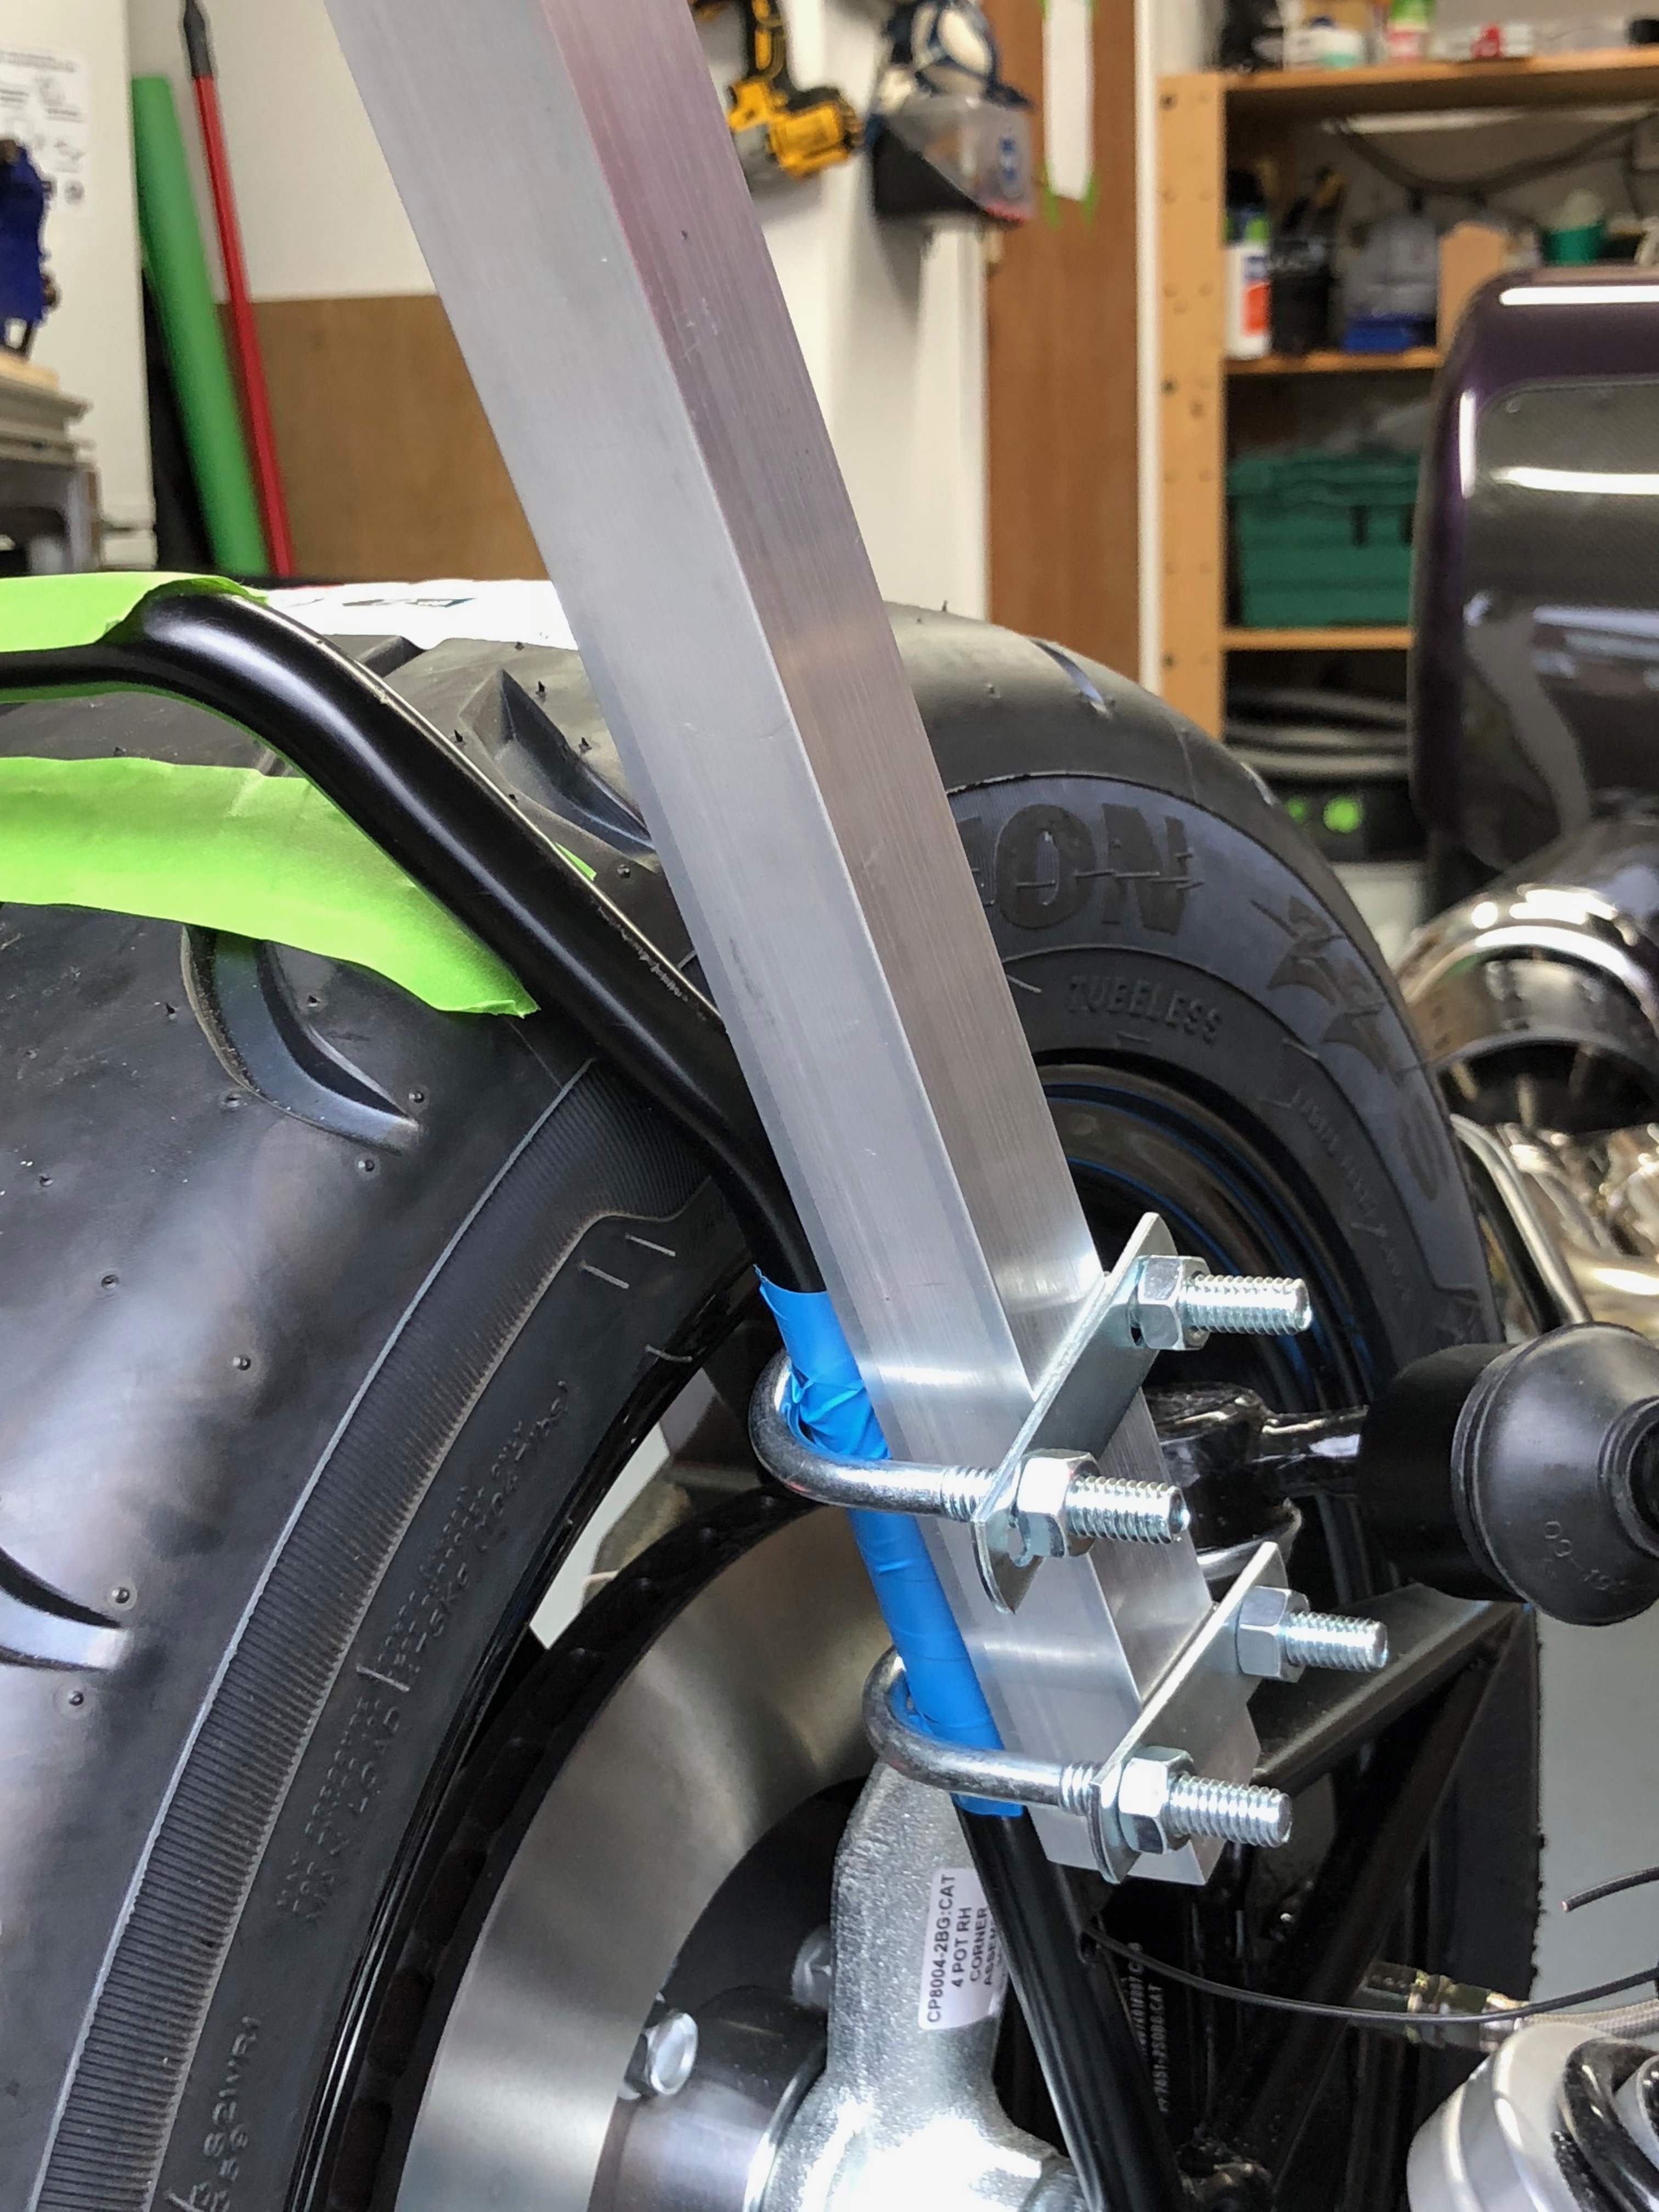
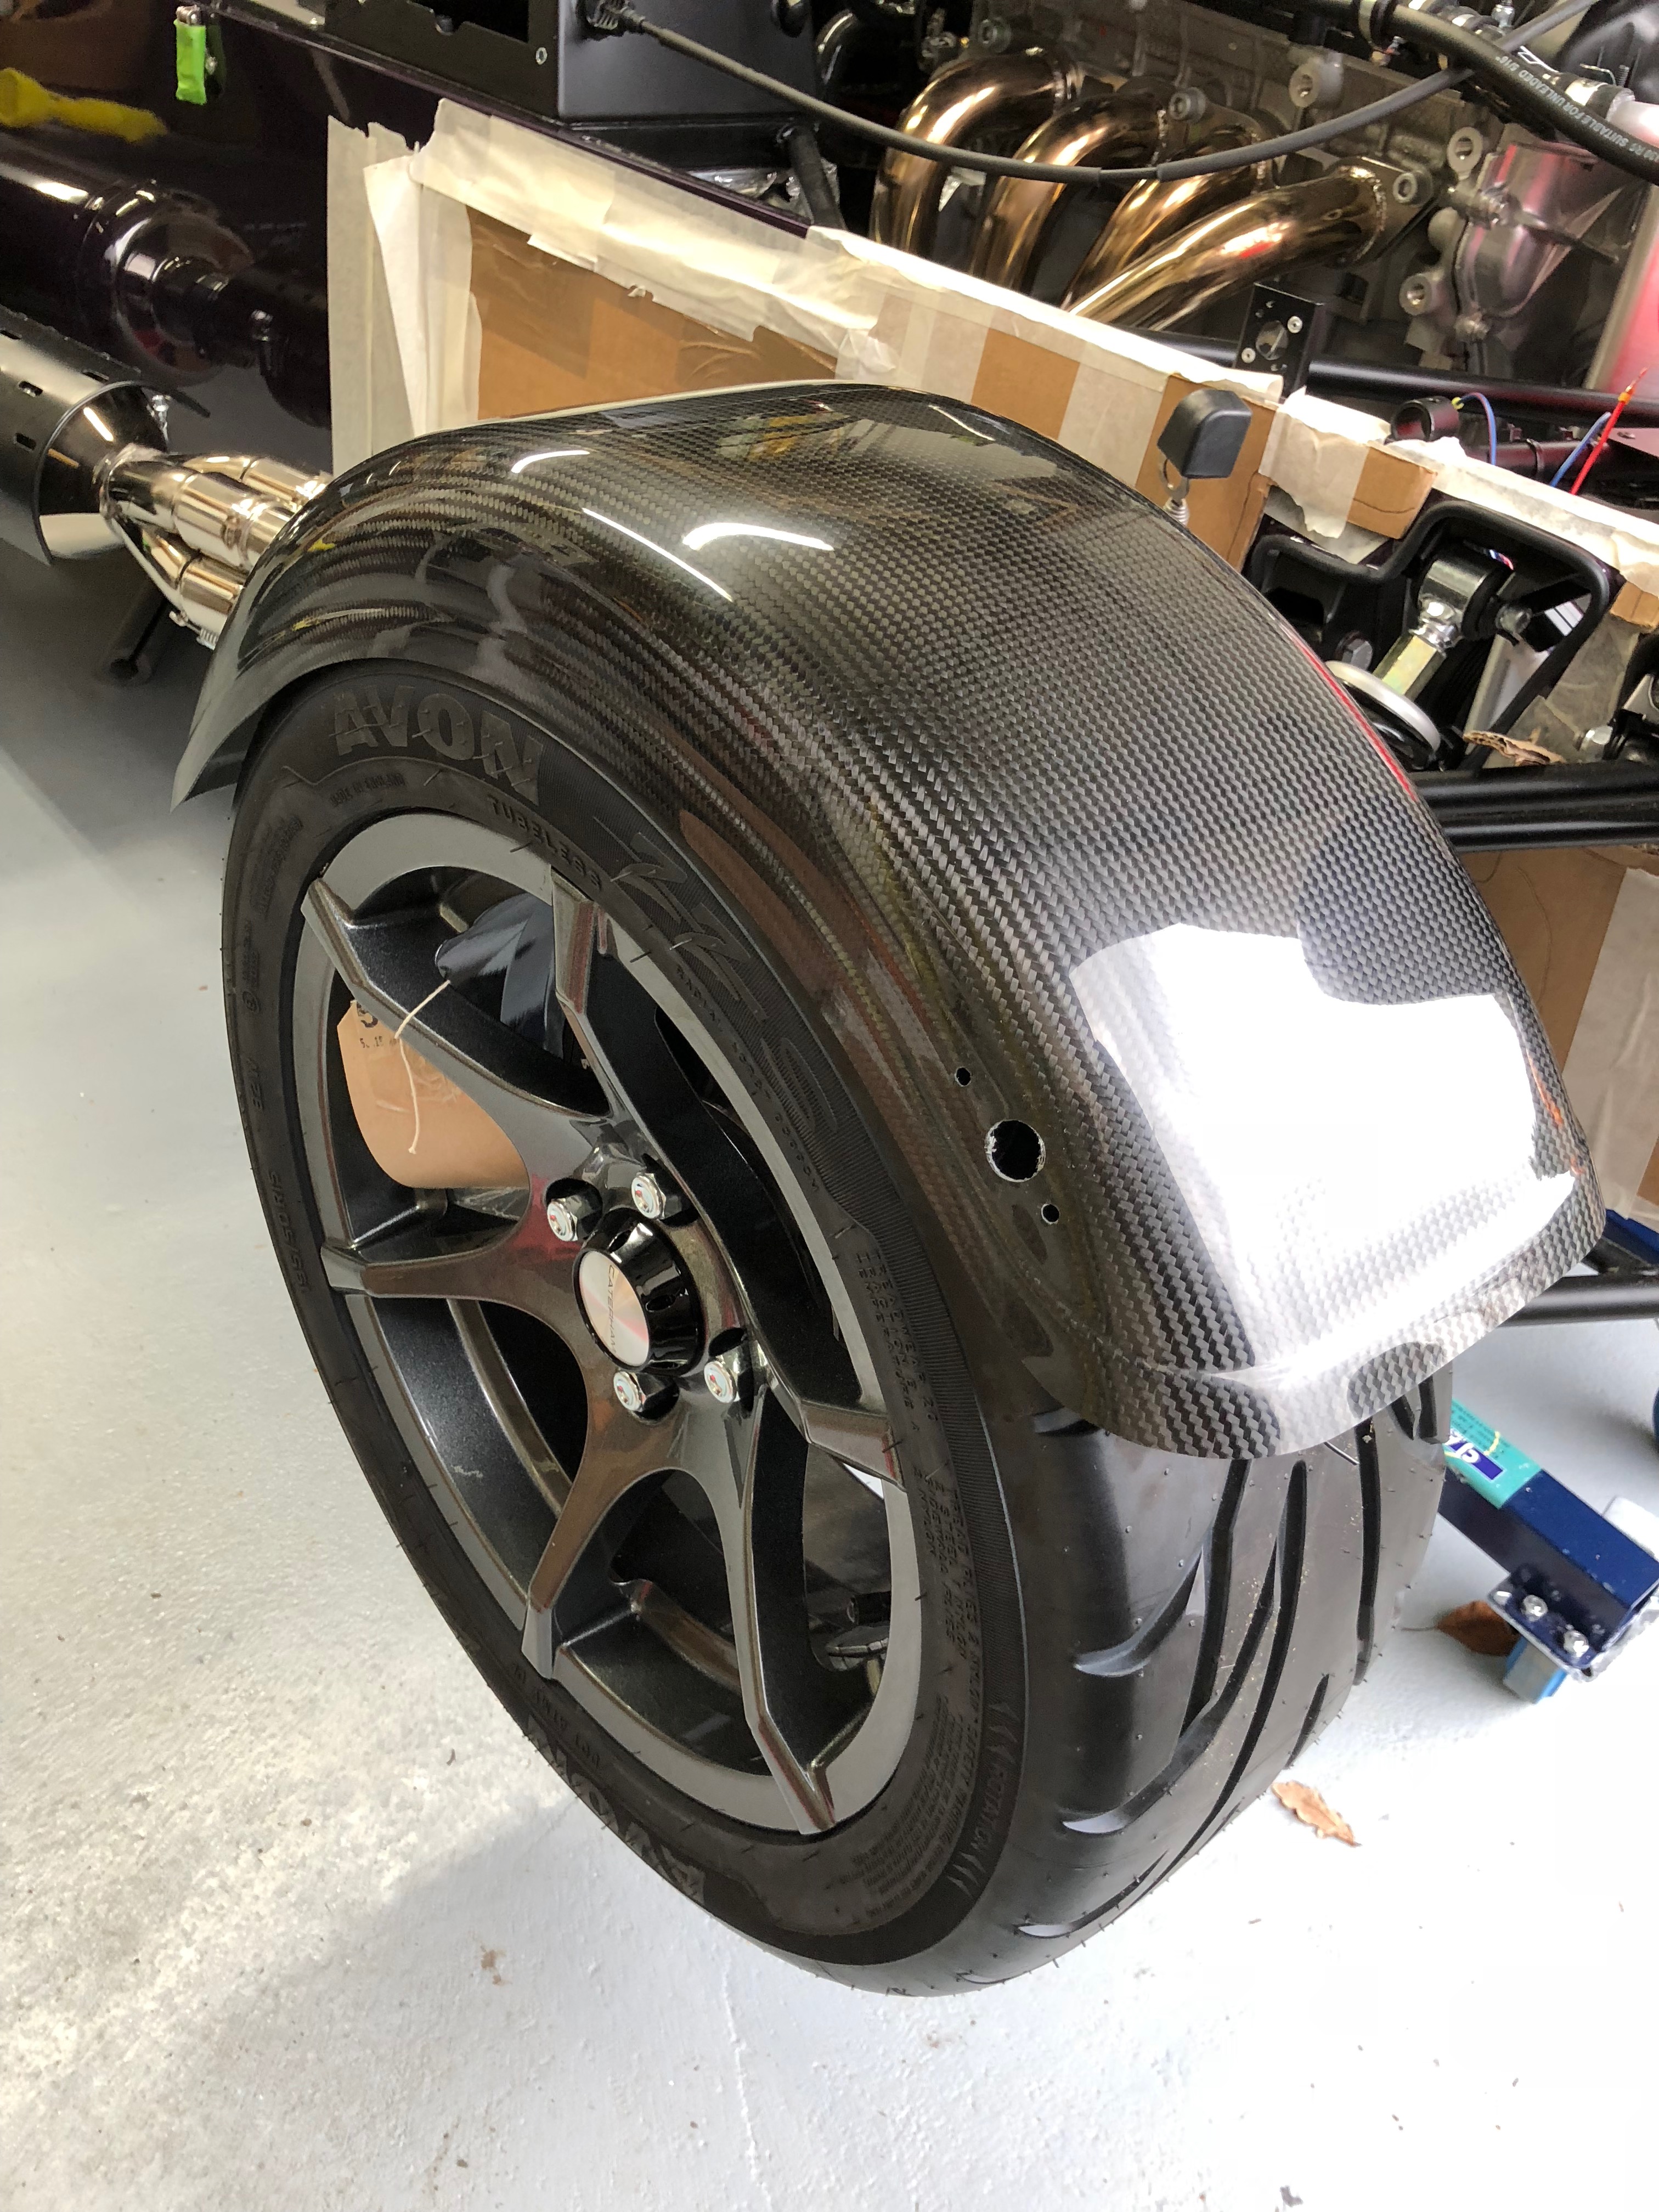
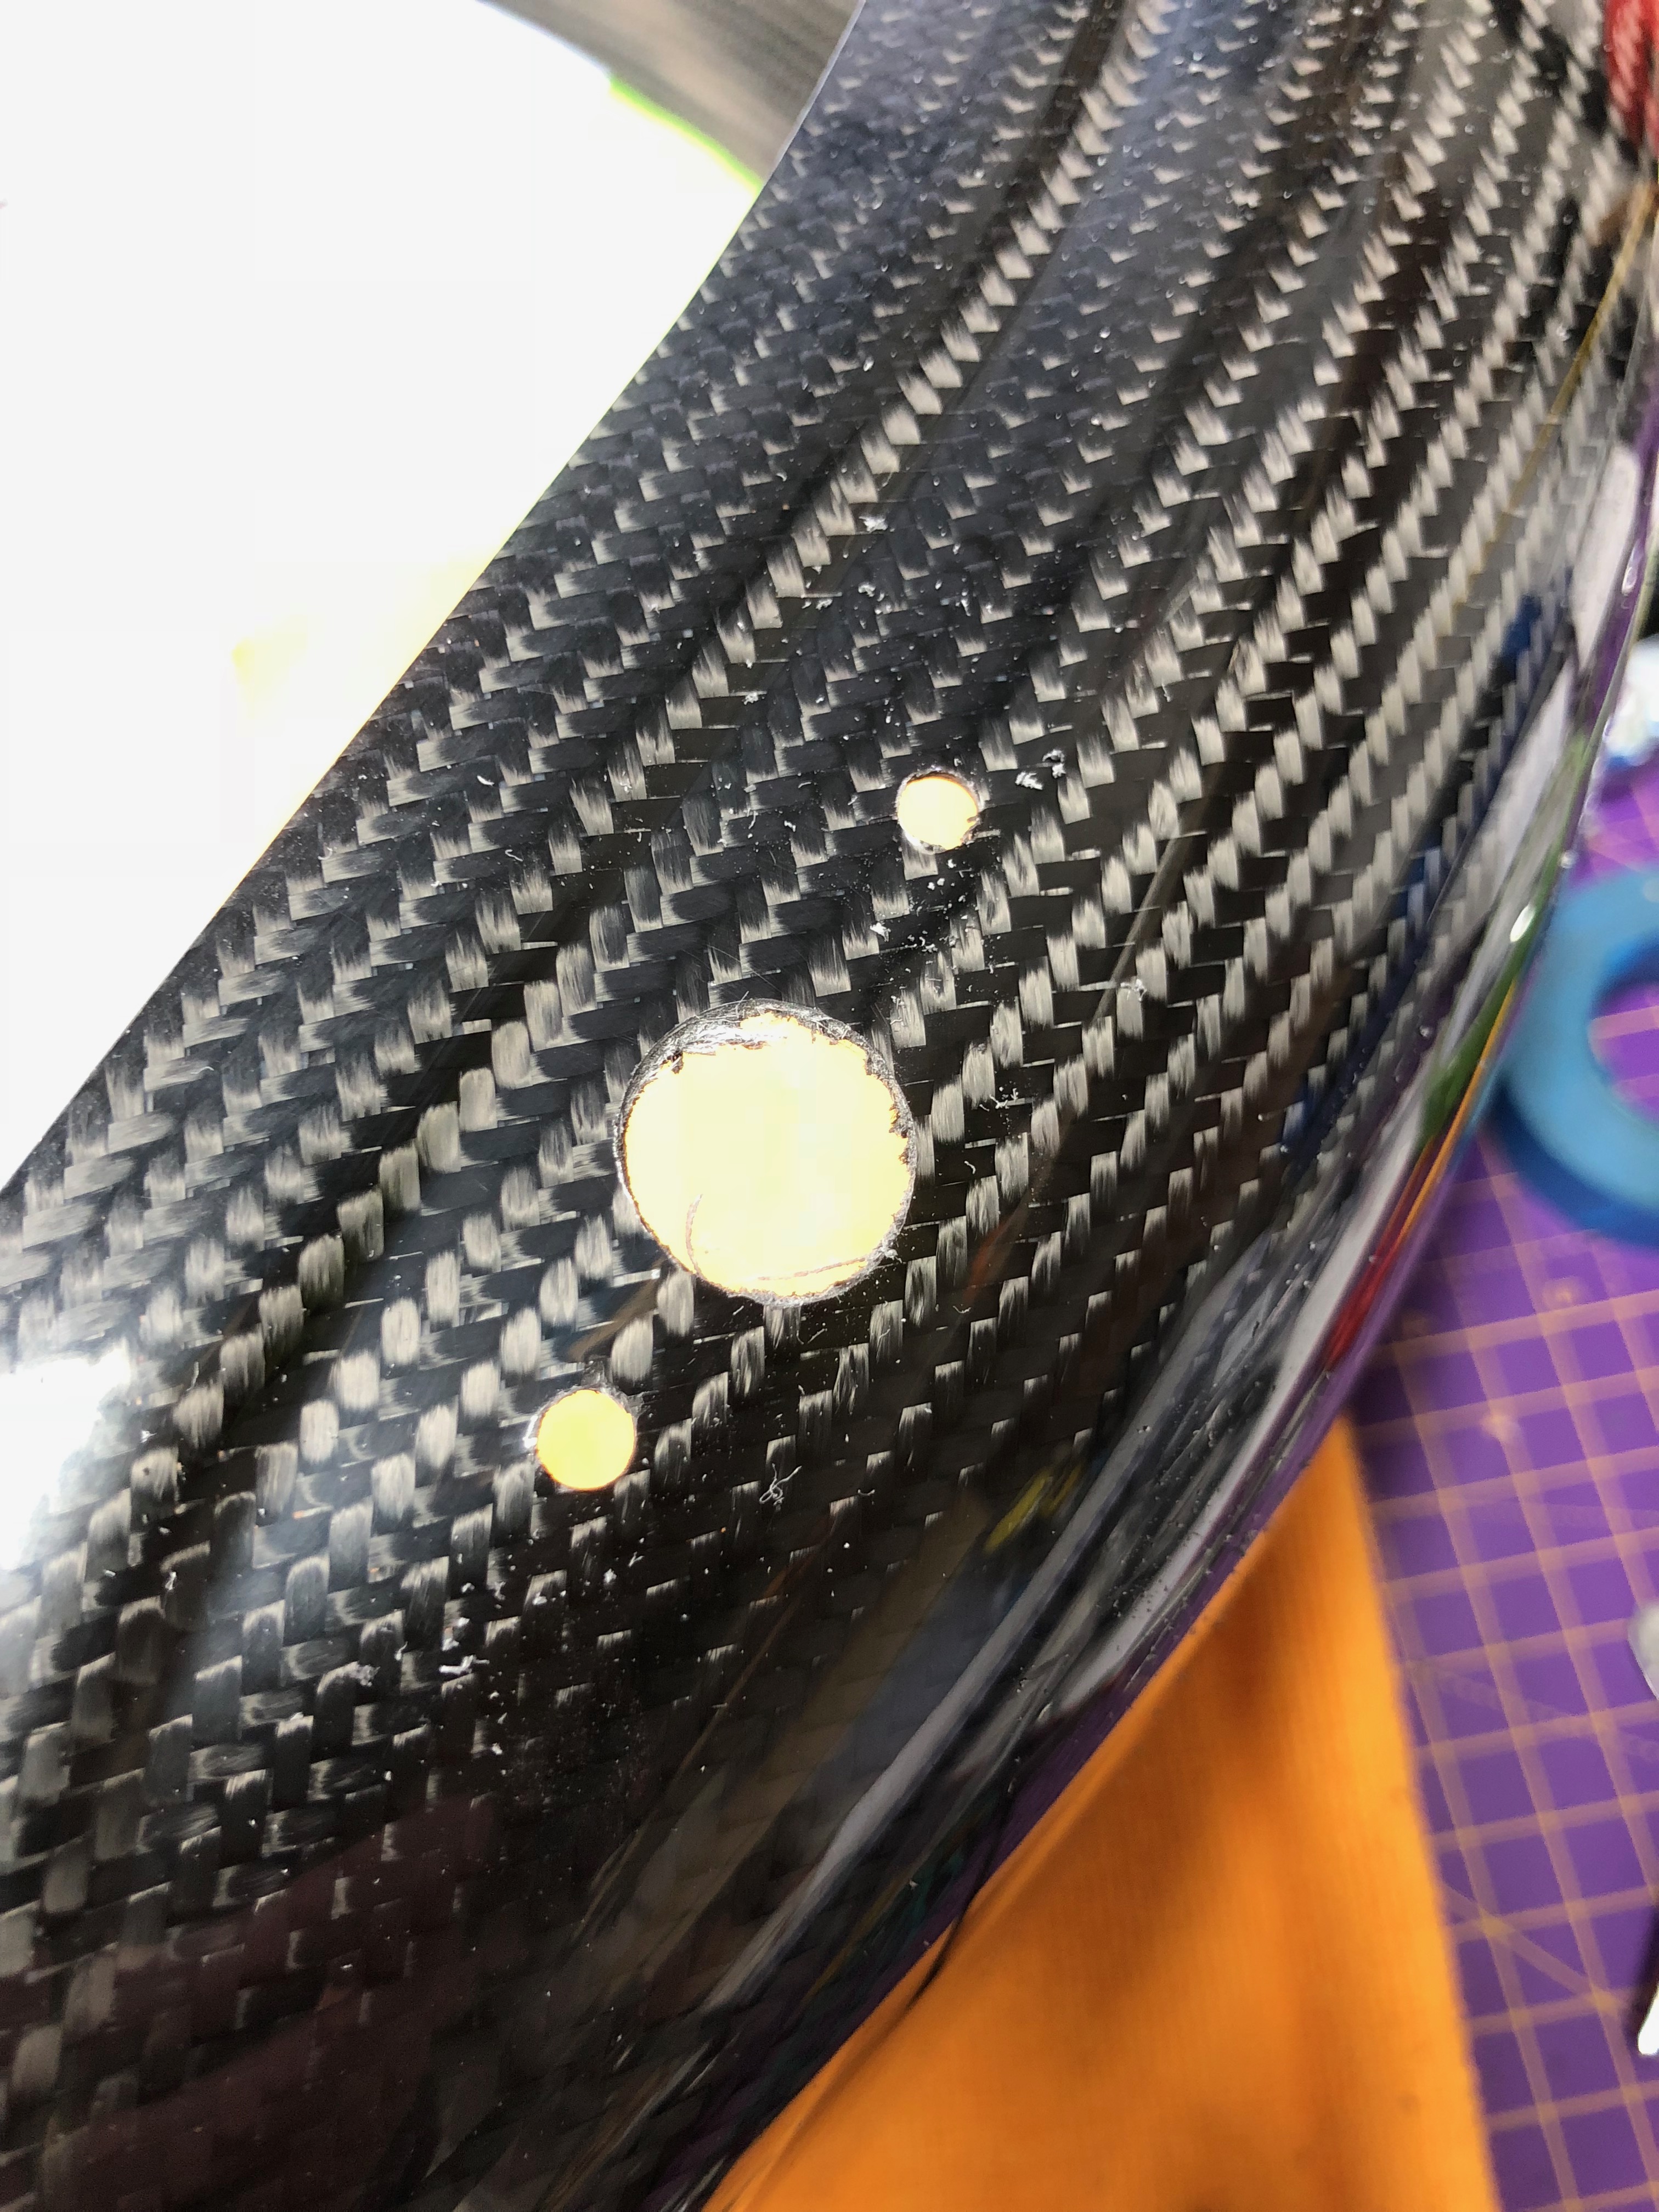
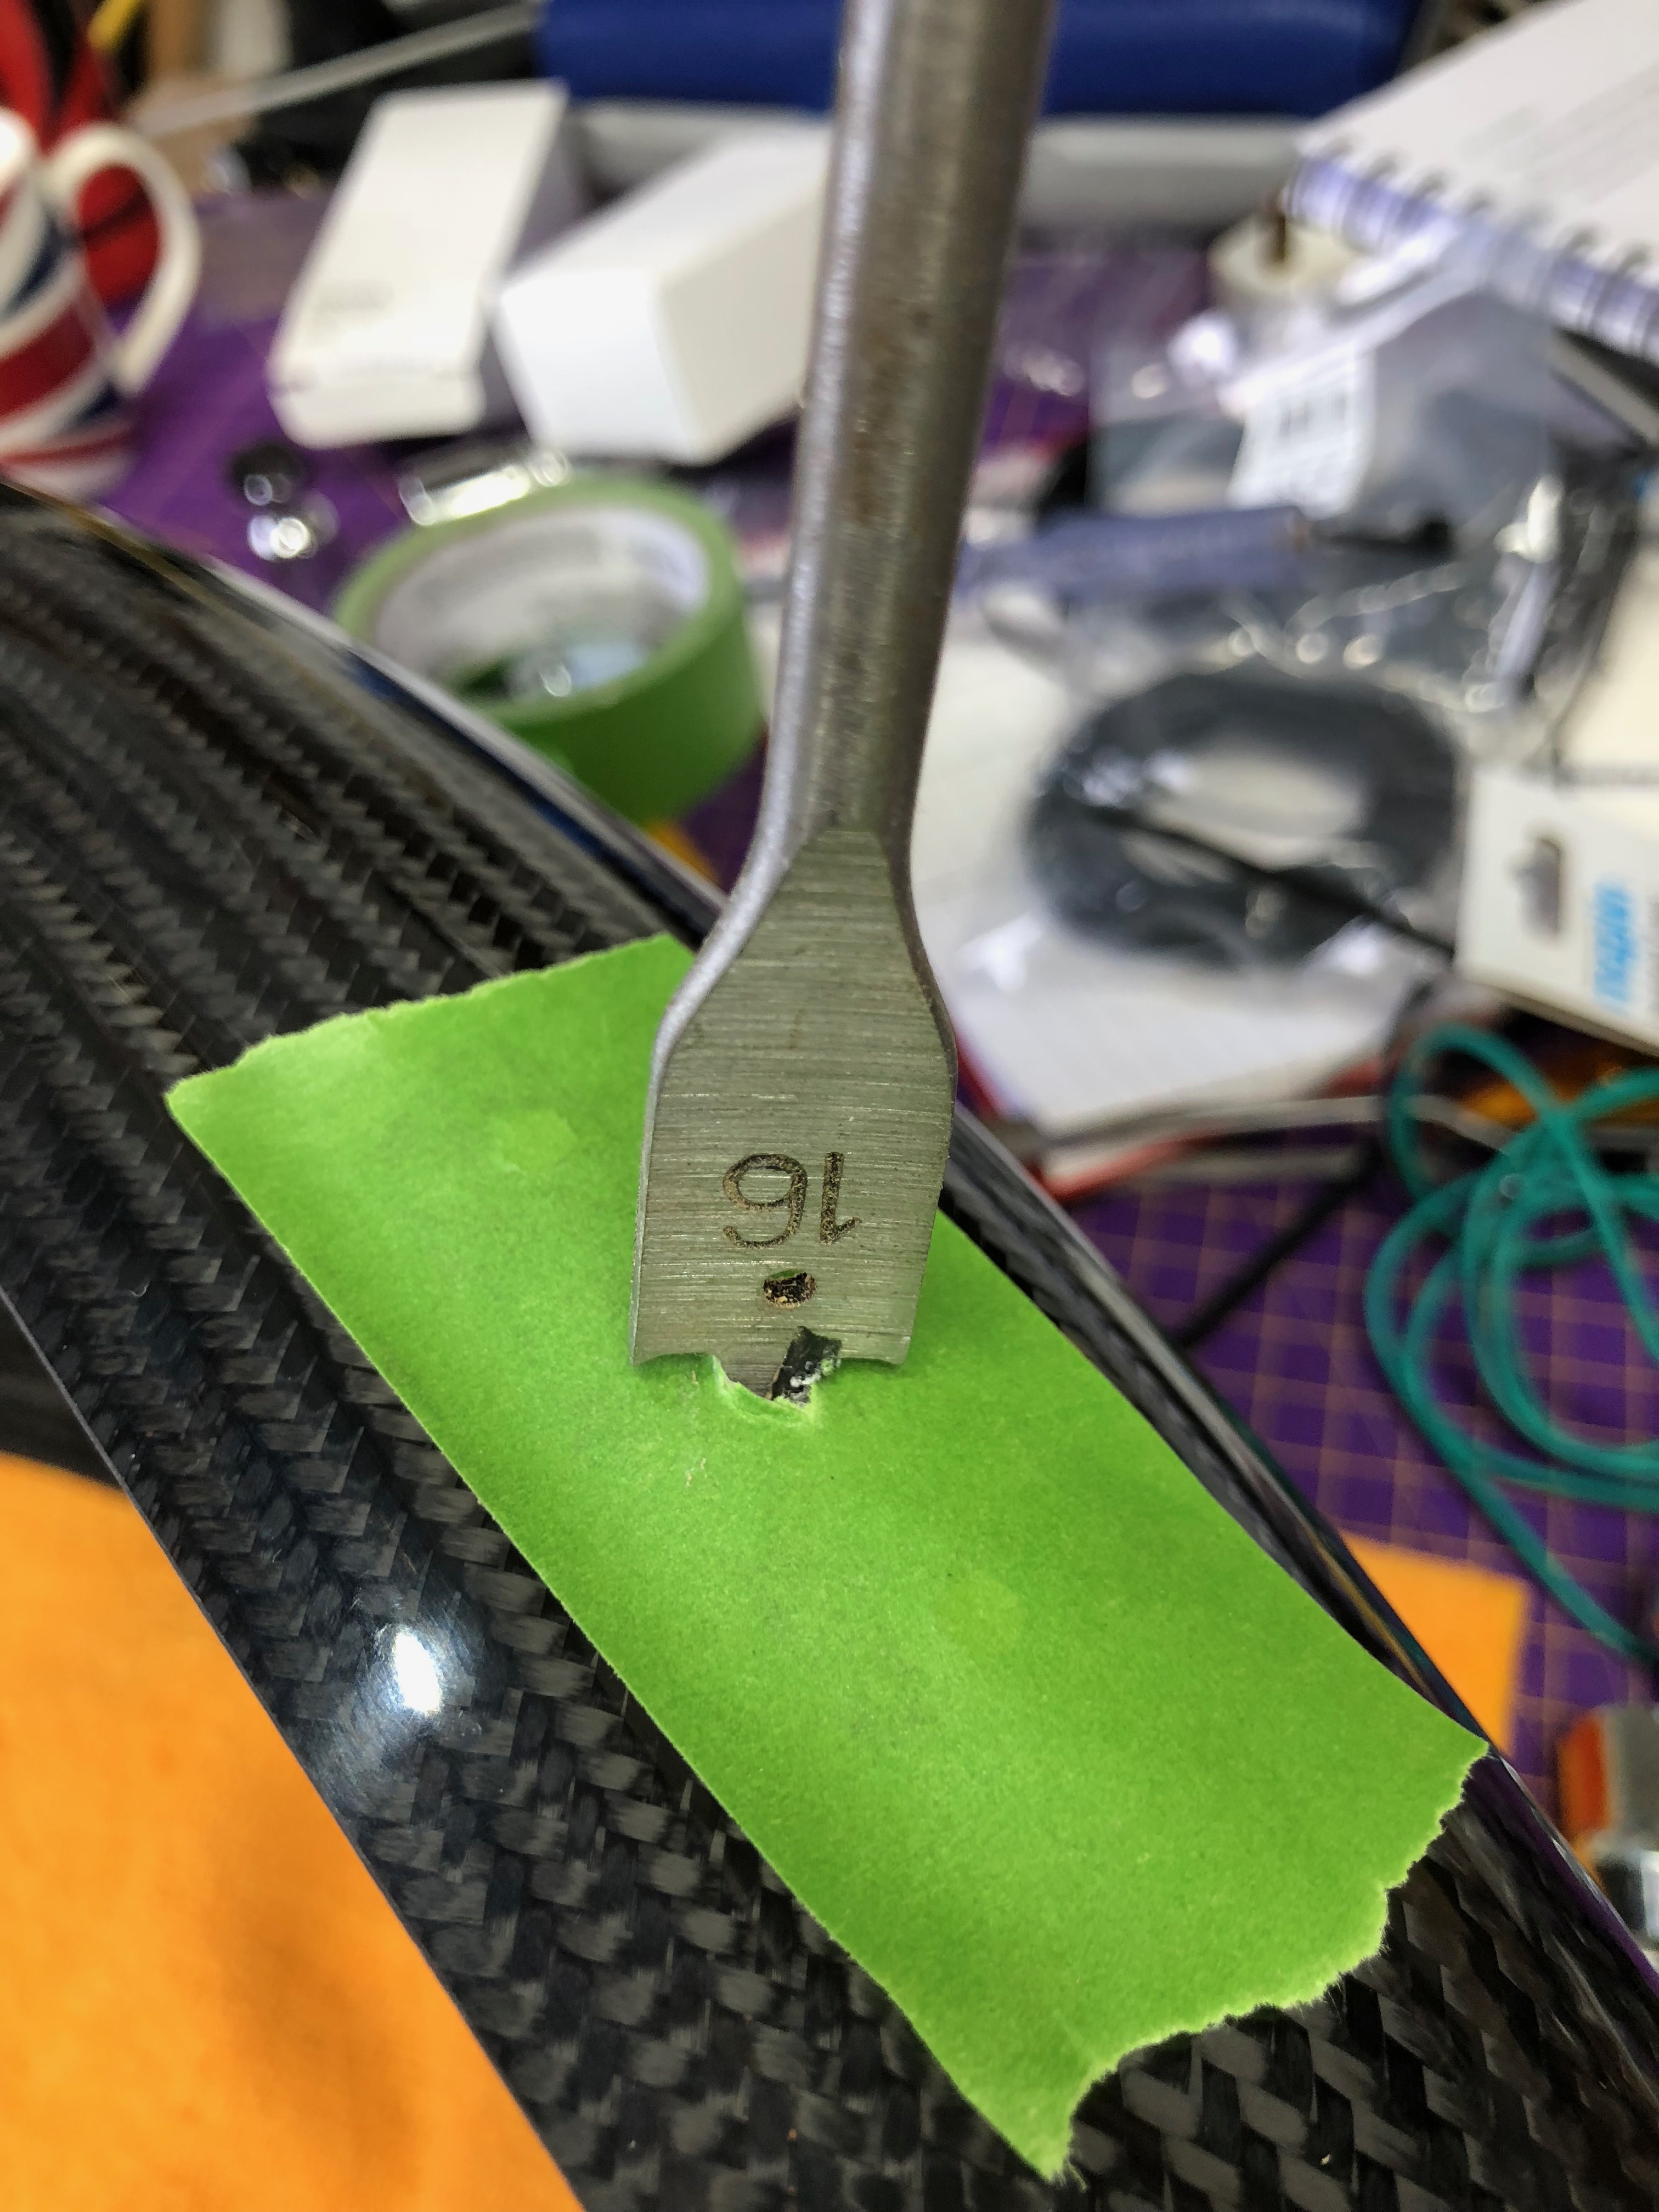
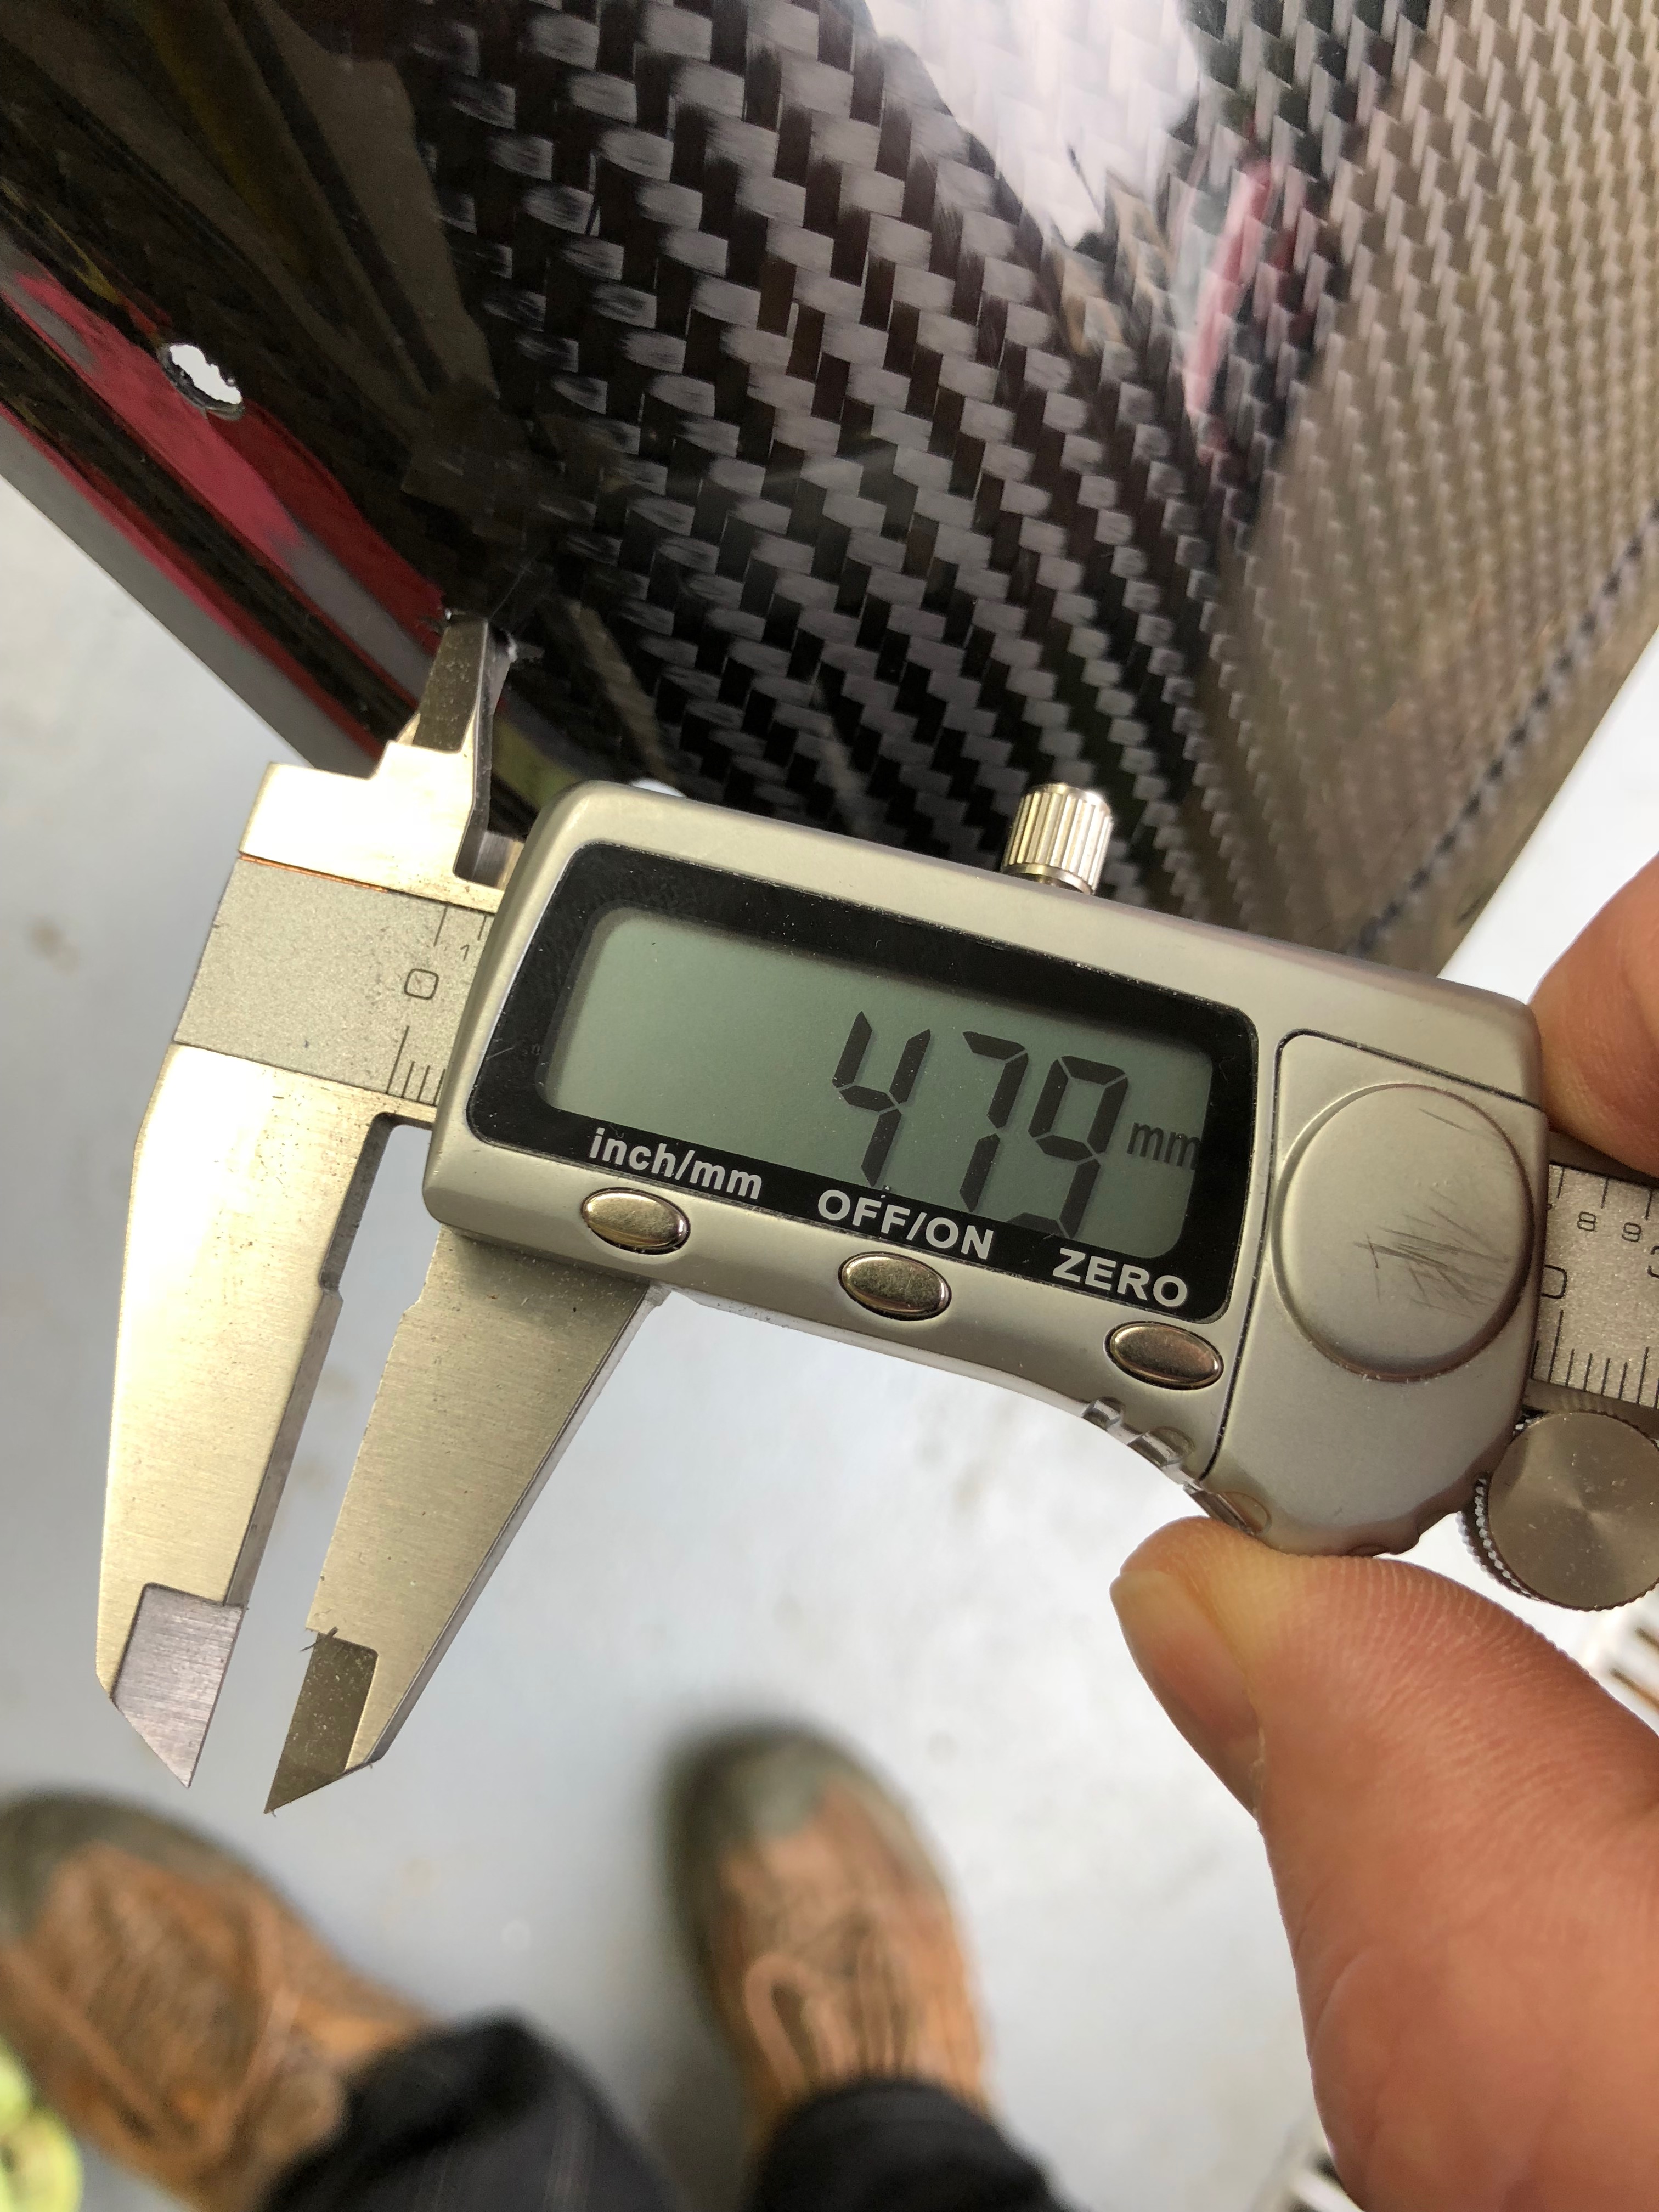
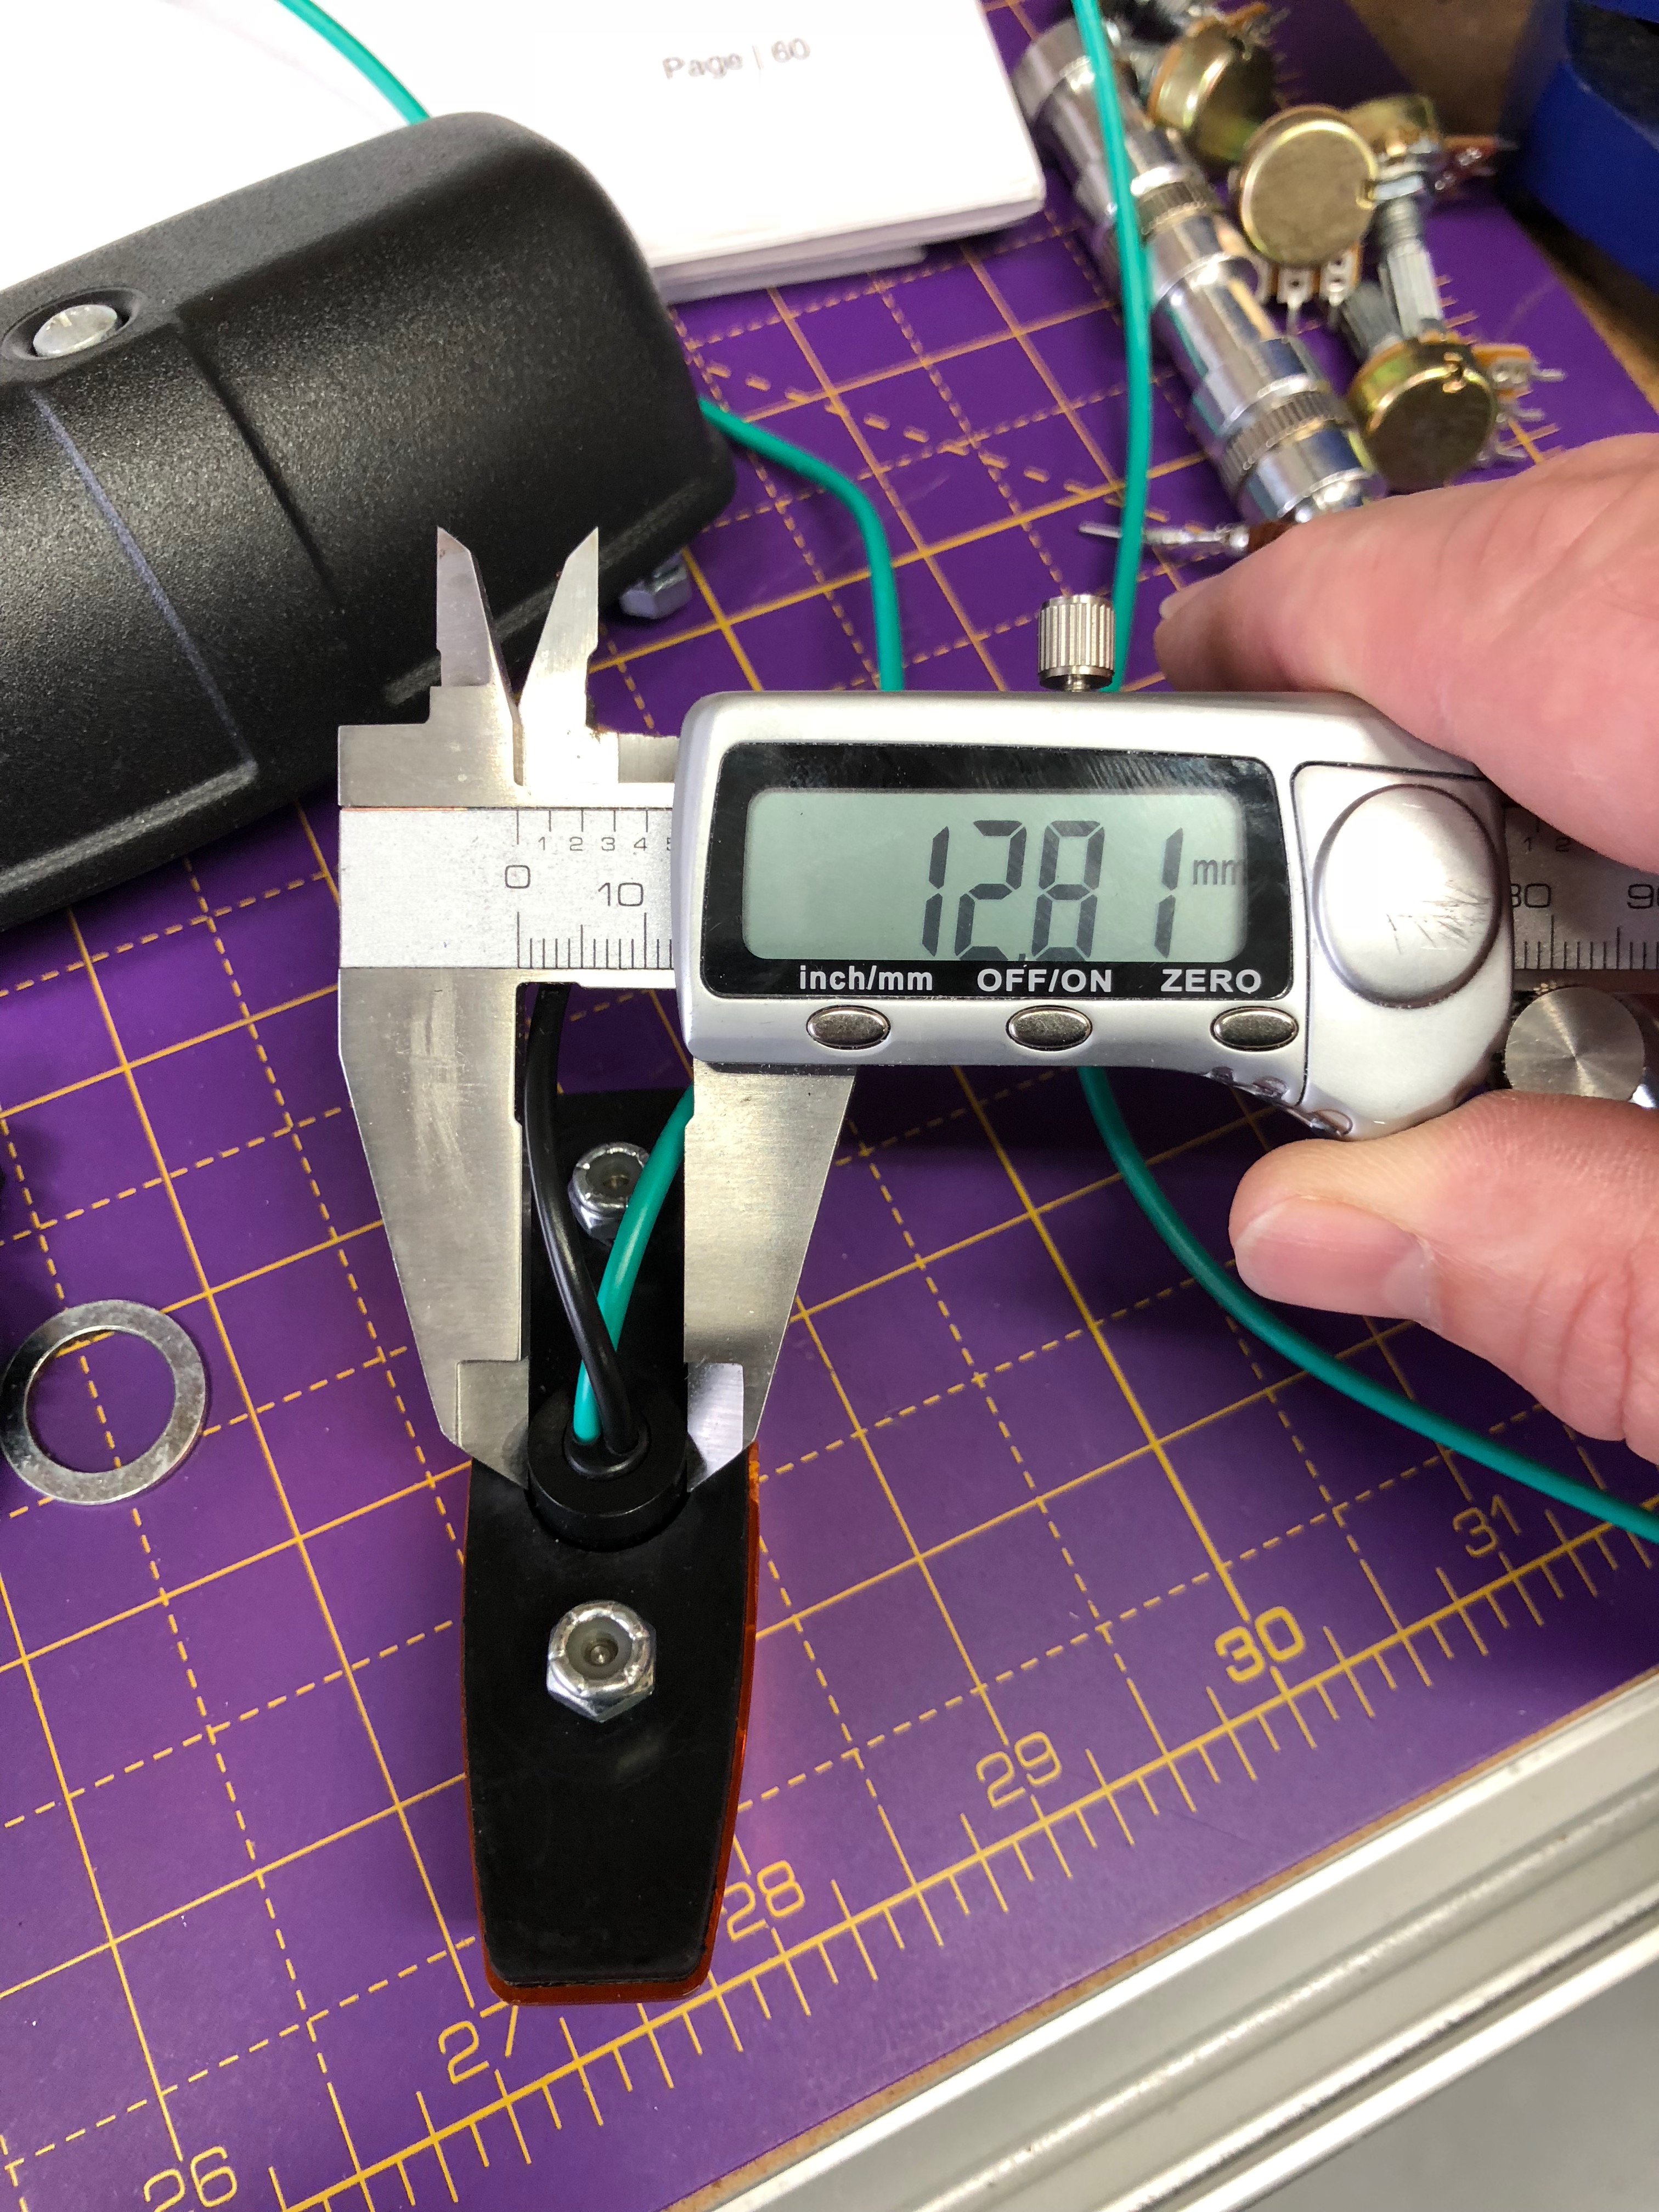
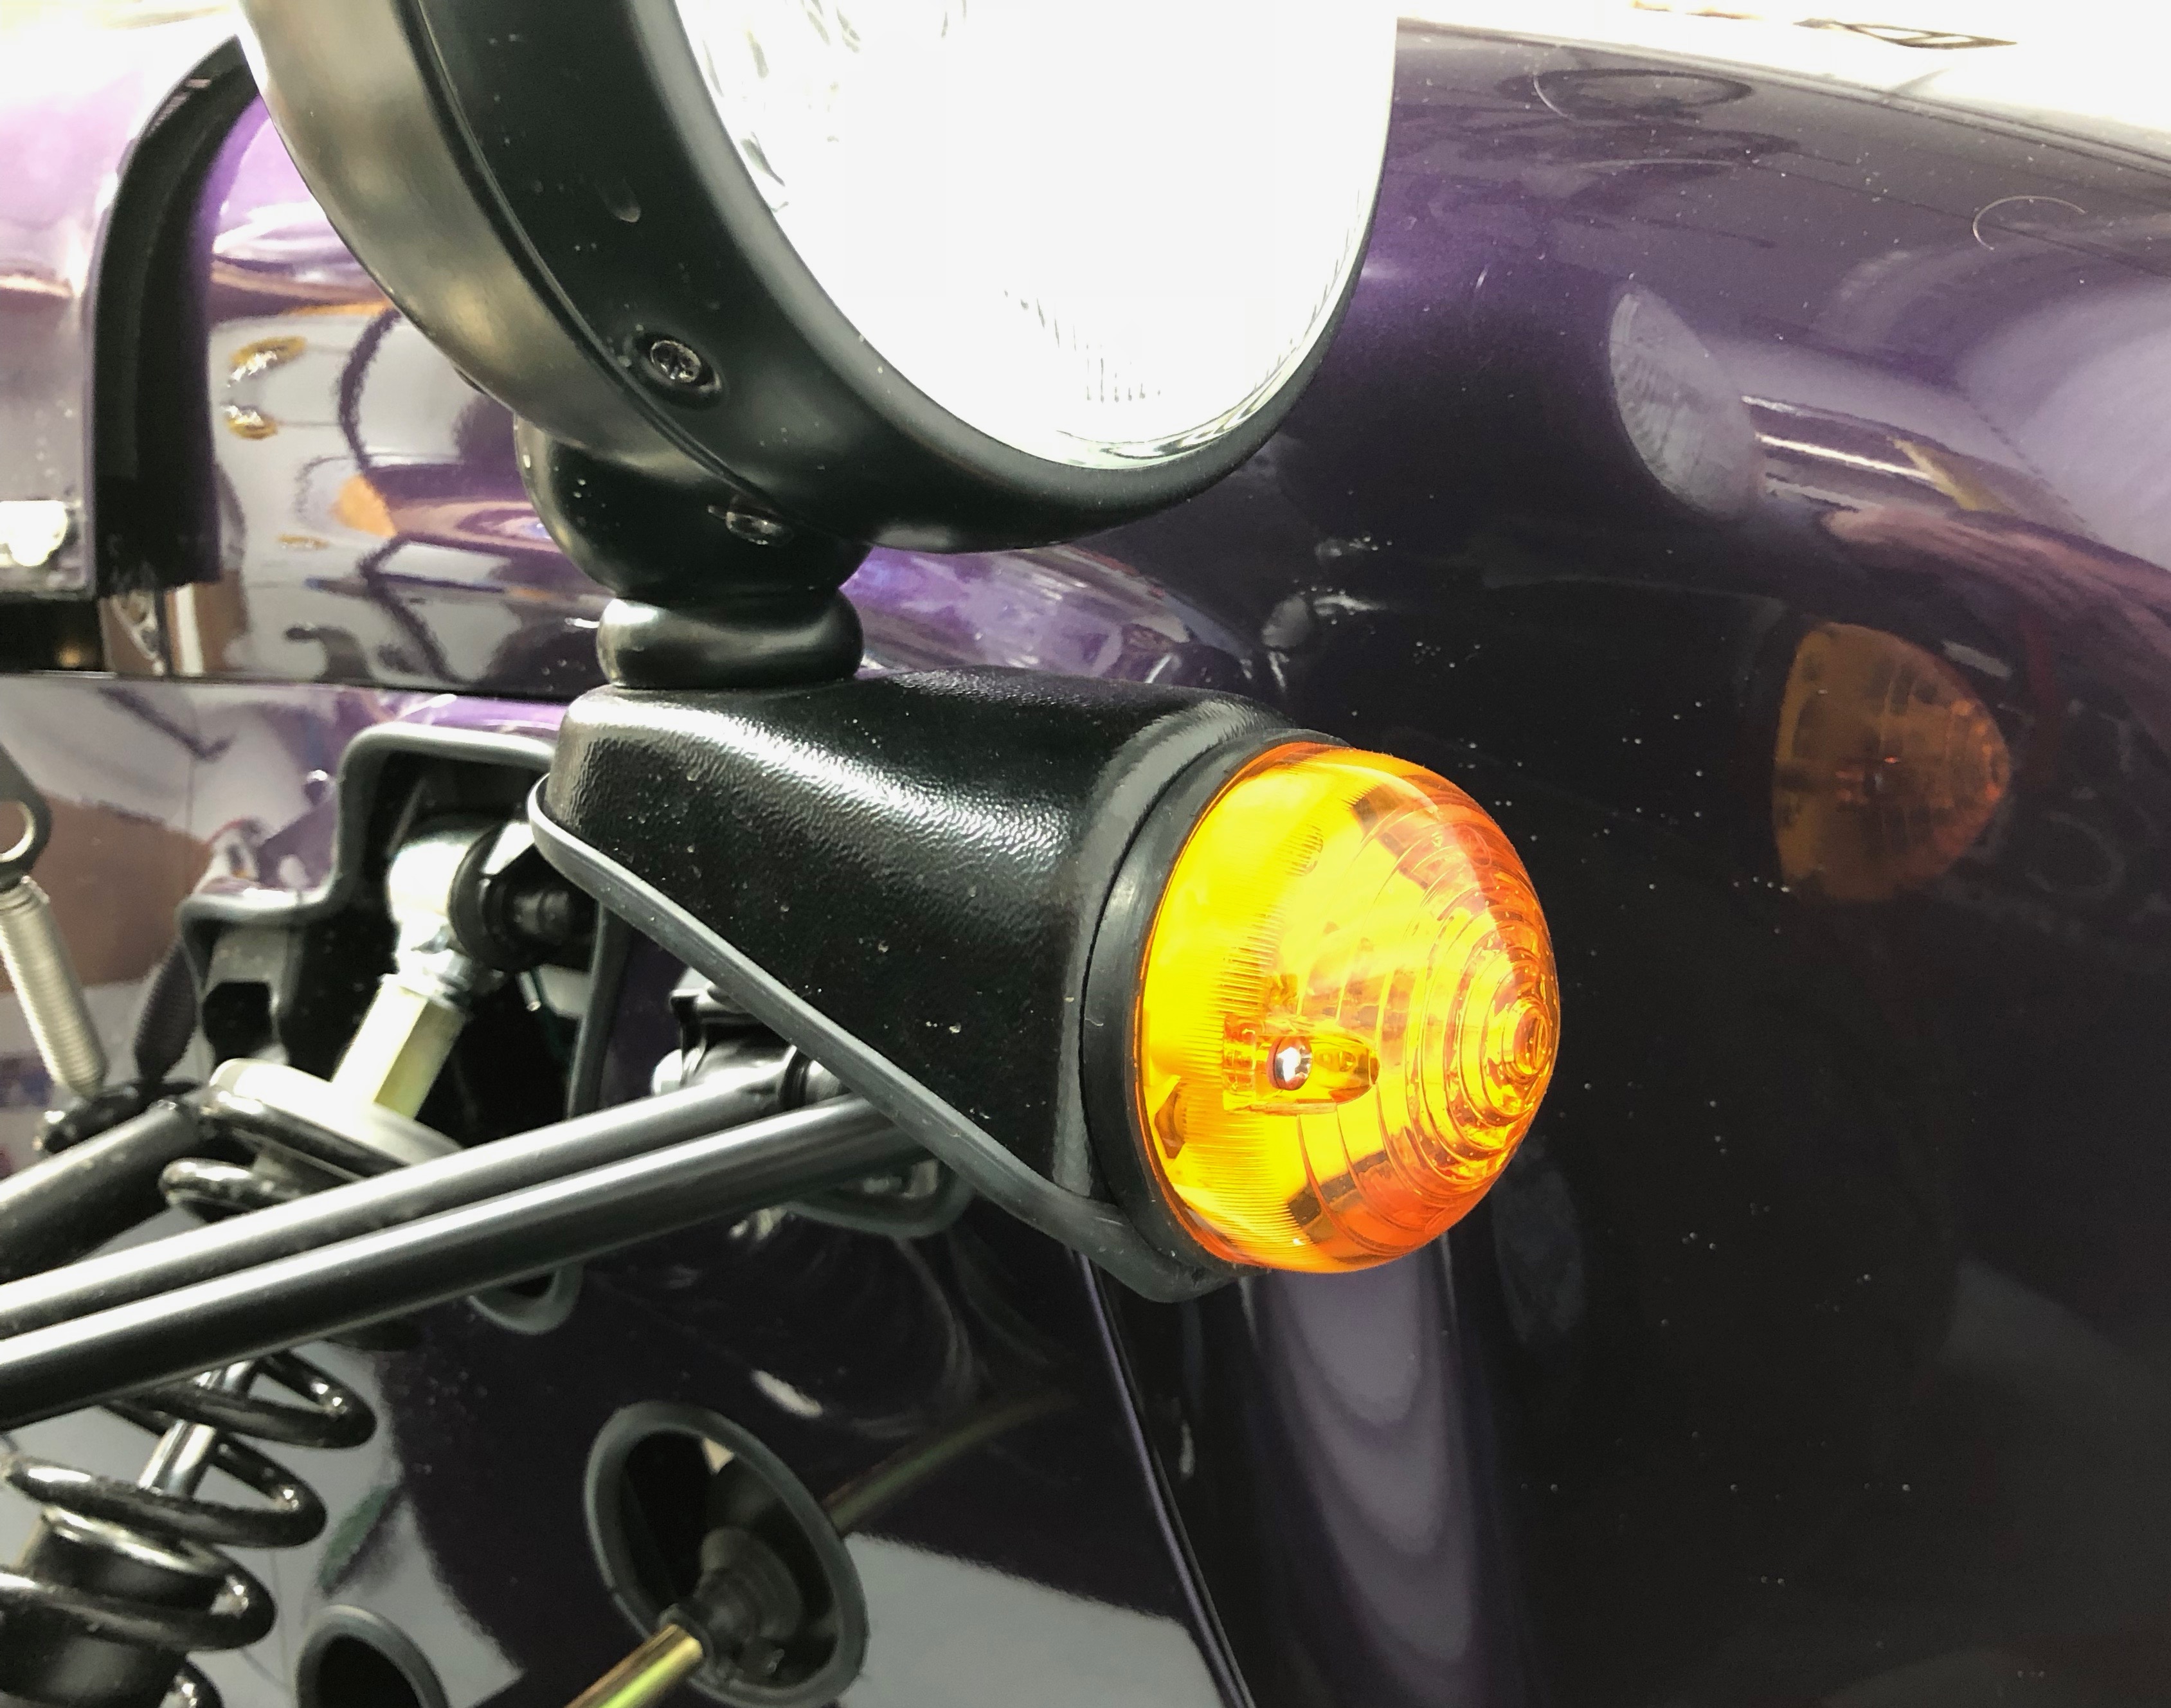
Front wings now tacked onto wing stays and protected with a layer of masking tapeWing, Wing Stay and SikaflexSolution: a Morgan’esque braceJust the job for the rear hub nutsRear hub nut problem… big torque and nothing to hold it backAdded IVA trim (spare left over from dashboard) to catalytic converter cover5/16th hose cable tied in place on the braided clutch hose, running bottom left to middle of the picture. Covers all of the hose.Air-filter installedLubricating the air-filter trimAir-filter installedRe-cable-tie the front ARB gaitersSpare touch-up paint came to the rescueDinged the RHS rear wingFinished IVA wing mirrorStud inserted in windscreen sideUsing some pliers to get the torx screw started in the wing mirror to windscreen assemblyClose up of captive ball/stem – you can see the flat side of the stemExploded view of wing mirror assembly for windscreen attachmentClose up of slotted stemRear of mirror frame with captive ball/stem, larger slotted stem, cupSimple install of the rear-view mirror. Made sure the bracket was straight and plumb and a few mm from the windscreen top rail.Grey cable running under bottom front of engine block… from timing sensor to ECU via the LHS of block. This cable was added to the P-clip (right of picture above) Mystery spade terminals now encased in black electrical tape (top middle of pic) and cable tied in place.Engine LHS wiring tidy-upDry-run of repeater wiring againRepeater wires taped to pull cordPaper-clip worked better than tweezersLeading edge of front wings set to be 8cm (80mm) from front of wing stay.Progress to date by the end of the Build Session 35Final resting place for the ECU connectorDouble P-clip used to tie the handbrake cable to the A-frameSpiral trajectory of LHS handbrake cableHandbrake cable can now exit transmission tunnel more horizontally than before the modificationModified diff by grinding away flange. The flange originally continued around to the leftAnti-squeal plate – the thin plate on top of the calliperSuperGlue blob every few cm to hold IVA Trim to Carbon Fibre WingsSikaflex bead applied to the wing staySikaflex 521 – Weathering Resistant Adhesive SealantFoam pipe lagging cut to size to check out the spacing I neededFoam pipe lagging cut to size to check out the spacing I neededBonnet heading home for the last time – hopefullyRepeater cable runs across rear arm of the top wishboneBrake fluid not good for the skinModified brace and pump-clampJam jar and washer tubing working a treatFluid will bleed into the jam jar until there’s no air or bubblesWooden brace used to keep clutch depressed.Testing out actuating the bleed nutProtecting the paintwork around the clutch fluid reservoir… and ending up with two ends of the pipe the right size for the Brakes and ClutchUsing a hot air gun to form some washer bottle pipe to the right sizeLights and indicators workingLHS econo-seal sockets/plugsRHS econo-seal plugs/socketsEcono-seal plug with one wire inserted.Number plate light attached and wired up.Bullet connector crimped to the number plate light wireNumber plate wiring as it comes from the factoryThese LED repeaters are offset with the back being longer (left)Gearbox mounting bolts (after) going downGearbox mounting bolts (before) going upHow much I could lever the RHS wing stay over to get the wing closer to centralMy wing stay leverRHS wing on it’s wing stay ready to have the repeaters fitted.Centre hole now enlargedUsed an oversized 16mm spade bit to make the repeater centre hole in the wingWings pre-drilled with 3 x 5mm holesRepeater needs at least a 13mm centre holeFront RHS indicator podRepeater signal wire threaded through wing stay… wot no wing, wot no extended earth lead!@!Tweezers to pull wire from inside the wing stay – there’s a better way of doing thisNow with the wing stays swapped to the right sideThis wing stay should be on the other sideMe upside down under the dashboard looking for indicator wiring