
Well that didn’t go quite to plan. I was hoping to take just a couple of days on this video, but in the end it was 10 or so. And therefore little progress on the actual EV project… Grrr!
I started out with one intention but then realised the video didn’t make much sense. So I had to re-record a bunch of stuff and rejig things. It probably still doesn’t make much sense to anyone else, but at least it seems to hang together to me.
This is another one of those update videos, but in the end, I know that just rambling on about what I’ve been up to isn’t very engaging. All stories should have a beginning, middle and an end. Initially, the video had none of that. YouTube videos also work best when you present a problem, demonstrate that problem and then provide a solution. What I ended up with didn’t quite hit that succinct mark, but it was a lot better than what I originally recorded. I also had a bunch of home stuff to attend to, and that didn’t help with timelines.
The Video Link
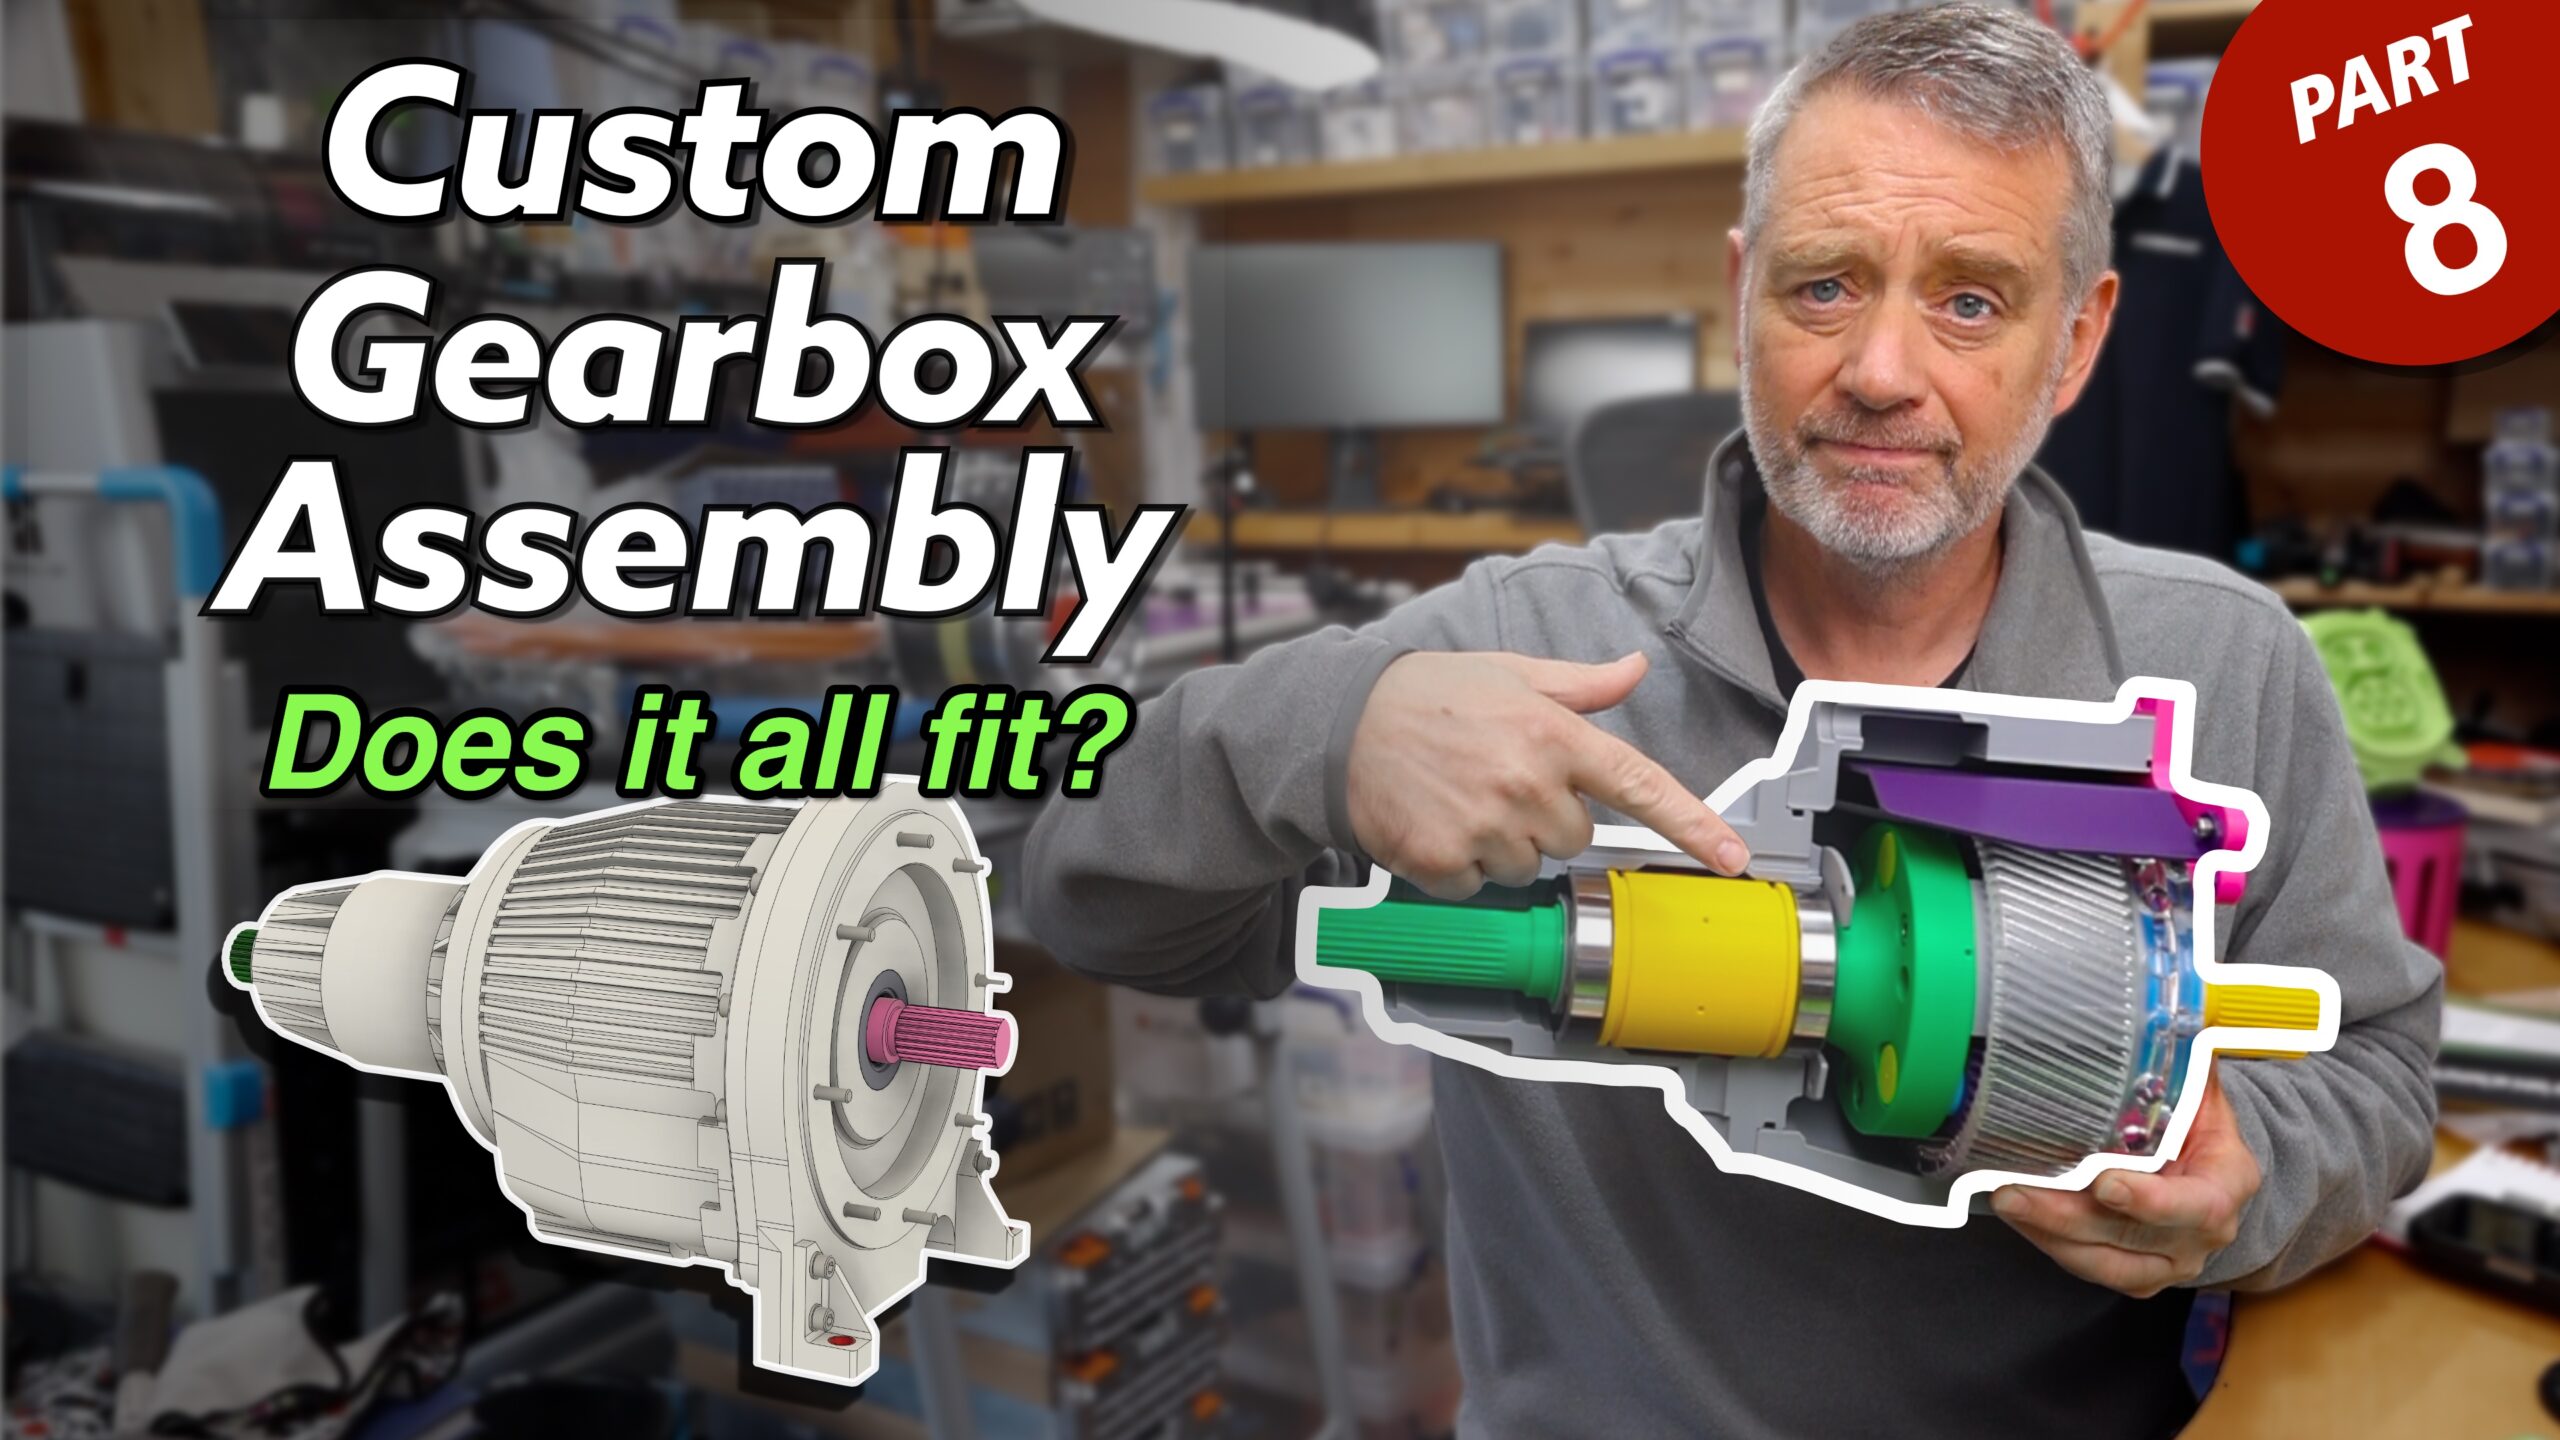
I wonder how long it’s going to take until someone points out the deliberate error on the video thumbnail. I only noticed after taking the picture (and way before uploading the video, in case you think I didn’t) but in the end it was the only way to make the thumbnail work… IMHO 🤣
So what’s the video about?
As you all know, I’d come to the conclusion that I needed a gearbox in my EV project and I couldn’t find one to fit in the car. That meant I had to commission a bespoke gearbox. And by gearbox I mean a single speed gear reduction box. For all sorts of reasons a planetary box made most sense and so that’s what I commissioned and got designed.
At the end of the previous YouTube video I’d got the design completed and we were about the press the button on making a one-off sample/prototype.
But that’s a lot of money. So while the gearbox guys (Compact Orbital Gears) were looking at the manufacturing process, I decided to 3D print the design and make sure it all fitted together in the order they suggested and worked the way we hoped. It also meant I could test fit the splines on both ends, into the motor and the prop-shaft respectively.
So in the video I cover a bit of the theory behind a fixed ring gear planetary gearset (there are lots of other ways you can arrange a planetary system to get different ratios and output directions) and to go over how that basic planetary setup translates into our project.
And of course, because this is a YouTube video and a large percentage of the people watching won’t be up to date with the other videos, you also have to put in a the pre-amble about where we’ve got to and what happened before. Perhaps if the channel ever gets to have a sizeable returning watcher-base I can forego the updates and get to the meat of the video earlier.
So eventually in the video I build up the test 3D print and show that all’s well. It all fits together and I’m satisfied that we won’t be throwing away a ton of aluminium and steel when we’ve fired up the lathes.
There is one are of the build that might need to change and that didn’t get explored in the video, and that’s how the slow-speed assembly gets added to the high-speed side. The opening in the high-speed casing could do with being a couple of mm wider, I think, so the assembly order can be easier. It will work the way it’s designed at the moment, but I think it will be easier if the slow-speed side (bearings, muffs, output shaft, casing, planets, planet carrier straddle, pins etc) are all assembled together and then fed into the high speed assembly (gearbox rear plate, ring gear, sun input shaft) through the high speed casing rear aperture. The way the gearbox is designed at the moment the slow-speed assembly would only have the casing, muffs and bearings and the output shaft, planets, straddle etc would have to be inserted from the motor end after the high-speed casing was attached to the slow-speed casing.
That probably alls sounds double dutch, but maybe there’ll be a video explaining all of that if we decide to change the design to the way I think would be easier.
(In late news, we may also be changing the helical gears over to be straight cut… again. That’s a decision for this week, and there’ll be more about that in a future video if that’s what happens).
Video Production
As usual this was a Final Cut Pro, Motion, Fusion 360 and Blender thing. I also use a lot of Screen Studio these days to do all my screen recording. It’s completely changed the way I explain stuff, and allows me to talk while I’m clicking on a screen to demonstrate something. Previously I’d have set up a Blender animation and then spent days fiddling with timing and voice-overs. Screen Studio allows me to cut all that out and be more natural… and a lot faster to get a video done.
On the Blender side of things… I got diverted again there too. The animation in Fusion 360 just can’t deliver on anything other than a simple setup. So I ended up modelling the simplified planetary gearset in Fusion and then exporting it as a USDZ and then into Blender. It then needed to be set up with “drivers” to animate the various gears based on the rotation of the sun. And because I am easily distracted, this all took a couple of days rather than me just putting up the sloppy output I could have taken from Fusion. But in the end the gears animations are soooo much better for the effort I put in. It’s a good job I half know what I’m doing in Blender now. And the USDZ workflow it pretty good now between the two apps, I just wish hierarchy was preserver and I didn’t have to go through all the parenting of all the sub-components to the different assemblies. If I were sensible then I wouldn’t entertain the following notion, but it wouldn’t be half a bad idea to find some way of automating that process.
What did work well in Blender was using different scenes to do all the various animations. I could set up scene frame ranges per scene to do each bit of the animation (one rotation of the carrier) and then dump out those clips as ProRes with alpha. I had all the components of the simple gears and the production set all configured with parenting and Collections. Then one animation timeline animated all the rotations and transitions between different views. Finally each collection’s visibility was turned on and off per scene so I could get different clips of different things i.e. where are transition rotated the camera angle and changed opacity, I could do all of that with different scenes.
Once I had the single carrier rotation and transition clips into Final Cut Pro I could repeat each clip as many times as I wanted to set the clips timing to my voice-overs. I could probably do all of this in Blender’s video sequencer, but that’s not where I do my final edit and I don’t need to be dodging between Blender and FCP all the time when I want to adjust the timing by a frame or two. The workflow I came up with worked pretty well and allowed my to do a bunch of camera moves and opacity changes all while allowing the gears to rotate seamlessly (i.e. the gear sets don’t jump between different rotation angles when I change camera angles). I clearly have too much time on my hands! 🤣
As for camera stuff. I do all my a-roll into a Canon R6 that feeds into a Rode Video Caster. There’s a 2TB drive connected to the Video Caster and I record the Canon footage in 1080p… ‘cos it’s much faster to do this than worry about 4K. It also means I can do a lot of the audio processing as I’m recording rather than spending ages applying noise-gates and equalisation in post. I can have that all set up in the Video Caster once and I can record the main a-roll once and any pickups so much faster that before I had all that set up.
Other camera used were Osmo-Pocket 3 that I had set up just in front of my chest for the workbench shots. I also had a GoPro as second camera for the workbench, set to shoot top down.
In the end the footage I got from the Osmo was good, but the camera angle wasn’t great. And the GoPro output was really noisy – even though I had a ton of lighting in the office. I also found the difference between the chest area Osmo and the GoPro camera angles wasn’t enough. So cutting between the two wasn’t convincing, and just looked confusing. So, I re-recorded a few of the shots with a Canon R5 pointed at the 3/4 angle and that gave a better difference in angles and was more realistic when I was trying to hide gaps in the footage.
There were also panning shots where I used either the R5 or Osmo on a slider, mounted on a tripod, it’s so much easier to get a steady tracking shot on a slider than it is to hand hold anything – even when you shoot at high frame-rates and slow the footage down later.
I also had to do a lot of post colour correction to get the different cameras to represent, for instance, the purple of the workbench top. It’s not perfect in the final video, but it’s a lot better than the different purple’s I got between the GoPro, Osmo and R5.
What else… audio was mainly through the Video Caster, but I also used DJI Mic 3’s at the workbench.
That’s probably way too much detail. 🙂

Leave a Comment