This is the first of two explainer videos I’ve created to help YouTube viewers understand the concepts, terminology and physics of what’s going on in my Caterham Seven EV conversion.
I’ve made the videos so I don’t need to keep explaining each concept every time I mention it in a subsequent video and I’ll be referring you back to these videos as I progress with my conversion.
In this first of the two explainer videos I cover the basics of the two forms of electricity, Alternating Current (AC) and Direct Current (DC), used in modern EVs. I also cover how multiple AC phases (3-phase) is used in practice.
The second video will go into more detail about the different components I’ll be using in my EV conversion.
TLDR;
Ok, so the “Too Long Don’t Read” of this video is that it, and its follow along sibling, have taken me 8 months to produce. The 9 minutes of this video and the 19 minutes of the second have taken FOREVER to get done, and don’t really reflect the time that’s gone into them. I’ve created countless animations and scripts, and then editing it all together has taken an age too.
Most of the 2D animations (block diagram, battery cell animations, battery animation, AC and DC simple circuits) were done in Apple Motion (the video is done in Final Cut Pro).
The 3D animations are all done in Blender (motor internals, car, car and charger, car being charged, fast charger scene, torch and house being lit etc ).
The biggest of those tasks has been the Motor Internals animation in Blender. I’ll cover that in the post about the second video (here when it’s published).
For this Electric video, the major element was the creation of the oscilloscope Apple Motion generator.
Battery Generator
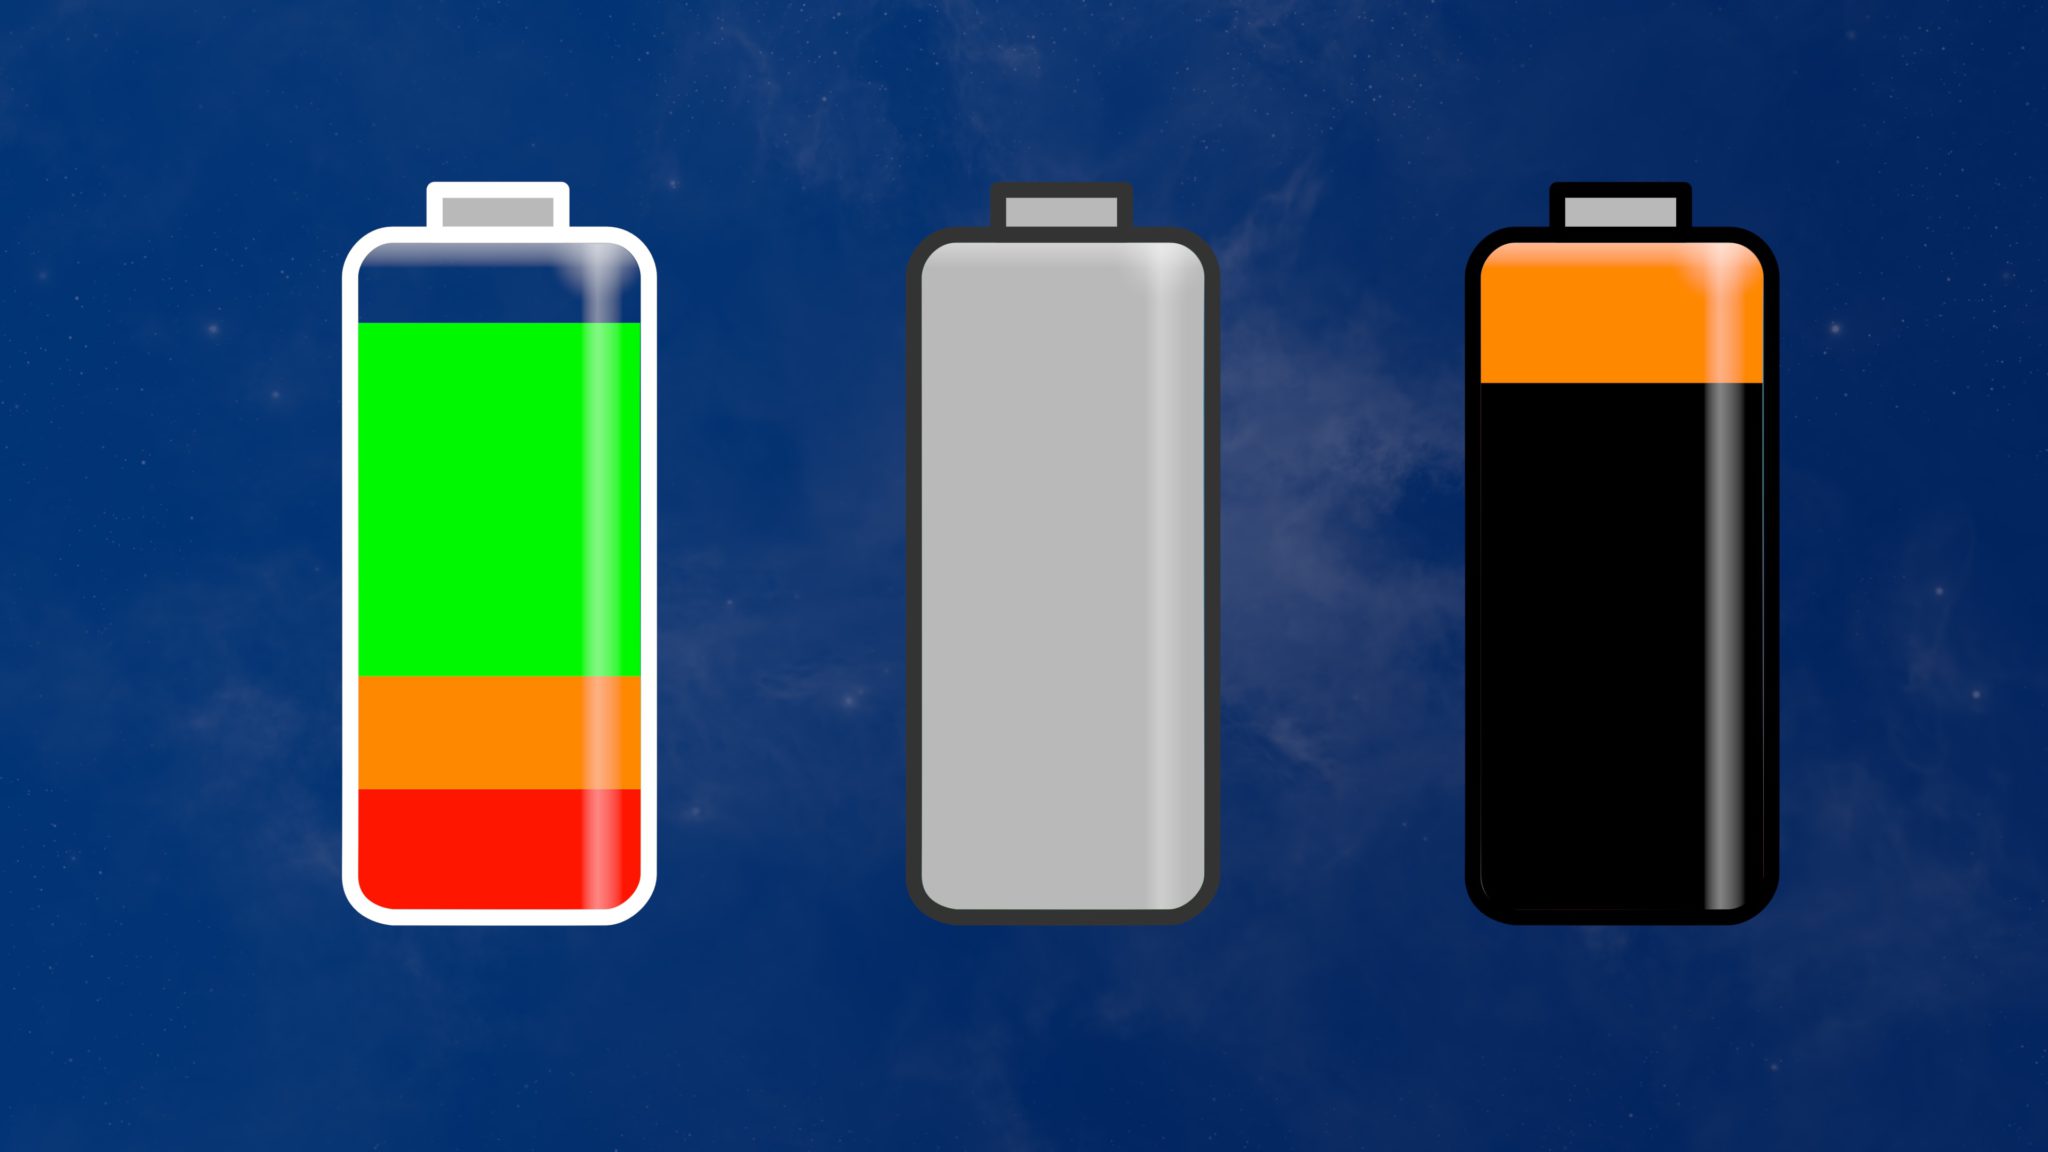
Ok, so lets start off with the first generator I created for this Putting the EV In Seven mammoth YouTube project. I knew I was going to need a bunch of animated video elements to explain stuff as I go about the EV conversion, and so I thought a battery generator would bound to be needed at some point.
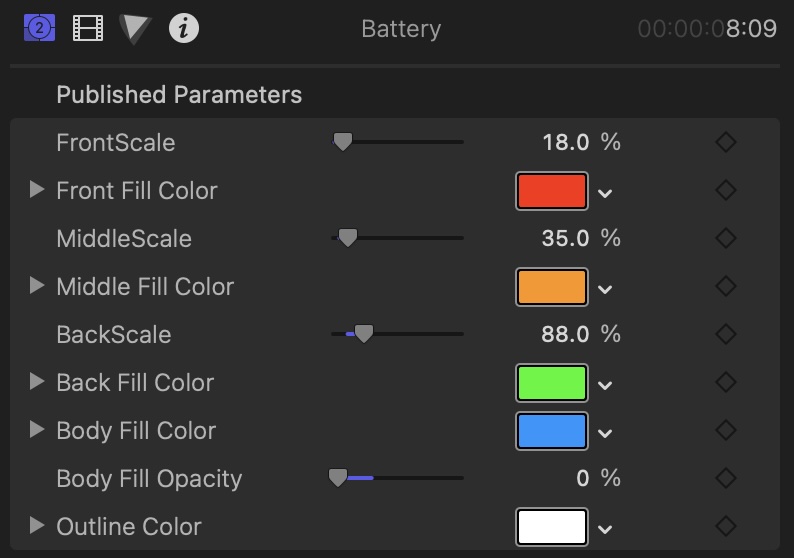
You can see a few example configurations in the image above, and the parameters in the image below. By animating each of the scale parameters I can make the batteries look as though they’re filling or emptying.
Oscilloscope Generator
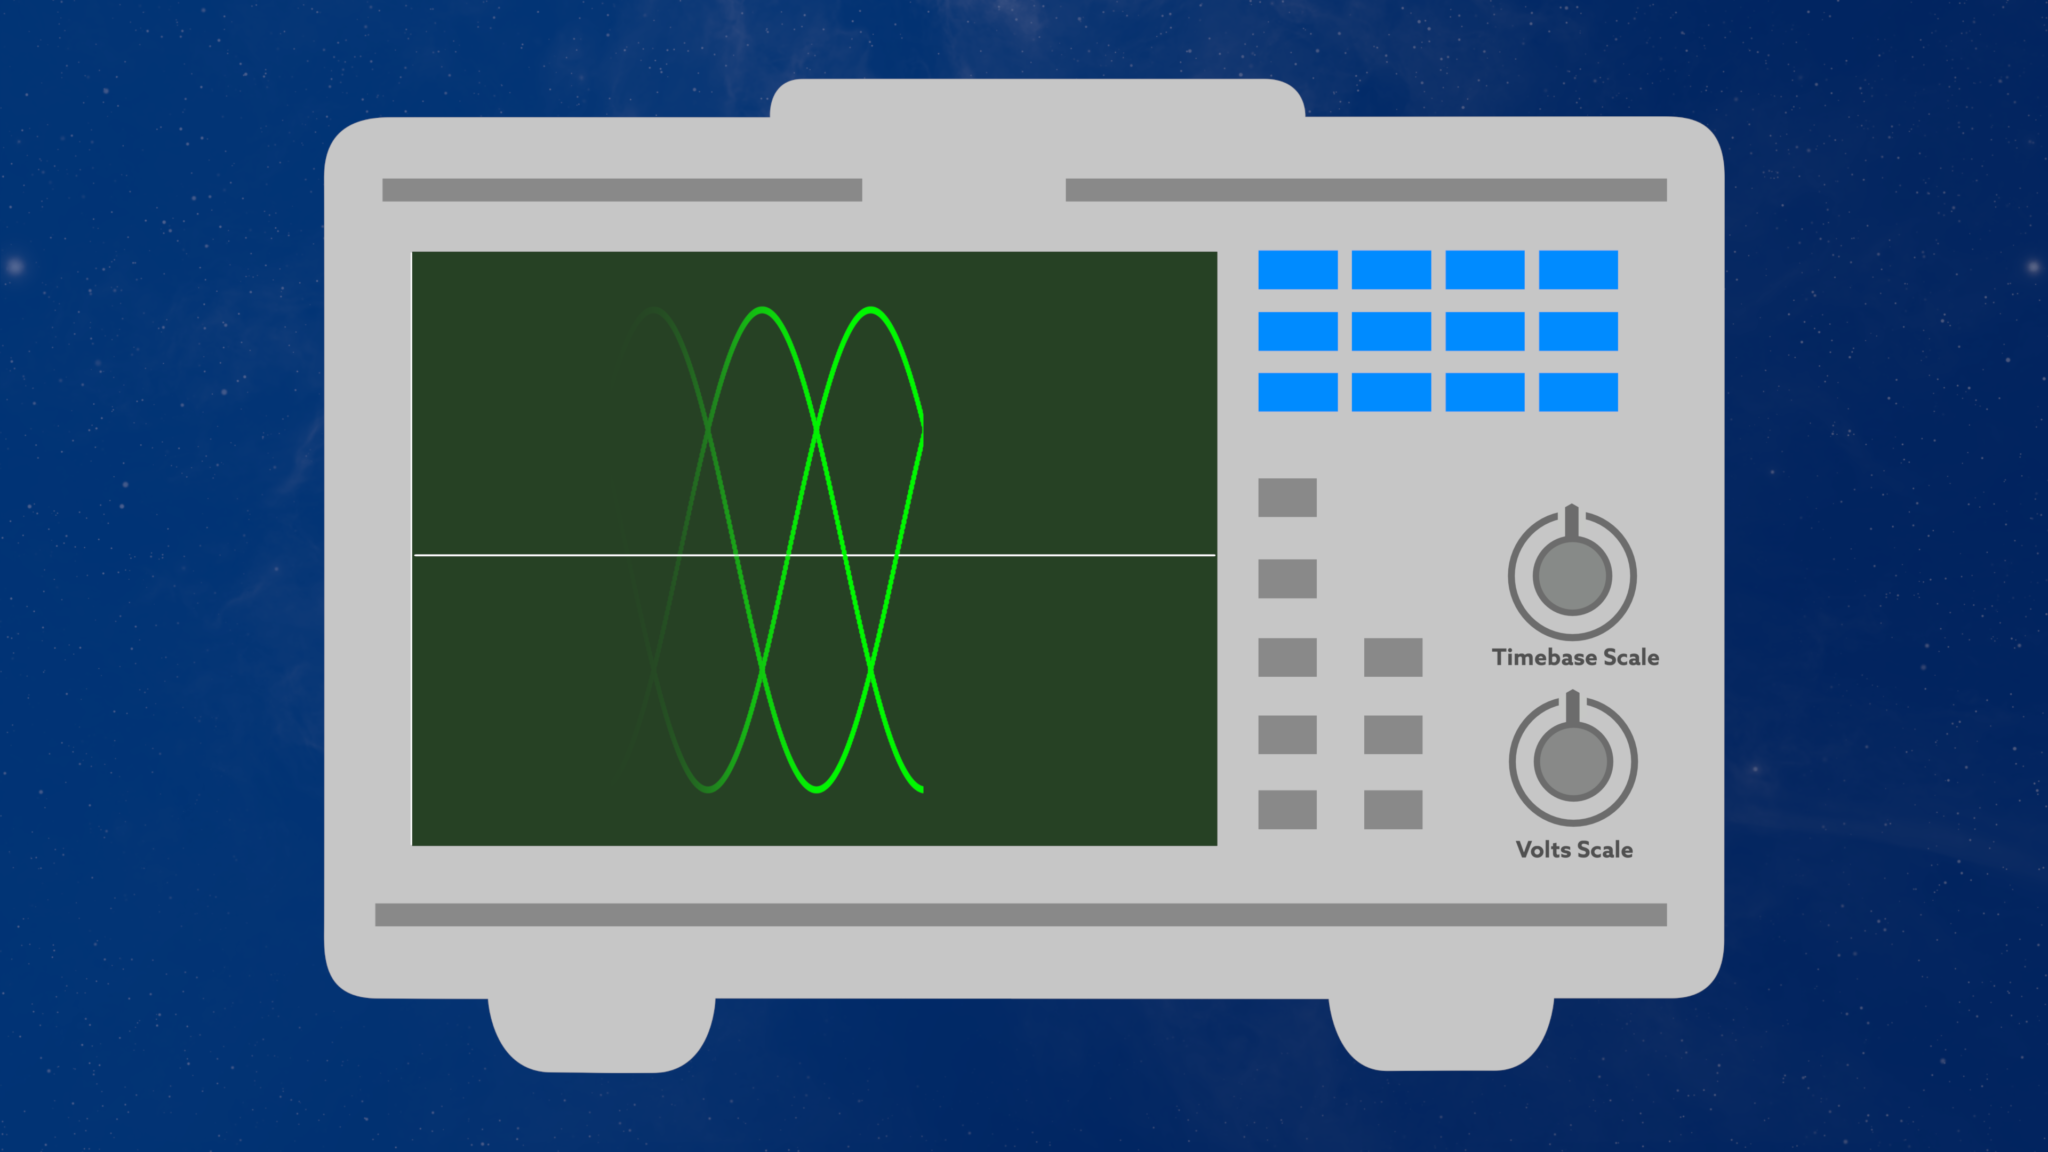
This generator allows me to animate both DC and AC waveforms, along with some of the controls (time base). By creating the animation in Motion and then publishing the opacity of each animation element, I can mix and match a whole bunch of different animation combinations.
To me, using the Oscilloscope makes perfect sense for trying to explain how direct current and alternating current happen over time.
Apple Motion AC and DC Circuit Generator
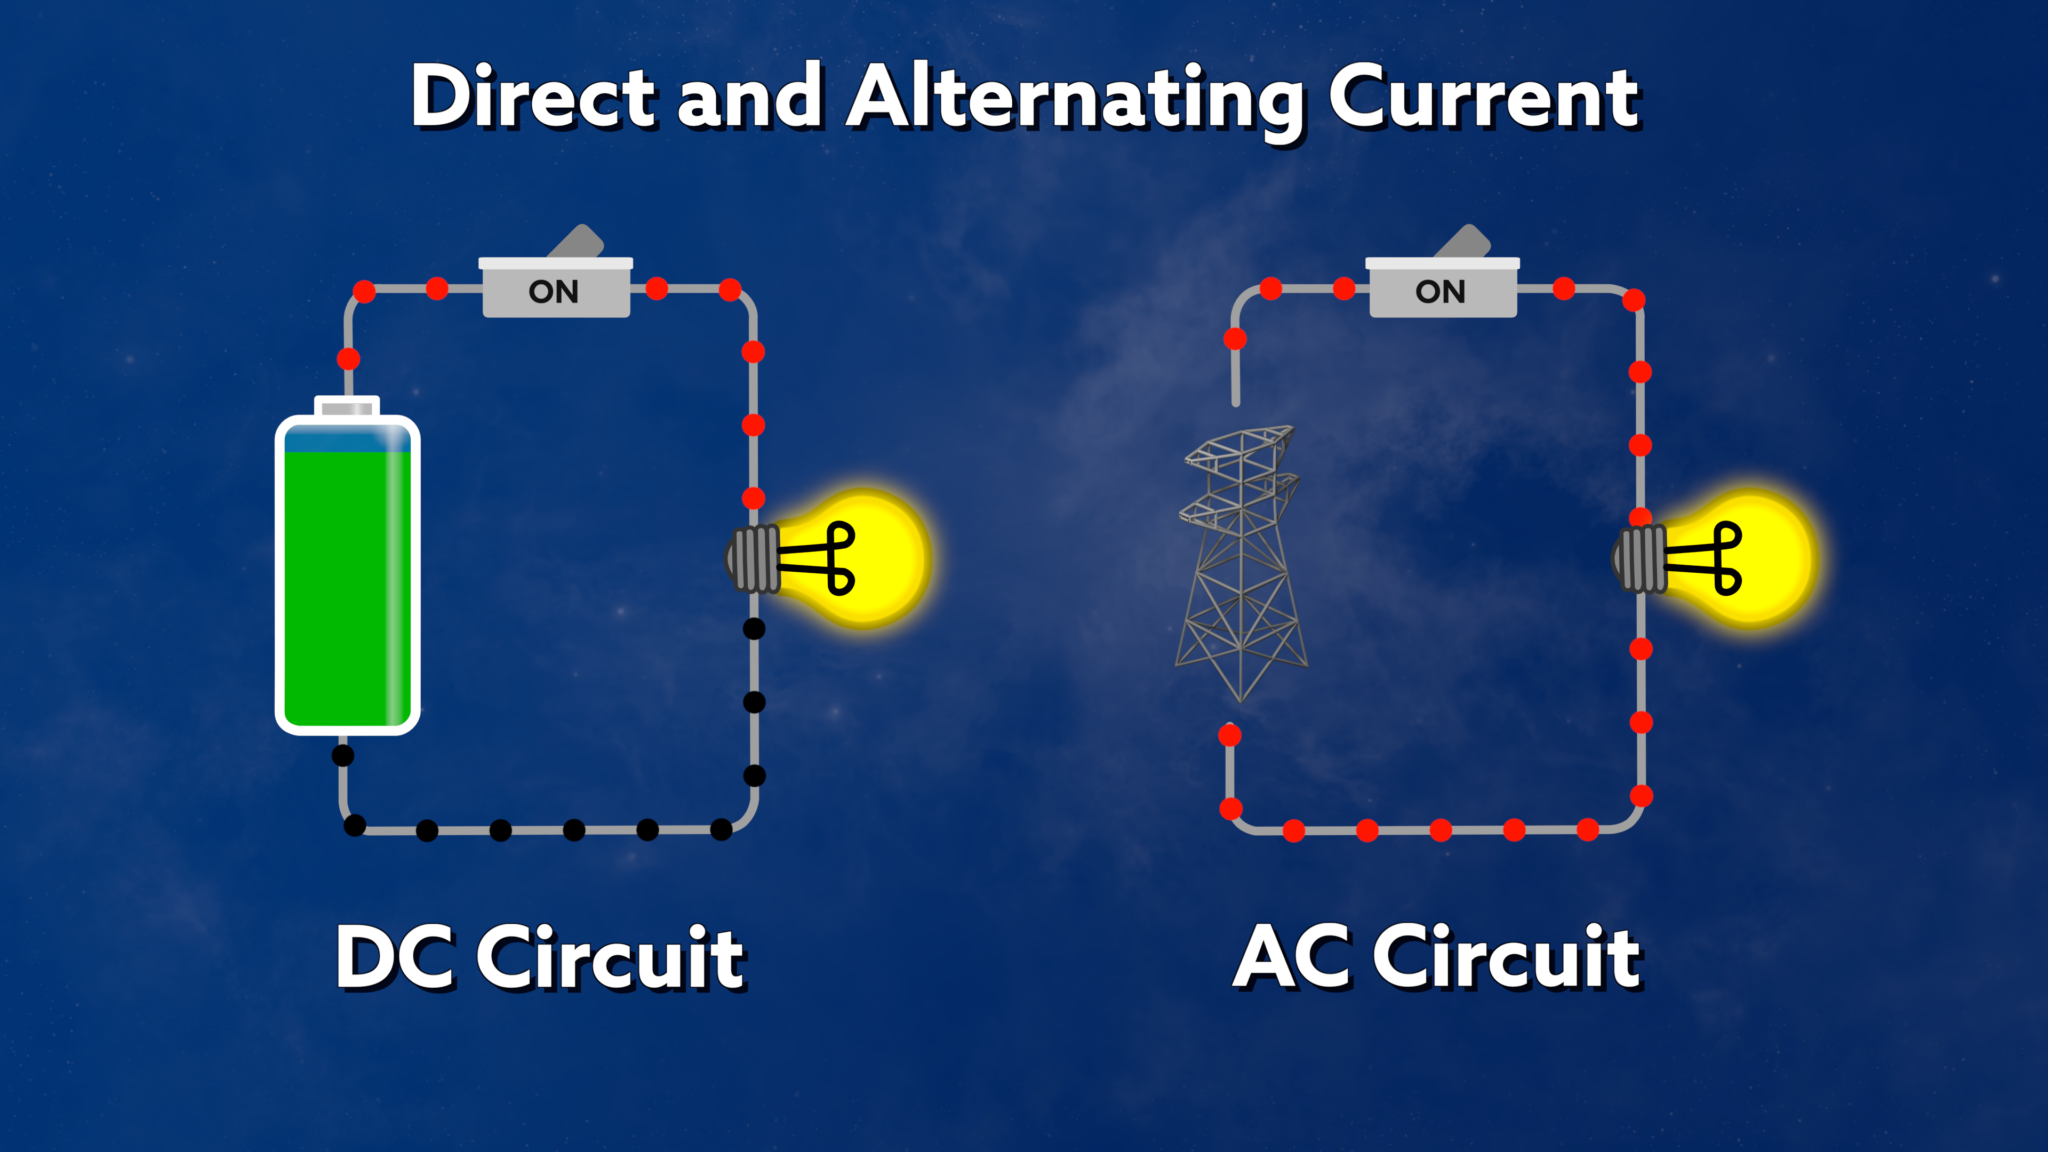
Another Apple Motion creation was a quick animation to demonstrate the differences between current flowing in both AC and DC circuits.
Again, this was a case of builing in previous work. I’d already created a battery animation widget (see above) and also managed to animate blobs along wires for the main EV circuit diagram (see here). So I mashed both of those together along with an animated switch and light bulb to create an animation.
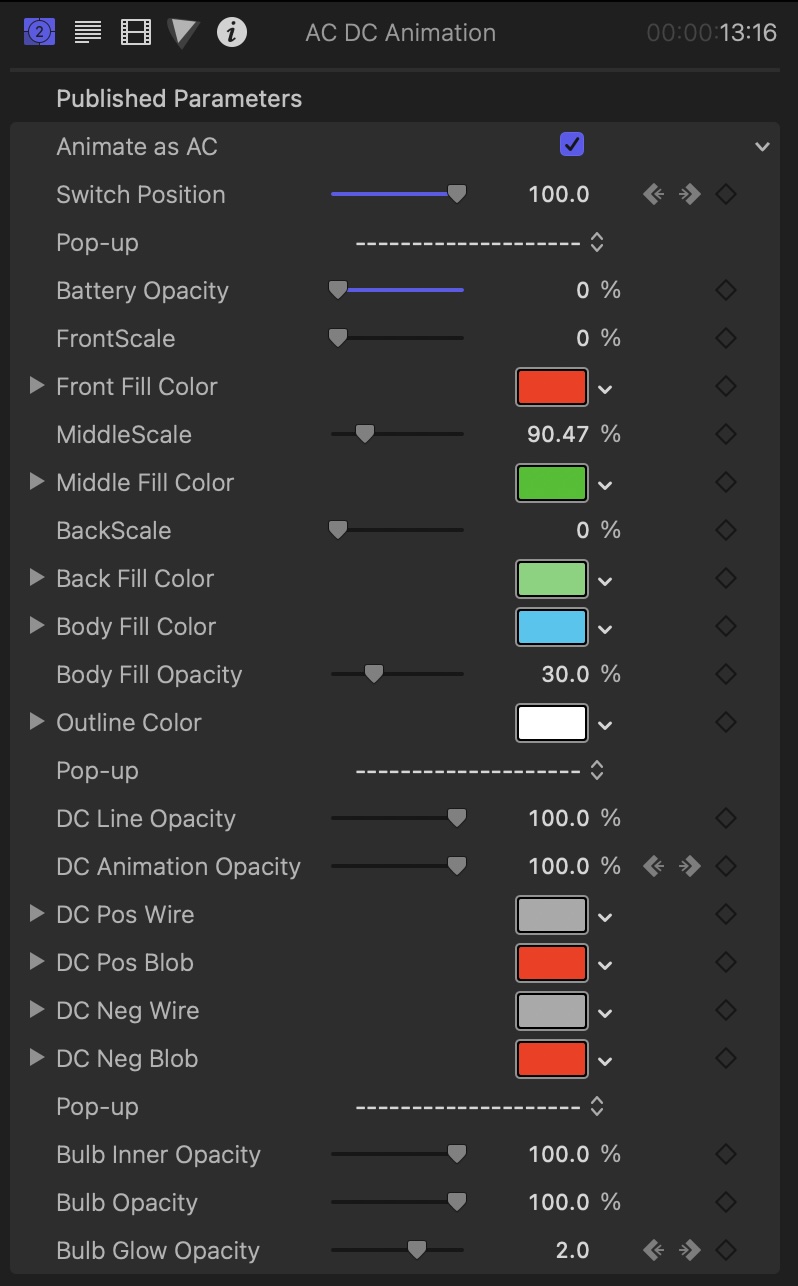
The widget has controls to control various features but also allows two types of current flow to be animated – one way for DC and oscillating for AC.
It’s More Complicated Than That
I’ll cover this in more detail in the second post (here). But I’ve simplified the Motor Internals and the Three Phase AC concepts in these videos.
Motor Internals are a simplification because a real Permanent Magnet Synchronous Motor (PMSM) would have both more stator windings and more permanent magnet poles. I may make a future video that better replicates both aspects, but that would be more to create a WOW! Factor rather than being particularly useful as an explainer.
Again, I’ll cover this in the second post, but I’m really happy with the way the motor internals animations have come out. Here’s a YouTube clip of just the motor internals…
And that’s it for this post. Hopefully, it was helpful.



Leave a Comment