
When I joined the Lotus Seven Club leadership team as Social Video lead, one of the tasks I took on was to create introduction videos for the club’s Track Day program.
Each year the Lotus Seven Club puts on 8 to 10 track days around various circuits in the UK. There’s a mixture of novices and experienced drivers with almost all feedback being extremely positive. These track days give a great place to meet people who share an interest (passion?) in driving Caterhams and Lotus 7’s quickly, and are a great way to experience the speed and exhilaration of driving a Seven without breaking any speed limits.
As part of that ongoing legacy of great track days, each year the Club gets an intake of novices wanting to have a go at track days, along with lots of experienced track day’ers as well. And to make it as trouble free as possible for a novice to get onto a track, we wanted to try and break the ice for the newbies by telling them all about track days and the circuits with a series of videos.
Attending your first track day can be quite intimidating for some and showing people what to expect when they turn up along with details about the track is a real ice breaker. And somehow showing people a video does so much more than words or pictures by themselves.
Rockingham Novice Track Day
As many of you will remember, I did my own Novices Track Day video, which has had nearly 5000 views as I write this in June of 2021. But that was a review of day out that I had. It was meant a bit of a intro to track days but now that Rockingham has closed it was less useful than a new series of up to date instructional videos that this series aims to be.
You can find the Purplemeanie Novices track day video here:
But back to the topic in hand.
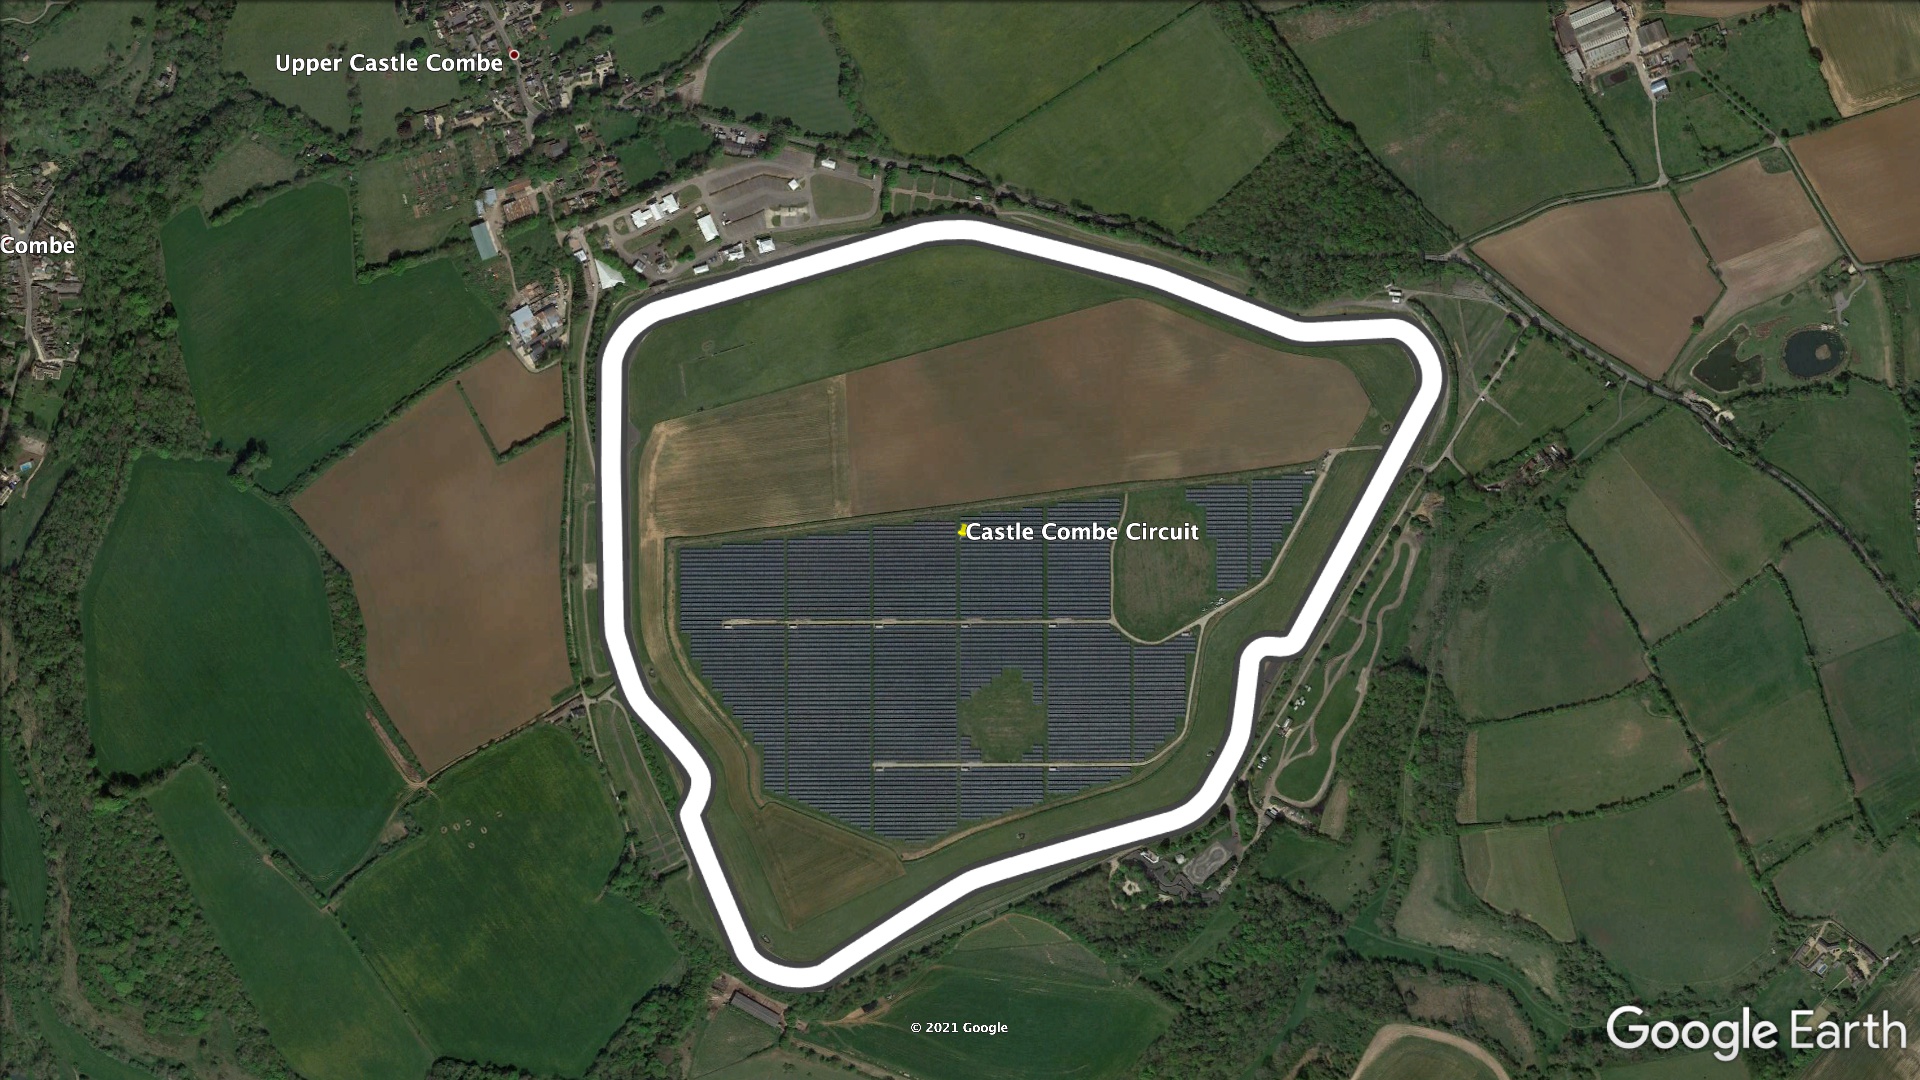
Castle Combe is a special track day for the club because it is set up specifically for novices. Castle Combe isn’t always used as the novices day, but the circuit lends itself to beginners and is very popular.
You can watch the video below to find out about the track days, but in these blog posts I want to give a bit of background to the videos, why we’re doing them and how we create them.
The Castle Combe Video
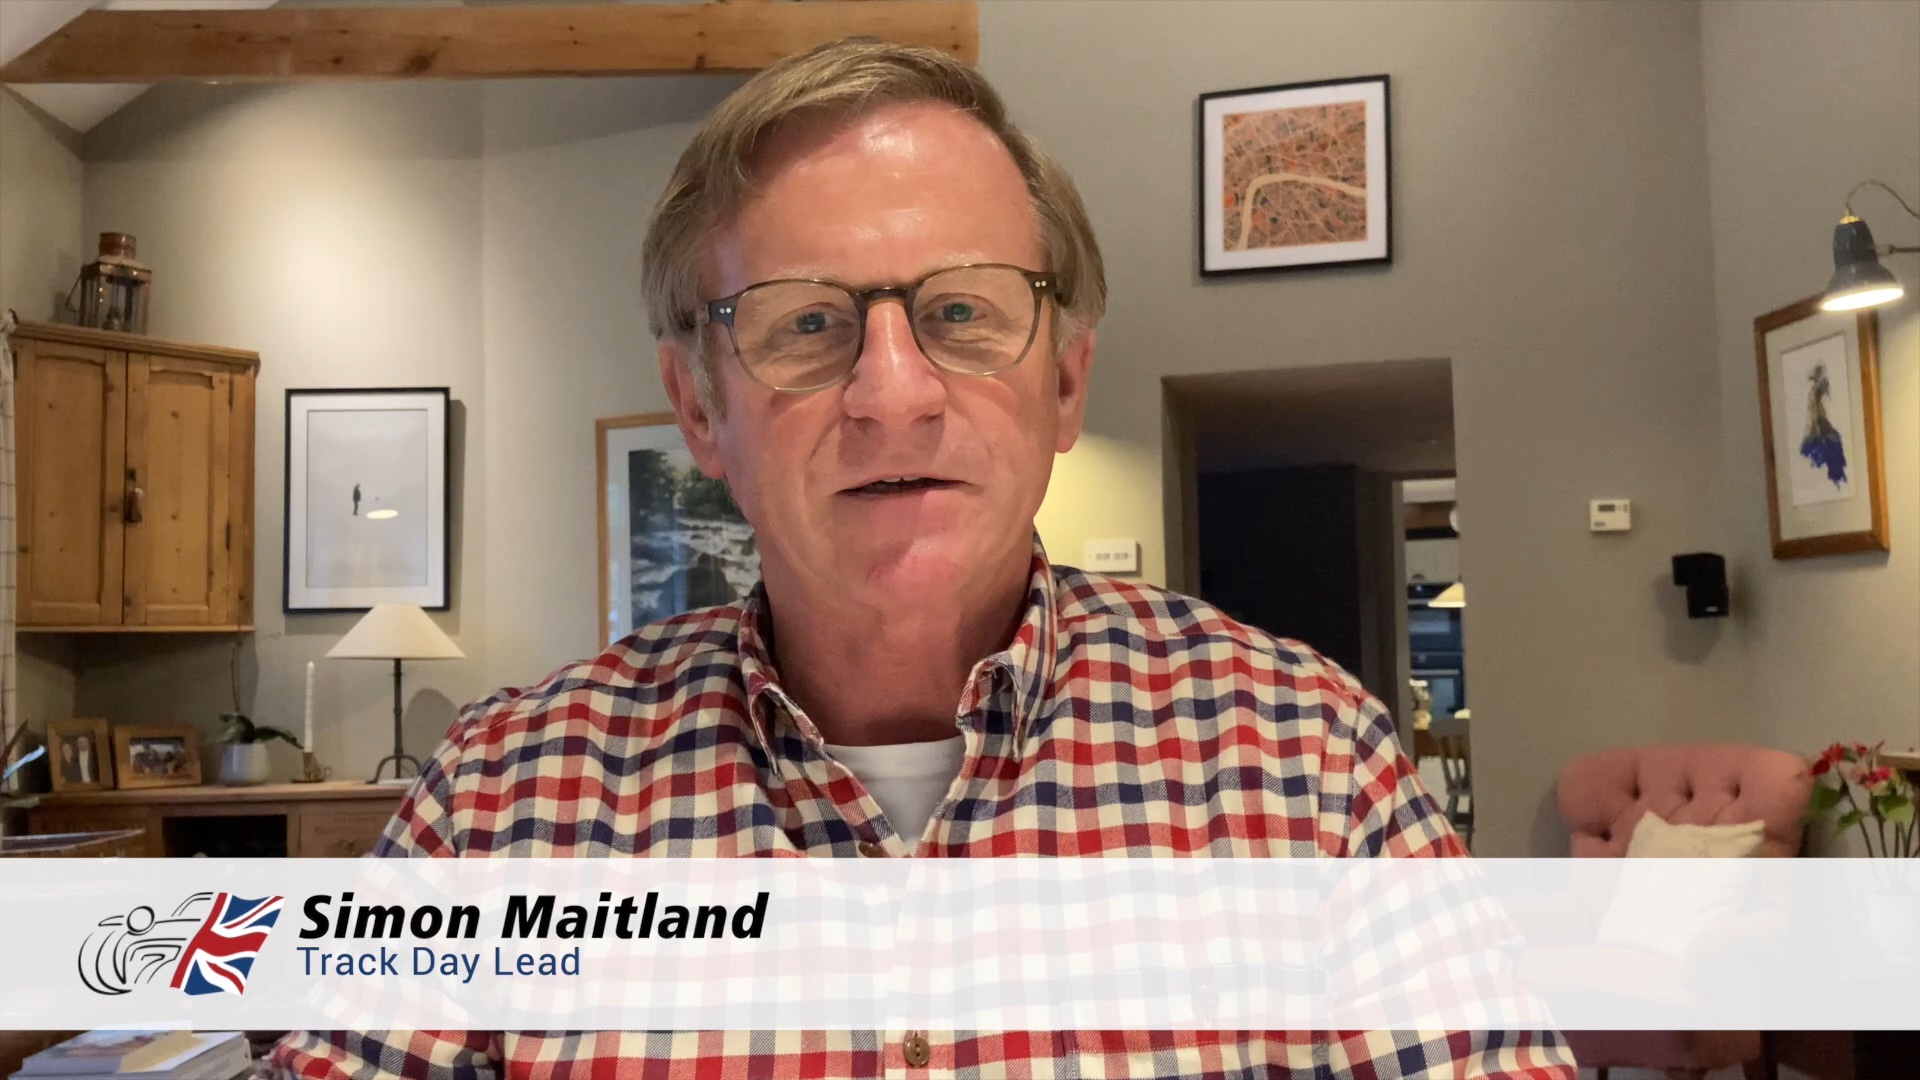
My partner in crime for these videos is Simon Maitland, who’s the Club’s Track Day Lead. Simon has tons of track day experience and has been running the track days for the Club for a couple of years.
The way Simon and I have worked on the first couple of videos, to date, is essentially as follows:
Simon will create a script for what he wants to say about the track. He then records his speech, either to camera or voice only, and then I start creating a video once I’ve got a first draft of his talk. We then iterate a few times until we have a finished video and then I upload it to YouTube. Somewhere in there we let a few other people watch some of the later drafts and hopefully they pick up on any mistakes, more on those later.
For this first track day video, we had a few iterations of Simon’s speech. Simon had never done anything like this before (though he’d done a lot of corporate speaking) and we needed to dial in his audio and video recording to get something we considered to be acceptable.
From there the format of the video is pretty straight forwards:
- Introductions
- What are Club Track Days
- Information about Castle Combe
- A couple of laps of the circuit with some info
- Wrap up at the end
As I’ve done more videos for the club, I’ve also built up a library of stock video, stills, intros, transitions, lower 3rds, graphics and animations. That all allows me to make the next video faster than the previous one… and often with more polish and whizzy graphical and animation footage.
One of the core aspects of these videos is that we tried to make the video as interesting as possible. Just running through a bunch of bullet points isn’t going to create a particularly great video. We also see these videos as a bit of a marketing exercise: if people see how much fun they are, then they might want to join the club or even buy a car. You’ll have to be the judge of how well we’ve succeeded here though.
The Mistakes
I mentioned mistakes above. Well we made a couple, just a couple. And one of the problems with YouTube is that once you’ve released your video you can’t really make any changes. There are some simple audio changes you can make, but in terms of the basic content, you’re stuck with what you upload.
You could of course remove the video from YouTube, fix any changes and then upload a modified version.
But… one of the goals of these videos is to create a presence for the club on the various social media platforms. And if you delete a video from YouTube, you lose the view count, which is critical for building an audience. Some people would of course watch the new uploaded video and re-create some of the views that were lost. But many wouldn’t bother to watch again and some might even feel cheated that they watched one video and they got sucked into watching it again for no particular reason.
So, the accepted wisdom is that you leave a video up on YouTube unless there are some real howlers in it.
Well, what went wrong in this video? Two things really.
Firstly, I misspelt scrutineering. At 3:43 into the video I put up a banner showing “scruteneers garage”. That should have been “scrutineers garage”. And probably more strictly should have been “scrutineering”. Ok, a bit of egg on face, but not a howler.
Secondly, and one that nobody picked up on that watched the video. I got the circuit maps of Cadwell Park and Croft reversed. Again, not a biggy, and not in the howler category that needed the video to be replaced.
Personally, I don’t think that’s too bad for our first go at a track day video.
The Detail
For those interested in what went into this video, here’s some interminably tedious detail…
- Simon captured the circuit footage on a Garmin Virb in 1080p. The video had to be run through an image stabiliser plugin to get it to be somewhere close to steady (its not really close to stable, but its the best footage we could do with what we had). Simon admits that the camera mount he used was a rather shaky installation and so the video needed a lot of stabilising to try and remove the shake. The footage he took later in the season at Cadwell Park is much more stable, he says because he used a better camera mount.
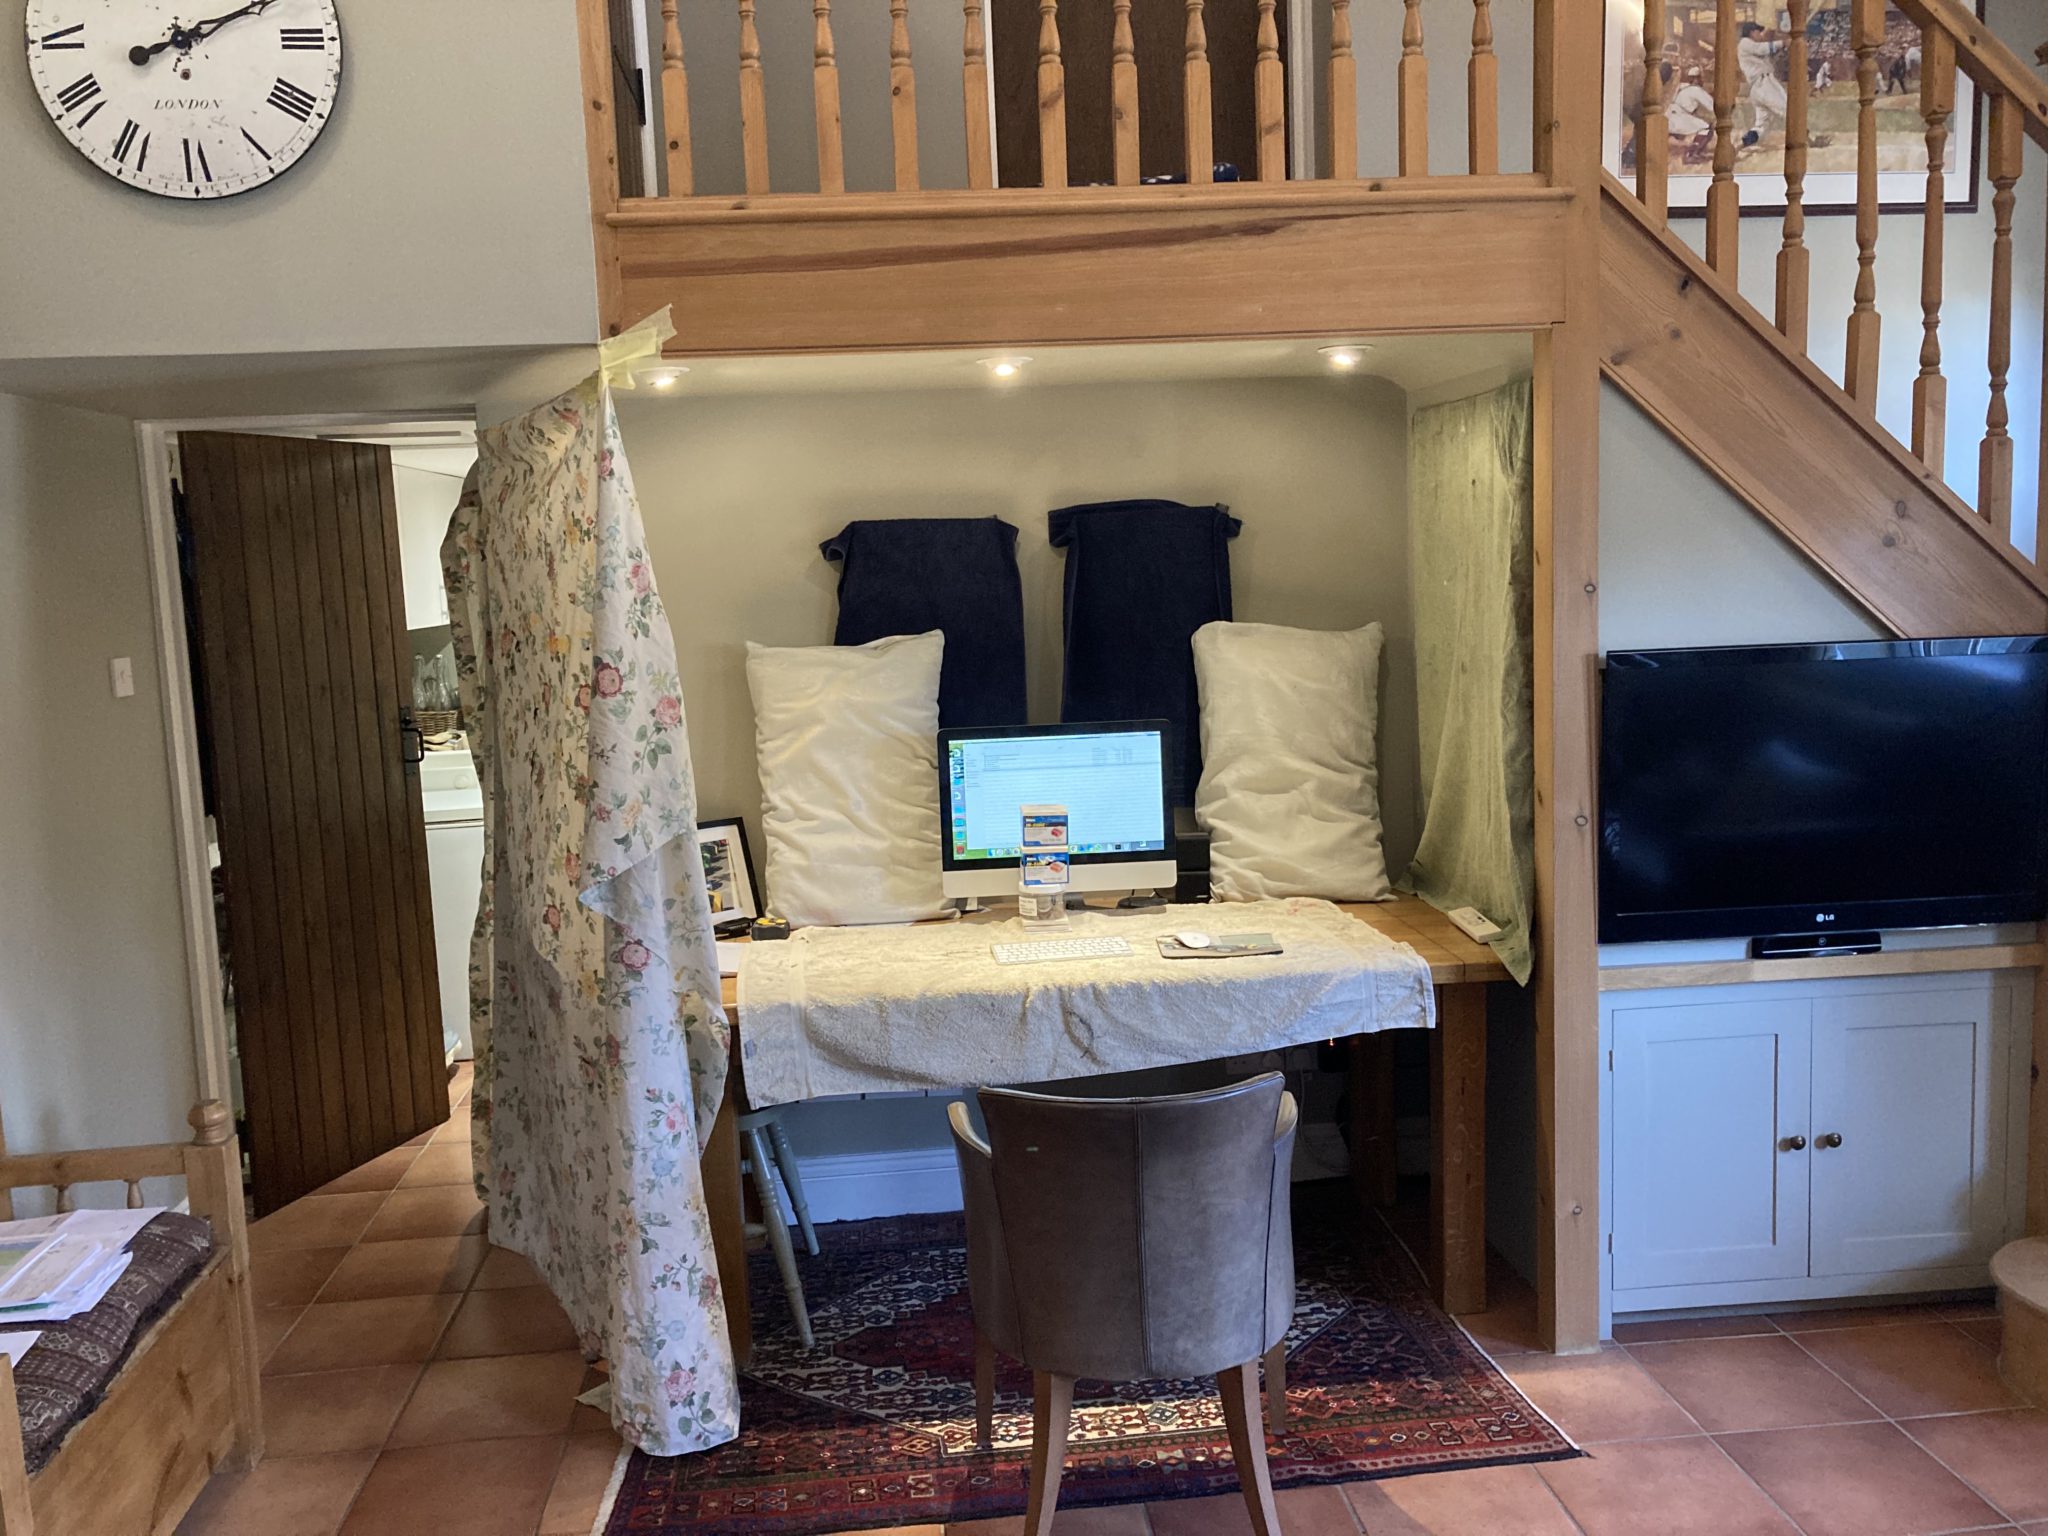
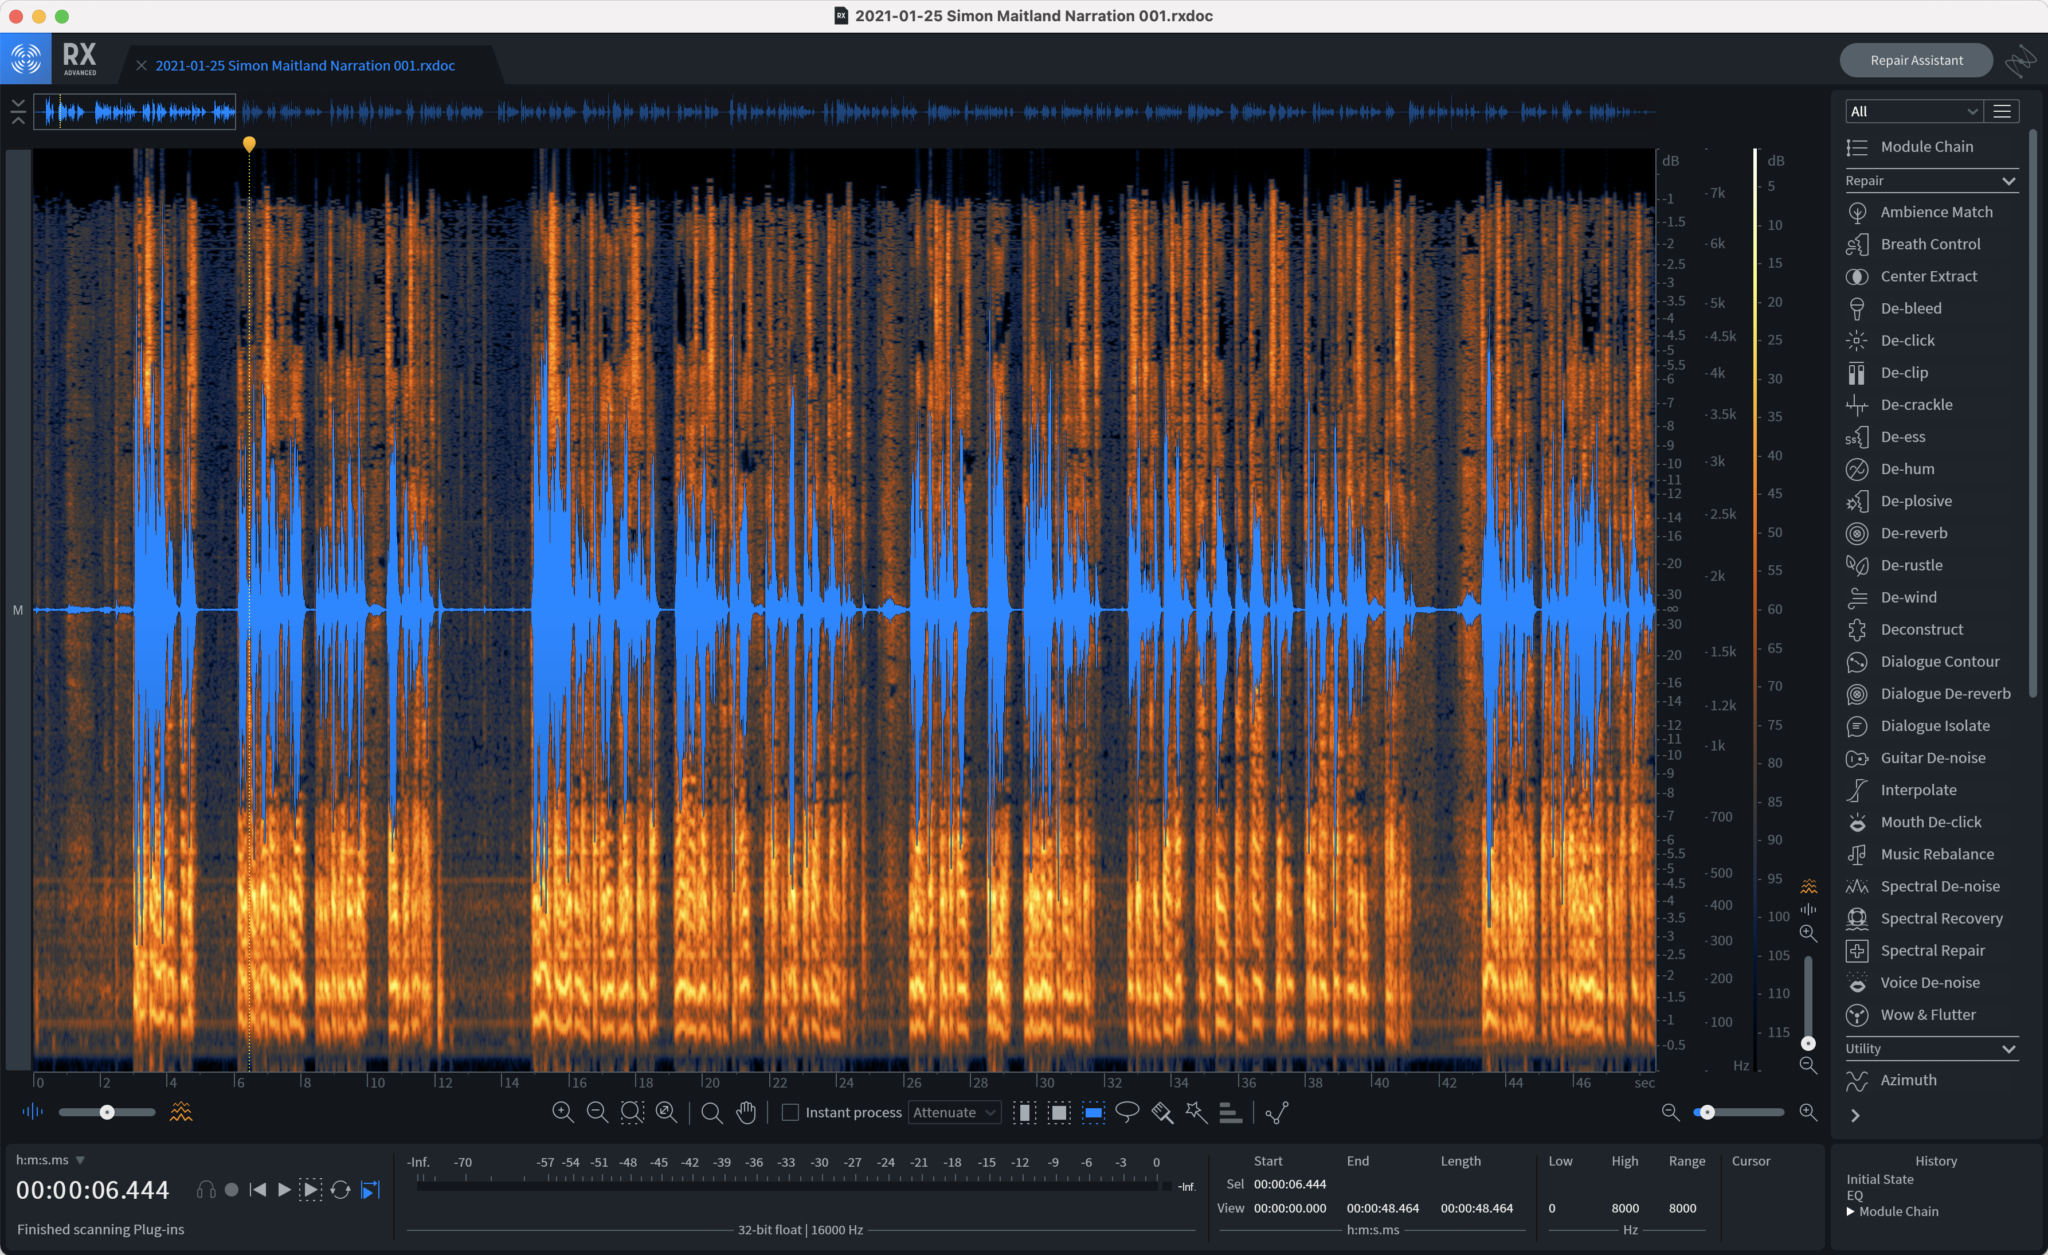
- Simon’s piece to camera was recorded on an iPhone 6. We had a few goes at this and in the end the best camera and mic he had was on his phone. We did the recording during the full lock down of early 2021 and so we couldn’t meet up to swap recording equipment, we had to use whatever Simon had to hand. Simon added lots of sound treatment to his recording space, and it helped, but in the end the room was very echo-ey and so the captured audio had to be heavily de-reverbed in iZotope. As I talk about it other posts, getting the microphone as close to you as possible is the way to combat this, and that just wasn’t possible in this recording.
- We used DropBox for Simon to share the video files with me. I would send Simon an upload link and he dropped his files in there when he wanted me to take a look.
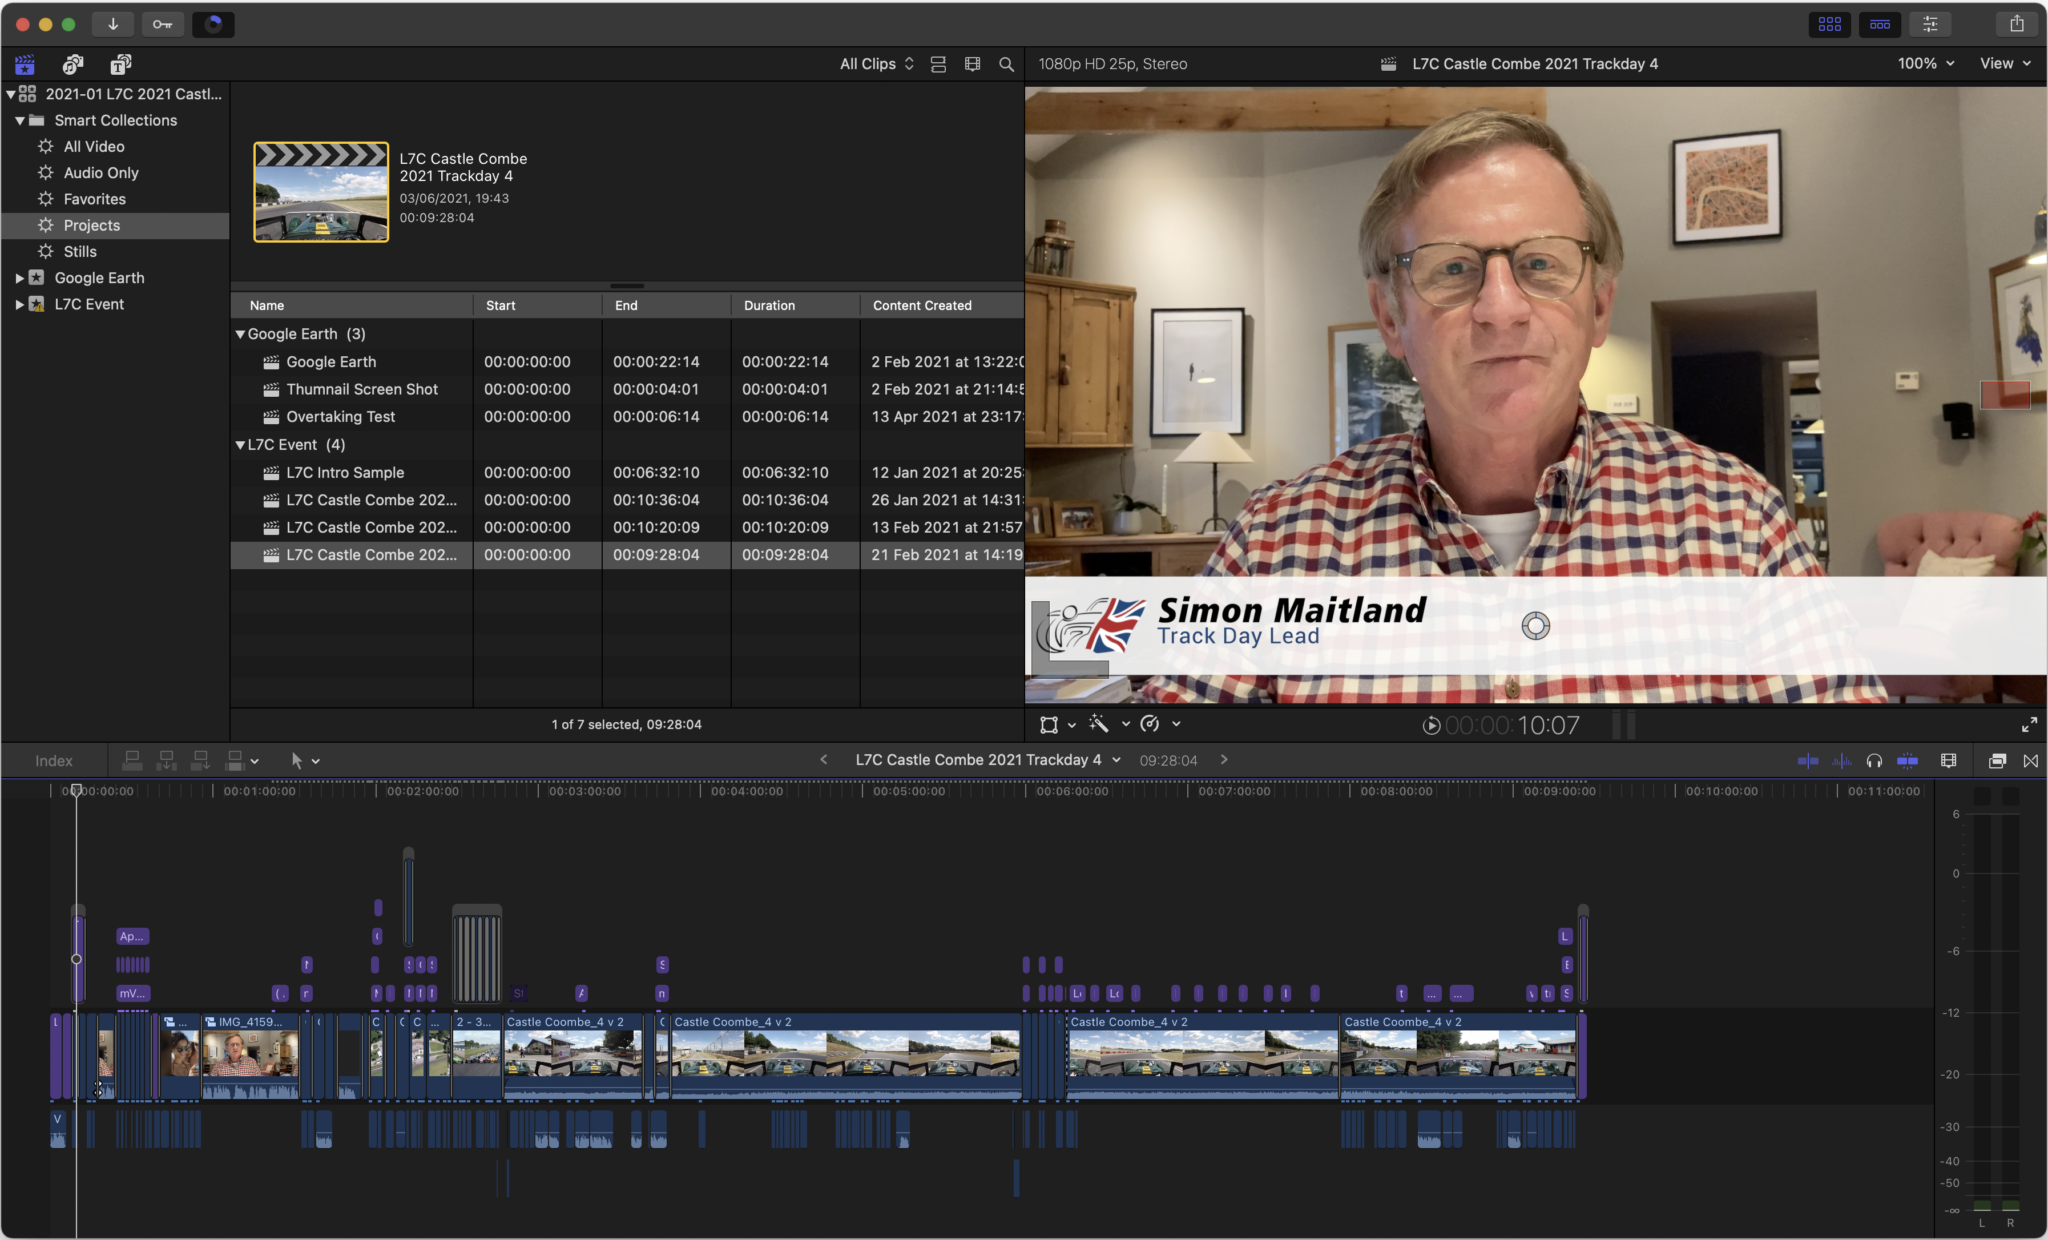
- I use a Mac and also Apple’s Final Cut Pro X as the main Non-Linear video Editing (NLE) software
- Simon’s audio was imported into iZotope RX8 and filtered for reverb, and plosives (“p” and “b” sounds that can be overly accentuated in recordings), then normalised to -20dB LUFS. Some spectral editing was also used to remove a high pitched whine that got into Simon’s audio some how
- Apple’s Motion software was used to create the Lotus Seven Club intro and lower 3rds. Motion is a rather complicated, but very powerful, special effects tool
- Motion VFX plugins for Final Cut Pro were used, and included:
- Intro Animation: mIntro 12
- Circuit Info: Basic List
- Paddock and Cones Animations: Magnifyer
- Background blur for static images: mVertical
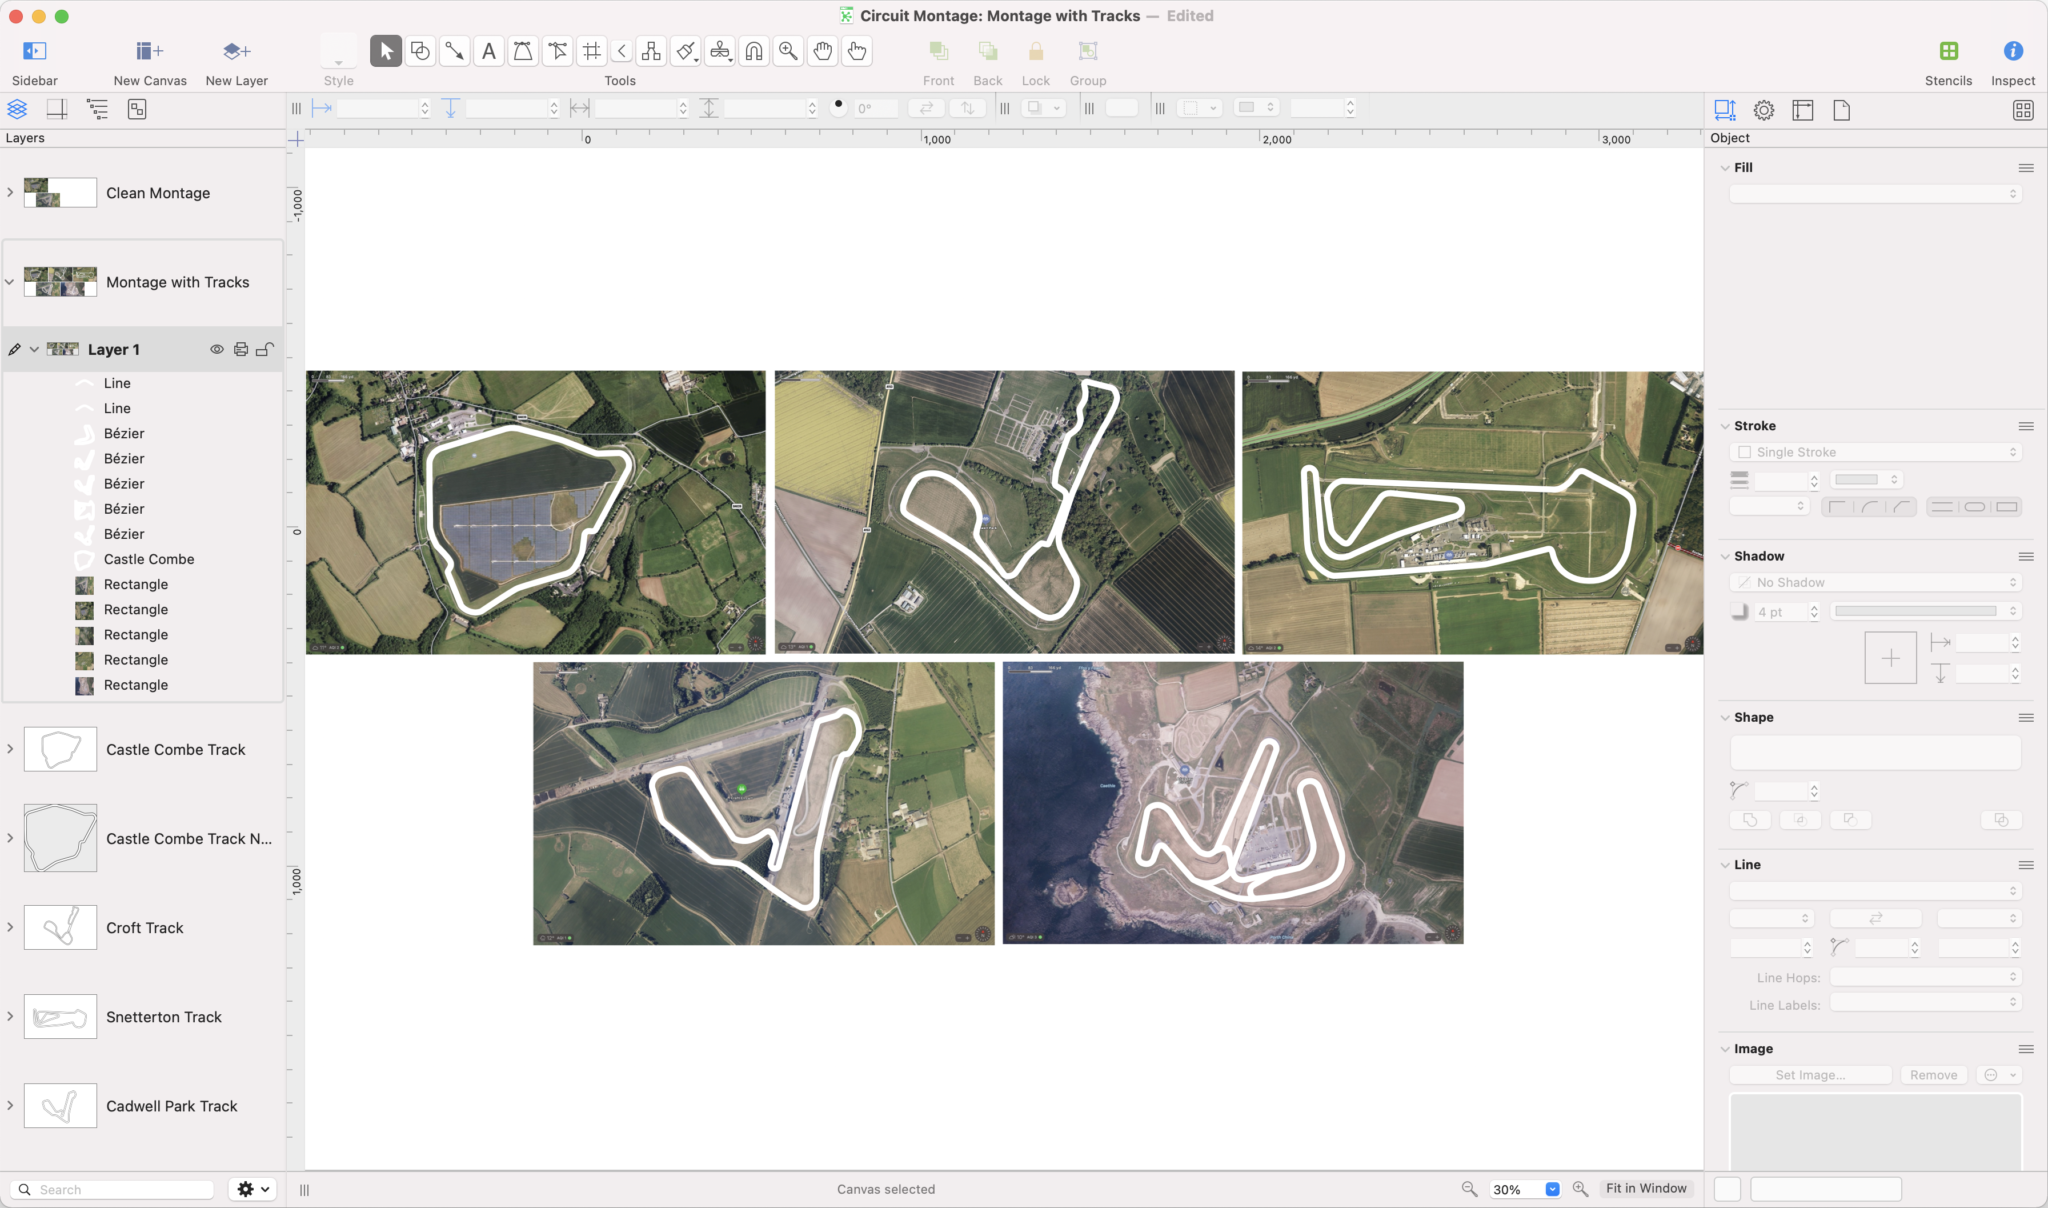
- Omnigraffle was used to create the circuit maps with highlighted outlines. Omnigraffle is a vector based graphics generation tool. Unlike Pixelmator (which is more about photo editing), Omnigraffle is a powerful way of putting together very professional graphics presentations and artwork. Its a couple of steps on from using Microsoft Powerpoint to generate artwork.
- About 50 hours of video editing time was required to create the video. That includes all the animations, graphics, thumbnails, subtitles etc. I hope I can cut that time down quite a bit for future videos.
- Lots of compound clips were used to work on sections that then got incorporated into the top level Final Cut Pro project
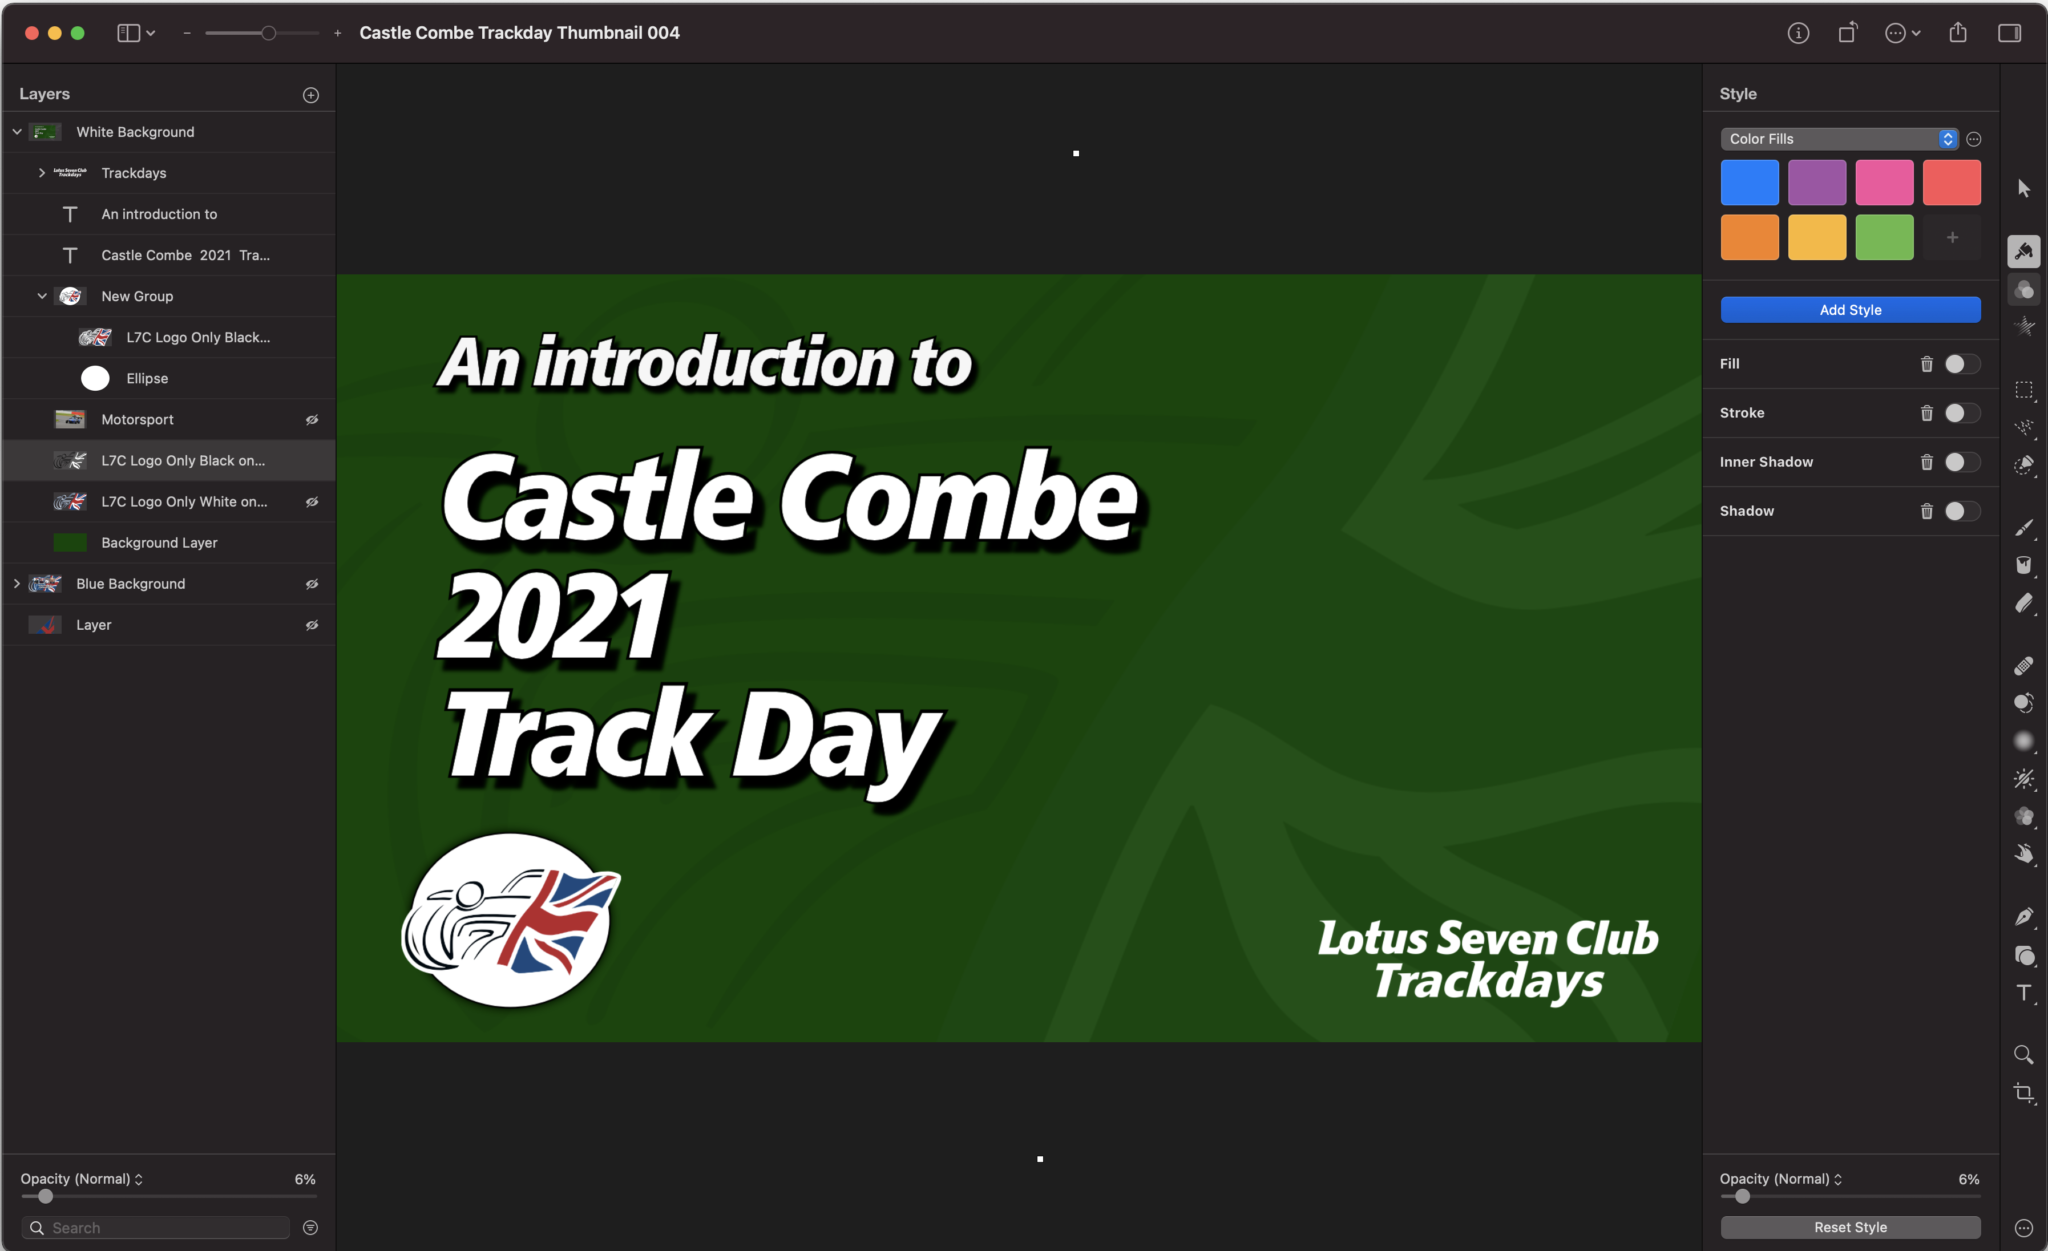
- Thumbnails were created in Pixelmator Pro and (as I usually do) I went through more than a dozen different ideas before landing on this one
- The clip where we zoom into the circuit from an initial view of the whole UK was done in Google Earth Pro – more on that below
Now let’s talk about some of the more interesting sections of the video.
Zoom from UK Map to Circuit Map
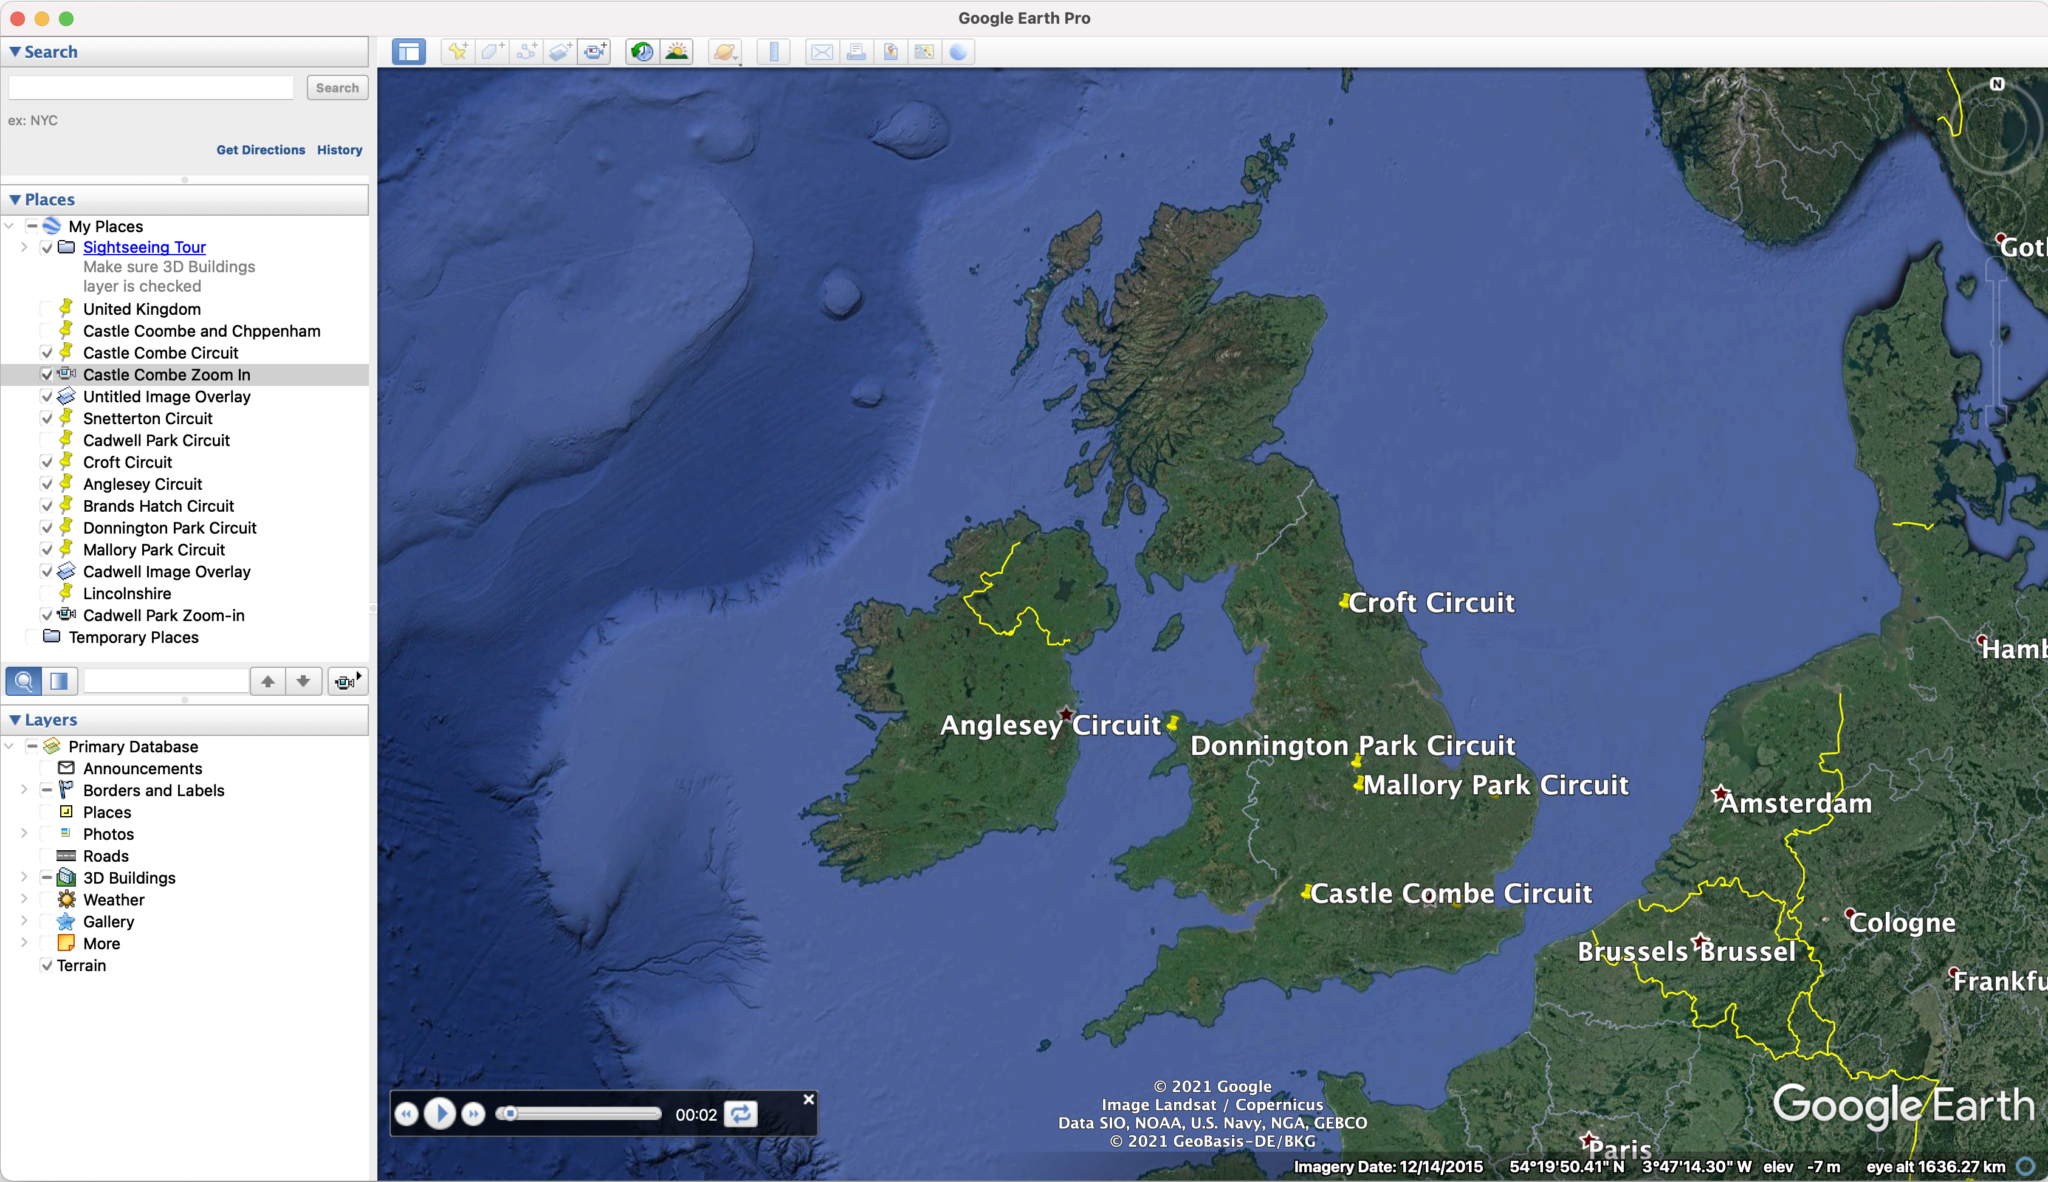
One of the shots that I get the most questions about is the shot where the “camera” zooms from a map of the whole UK in to a map of the circuit. This shot is created in Google Earth Pro with a graphic of the circuit dropped into the correct geographical position in the Google Earth map. An animation is then created of this “flight” and exported.
Here’s the video snippet of that zoom in.
The shot is made with an animation of a “flight” from the zoomed out view of the UK down to a mid-level view, where we pause for a second, and then zoom again to a close up view of the circuit.
The white circuit graphic that’s superimposed on the map was created as a vector image in OmniGraffle. Each zoom position was saved as a bookmark in Google Earth and then each bookmark was selected in turn while recording, creating an animation. The whole animation is then exported as a sequence of JPGs.
At this point I really struggled to get Google Earth Pro to create a real movie file like an mp4 or mov. However, I finally figured out that I could export the animation sequence as 900 JPG images which I then re-constituted back into a movie in Apple Motion. That Motion project was then exported as a movie and imported into Final Cut Pro for use in the final project.
Zoom from Circuit Map to Paddock
Then after the UK to circuit zoom, I also did a zoom the map of the whole circuit (the finishing point of the last animation) to a closeup of the paddock, like this…
That sequence was a pain to get right. I needed to go from a wide shot of the whole circuit, down to just the paddock. That involved a zoom ratio of 4:1.
If you take a photo of something and zoom by a factor of 4, you will often just end up with pixelated mush at the final zoom scale. That all depends on the initial resolution of the image you start with, but I was essentially starting from a screen shot of an Apple Maps view of the circuit. That didn’t have nearly enough resolution to zoom by a factor of 4 and get a reasonable result at the final zoom level.
So, this shot was done by oversampling the map image of the circuit by a factor of 4. Effectively making it 4 times larger (in terms of megapixels – if that’s a good way for you to think of it). I then stitched in a high resolution version of the paddock image to that oversampled image – making sure that the border of the smaller paddock image matched as well as I could the bigger oversampled map image.
This created a composite image that was lower resolution around the edges but really high resolution around the paddock. So when you look at the whole image you see enough detail of the circuit map to look good. But as you zoom in to the paddock your eye misses the change in detail and when you land on the zoomed in paddock you still have plenty of detail for your eye to think the original “whole image” was at this level of detail in the first place.
All that came together to allow me to animate a zoom from this really high resolution, wide, composite image and down to a zoomed in paddock shot.
I tried a number of different ways of doing this animation, including plugins and key frames with image transitions, but this oversampling, as describe above, worked out to be the simplest way I could find and gave really good results. The oversampled image was 11016 × 6750 pixels, that’s nearly 70 megapixels.
And that was how those more complicated shots were created.
That’s about it for the moment. If you have any questions about what I’ve written or you’d like something else explaining, then as usual send me a comment and I’ll come back and update this post with any new details.
We plan to do some more videos about other tracks through the year but probably won’t have time to do all of the 8 circuits that are planned.
A final note: I attended this track day as “media” person. It meant I got a bright blue bib to wear all day, but could wander around the circuit taking pictures and video all day. Hopefully there’ll be a behind the scenes post about that on this blog soon.

Leave a Comment