Day 2 of The Big Push!… and I’m also getting close to pushing the button on putting a date in the diary for the PBC (Post Build Check) back at Williams and then of course the government IVA (Individual Vehicle Test) test too. If I’m really, really lucky it will have passed both before Christmas.
I want to get some more fluids into the car today and to get those systems bled properly. I’ve also had word from Derek on two fronts. Firstly, the Bonnet is heading over this way today. I’m not entirely sure where or when it will be arriving but its on the van for delivery today.
Derek also got back to me early this morning to confirm that you need to bend the Wing Stays until you can get the wings to fit centrally. I think I knew that already but there were no other words of wisdom from him so I’ll have to figure out how to attach the wings the best I can myself.
Getting the Leeches Ready
That was a Bleedin’ Awful headline – sorry! And again!
With the bad jokes out of the way, I’ve got both the Brake System and Hydraulic Clutch to fill and bleed today. I’m armed with a very low-tech set of tools to get the job done – a few spanners, a glass jam jar and a length of hose pipe from the washer bottle install.
There are plenty of gadgets available to help bleed both these systems but I’m going to have a go at the old school way of doing things and some ingenuity. I’m only trying to get a first round of bleeding done today anyway.
[Note from the future: the pressurised brake bleeding system I purchased later on would have done the brake setup in one fell swoop – so perhaps I was being rather cautious with my expectations on a first bleed]
Forming the Pipe Ends
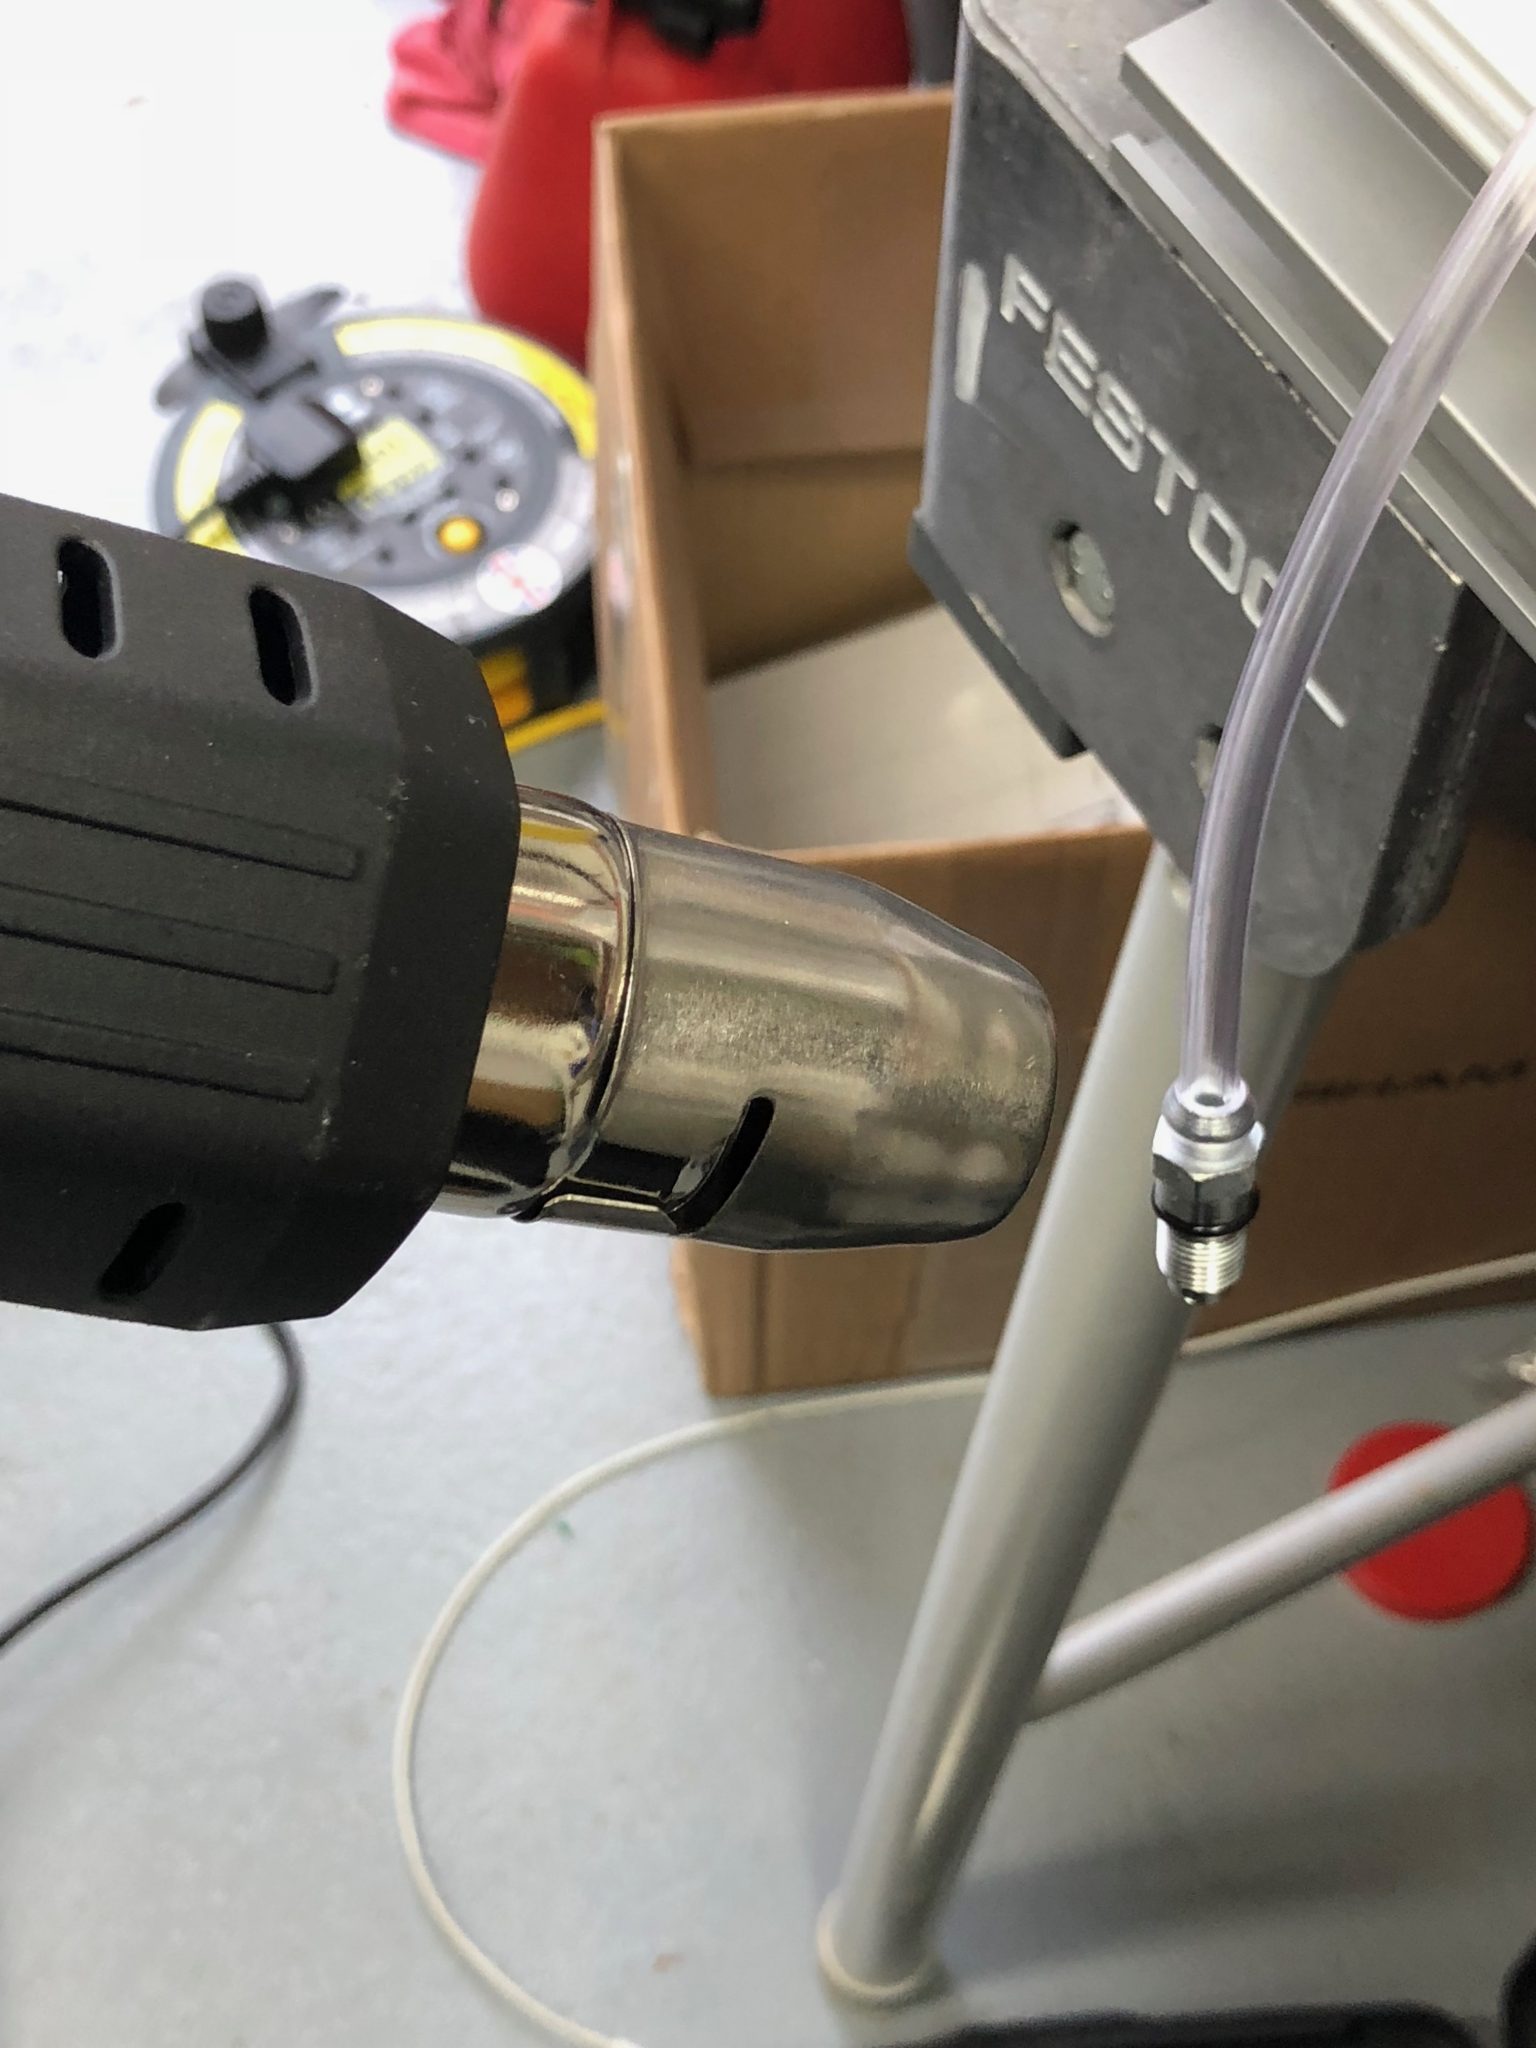
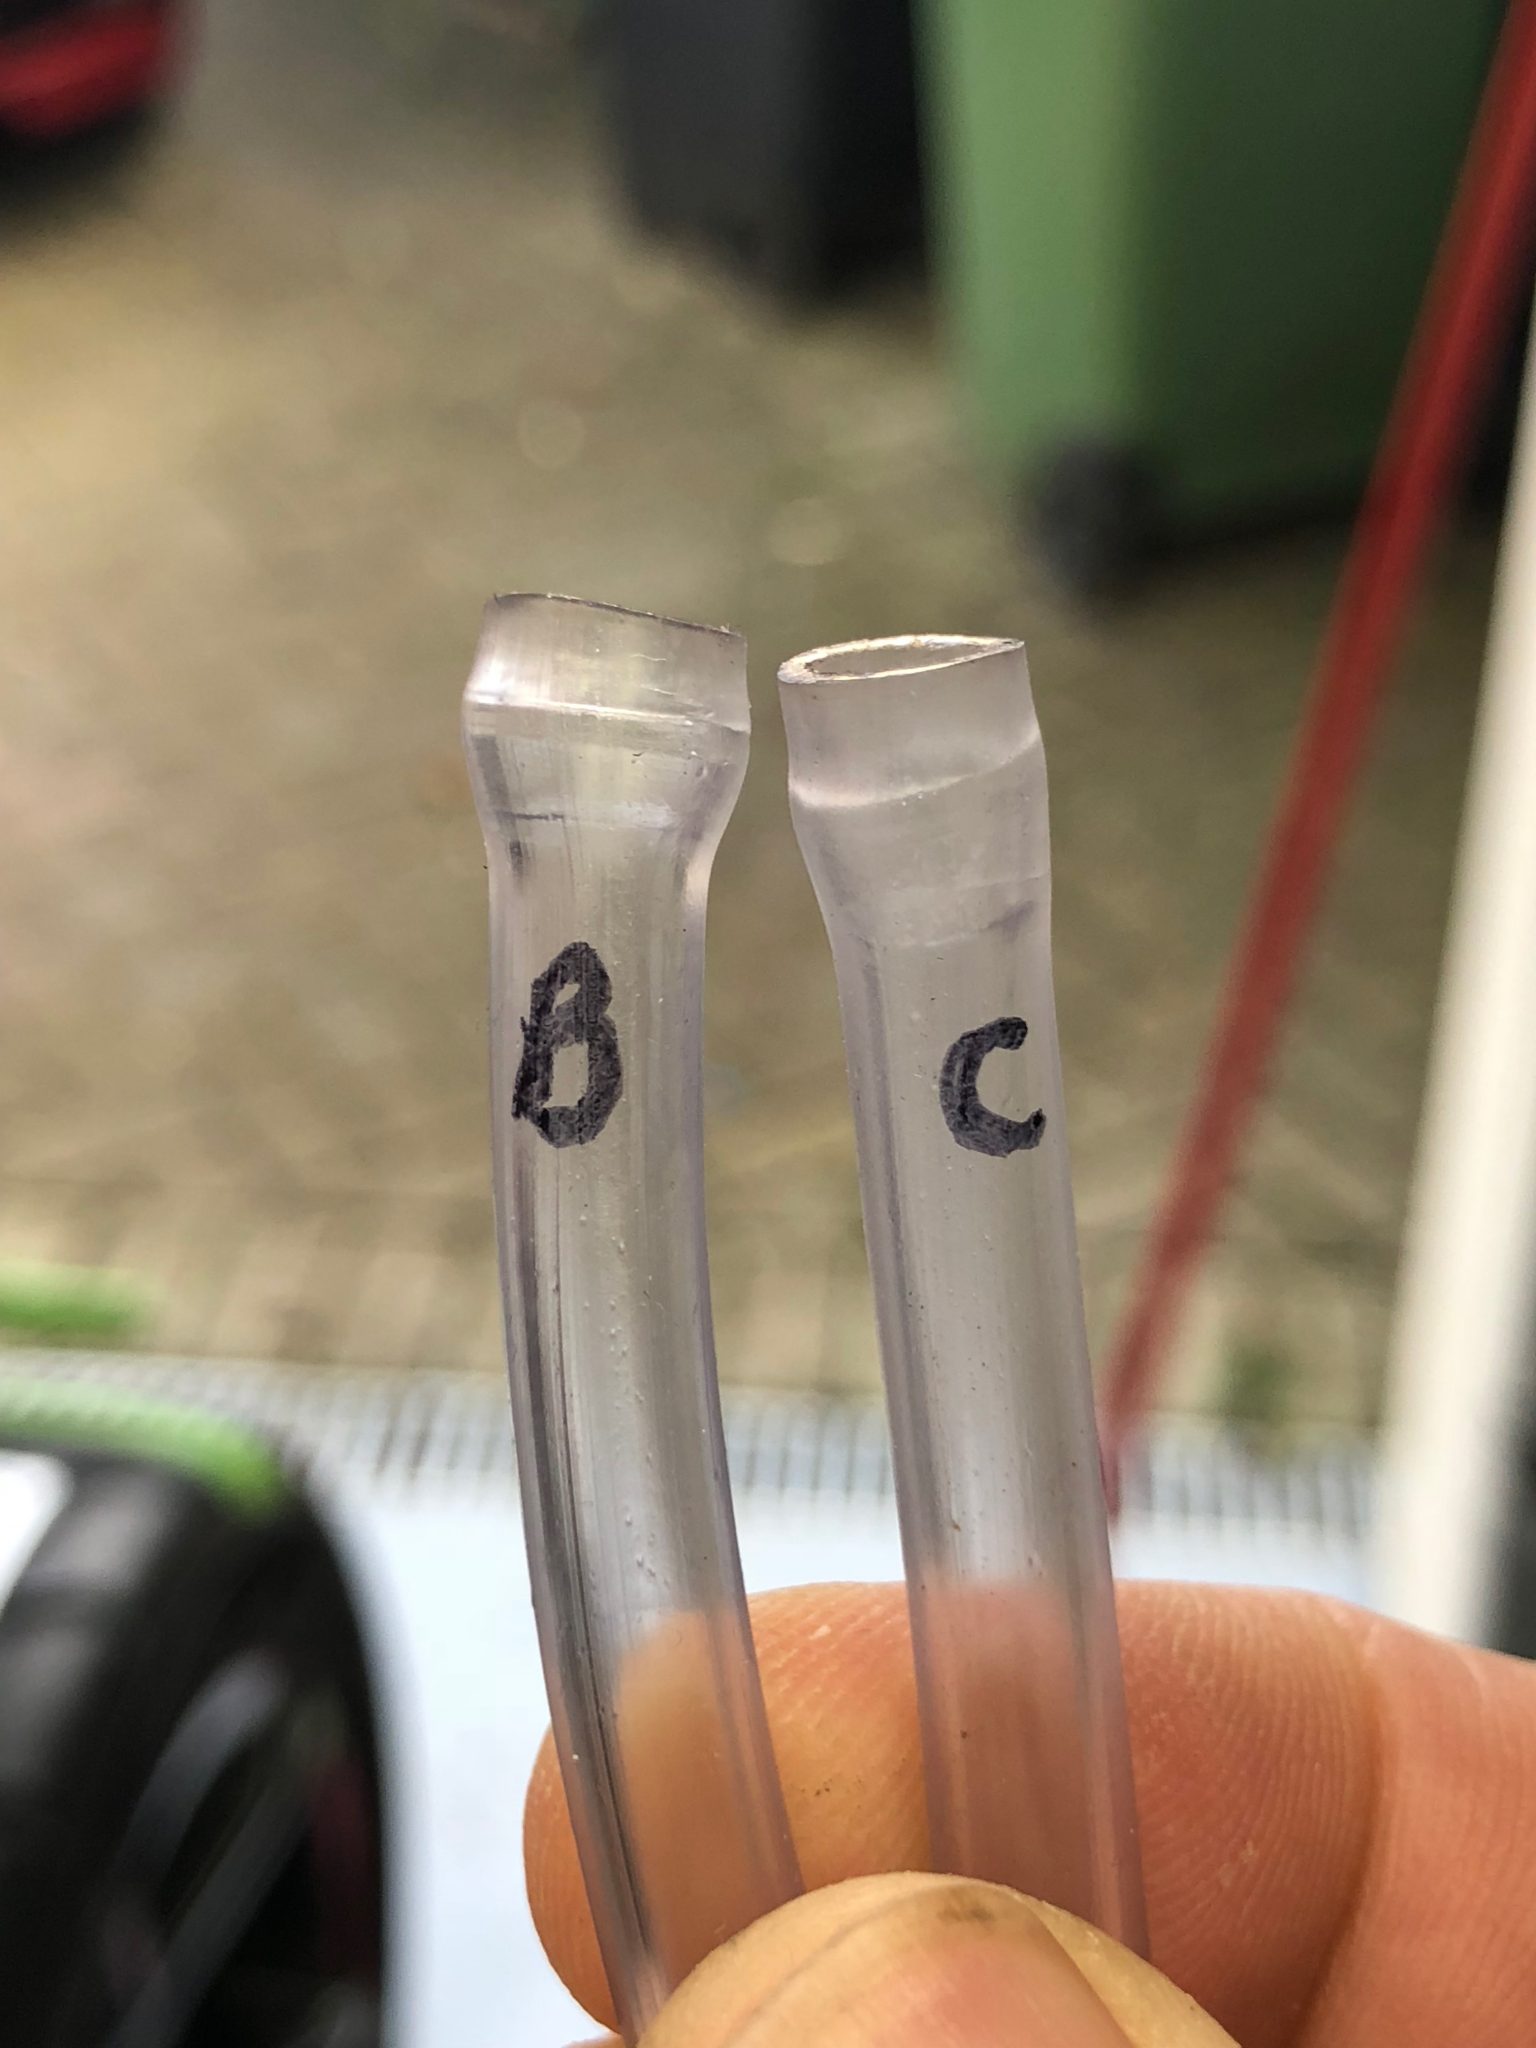
First off I needed to get the only pipe I had, that was close to being the right size, ready for the job. I employed my hot air gun and a “form” to one end of the pipe for each of the clutch and brake nipples…
Filling the Hydraulic Clutch
I thought I’d start with the smaller of the two hydraulic systems with my rudimentary tools… the Clutch.
The first job is to protect the area around the clutch fluid reservoir. Brake fluid is nasty stuff and I didn’t want any finding its way onto anything it shouldn’t be on/in.
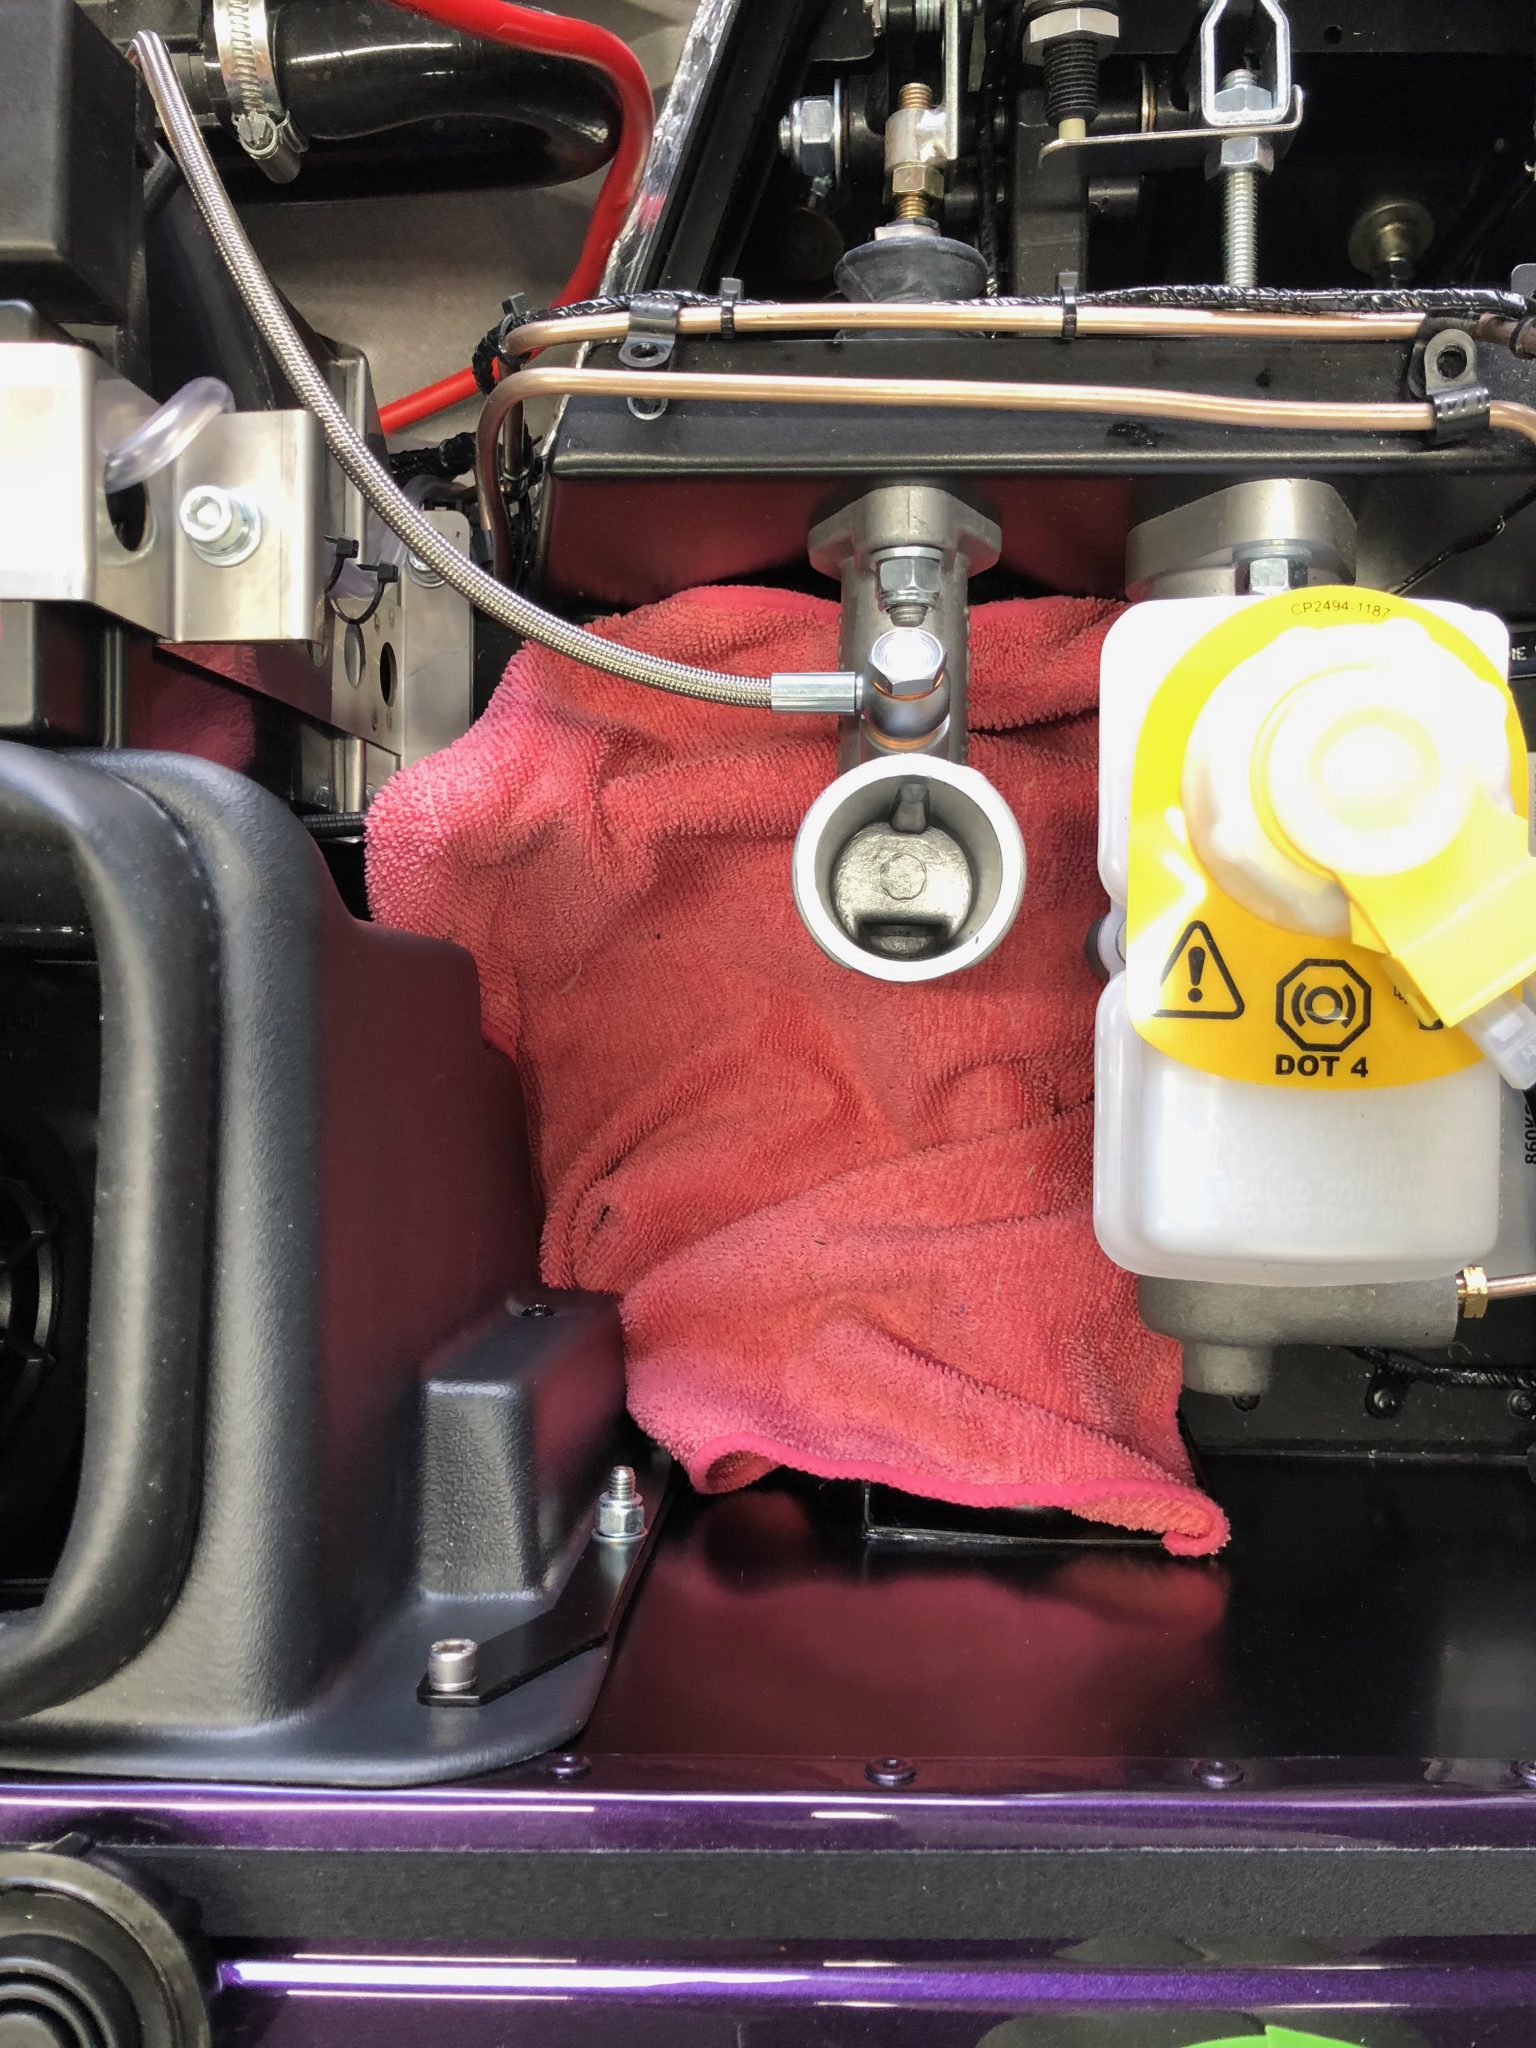
I undid the clutch bleed valve/nipple and tested out how I’d get a spanner in to the depths of the engine bay to turn it on and off.

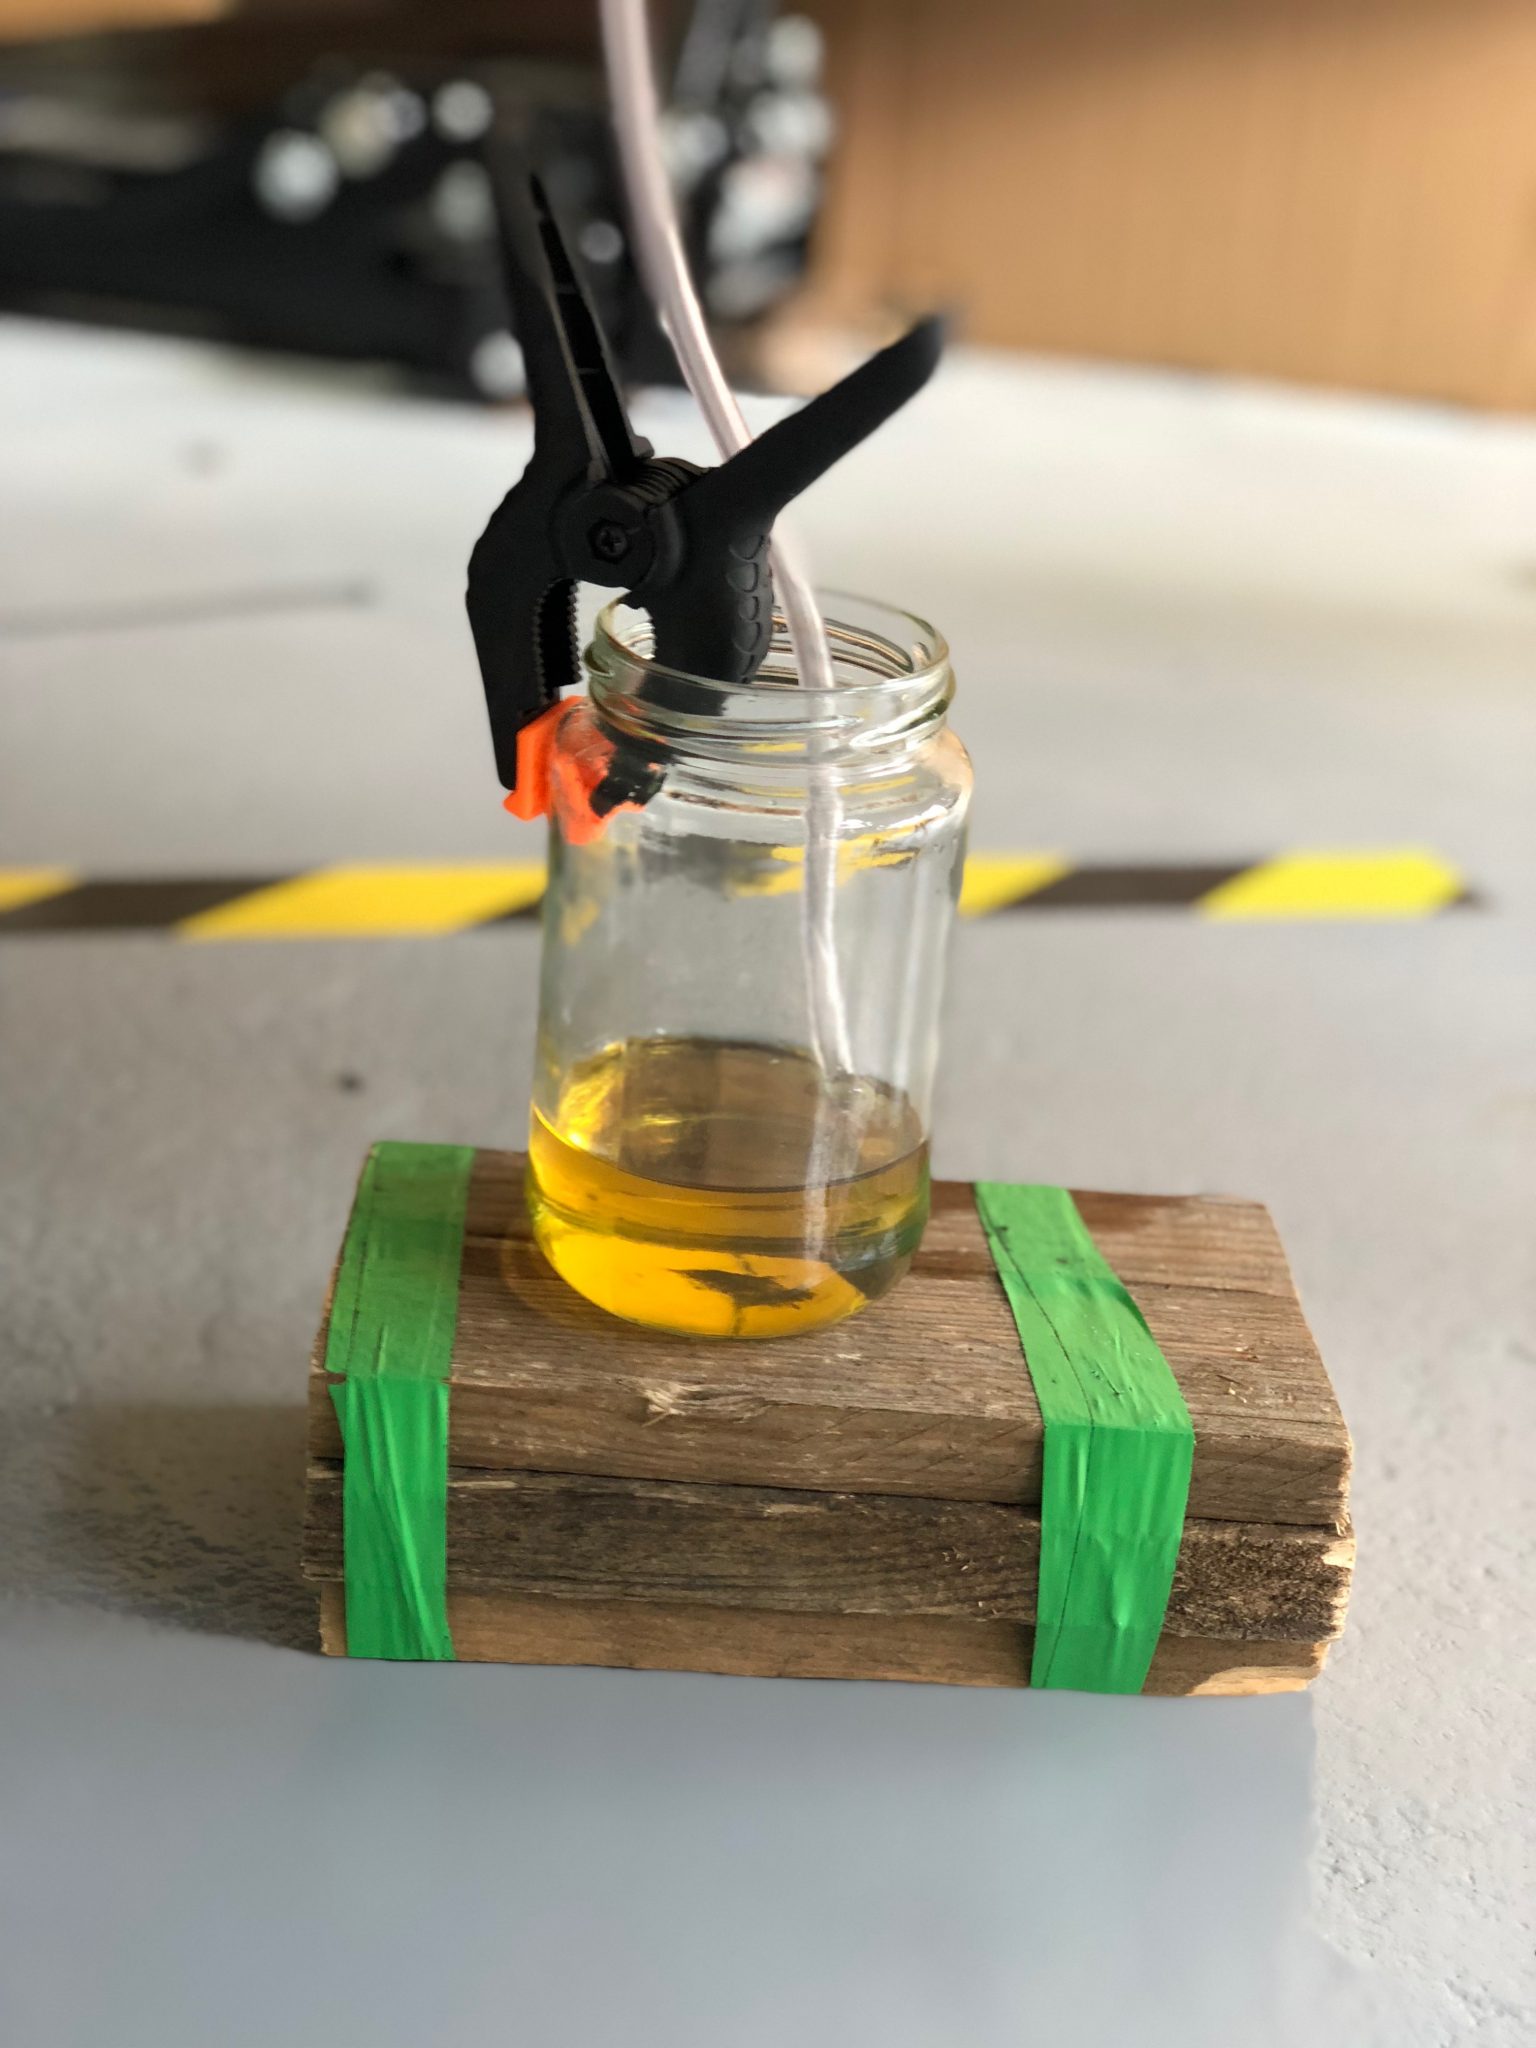
Next the pipe was attached to the nipple and dropped into a jam jar partly filled with brake fluid.
The actions required to bleed the clutch are:
- Depress clutch
- Leave clutch pedal depressed
- Open bleed valve
- Wait for fluid and air to stop flowing through the pipe
- Close valve
- Goto 1 until no air/bubble flow in step 4
It’s step 2 that’s the problem when you’re doing this yourself. You have to keep the clutch pedal depressed and operate the bleed valve at the same time – my arms just aren’t long enough to do that myself.
So, I used a bit of enginuity and cut myself a length of wood that would just fit between the depressed clutch pedal and the cross member that cuts across the floor of the cockpit, just in front of the seats. It looked like this…
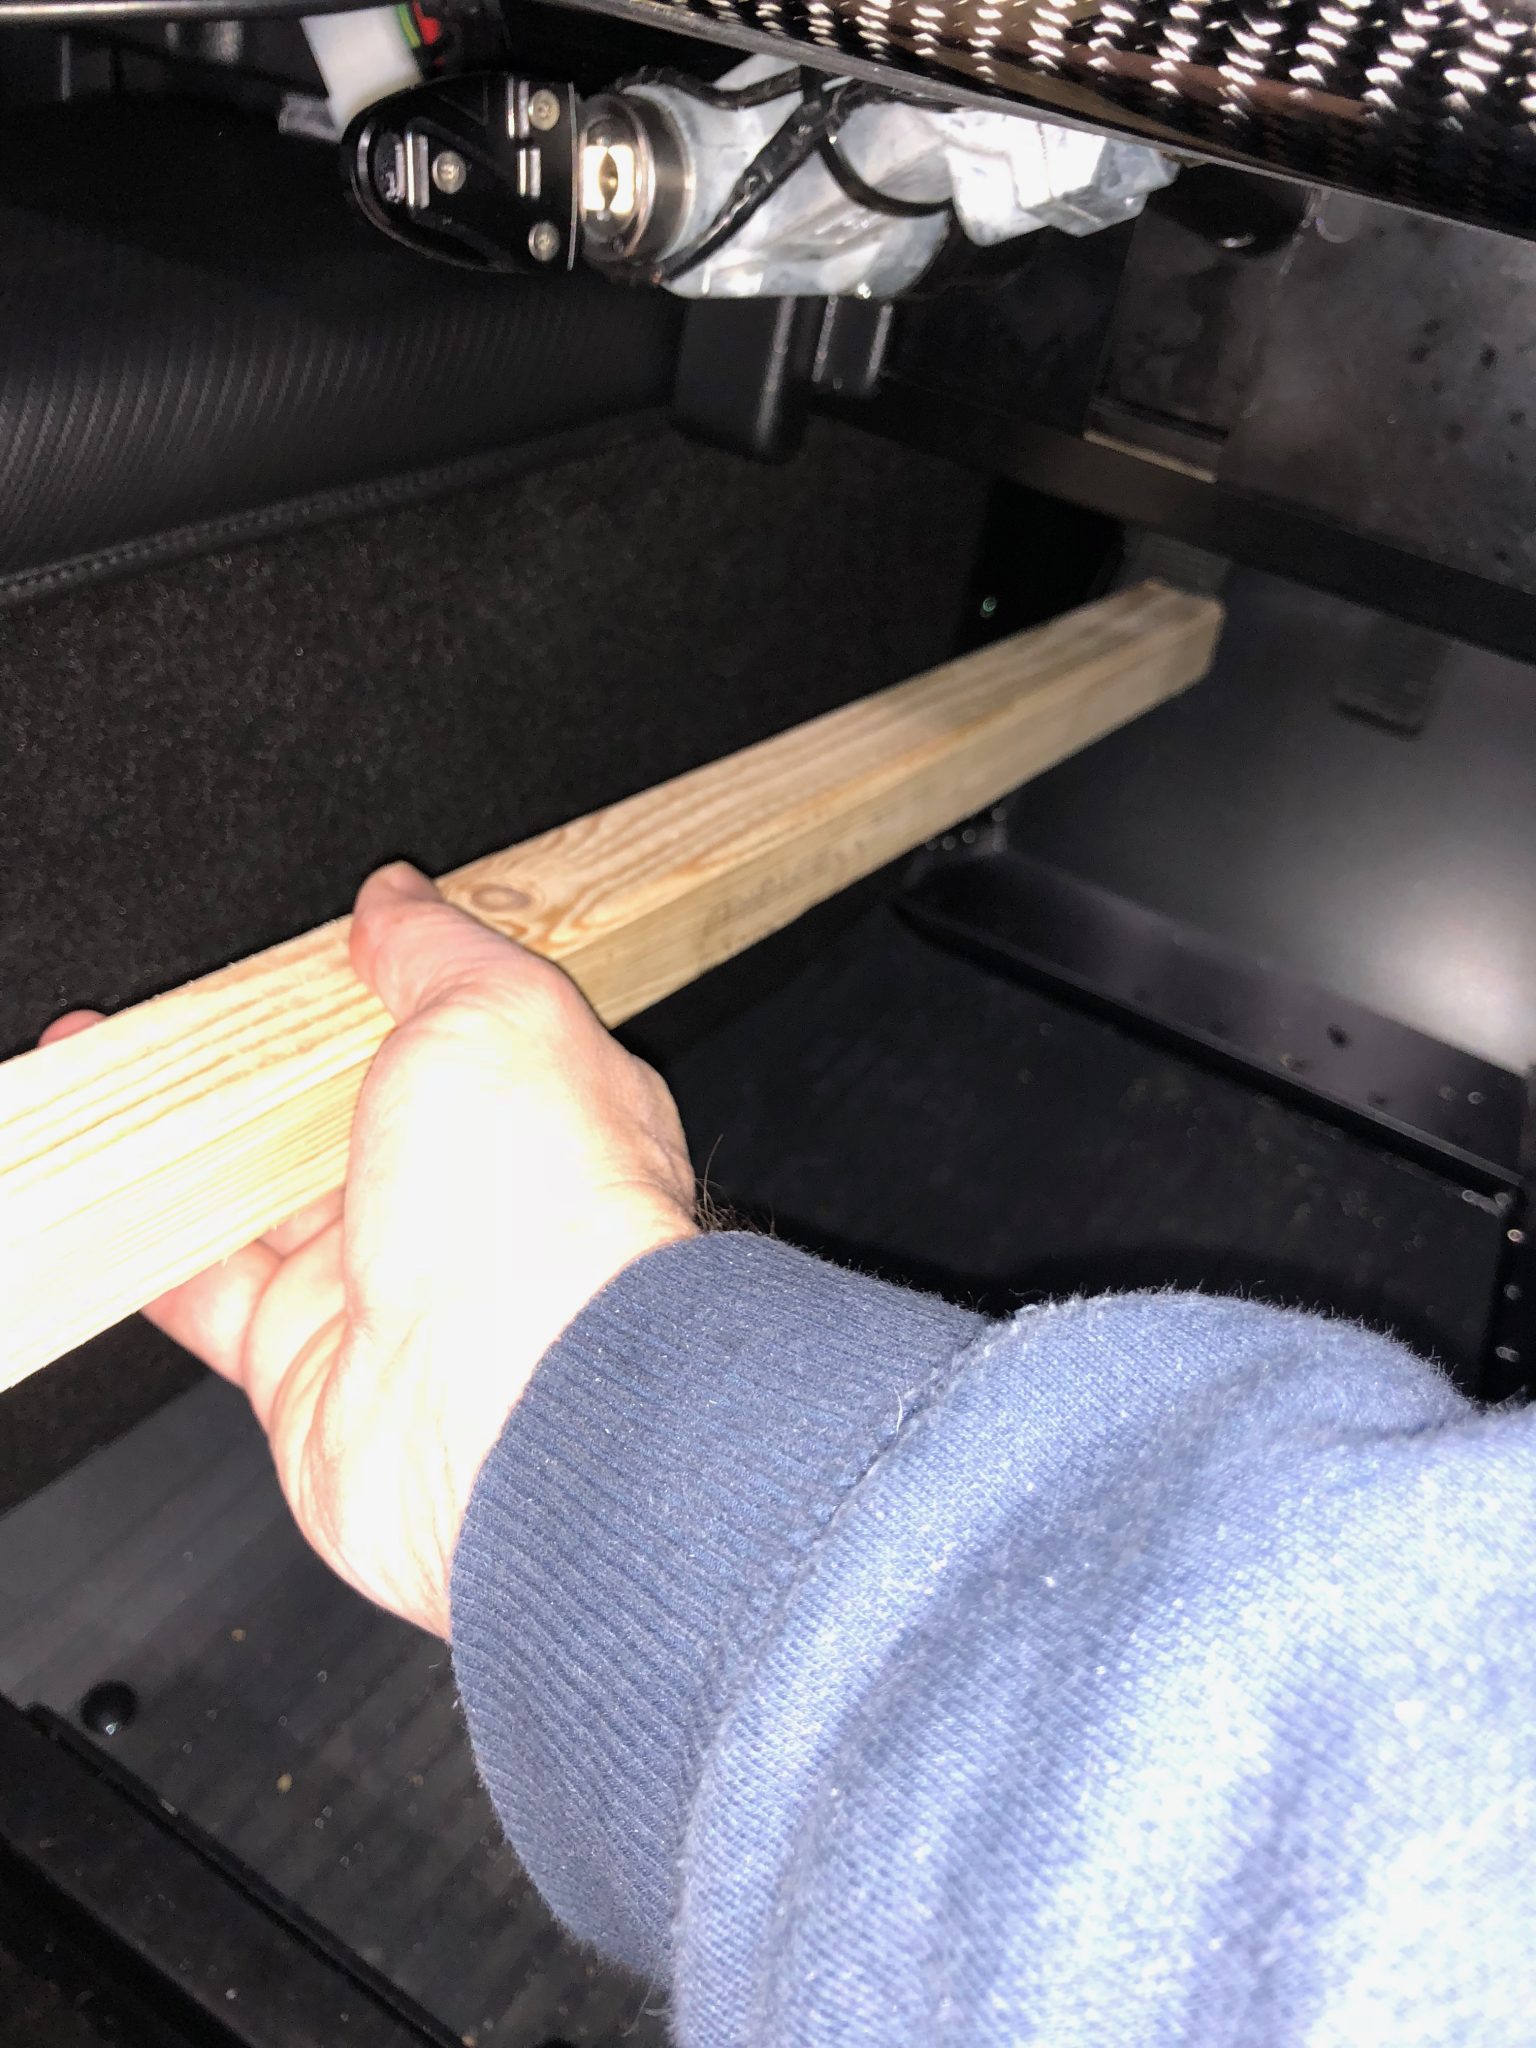
Using this mechanism also meant I didn’t need to keep getting into and out of the car for iteration of the procedure.
I spent about an hour and 15 minutes filling and bleeding the clutch system. In the end the clutch felt good and it was now much easier to engage a gear once the clutch was depressed. I took that to mean the clutch was operating successfully.
Now its the Turn of the Brakes
I essentially used the same approach I’d used with the clutch to fill and bleed the brakes. It was much more of a chore to do it by myself but at the time there was nobody else in the house. I’d have to pump the brake, keep the pedal down with my brace and then walk around the car to the corner I was working on. I worked from the furthest point from the brake cylinder around the car to the closest (Rear RHS, Rear LHS, Front LHS, Front RHS).
It took about 2 and half hours to do the brakes by myself, but I took my time and got a reasonably firm pedal. I was fully expecting to have to let things settle a bit and have another go at it, but I was happy with the first go.
The jam jar and washer tubing worked well..
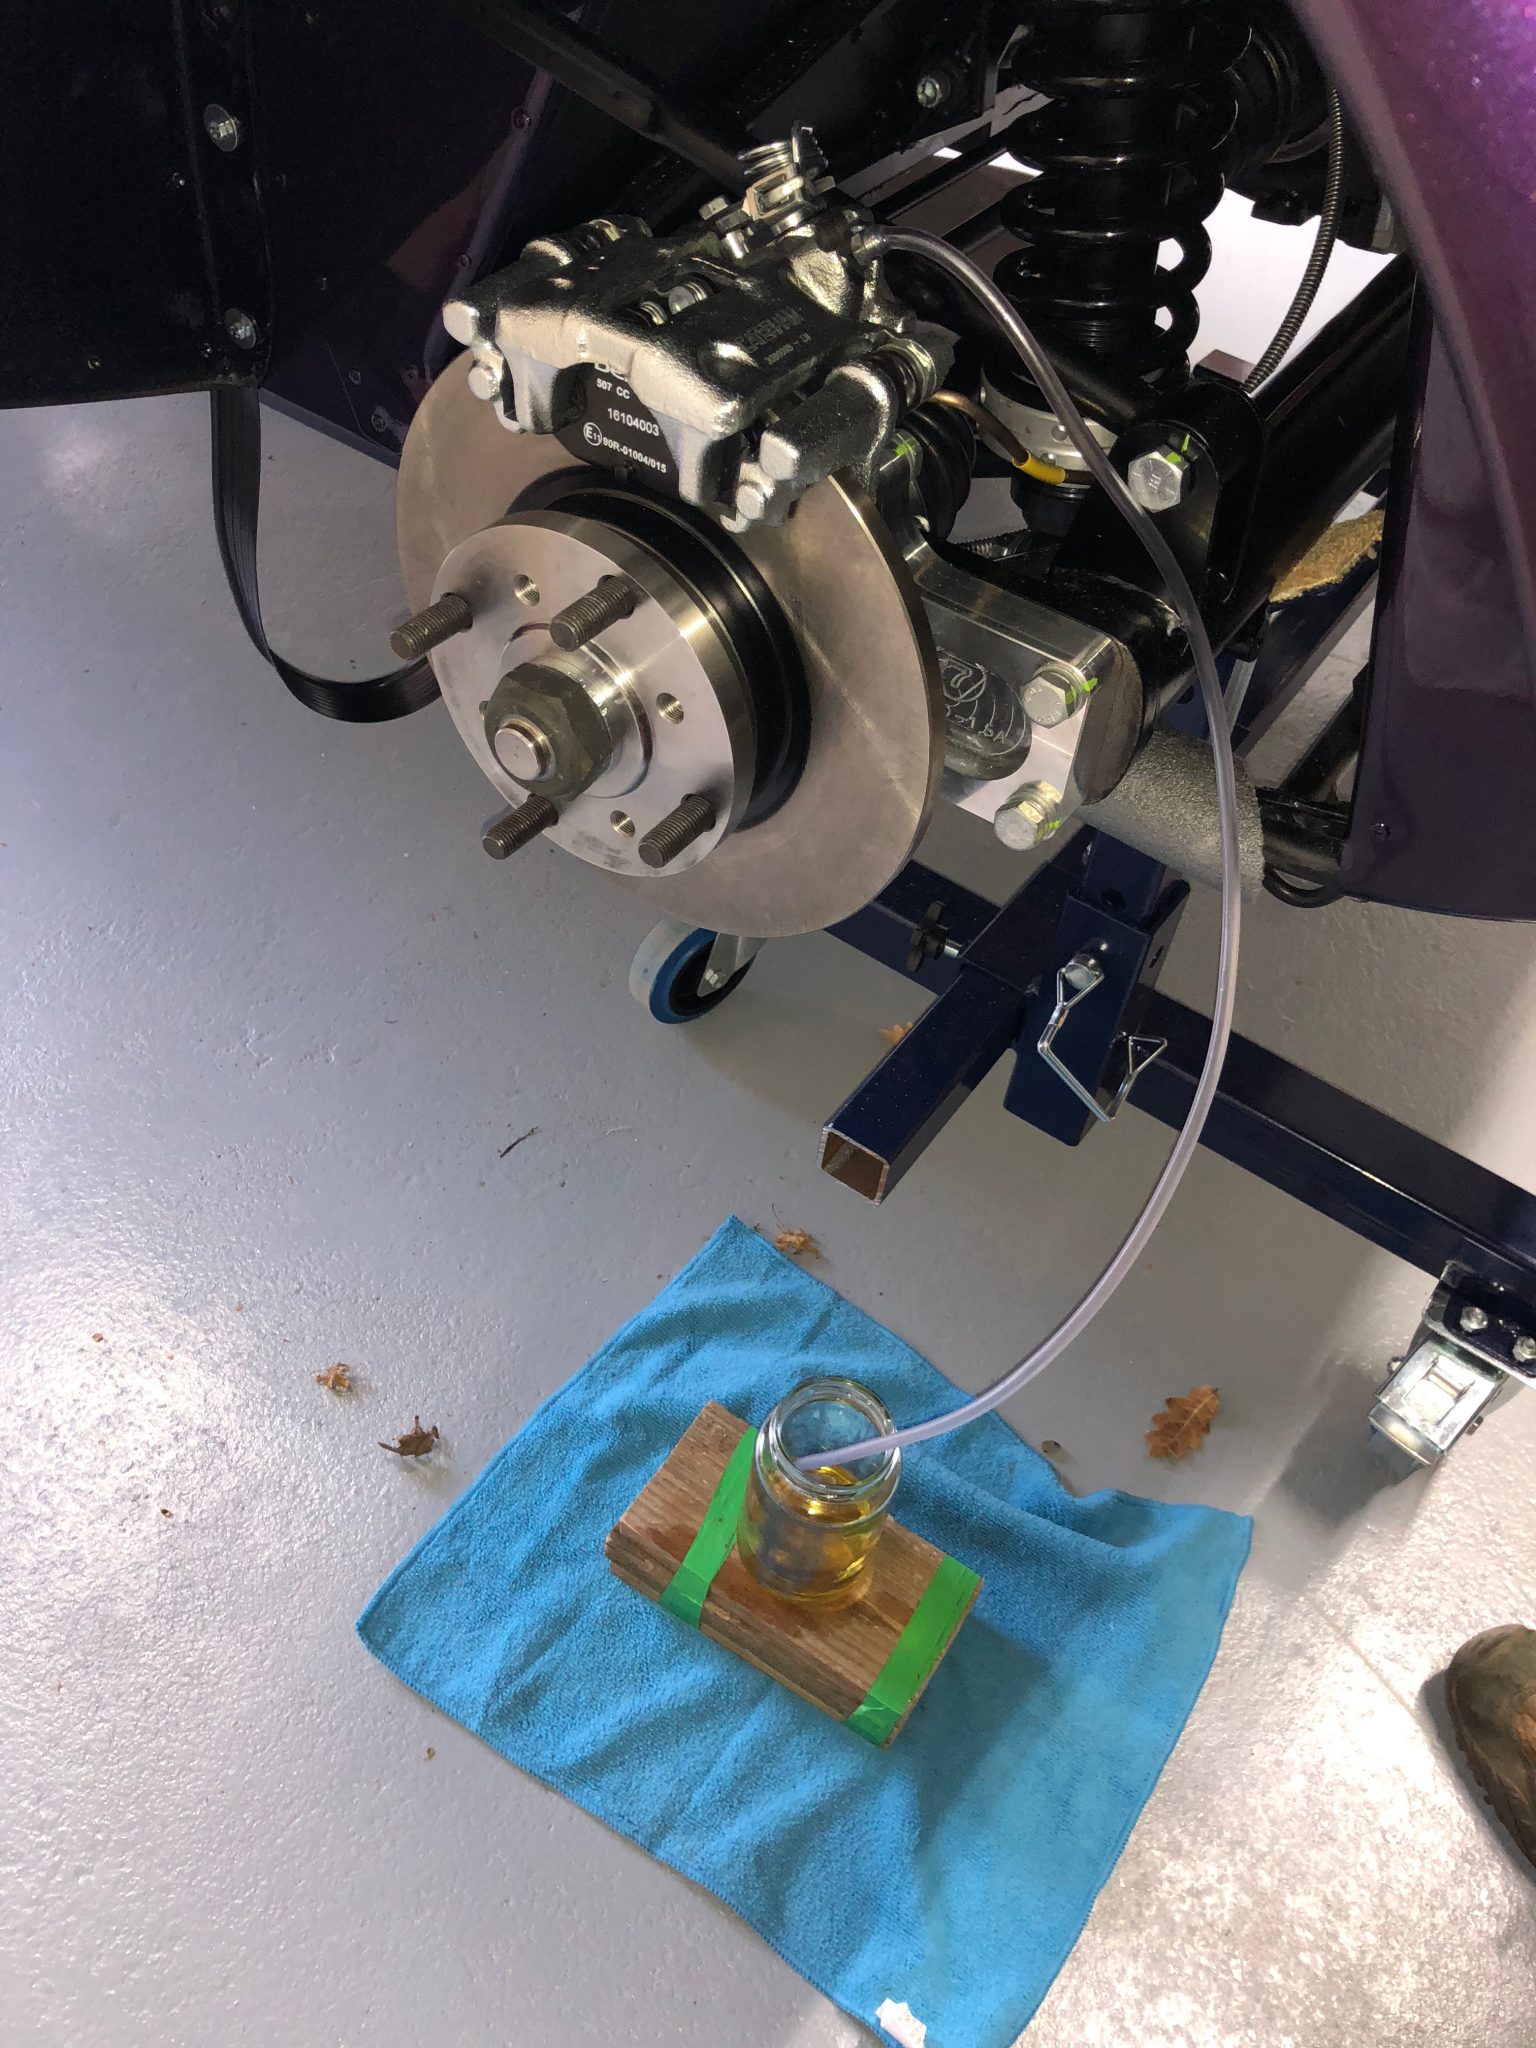
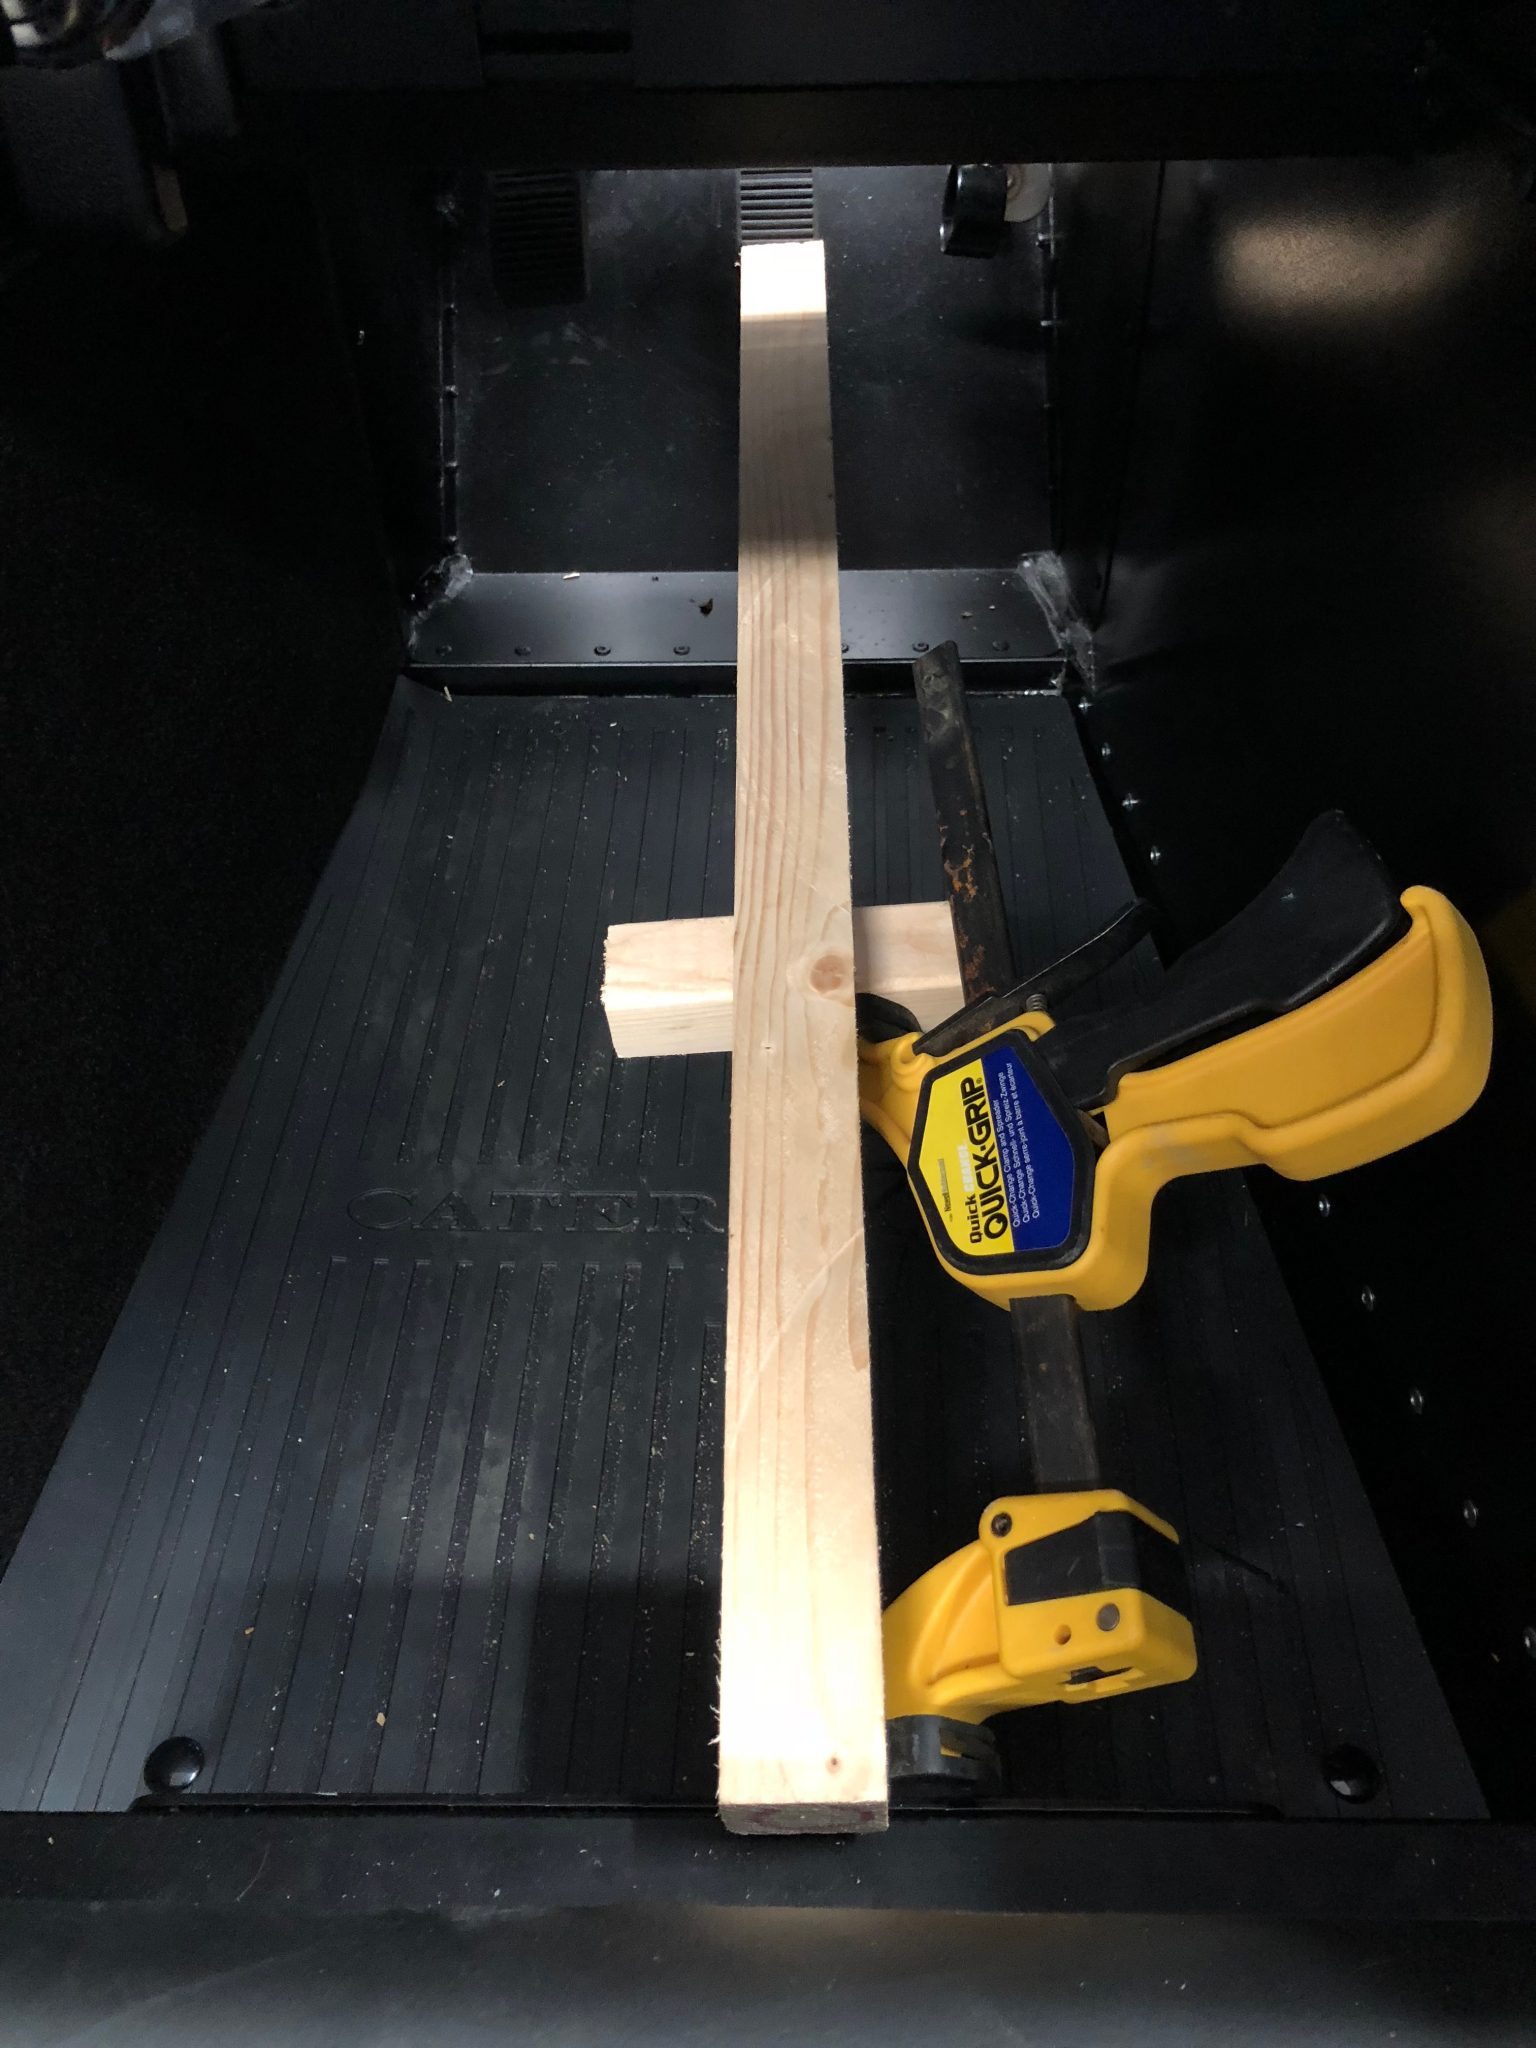
I did have to modify my brace towards the end of the bleeding process. As the brake pedal “came towards” me as the air was expelled from the system, the pedal wouldn’t depress all the way. I also needed some additional mechanical advantage and so put a cross piece on my brace and employed a pump-clamp in “expanding” configuration to give me a good solid push of the pedal…
At one point I forgot to put some rubber/latex gloves on and got fluid on my hands. I soon came up in a rash on my fingers and wrist which took a couple of hours to go down…
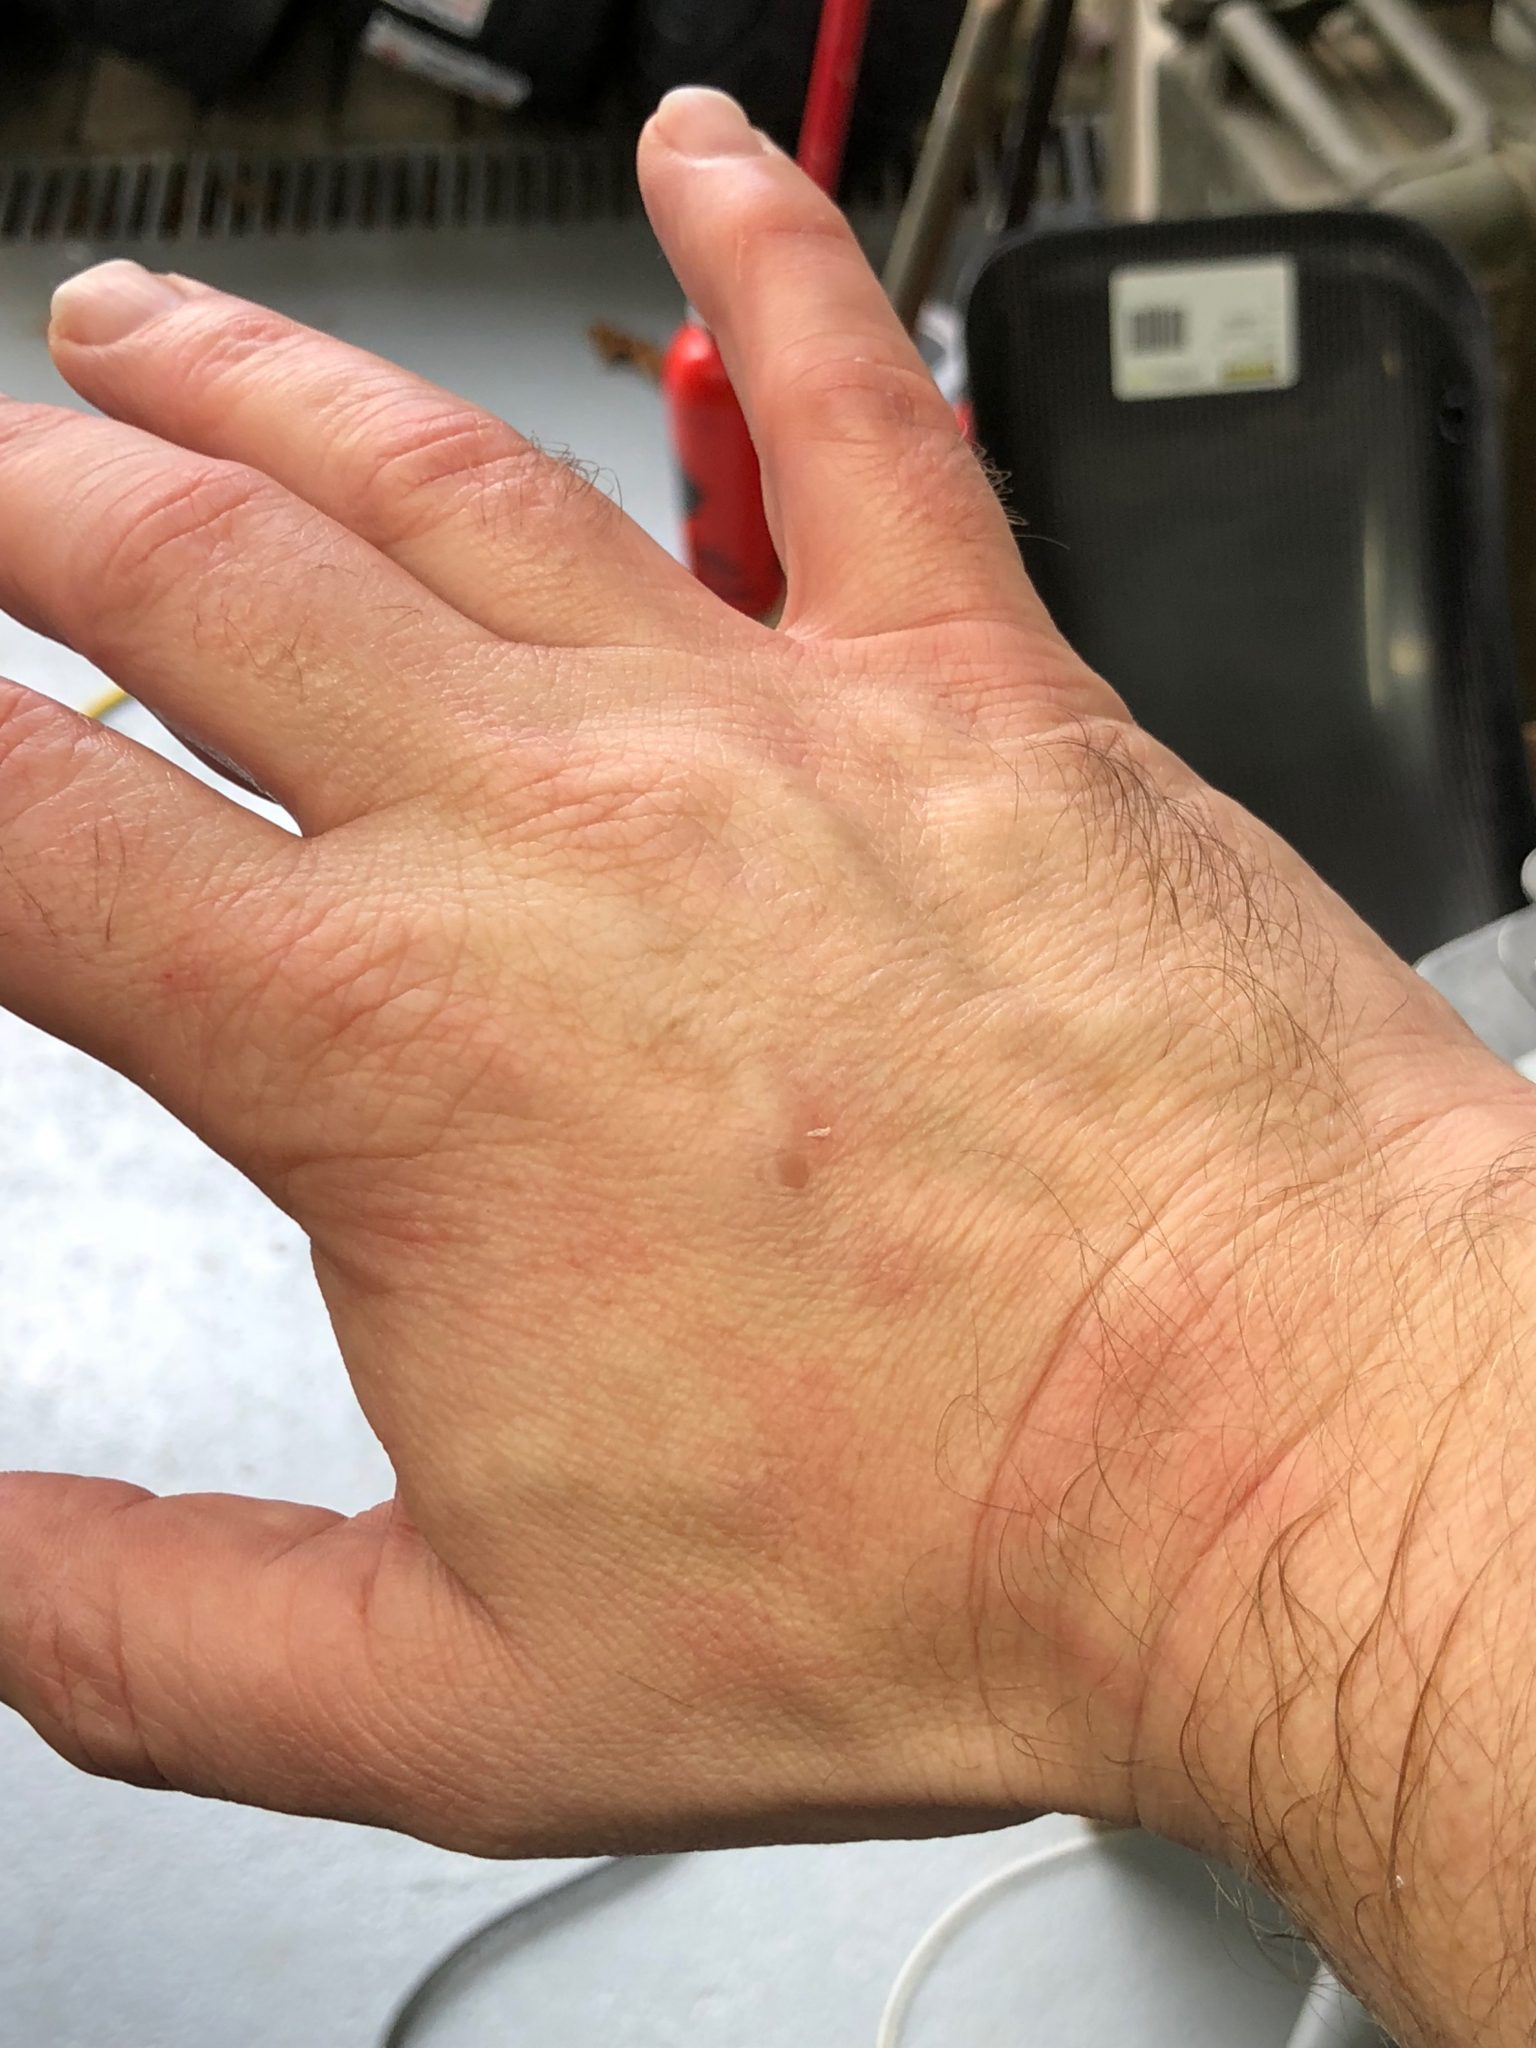
Mental note to self: always wear gloves when handling brake fluid. We never had cheaply available latex gloves when I was last playing around with brake fluid 25 years ago, perhaps my younger skin was more resilient then.
A Telephone Call and a Trip to Horton
As I was finishing up the brakes I had a call. It was Williams Automobiles (for those of you that haven’t followed all this blog, they’re the dealer I’d got the car from) and they had my bonnet!
Now… this wasn’t totally unexpected. When I’d been discussing the bonnet delivery with Derek, I had actually offered to go to pick it up from Williams… if it was easier for Caterham to get the bonnet to them rather than to Bristol. However, Derek hadn’t confirmed that as the plan and I was rather expecting the bonnet to be delivered to my home – anyway it gave me a chuckle when Williams service team called 🙂
So, pack up the garage and head over the Williams to get the bonnet.
Getting the bonnet back was the last part of the whole puzzle and with a fixed bonnet in my possession I was feeling confident enough in my progress to start talking about booking the PBC and IVA test.
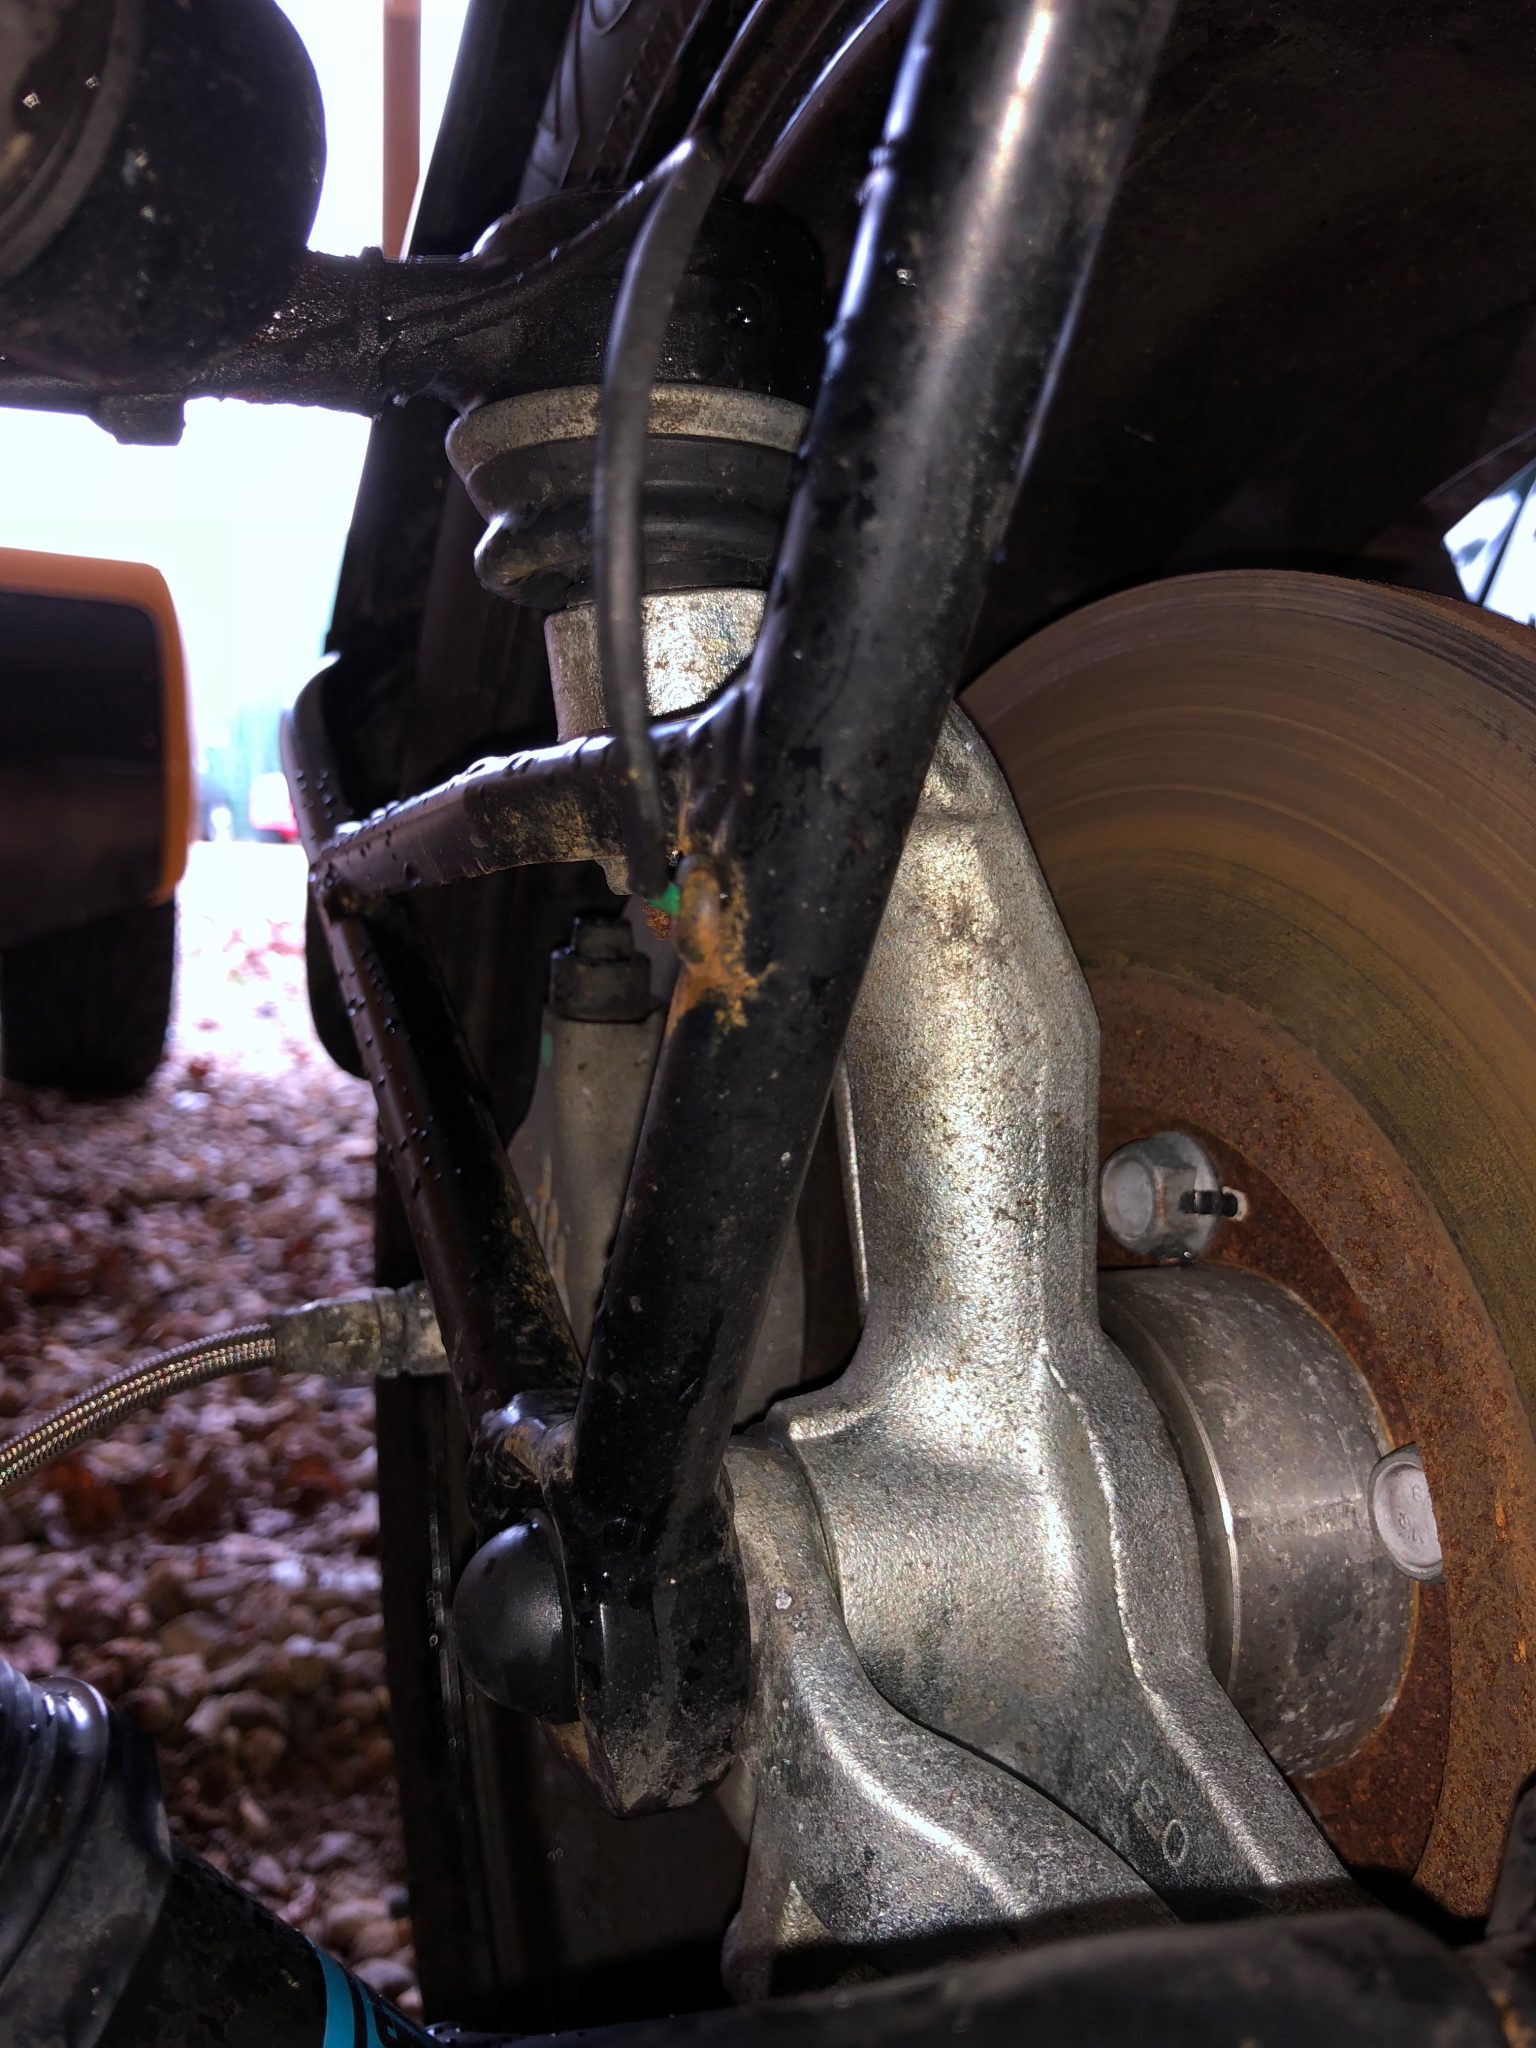
While I was a Williams I took the opportunity to have a look over a couple of cars they had in the courtyard. Everything seemed to be as expected except that I noticed something I hadn’t appreciated before. The cables for the front wing repeaters are routed along the rear of the top front wishbone. I’d been thinking that I was going to route them along the bottom, but the top made much more sense – further out of the way of any debris from the road and a shorter route to boot.
Once I’d had a chat with their service team about how soon I could get a PBC done (pretty much as soon as I was ready – i.e. next week if needed) I headed home with the newly sprayed bonnet in the 3-series. We also spent a few minutes going over the bonnet to make sure it was all in good shape this time – it was.
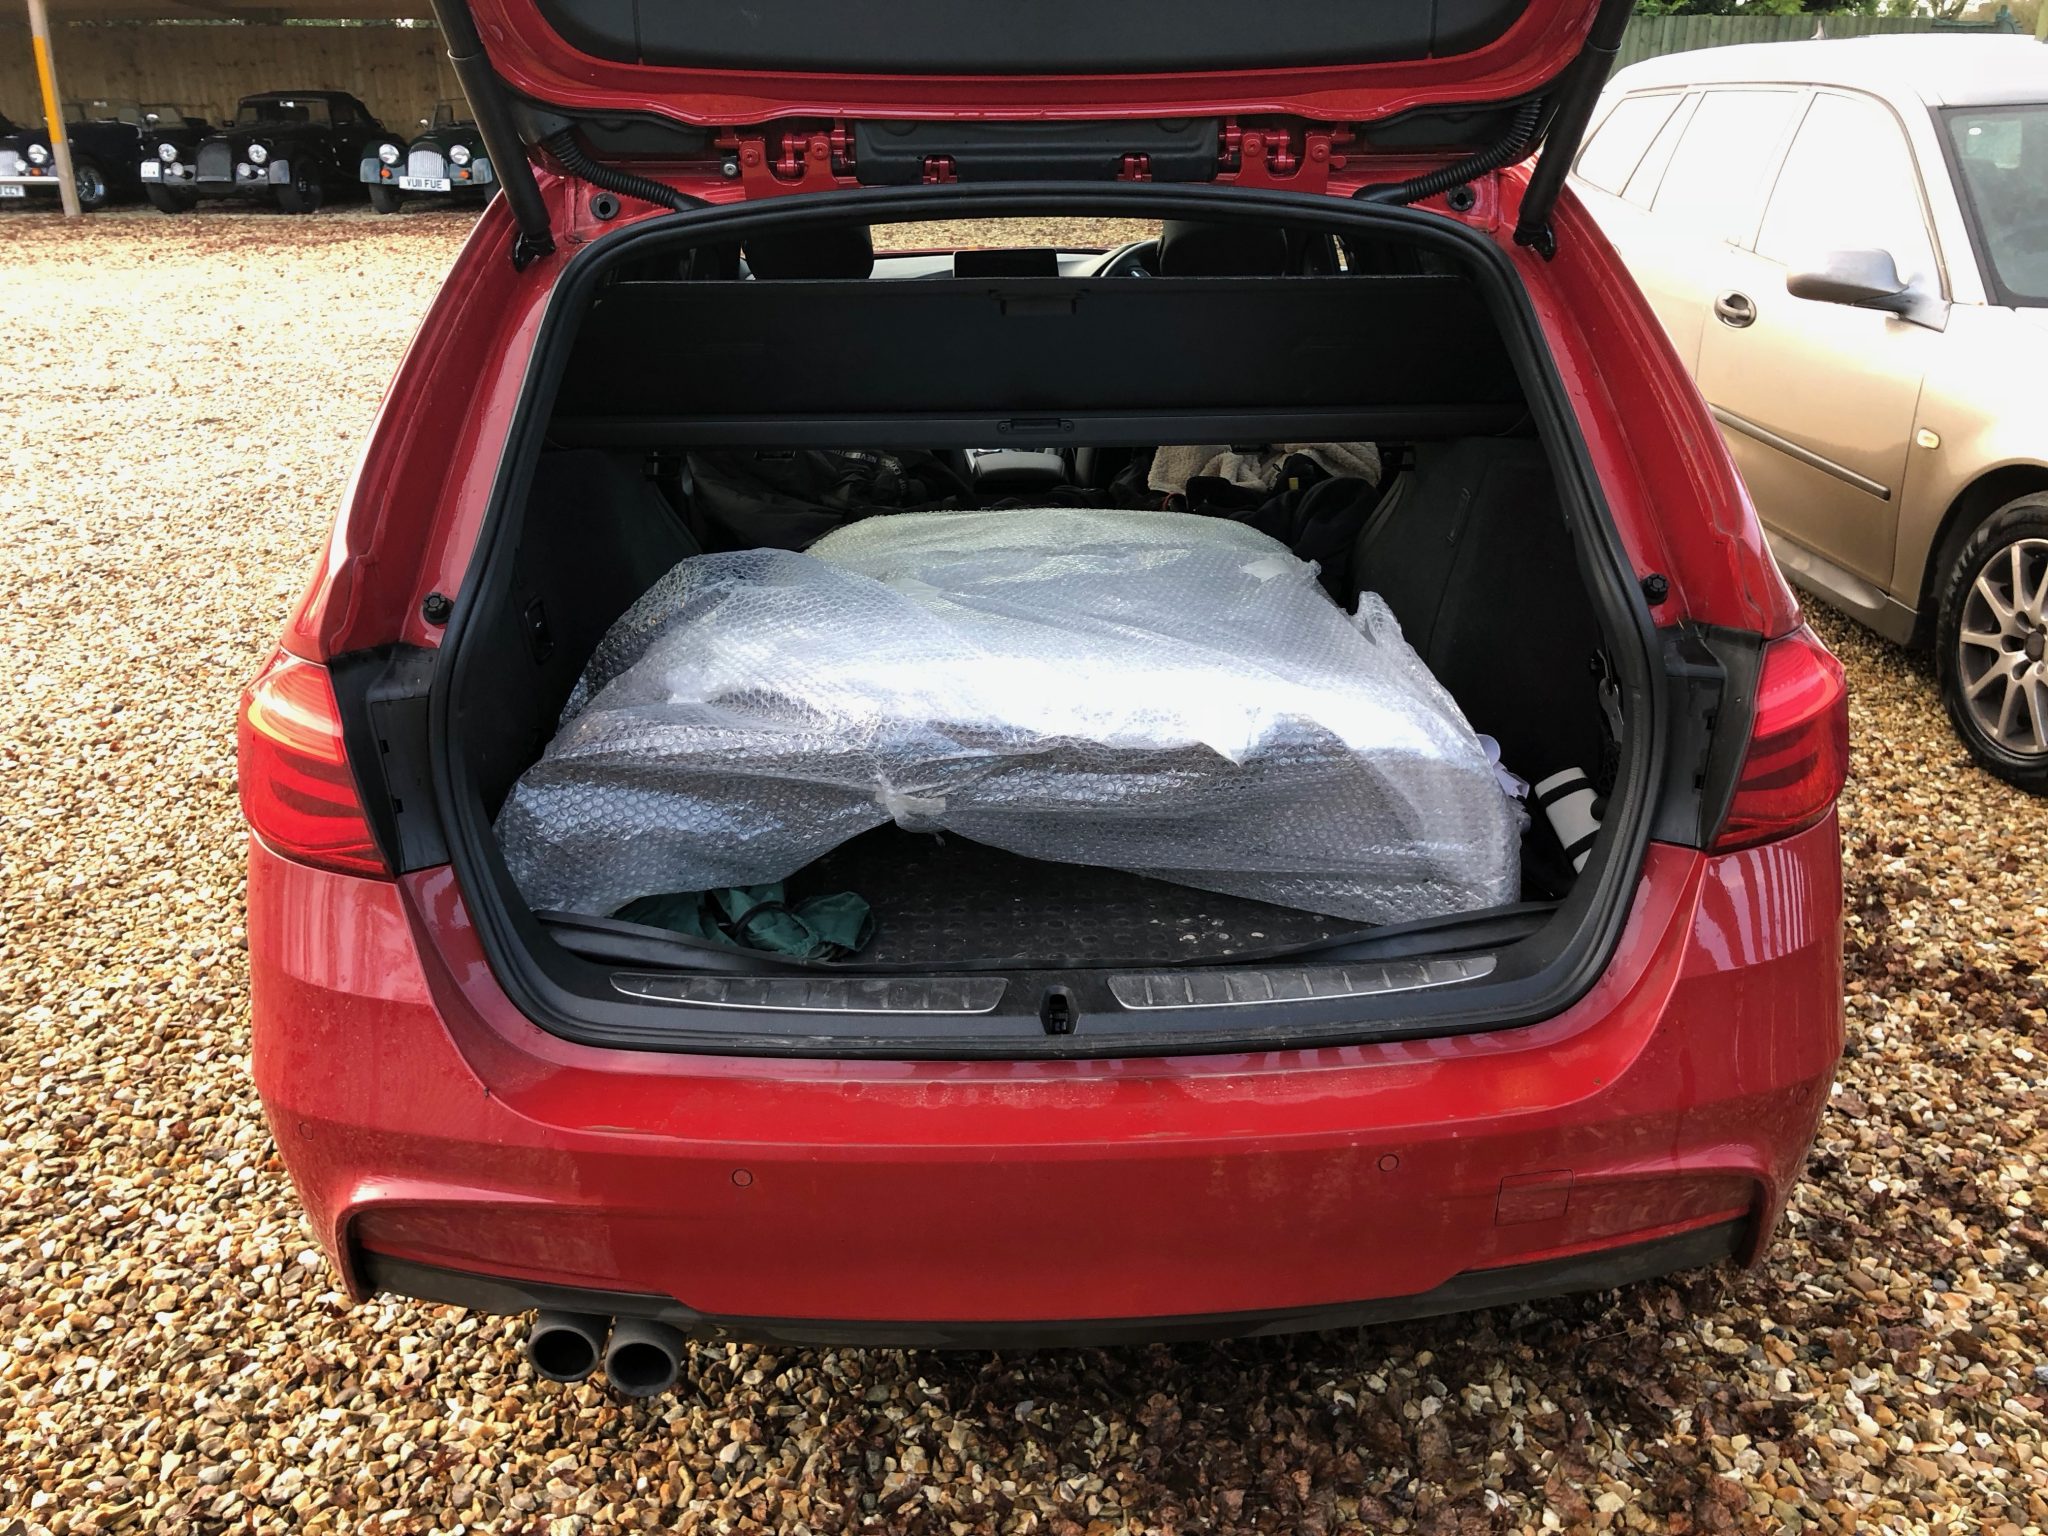
It was a couple of hours round trip to Williams in Horton and I didn’t get back home until about 4PM. I did also take a detour to Halfords to see if I could find some better tubing to work on the brakes with. But they only had some simple brake bleed systems – I bought one but didn’t use it in the end. With some other family stuff to do for a couple of hours it was 6PM before I could get back into the garage.
Nipping up the Brake Lines
I spent an hour looking at the brakes again. When I’d got back into the garage there were drips of fluid coming from the LHS bodywork coupling and from the flexible hose to calliper coupling. I tightened them up again and will check again tomorrow.
[Note from the future: I was being a bit conservative with the brake line tightening. It took me two or three more goes to stop the various front joints from weeping. All the rears were fine. But, I struggled a little with the fronts. I got there in the end but they needed to be tighter than I first thought]
More Front Wings
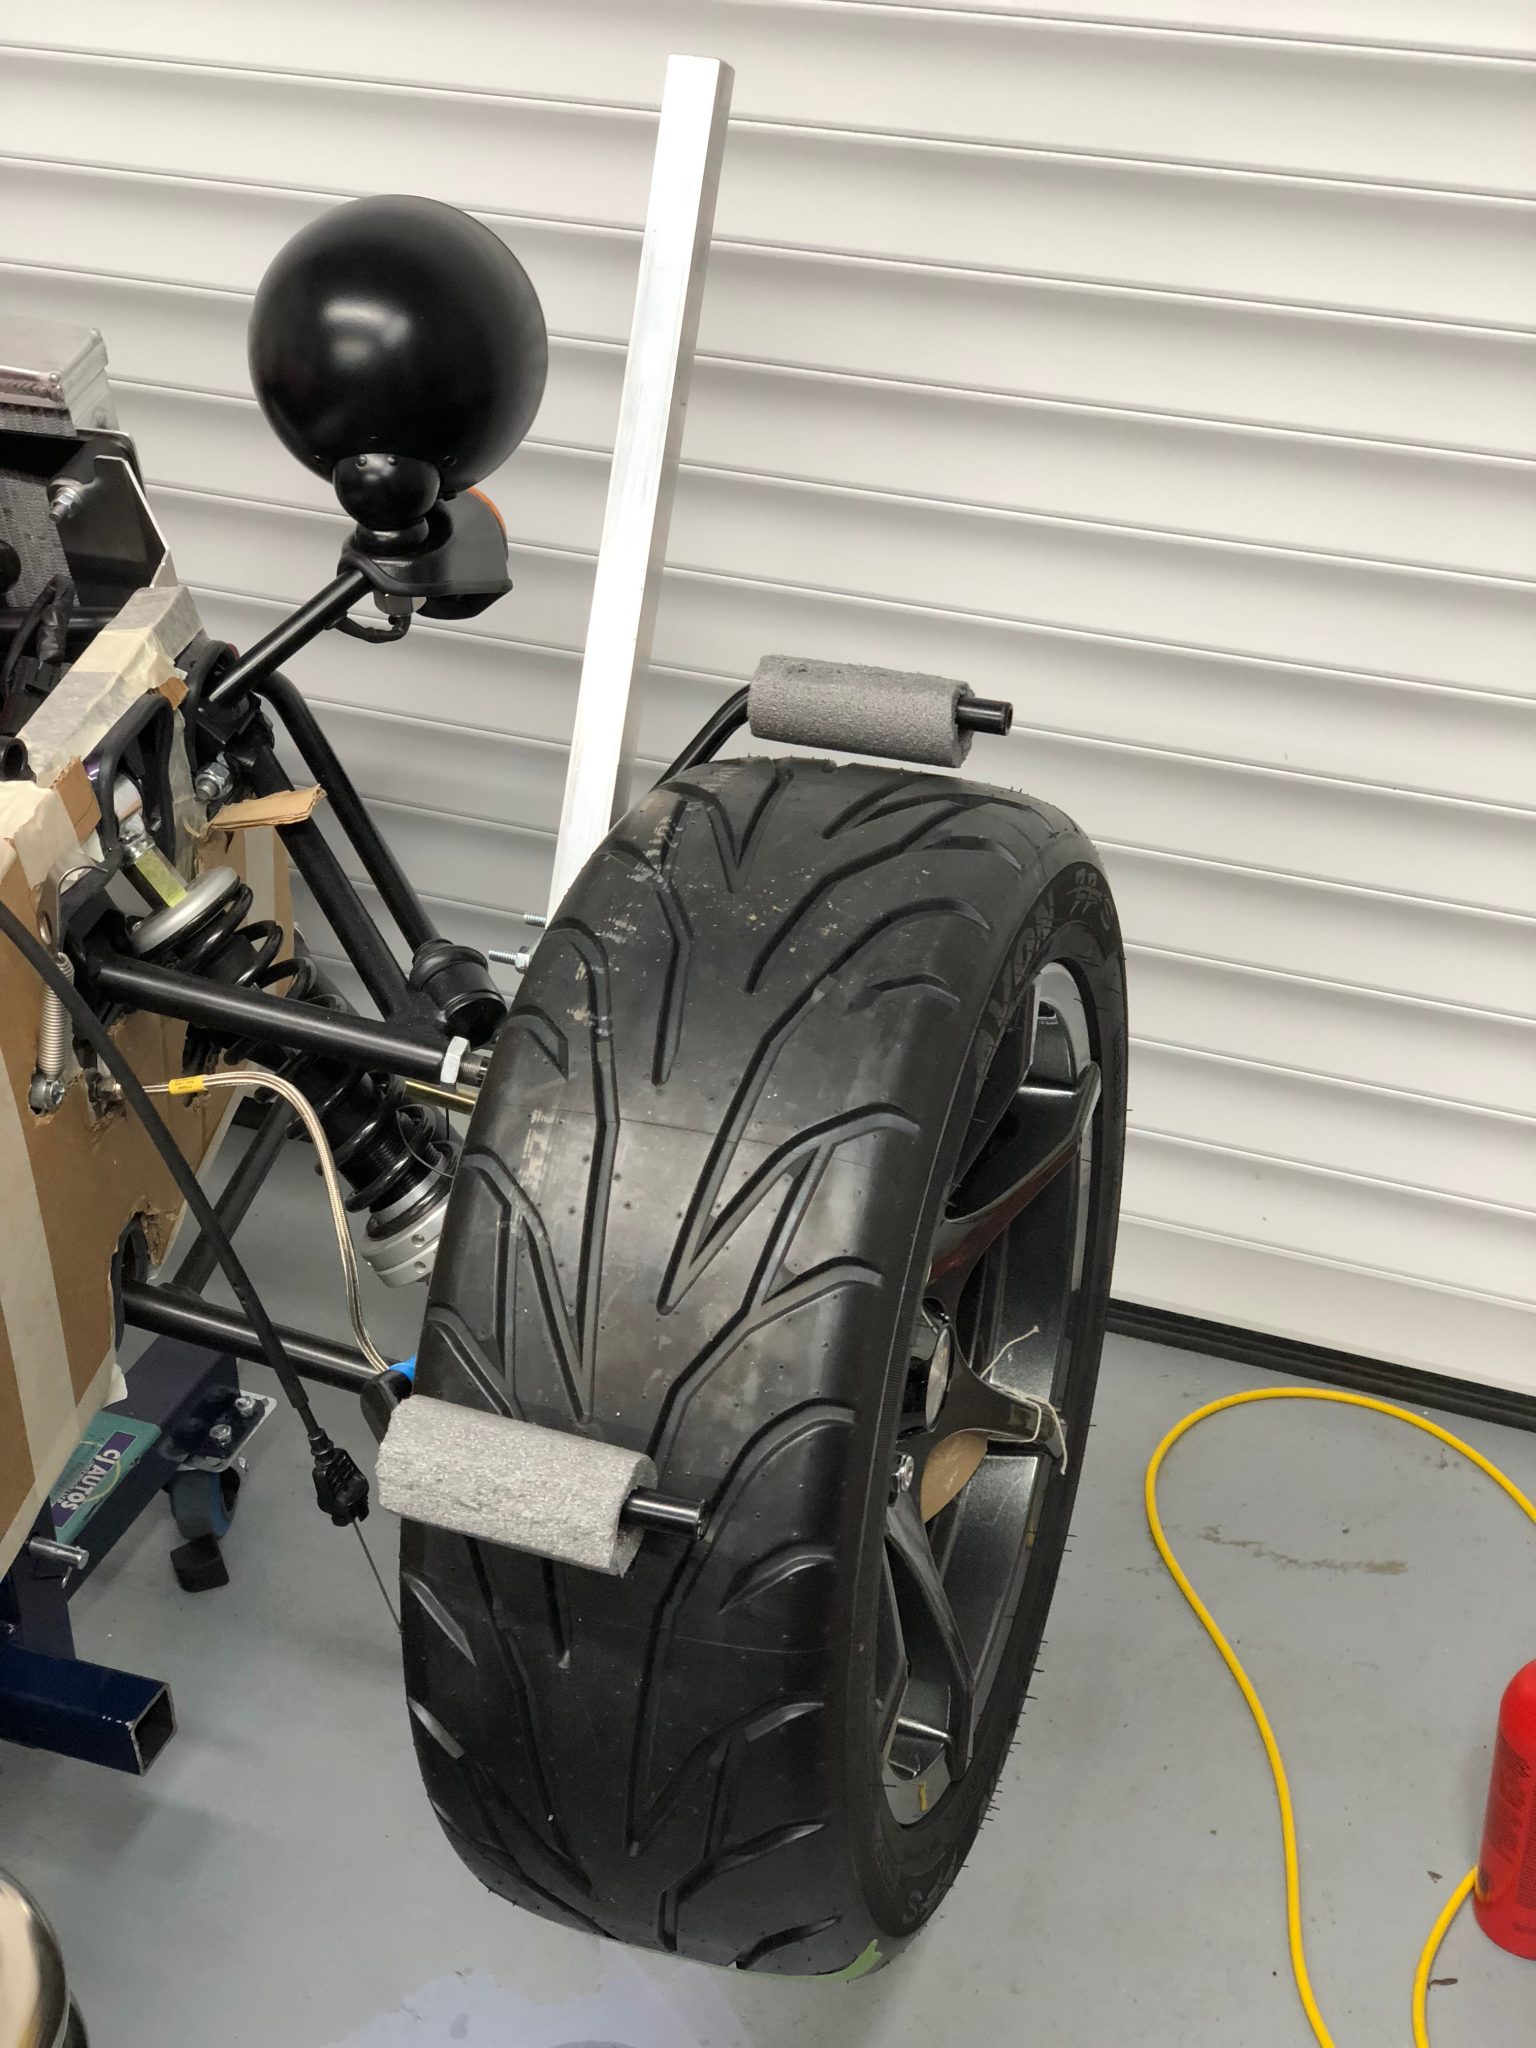
I then spent another hour trying to figure out what to do with the carbon front wings. I came to the conclusion that just putting them directly on the wing stays was not going to get me to where I needed to be. The wings would still too close to the tyres. At the end of the hour I had decided I was going to space the wings away from the wing stays somehow. But how? Hmm.
I mocked up some spacers with some pipe lagging that I kept cutting down to size. It seemed I’d need about 10mm of spacing…
I spent the rest of the night writing a couple of blog posts. The blogging is taking almost as much time as the building.
Day 2 of the big push was about 7 and half hours in the garage. Day 3 tomorrow…


Leave a Comment