Ok, so this post is a bit of a cheat. I actually put the prop-shaft and differential into the car yesterday… but it seemed to make sense to lump all these activities together in a single post.
Accelerator Pedal
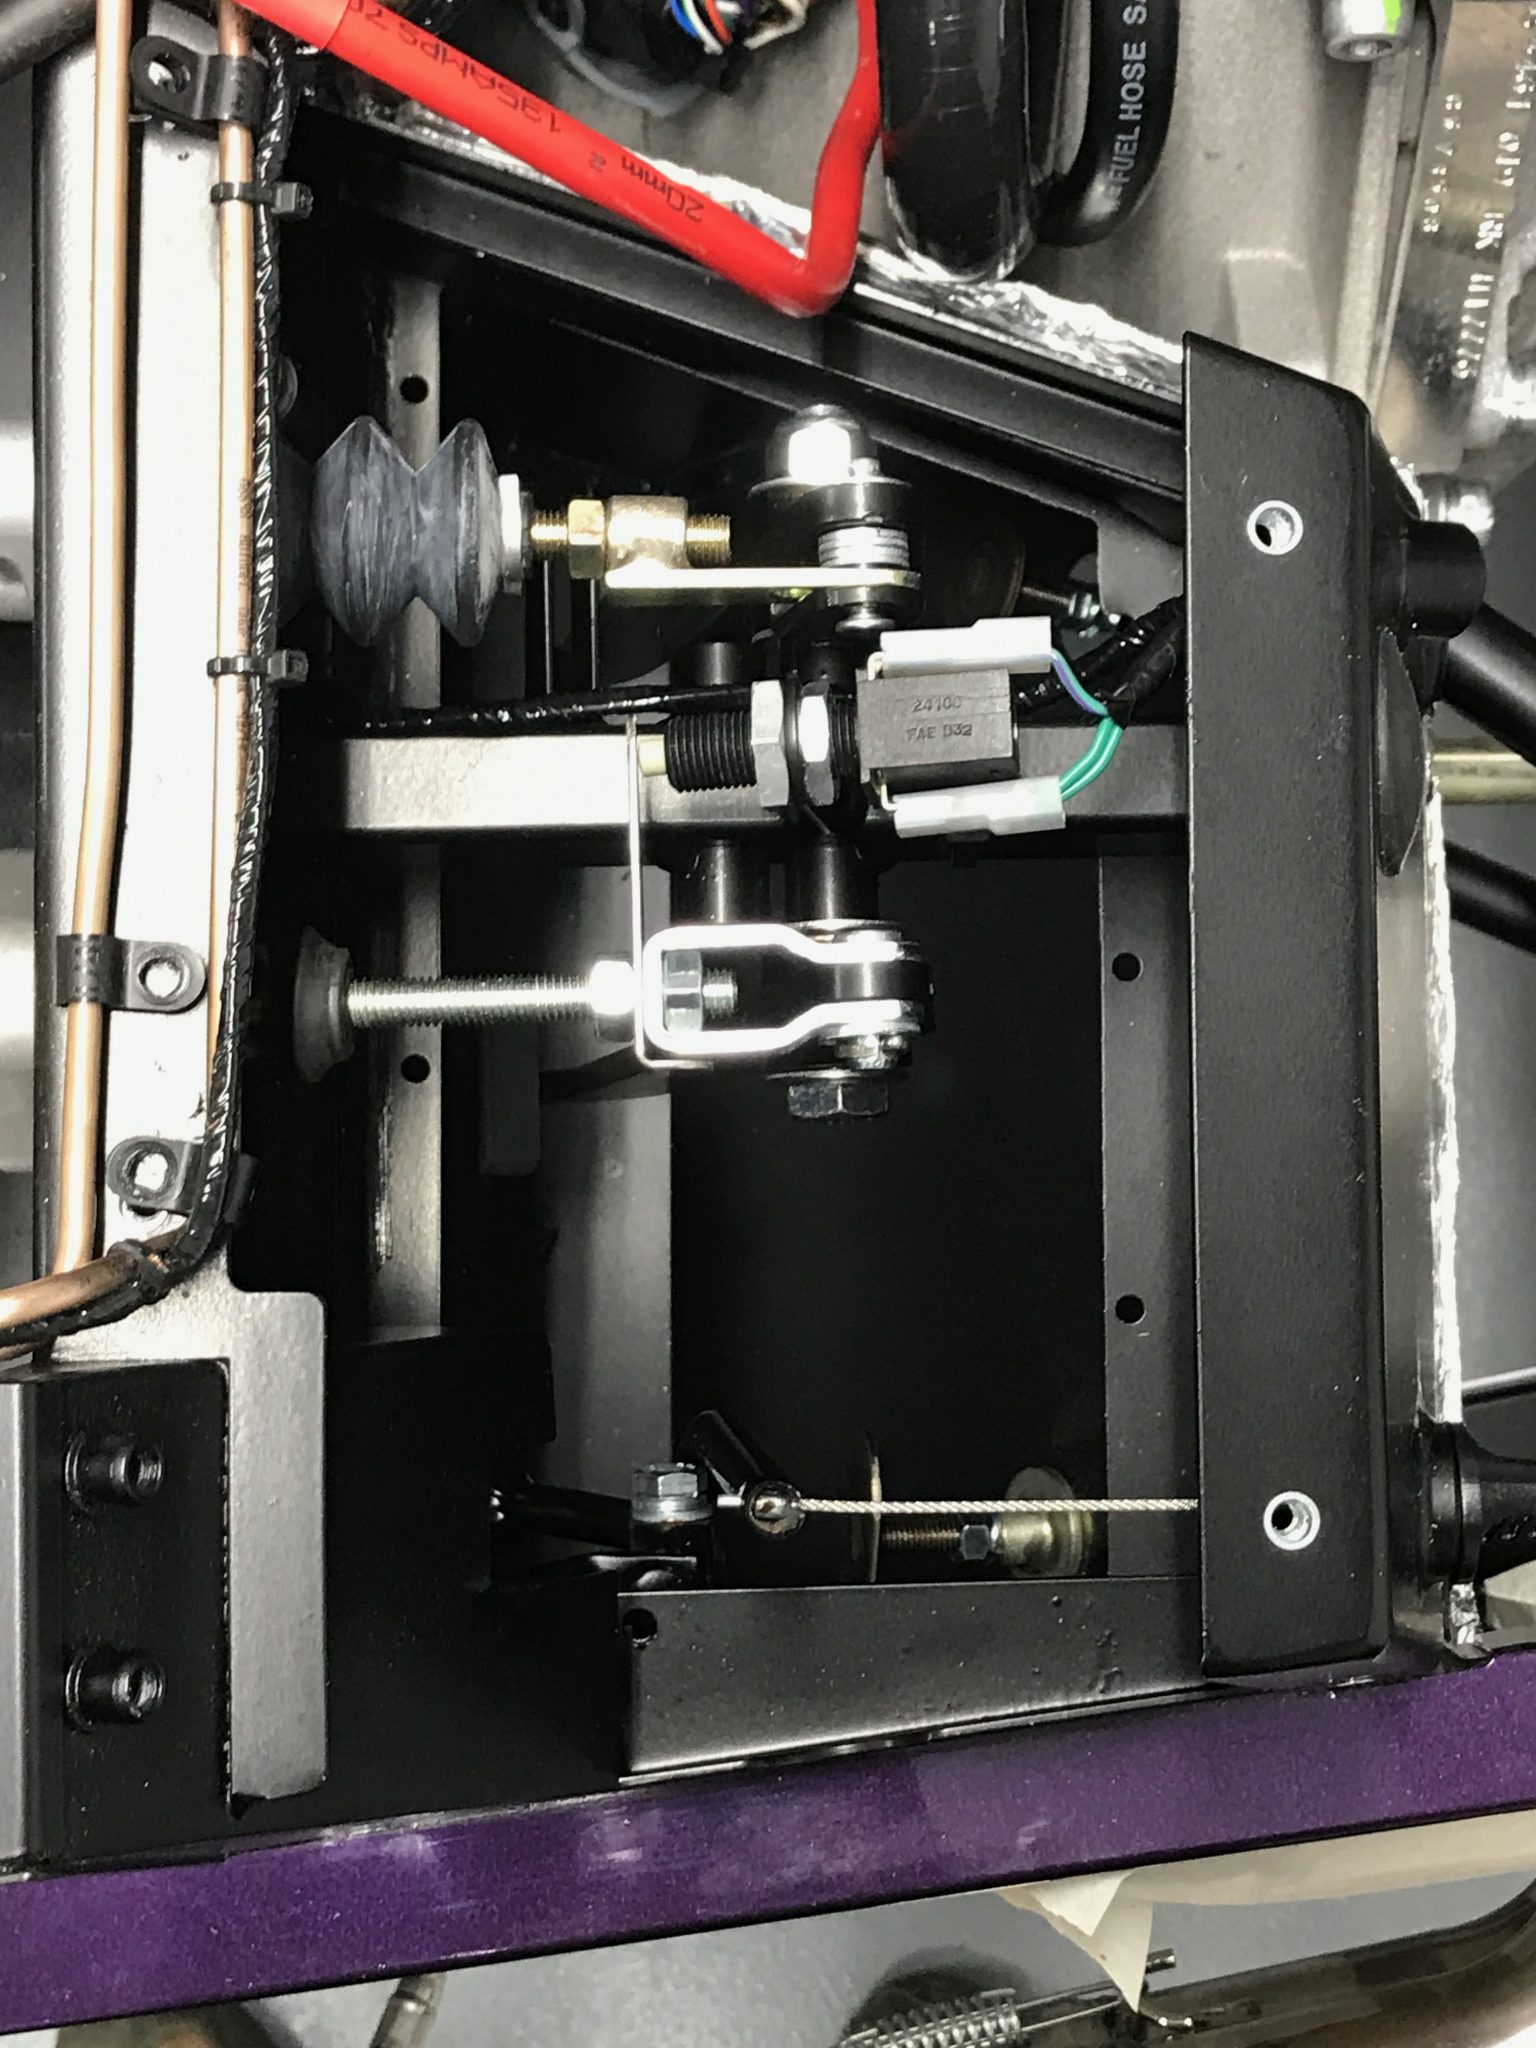
Before we get to that though, and just to get me going today, I decided to have a look at the accelerator cable tension. There are many posts and discussions about this being too long and the need to bend the accelerator pedal shaft to take up the slack.
It’s a trivial job, take out the cable from the accelerator pedal upper shaft and bend the shaft. I used the approach talked about in the build manual: find a suitable philips or pozi screwdriver and insert it in the upper shaft. Then brace the lower half of the pedal against the rear pedal stop (I cut a length of wood to the right size) and bend the shaft. Most of the movement seemed to be at the joint of the upper shaft with the rest of the assembly – but that seemed ok.
It was a case of bend a bit, test the cable tension, bend a bit more, test the tension etc. I expect to have to tweak this some more once the engine is running and I can set the throttle stop position.
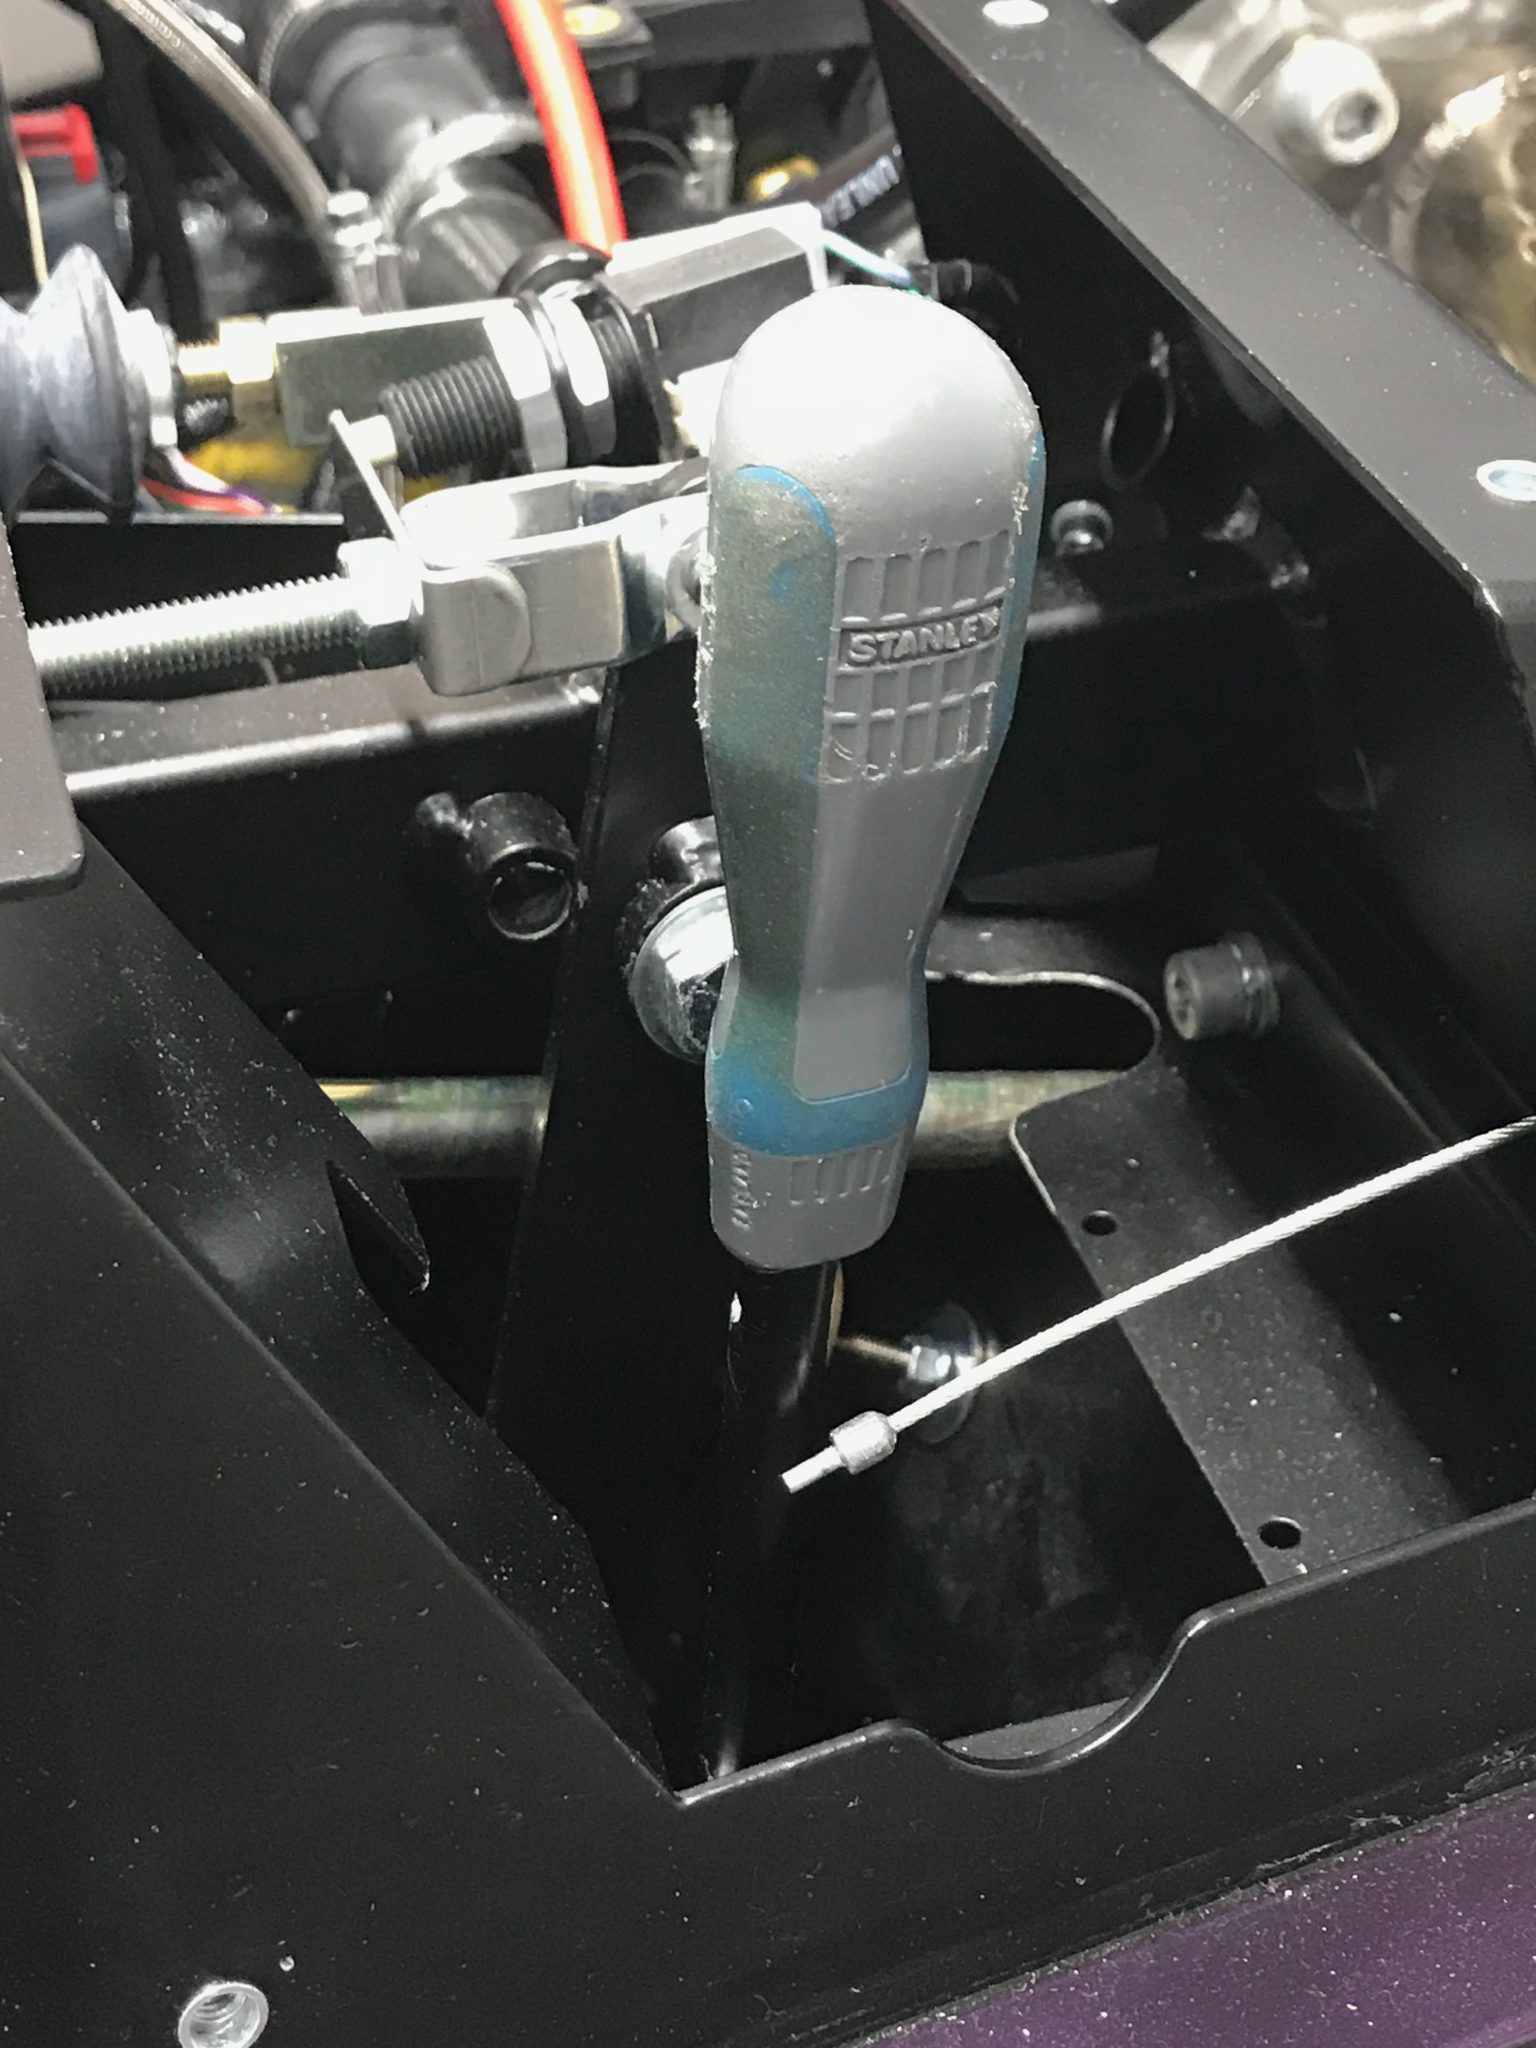
A quick test fit of the pedals by sitting in the car seems to show that the accelerator pedal is too far off to the right in the pedal box. I won’t be able to heel-and-toe with this setup. That’ll be another tweak after IVA, but this time to the lower accelerator pedal shaft.
Prop Shaft
As far as I could tell, installing the prop-shaft should have been a quick and easy task. While easy, it turned out not to be quick.
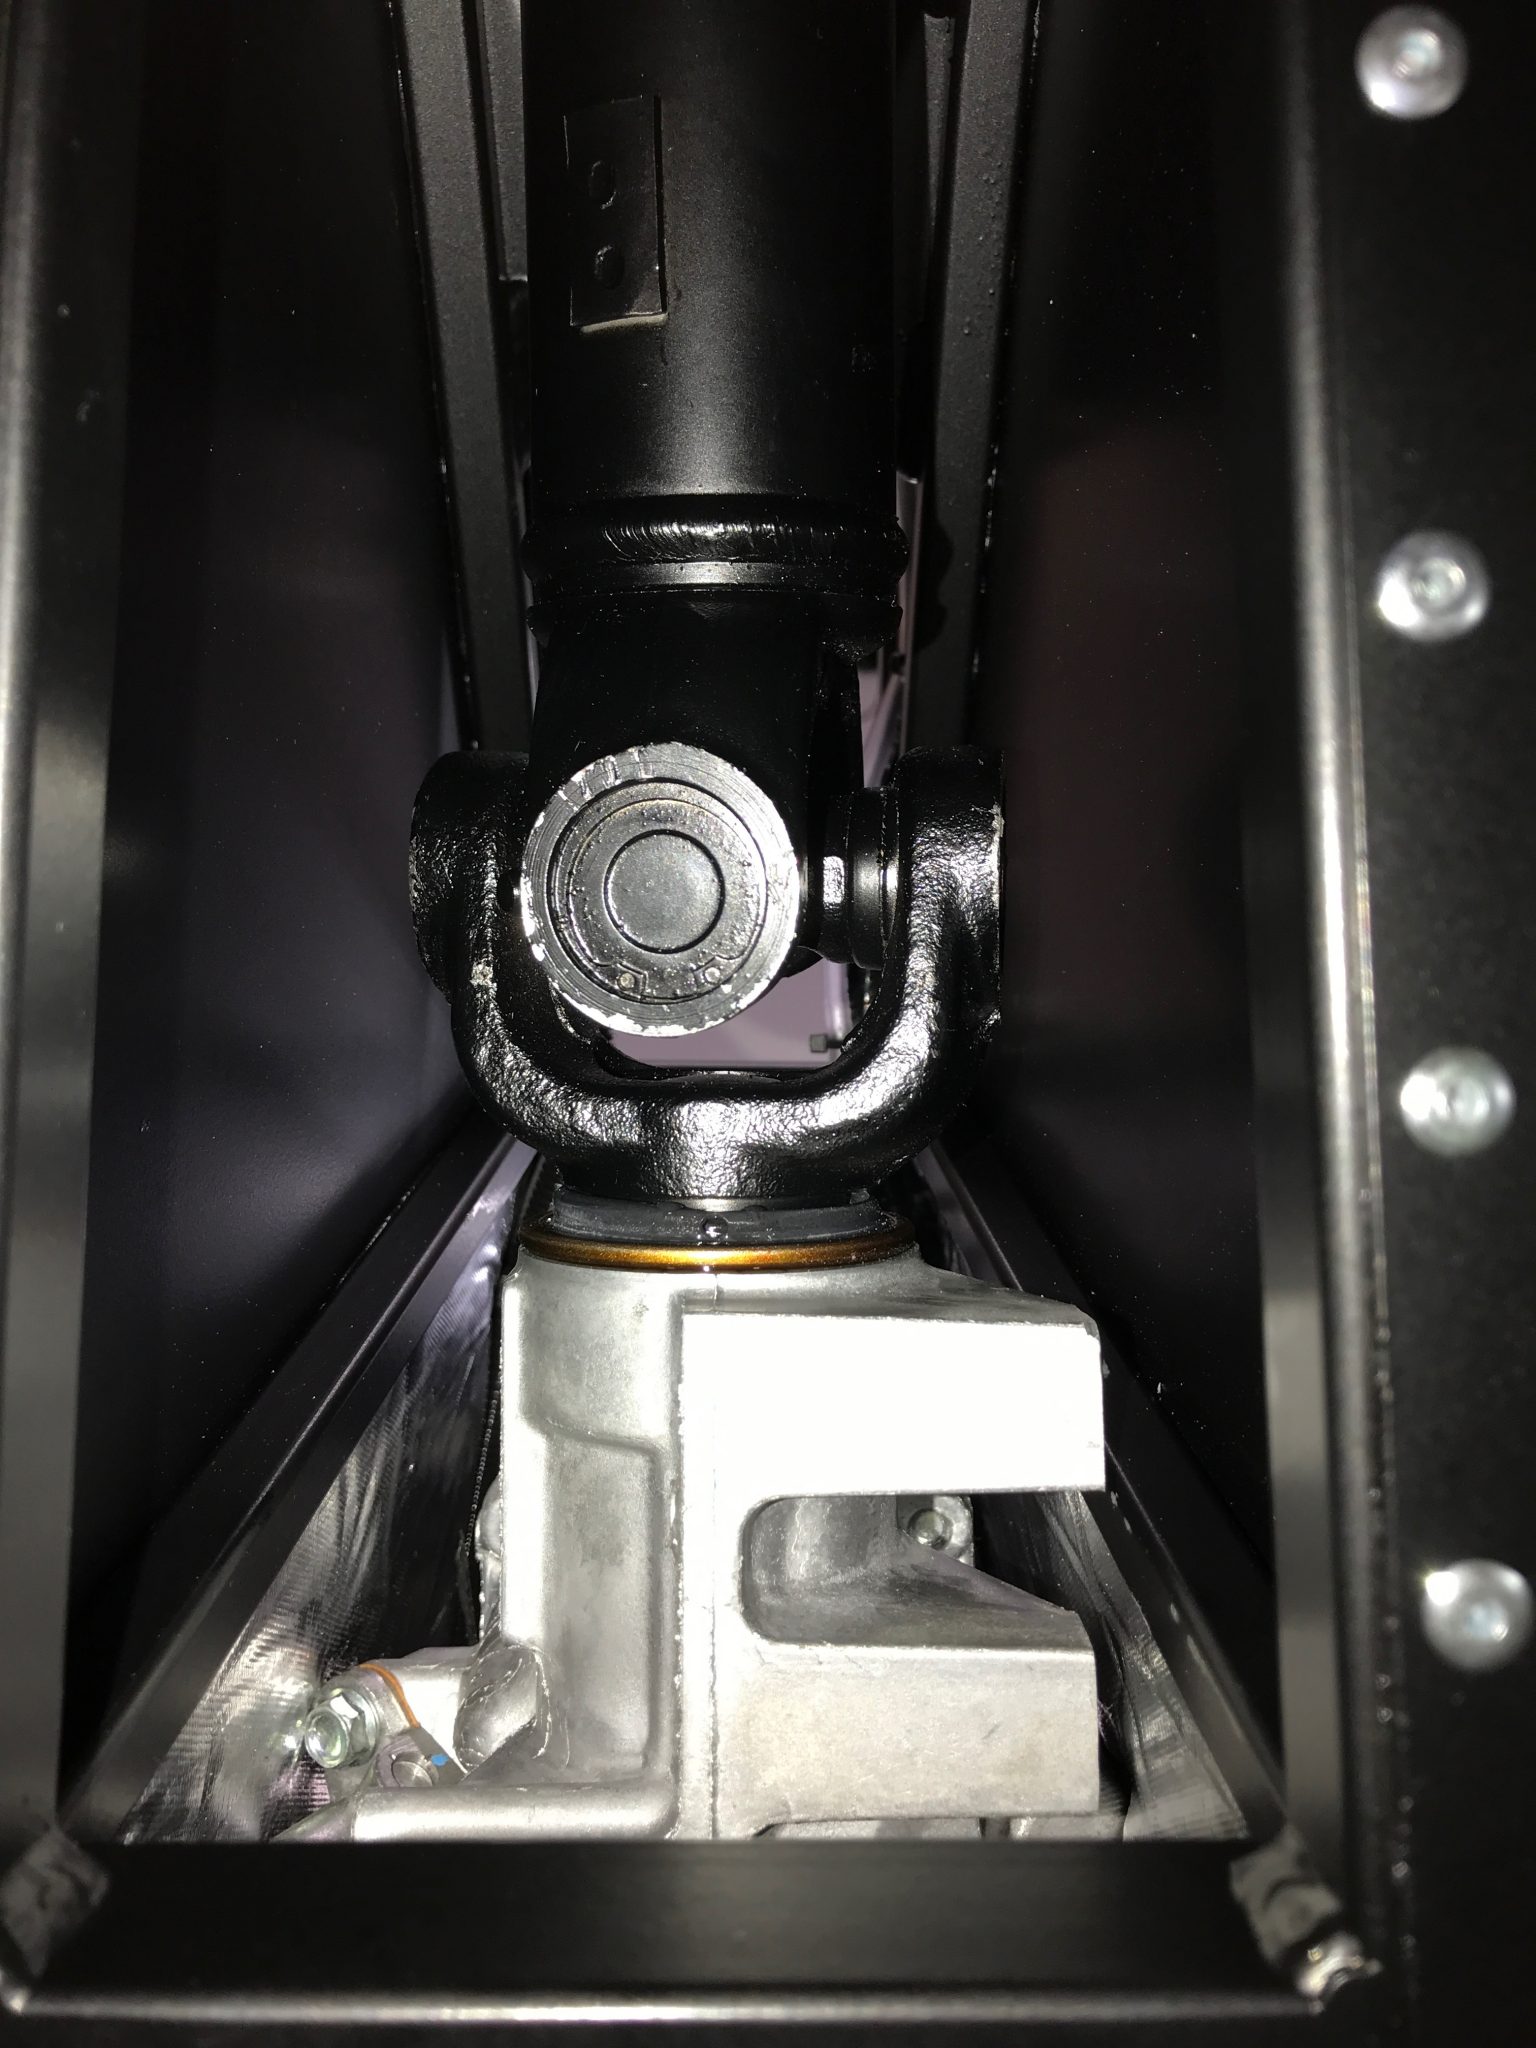
On first offering up the prop to the transmission tunnel from the back of the car (it has to be fed in from the rear of the car, so no chance of doing this once the diff is in place) it became apparent that it wasn’t going to go in without a fight. The universal joint at the gearbox end of the shaft was catching on the side panels of the transmission tunnel.
The prop has standard universal joint setups at both ends that have two U’s holding an inner cross. The U’s are a larger diameter than the shaft itself and the joint on the gearbox end of the assembly just would not go down the transmission tunnel, no matter how I rotated the shaft. Rotating helps because the universal joint has a square cross section and as you rotate the shaft there is a minimum width it achieves – when the cross is at 45 degrees to the horizontal/vertical. Even with this jiggling, it caught on the the transmission tunnel side panels, just behind where the handbrake sits. At this point there are recesses pressed into the panels that encroach into the tunnel. I can’t see that these recesses do anything to add extra passenger room, maybe on a narrower S3 chassis they give a little more space around your hips if you have the tillet seats… but that’s a wild guess. Maybe they’re there to stop the side panels from vibrating???
I did wonder if the prop shaft needs to be fed into the tunnel by first feeding the differential end in from half way along the tunnel. The idea being to feed it in just behind the hand brake, backwards towards the rear of the car. Then once its lift up into place, bring it forwards again into the gearbox. But that clearly doesn’t work as the plate on the differential end is much too large to go down the tunnel as well.
The only way I could see to get the prop shaft in was as I first thought… feed it in from the rear of the car down the whole length of the transmission tunnel.
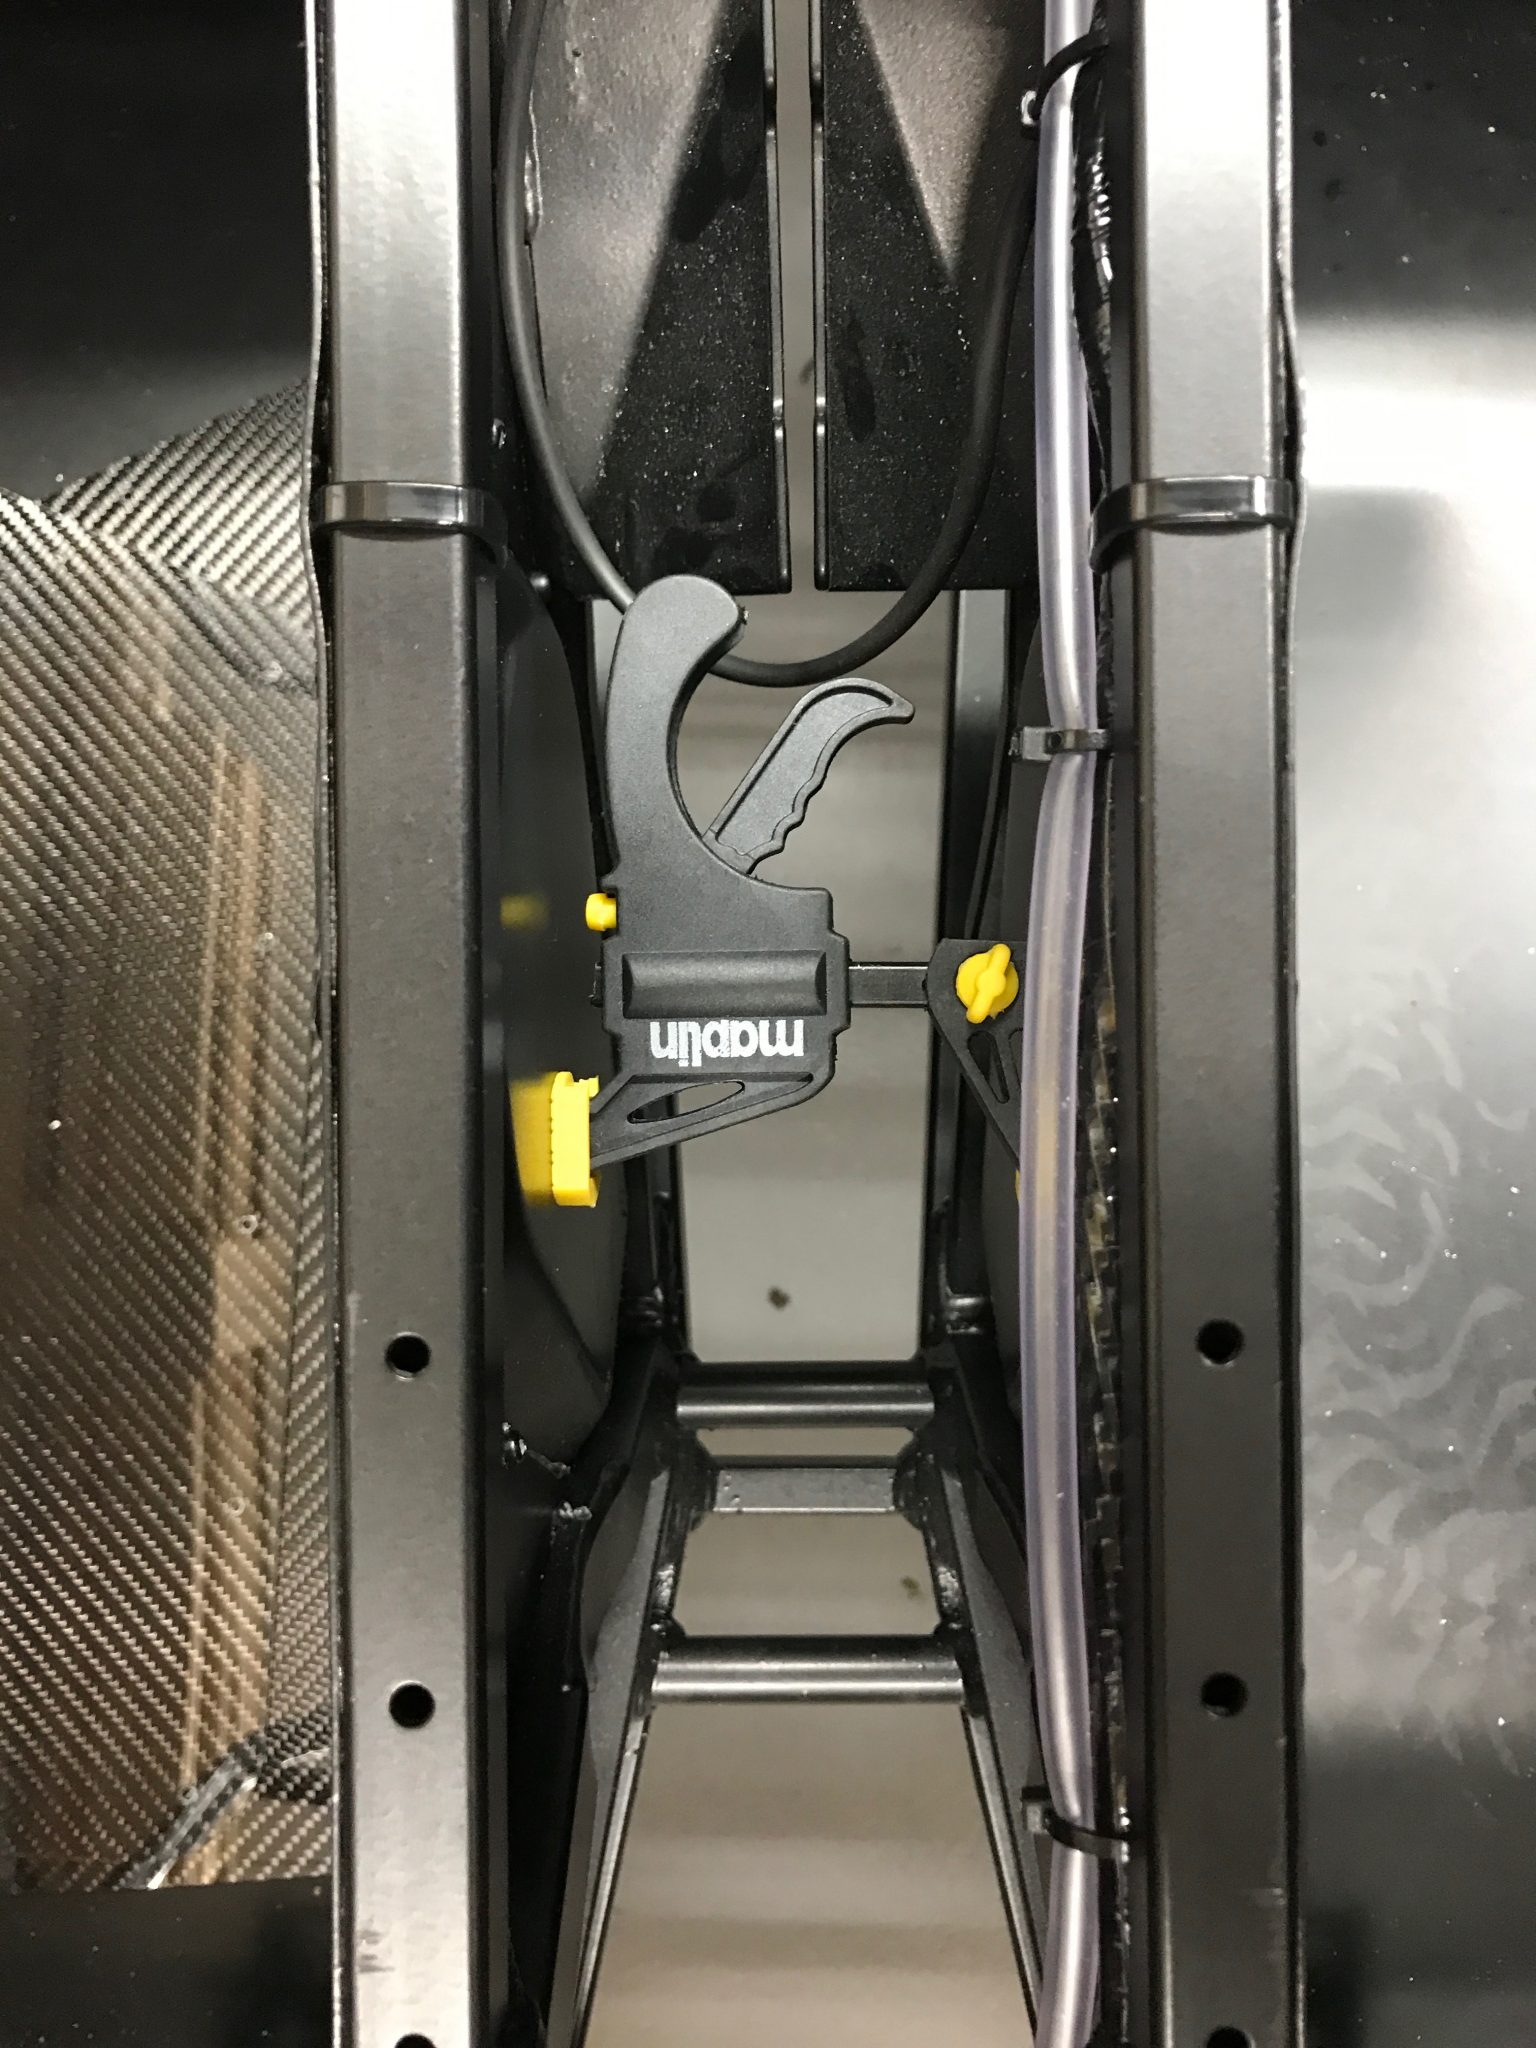
So, I then thought I’d try and spread the recessed parts of the transmission tunnel panels to give some extra room where it was catching. The large clamps I have were too big to get into the tunnel and I ended up trying to use some small Maplin clamps in their expanding configuration. Unfortunately, this didn’t work, the clamps were just too feeble and it made little to no difference. I thought I could probably come up with some other way of spreading the panels but then decided I was over thinking all of this…
So, there was nothing for it but to use some persuasion. I mounted the prop shaft as far down the tunnel as it would go, then a few hefty clouts with a rubber mallet and the prop shaft moved past blockage and was then easily fed into the rear of the gearbox. It scratched the sides of the transmission tunnel on the way through but nothing cosmetic there so I didn’t worry about fixing the scratches.
Differential Install
It was late in the day on Saturday now but I wanted to at least get the diff hung on its top chassis mounts.
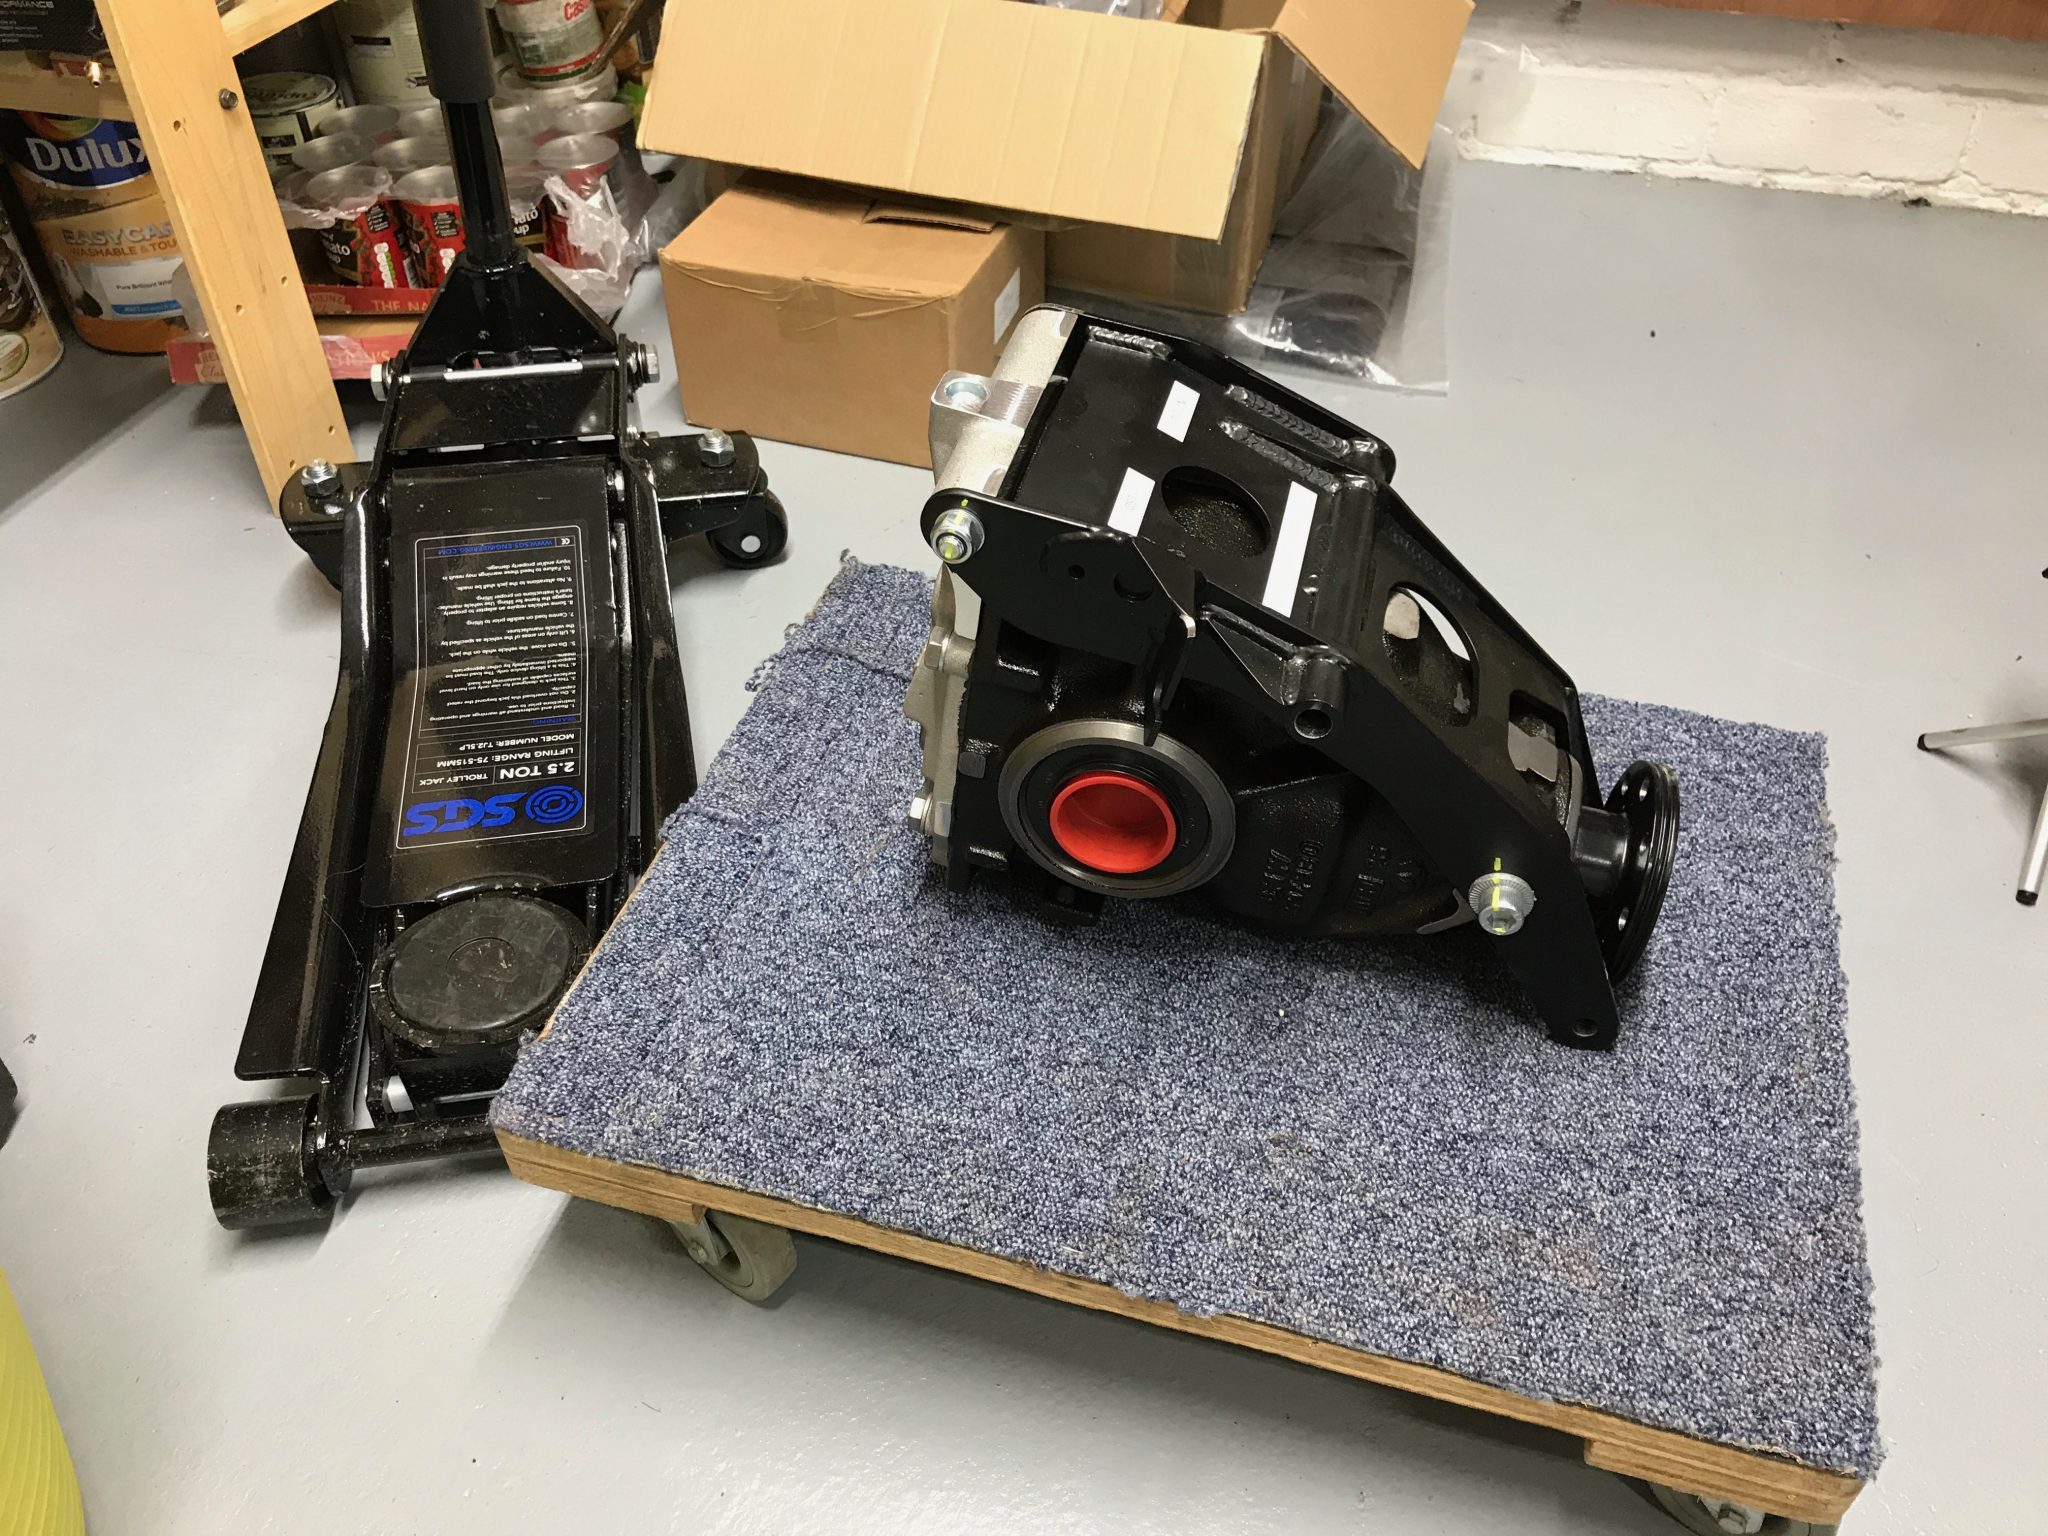
And this is where it goes.
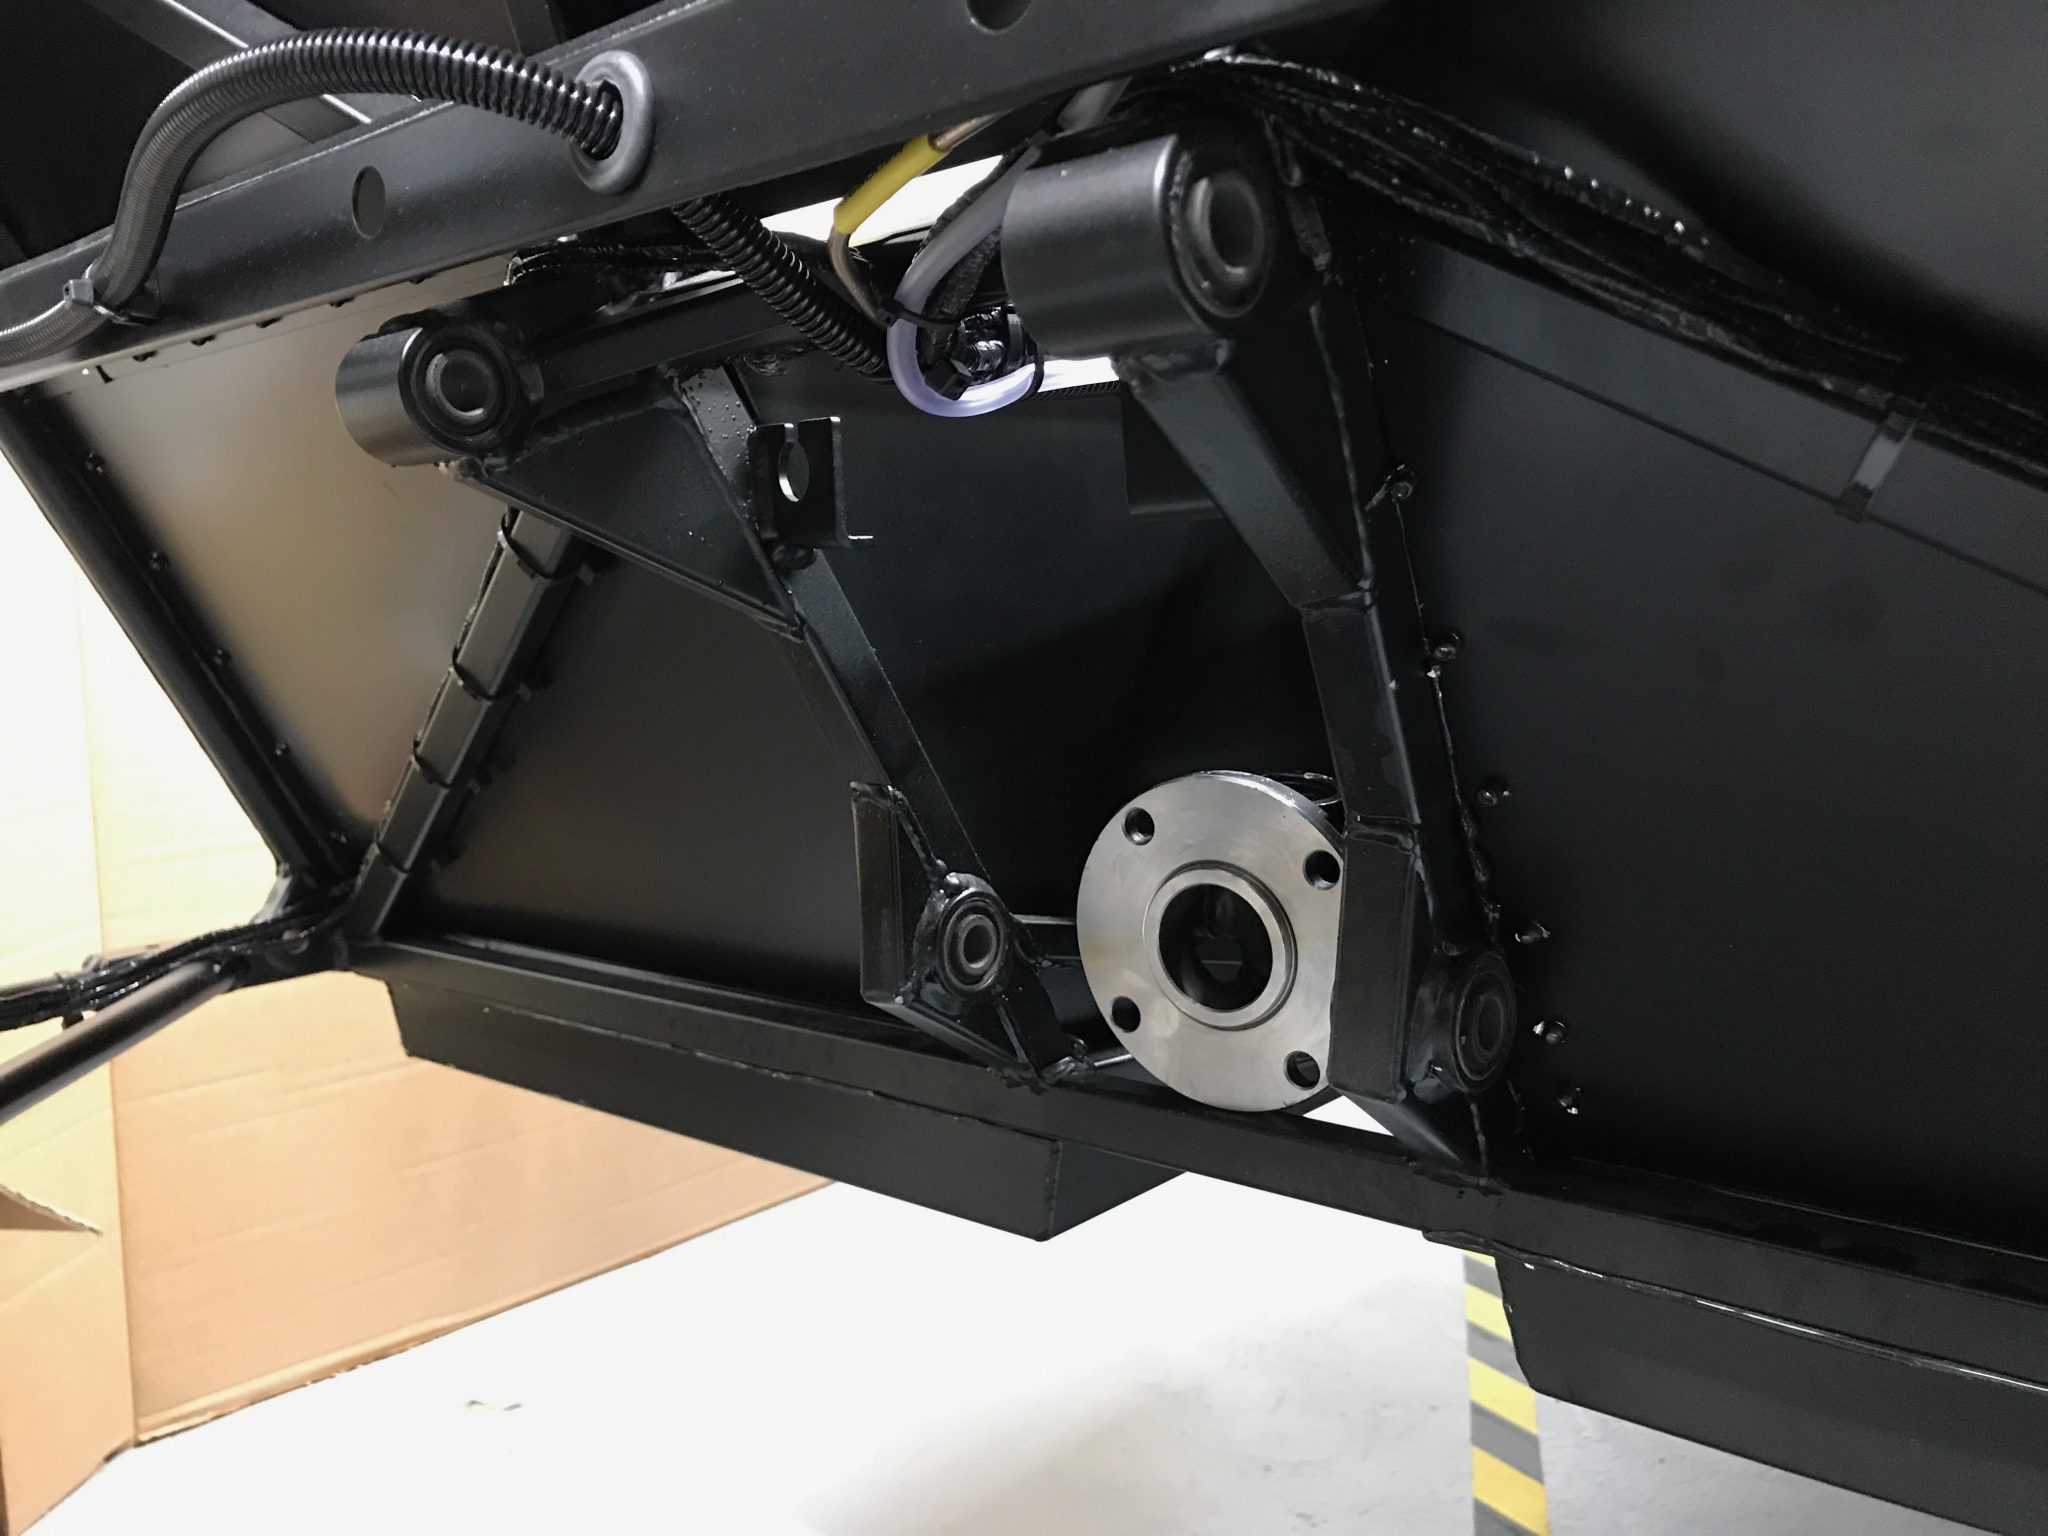
For this job I was going to need another pair of hands, its definitely not a one person job the way I did it.
I can imagine you could do it by yourself if you had an engine hoist lifting the diff through the hole in the boot and with the wooden floor removed. But… you would need to create some sort of cradle for the diff to sit in so it’s vaguely sitting level.
So, I enlisted Joe’s help and we got to work.
I had already measured the distance from the floor to the top diff chassis mounting points and worked out that our trolley jack wasn’t going to be tall enough to lift the diff into position. The trolley jack lifts up to 504mm but it was a couple of cm short of being tall enough. You also have to remember that these jacks start to operated almost horizontally (pulling the car sideways) at the top of their travel.
I could have lowered my axel stands one or two notches to help here but I decided I wanted as much space as possible to work under the car. If I was doing this again I probably would just temporarily drop the car down so I didn’t have to worry about the blocks of wood balanced on the jack. Some people have placed the jack on some wood but I wanted the jack to be as mobile as possible while we manoeuvred the diff into place and I hadn’t got enough large sheets of ply-wood to hand that could raise the diff but keep the manoeuvrability. Our solution was to put three pieces of wood, taped together, on top the jack.
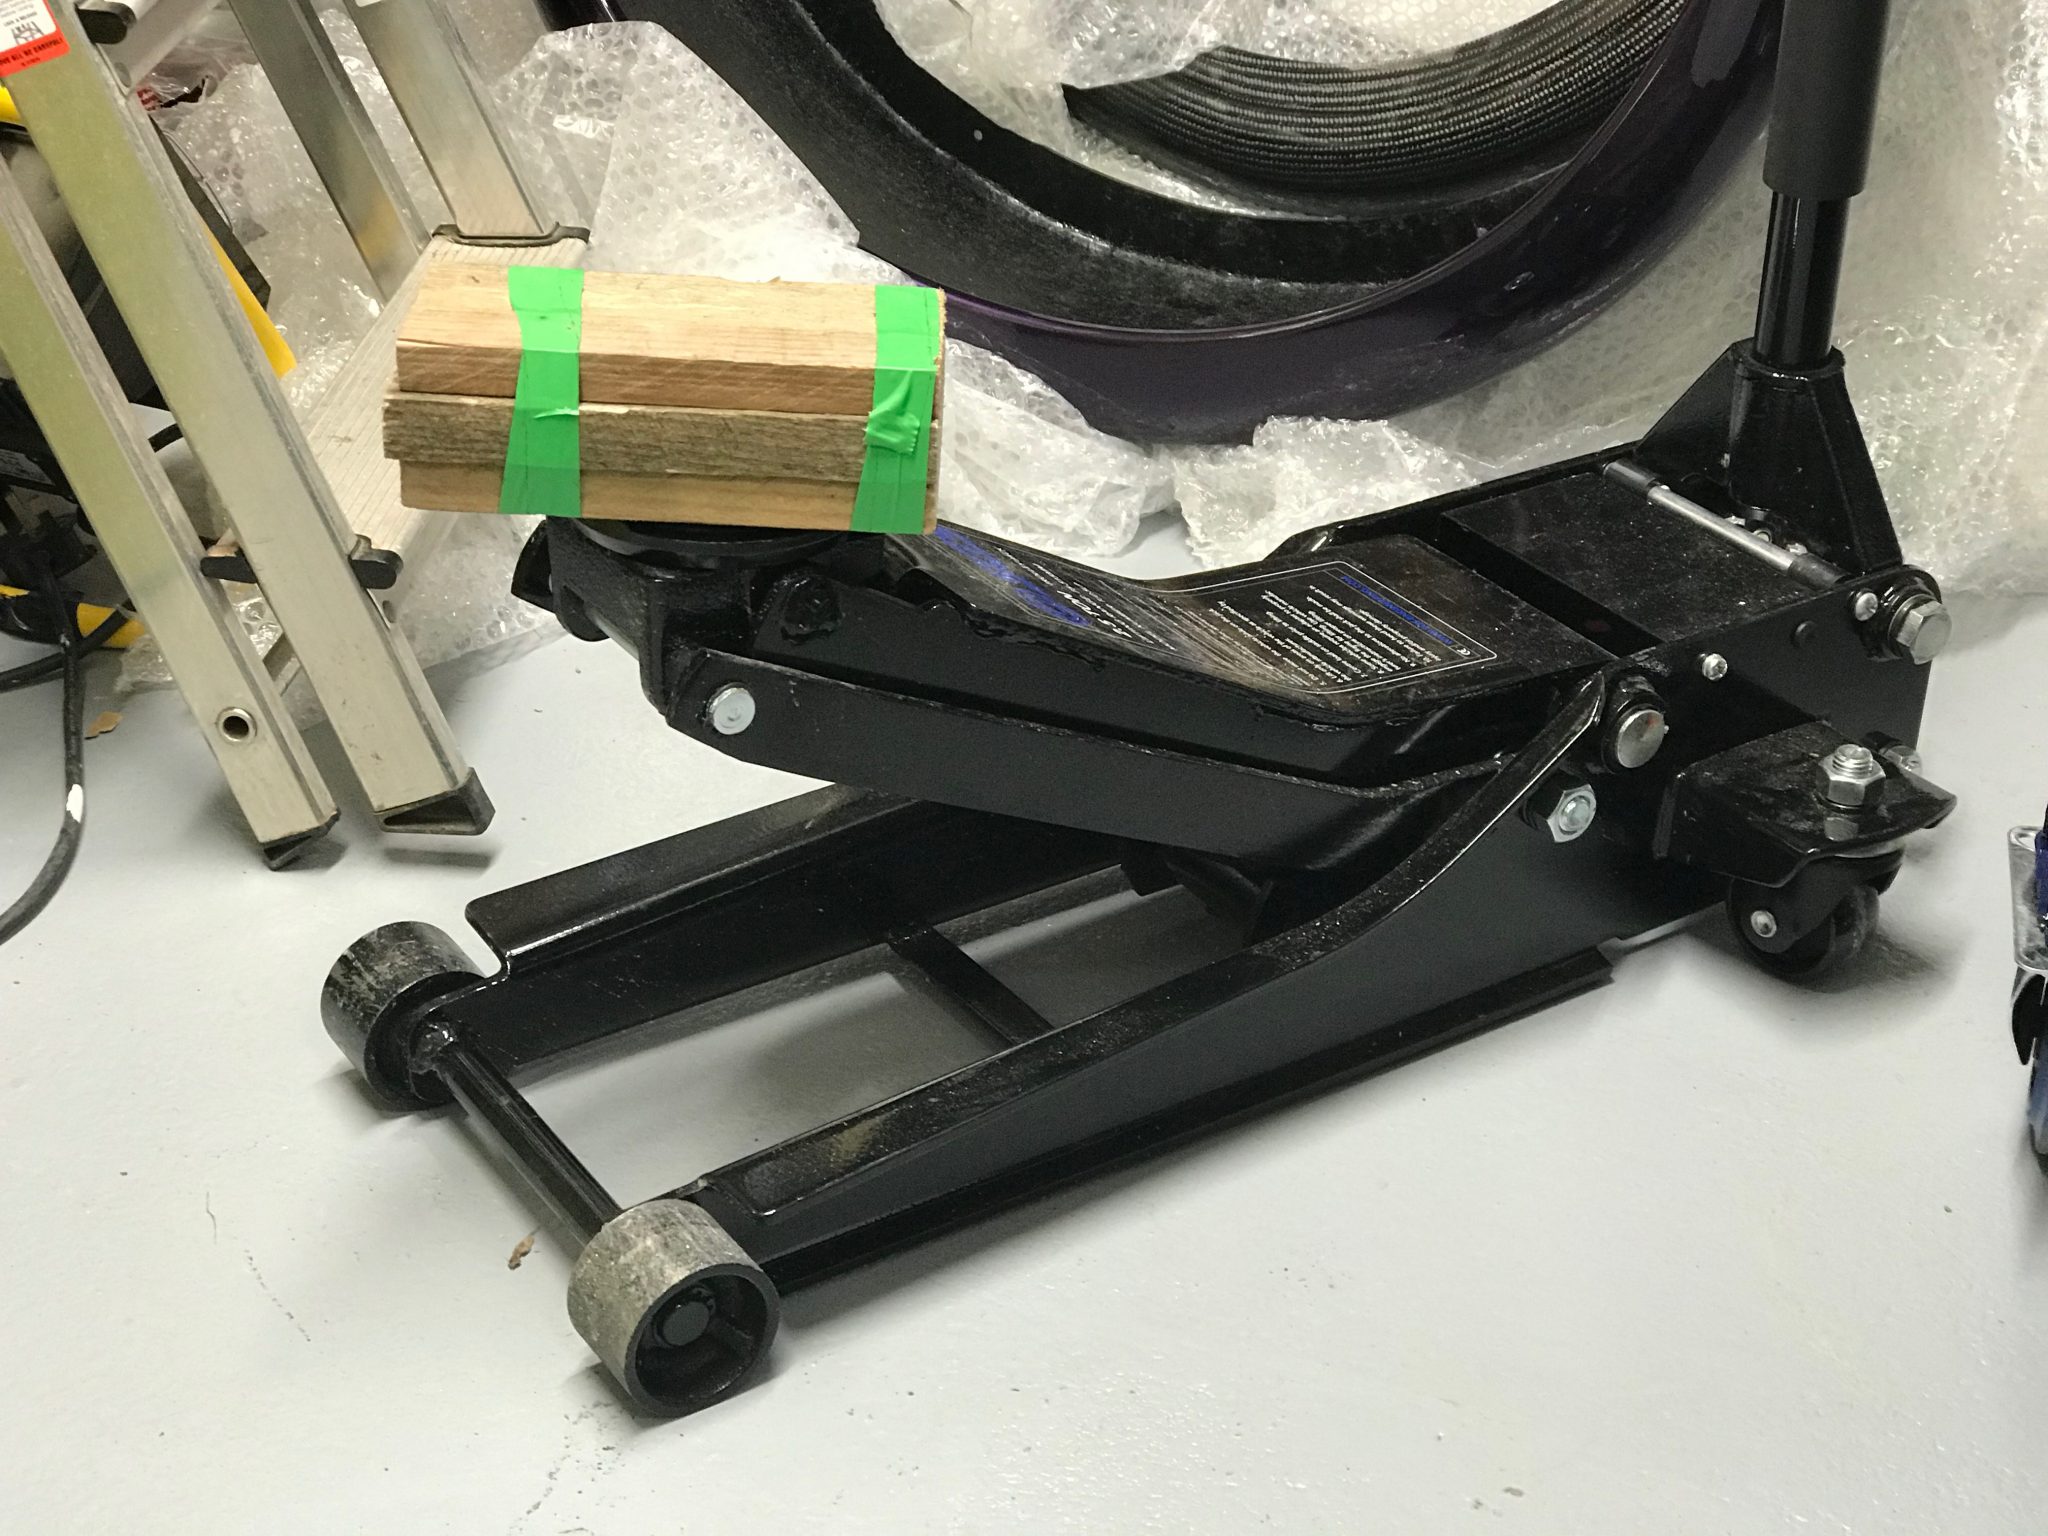
With Joe operating the jack and me under the car, keeping the diff balanced on the wood (and the jack), Joe could put a large screwdriver through the top bushes and diff. We got there in about 15 minutes. The diff on top of the jack was pretty precarious but I didn’t have any big fear of it falling, its heavy, but not that heavy, it just needed patience.
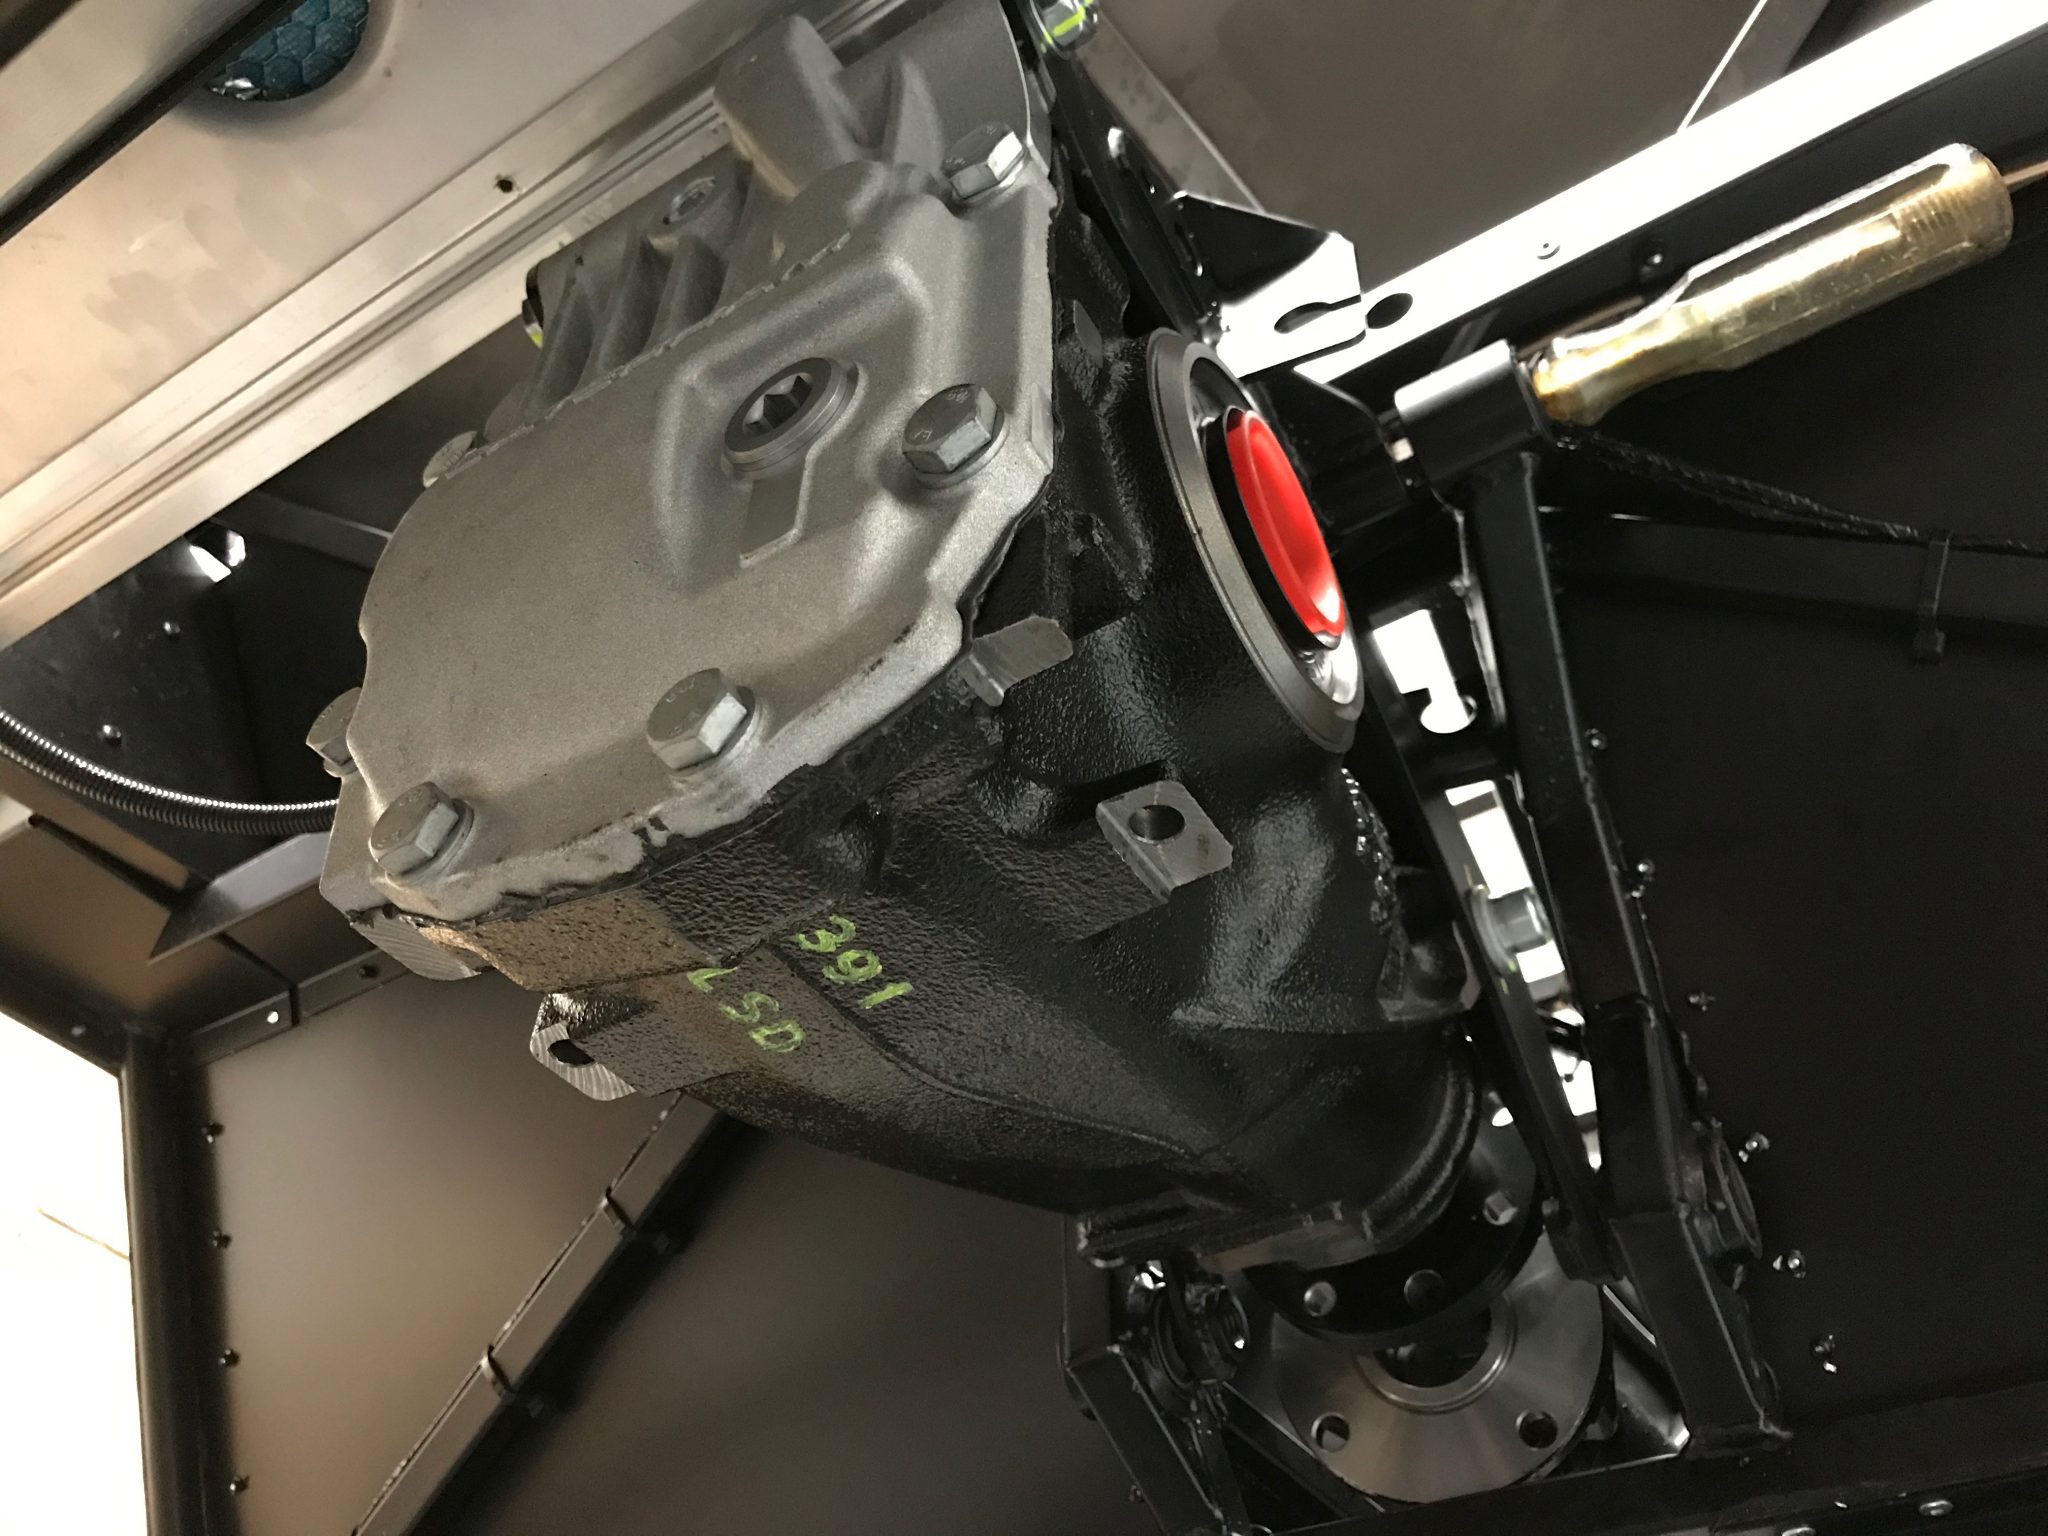
That was it for the evening, and as with all good dramas, we need to leave the audience at the end of each show with a diff-hanger (sorry couldn’t refuse that one!). End of the day…
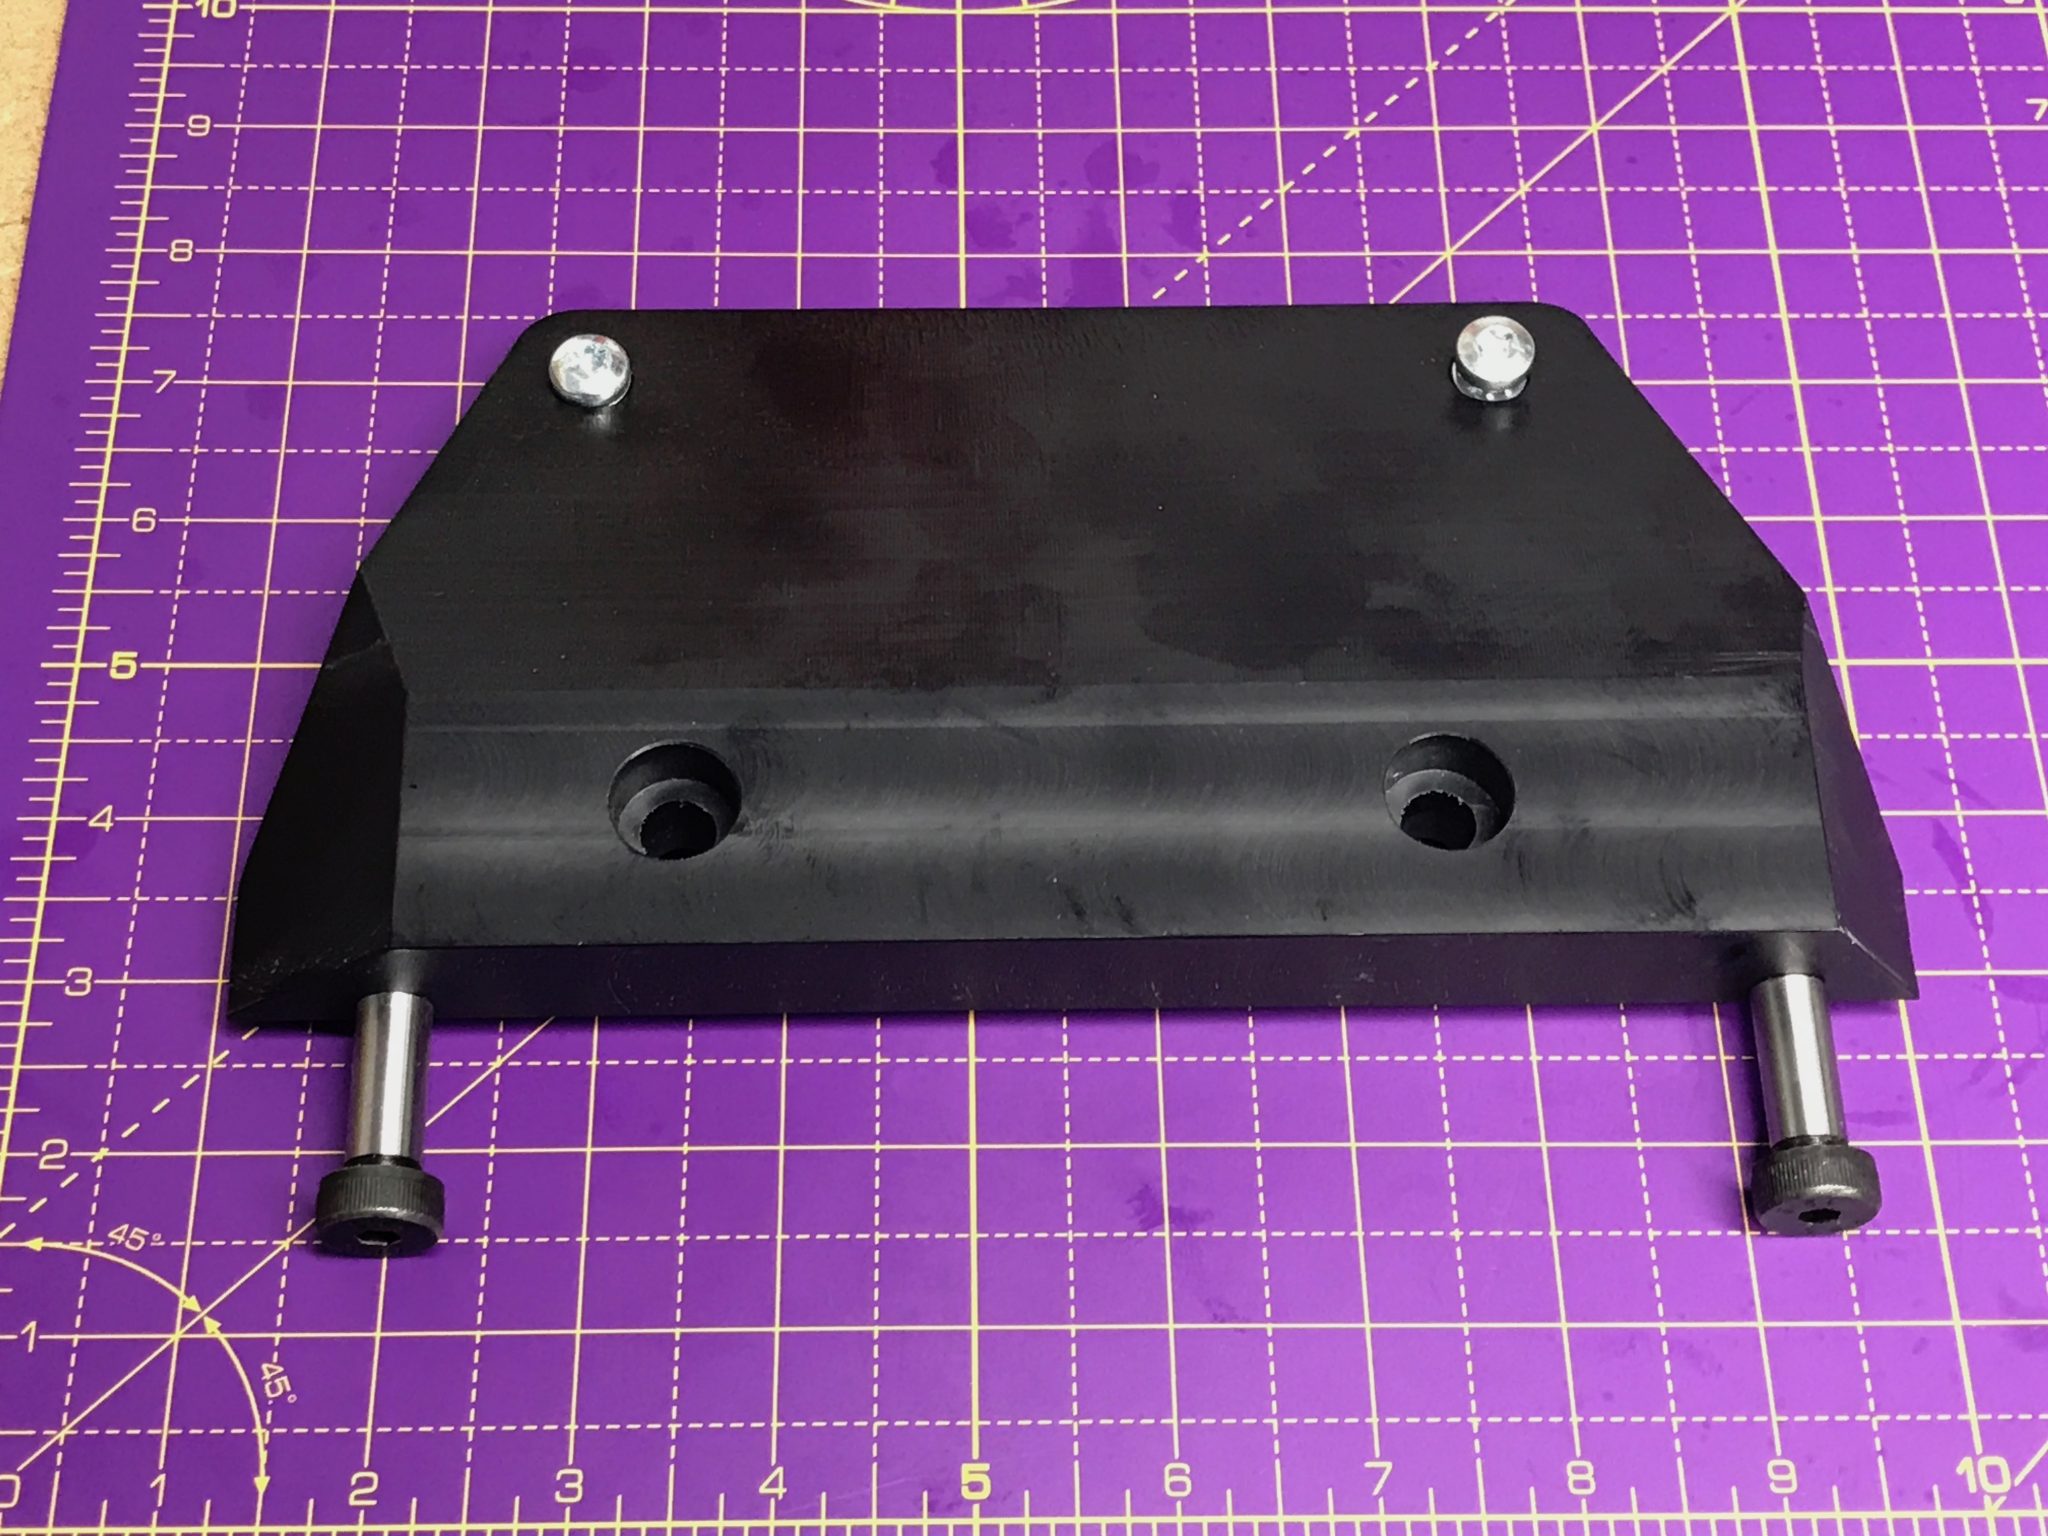
But is it…? During the night, or more precisely the early hours of the next morning, I had a revelation. I had been wondering, since first opening the kit’s cardboard boxes, what this was…
… and having spent a bit of time now zipping around on the crawler under the car I had recently been wondering how on earth this hole (showing gear teeth) between the engine and the bell housing, could be right…
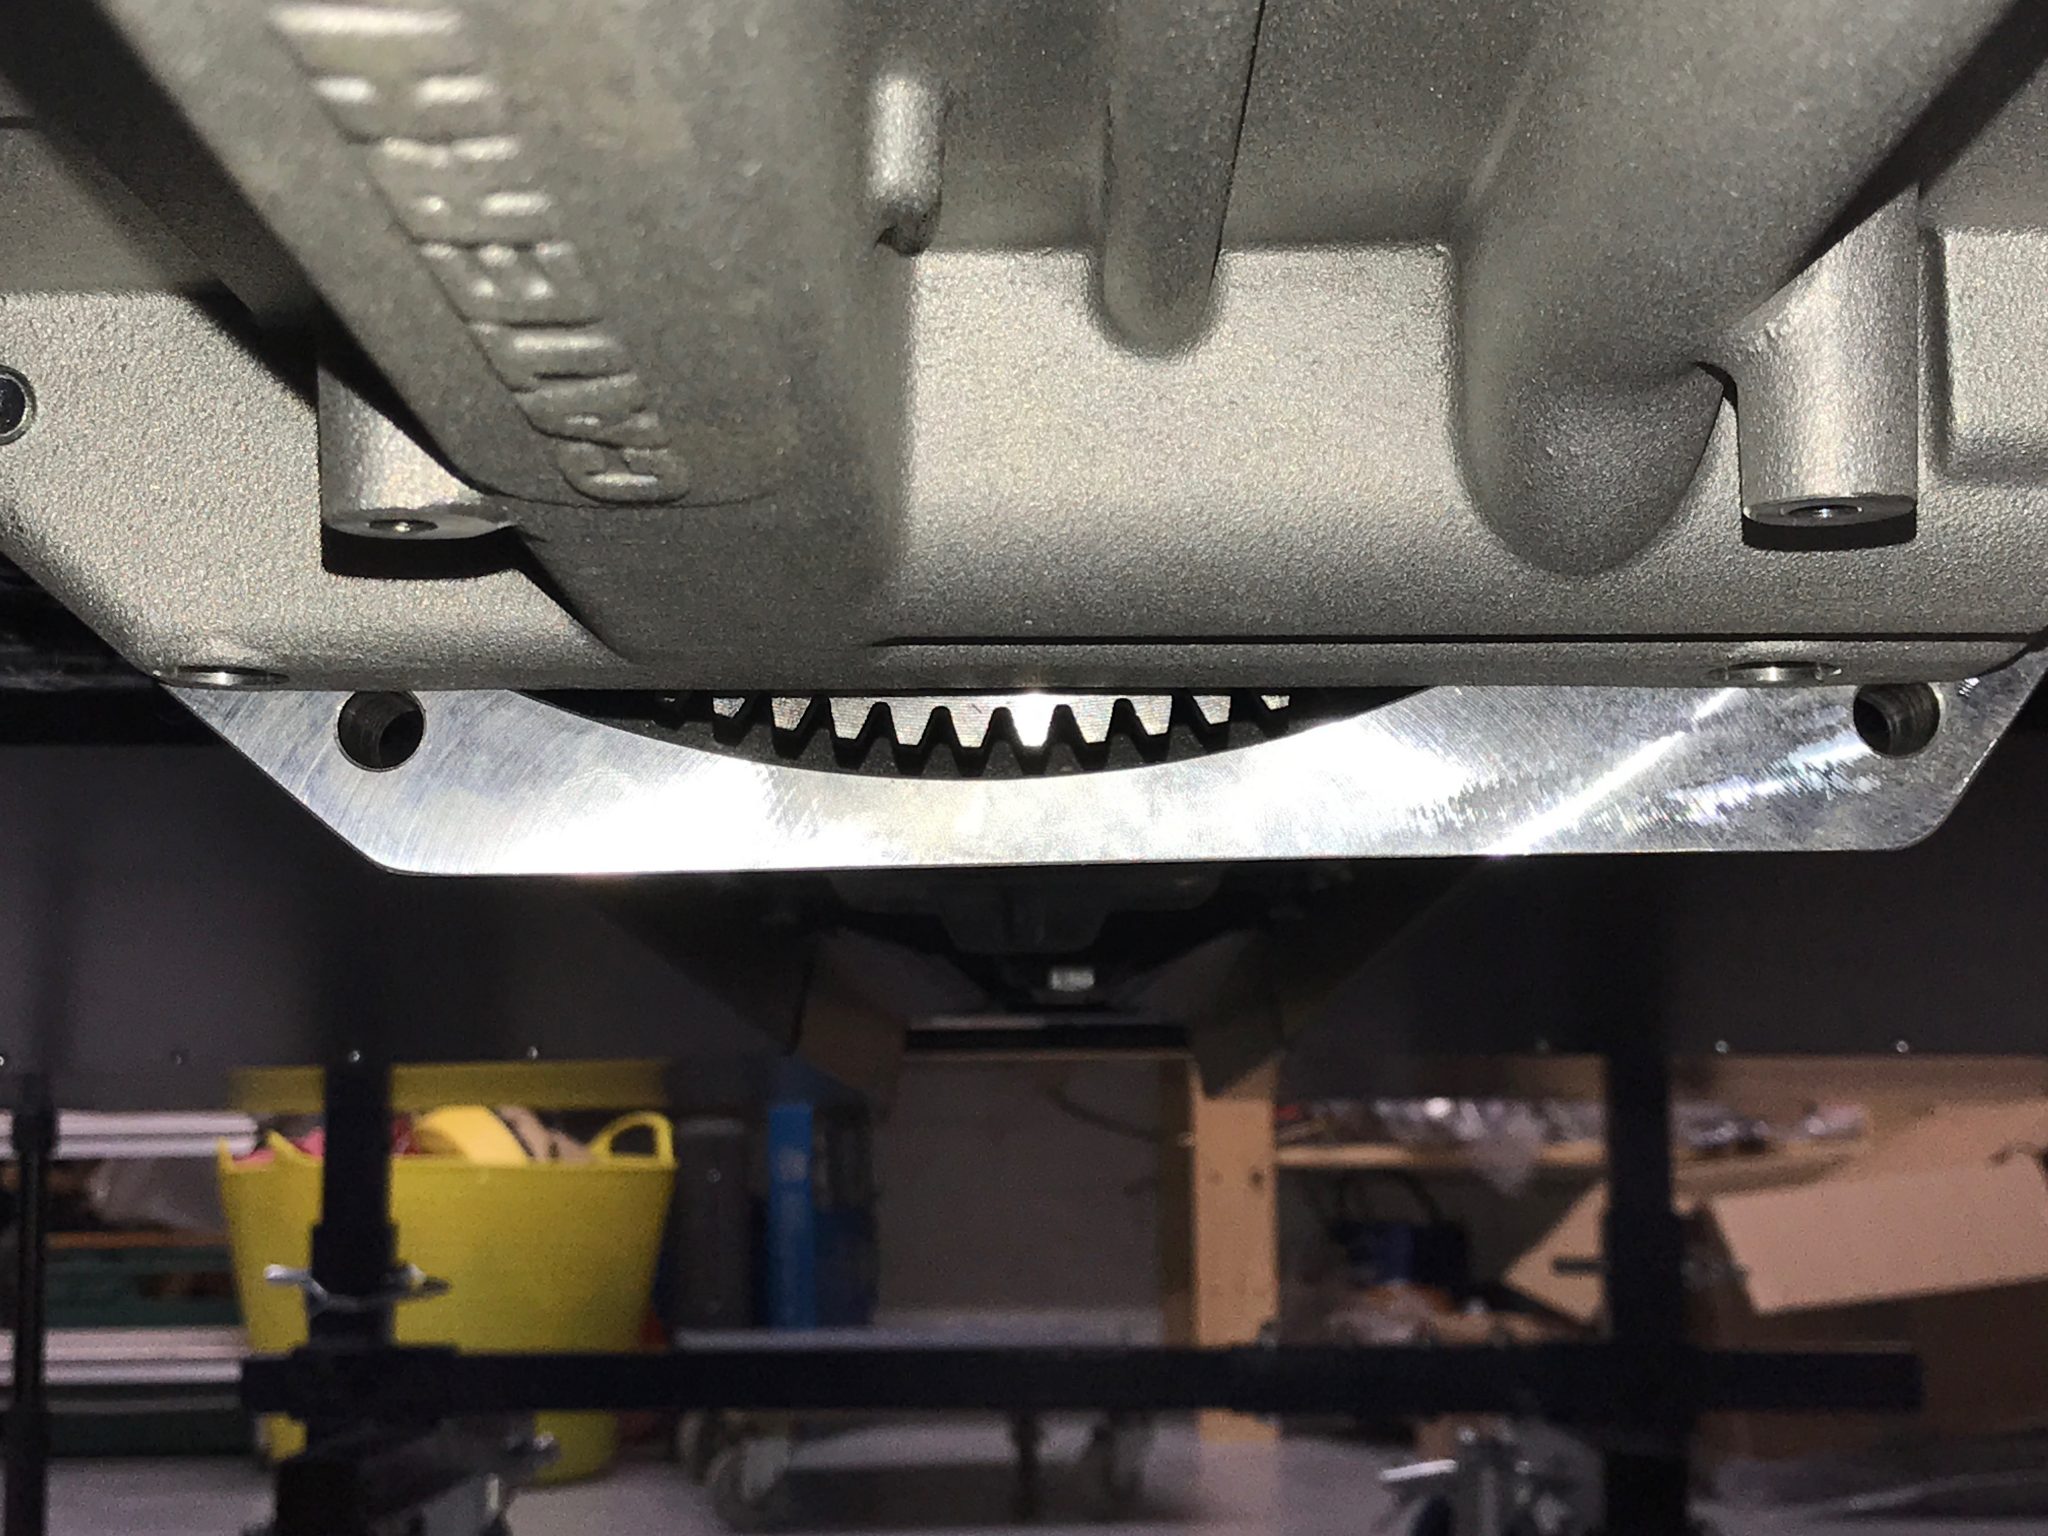
And then finally I had an epiphany in the early hours… and realised the mystery object was a blanking/skid plate to cover the hole. Ah-ha! That was going to be the first job in the morning!
Skid Plate
It’s, Sunday, another day but not another session. For the most part I’ve had one session per day, but I realise that’s making for a lot of posts. I thought today that I’d stick today’s session in with yesterday’s. It’s only a half day today so that should be ok.
But back to the skid plate. It all made perfect sense now. This blanking/skid plate was obviously made to fill the height difference, and hole, between the sump and bell housing. I just hadn’t heard of this in any blogs, or forum threads, so didn’t put two and two together – boy am I slow!
However…
When I tried to put this mystery object to work, it didn’t fit. If you look carefully at the picture of the bell housing above (with the geared cog showing through the gap), you can see that the holes on the left and the right of the bell housing have slightly different amounts of the hole showing. There is less of a full circle showing of the right side hole in the picture (which is on the LHS of the car with this picture taken looking backwards). There wasn’t enough of this hole showing.
The skid plate is attached with two bolts that go forwards through the bell housing and into threaded holes in the skid plate. With this right hand hole the bolt would go through the bell housing but wouldn’t pick up on its thread in the skid plate. And no matter how hard I pushed and wiggled the bolt it wouldn’t catch the thread…. bummer!
What to do?
I now thought it might be possible that when I’d attached the engine to the bell housing, that I might have got the two slightly miss-aligned – i.e. the bell-housing and the engine rotated around their long axis relative to each other. This only needed to be less than a mm to not give me enough clearance for this hole.
Hmmm. I really, really, really, didn’t fancy undoing the engine to bell housing bolts. If I’d have known this before putting the engine into the car then I’d have fitted the skid plate then and all would have been good. I could have fitted this plate while the bell-housing and gearbox were loosely attached and made sure there was enough room to get it tightened up. It just didn’t occur to me that this widget went where it does.
So… did I mention that I really didn’t want to undo the engine to bell housing bolts now? Well I didn’t. As I write this a few weeks later (yes I am that far behind with these blogs) I would perhaps feel more confident about doing this but at the time I wasn’t keen. So, what to do?
I did what anyone would have done. I made-do. I decided that if I shaved some material off the top of the skid plate then the plate would sit higher and the bolt would catch the thread. I clearly didn’t want to play around with the holes in the bell housing and it seemed that the least expensive thing to replace was the skid plate if I screwed it up.
So, out with the orbital sander…
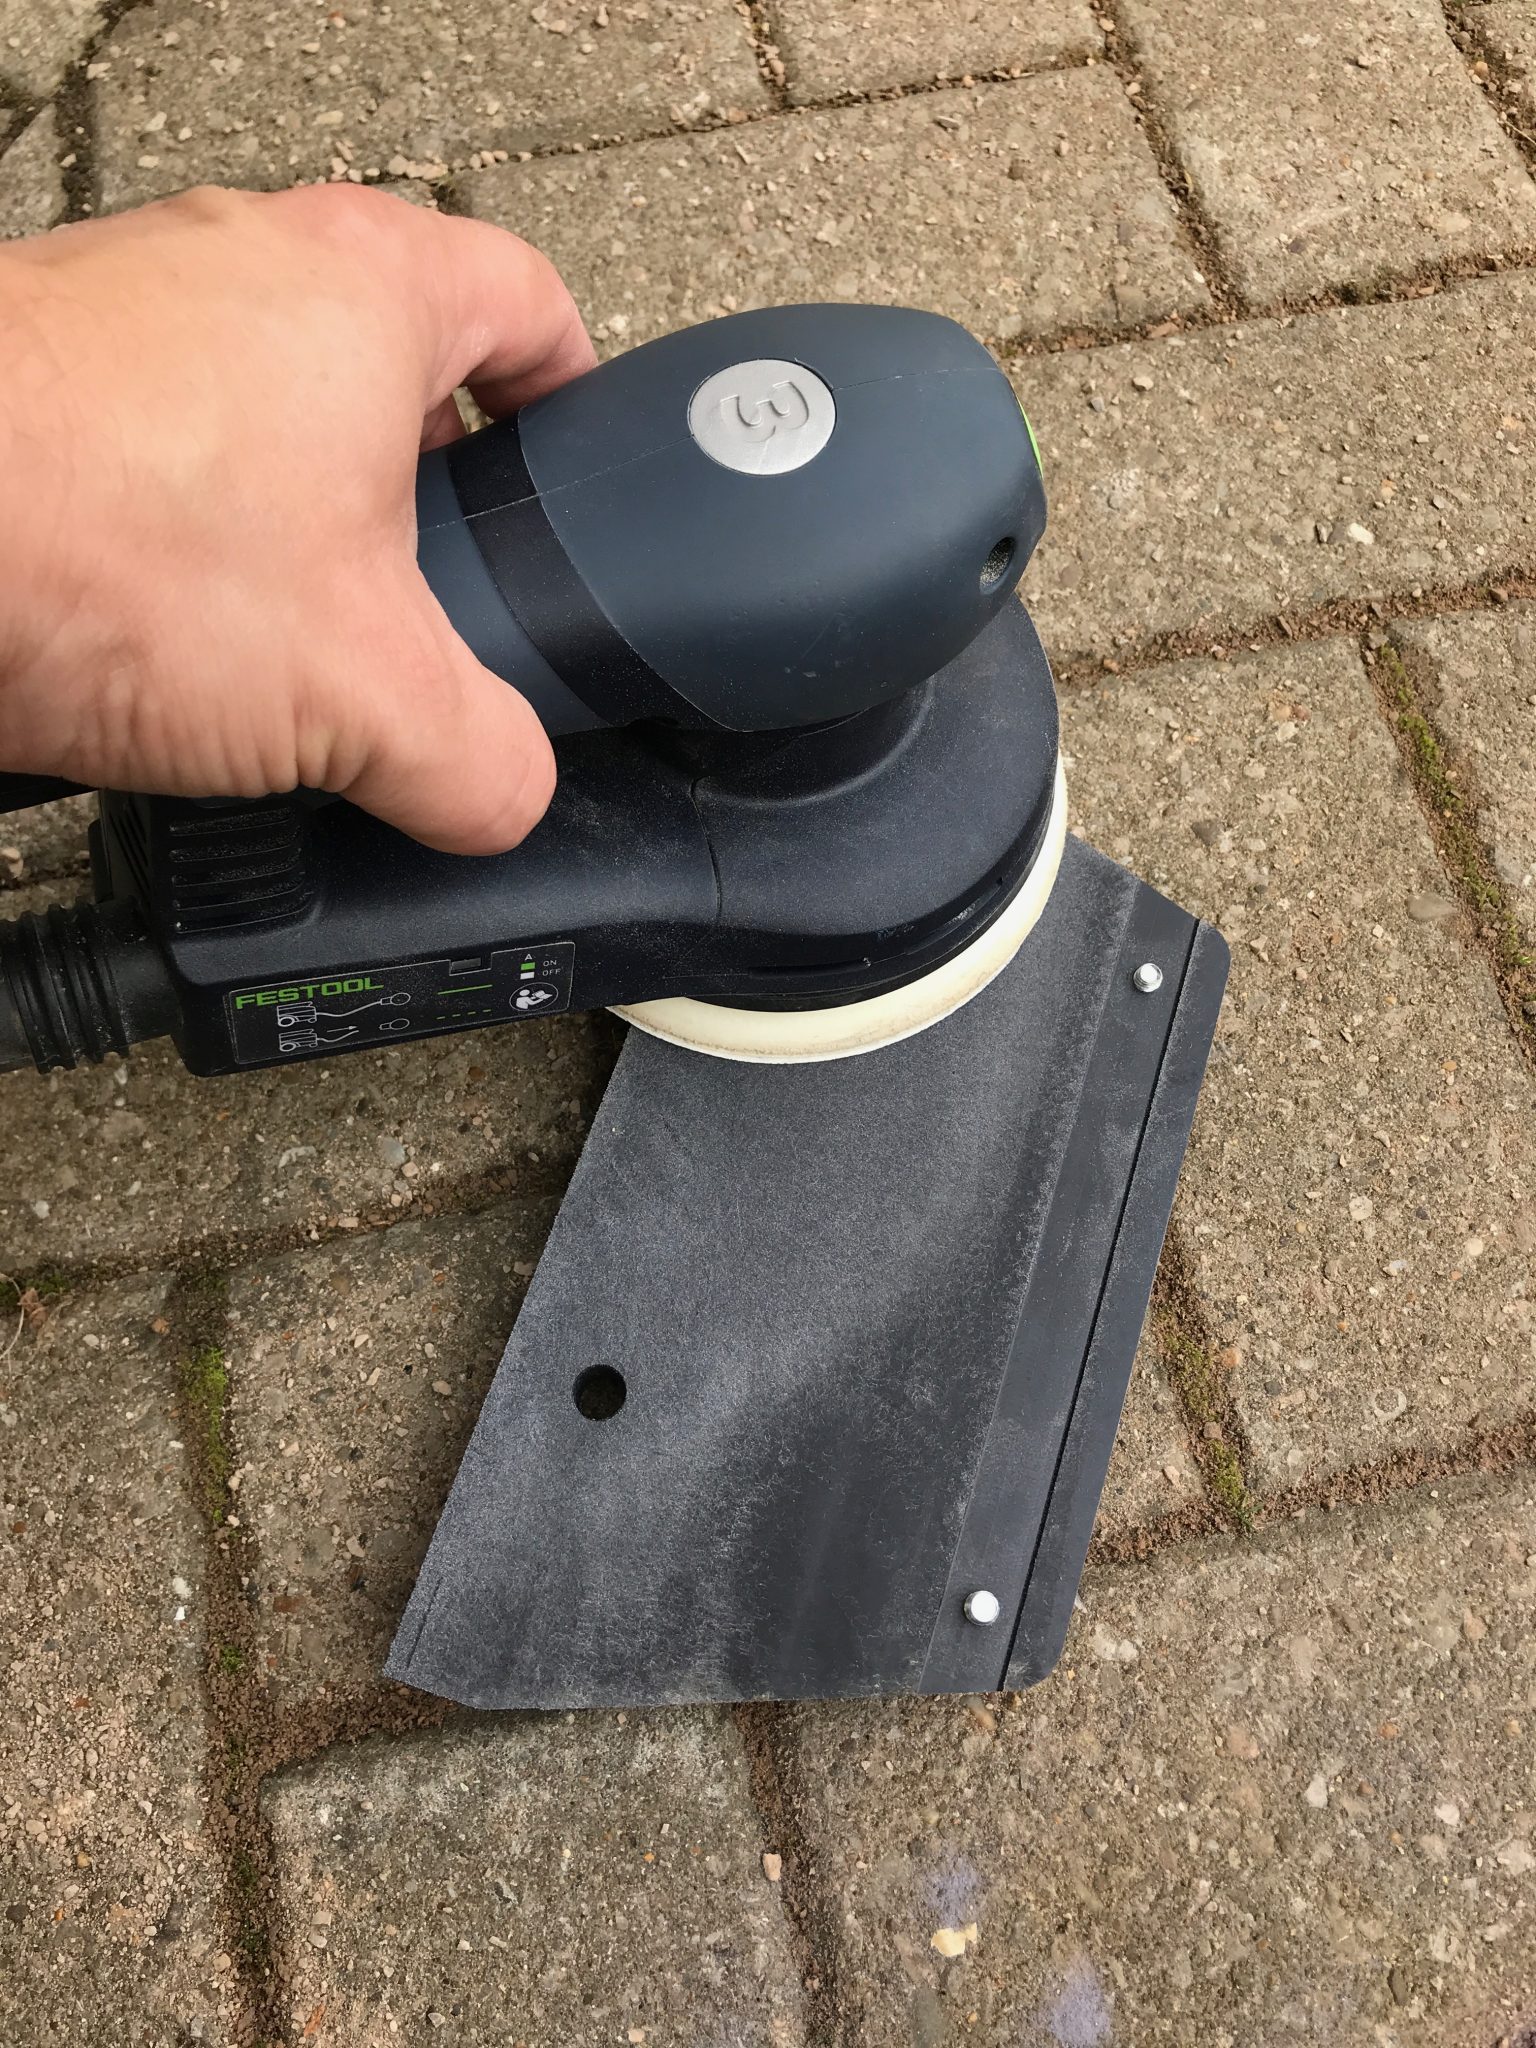
Trim some material off the top LHS of the skid plate…
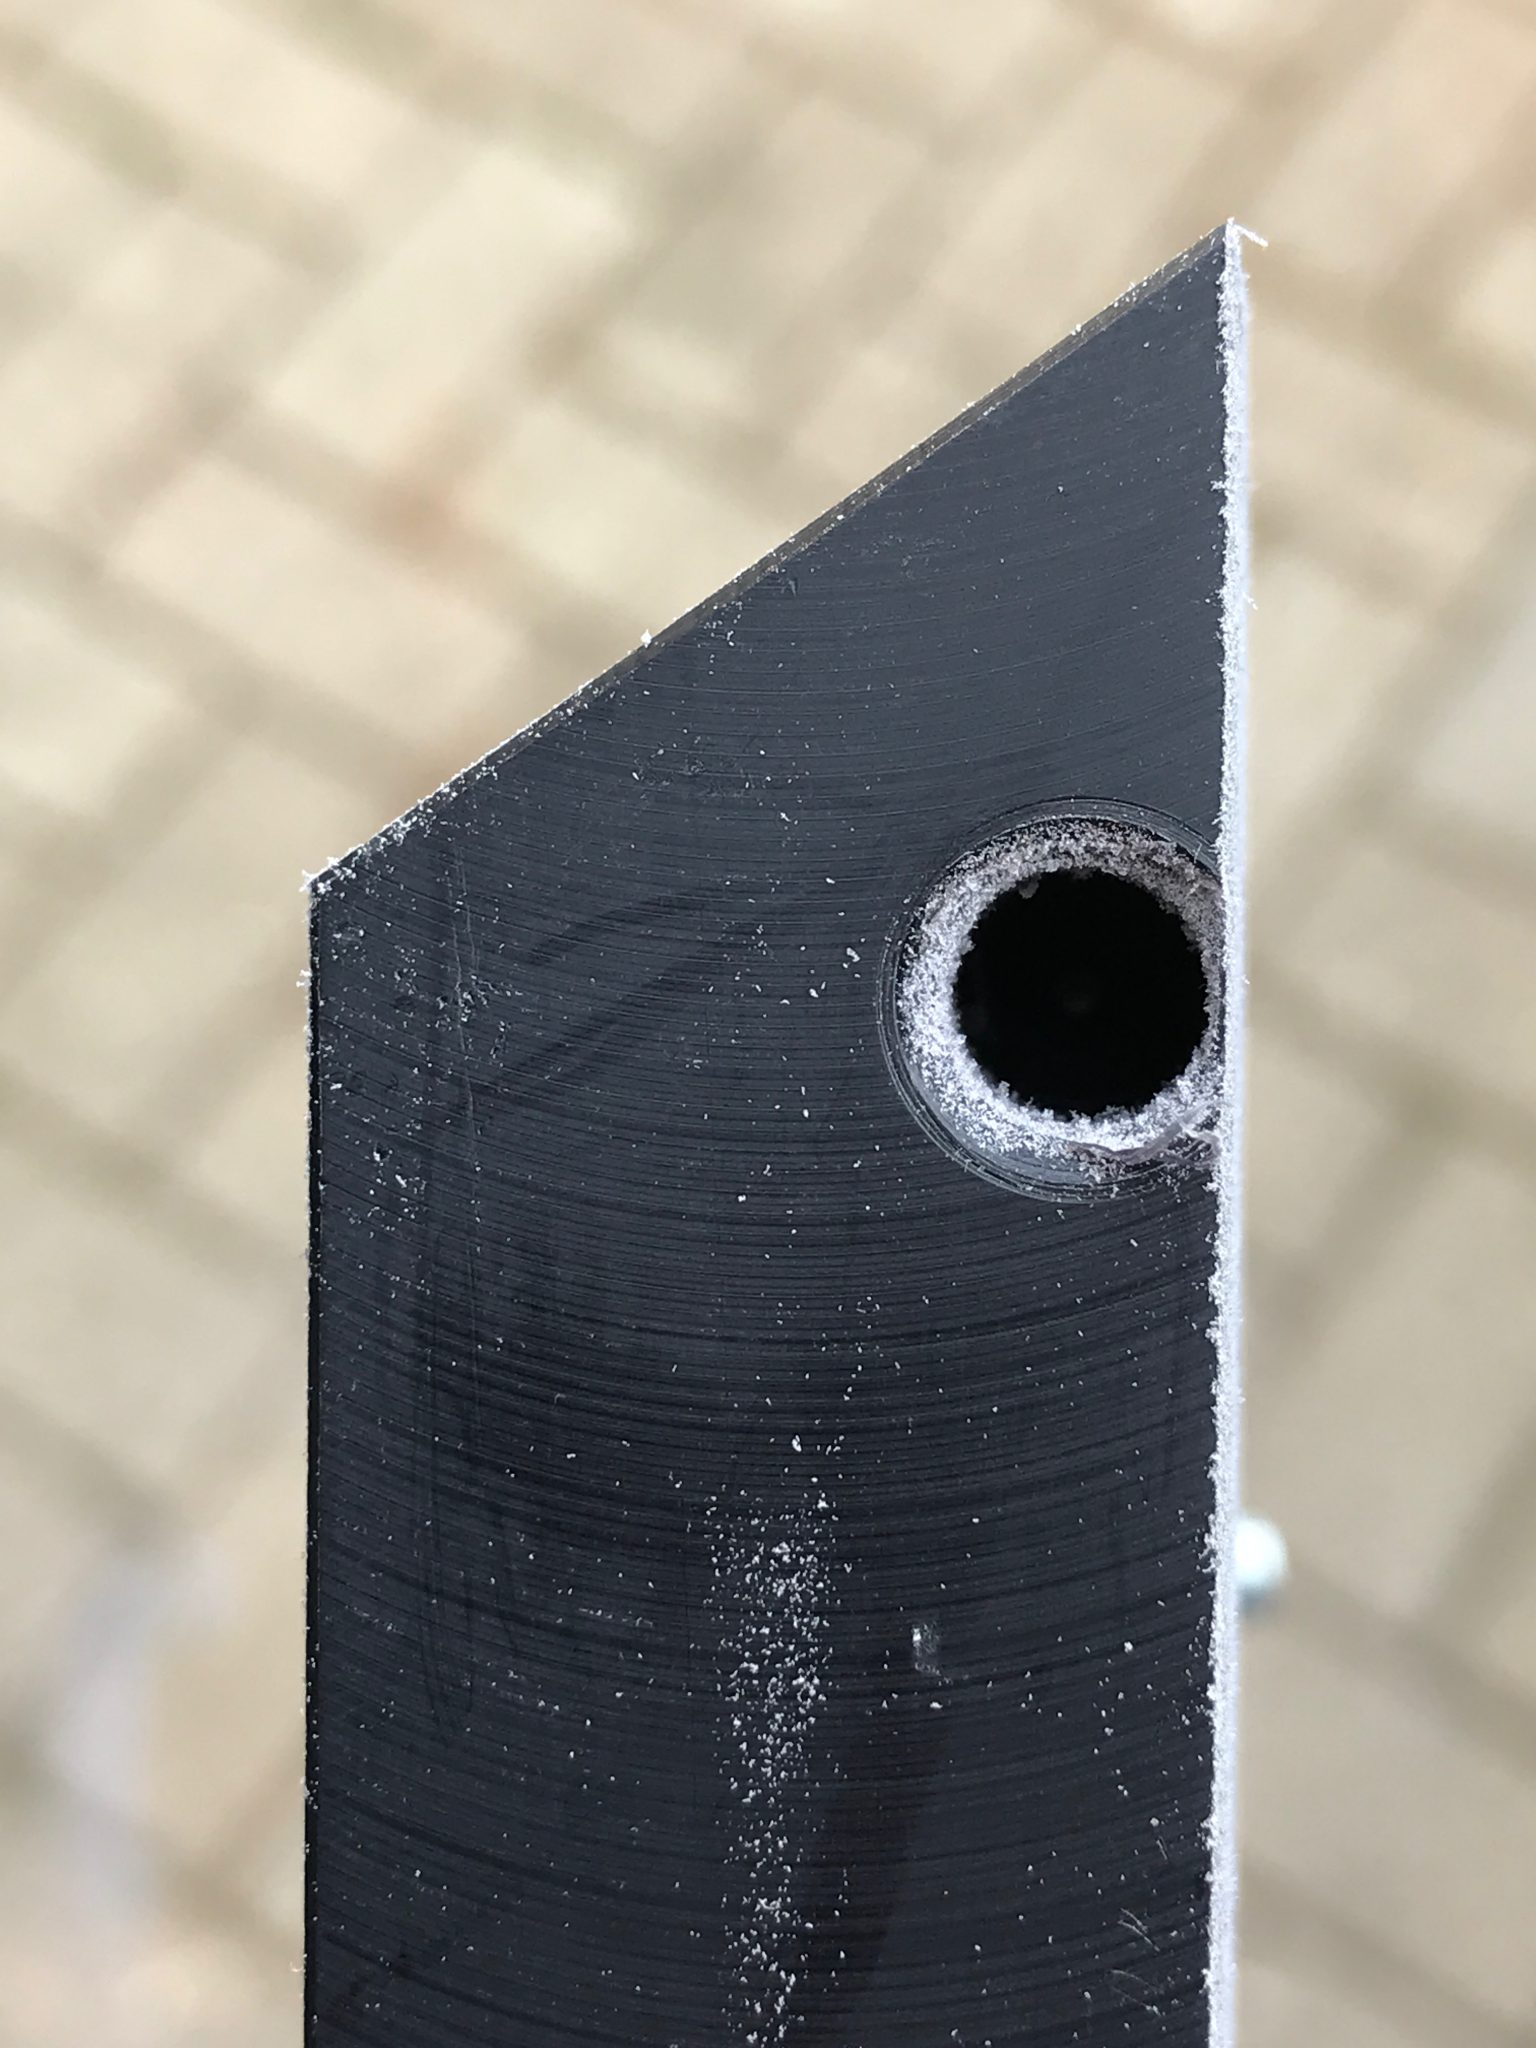
Fit the skid plate…
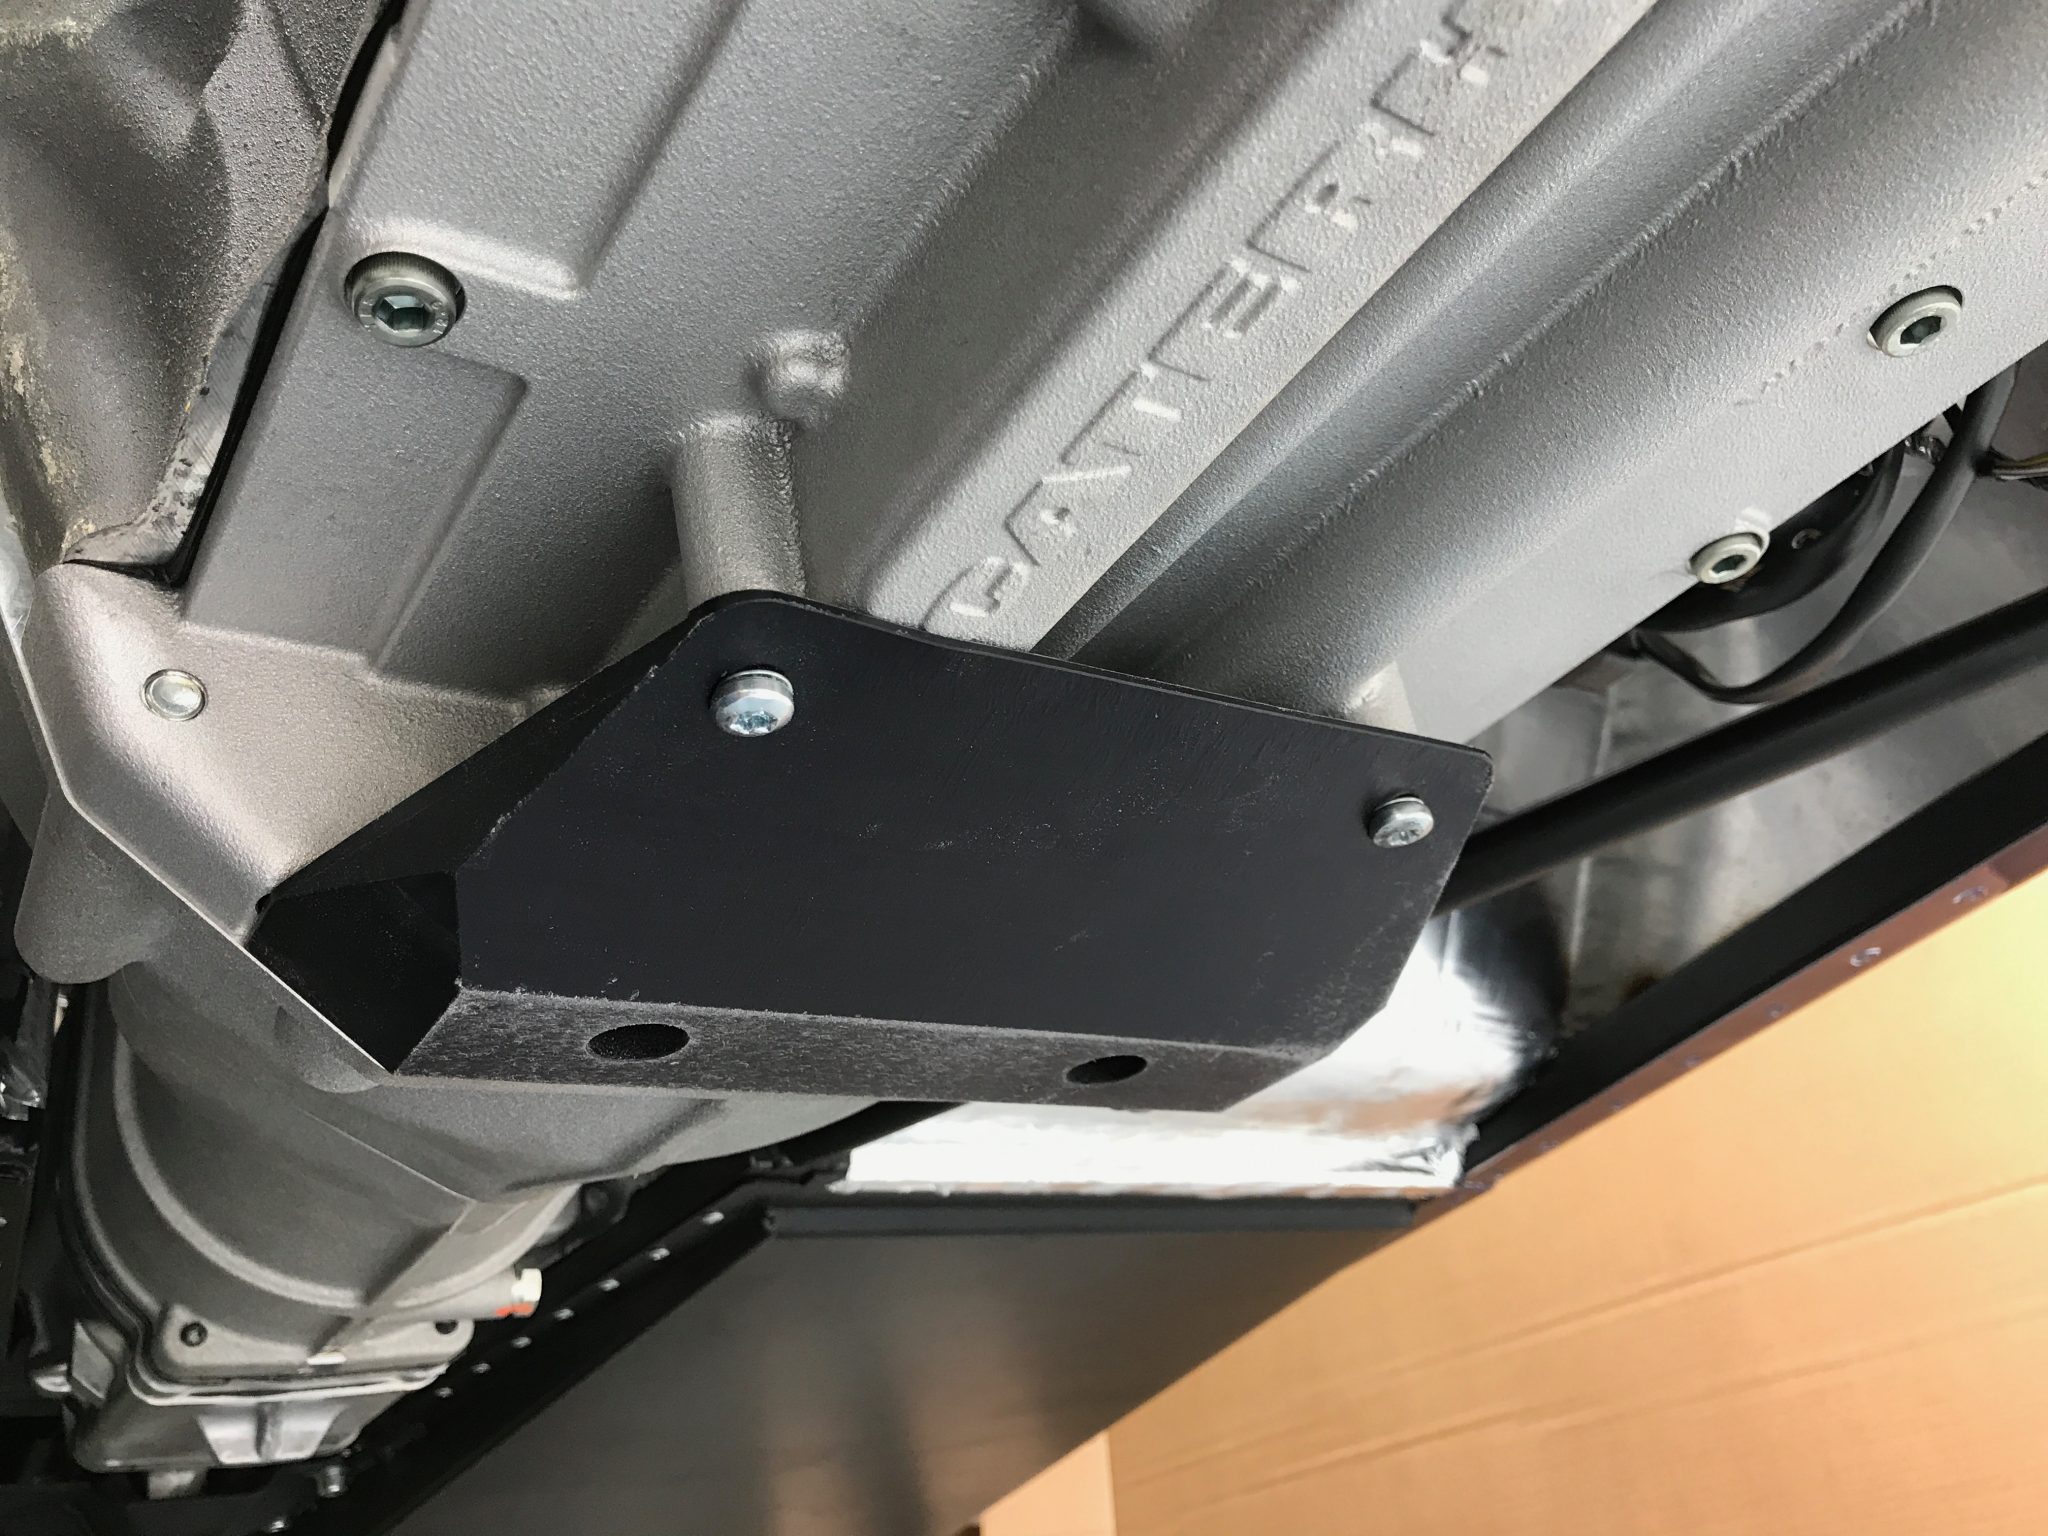
It seems to me (ISTM) that this widget performs a couple of tasks. Number 1, it stops crap from getting into the bell housing – that’s gotta be a good idea. Number 2, it protects the bell housing from getting bashed when going over speed bumps and the like – its the lowest part of the car and is gonna get bashed… another good idea.
With the car currently sitting on axel stands… the skid plate is 10mm lower than the lowered floors (the next lowest point on the car). However, the bolts protruding from the seat-rail fixings that go through the floor and poke out into this air under the car, would probably also be about the same height off the ground as the skid plate. I’ve also heard people talk about how those seat bolts create sparks out of the back of the car when the car bottoms out in dips in the road. Hmmm.
But I digress….
This skid plate was meant to be a 5 minute job. But in the end turned into more like an hour. Trying to fit the plate, deciding to modify it, attempting to file the material off the plate, realising that that was going to take forever because the material used is actually designed to put up with something like a file scratching against it (obviously – duh!), getting out the orbital sander, trial fitting a few times… an hour in the end.
De-Differencing the Diff
On with the rest of the day.
I’d left you with a diff-hanger from the night before and so today was going to start with getting the diff centred and all bolted in.
The build manual talks about centring the diff by measuring the distance from either side of the diff carrier to the respective outside edges of the square chassis rail section where the rear ARB mounts. That sounded complicated in the manual too… but its obvious really when you get to look at it in person.
I don’t usually need an excuse, but I thought I’d pull out a gadget here… and decided to use a laser measurer. I set up a couple of steel rules and clamps, as reference points, and then used a laser measurer to get an accurate reading to the diff carrier (the BMW supplied Limited Slip Diff (LSD) has a Caterham specific carrier fitted to allow it fitted into a standard chassis without modifying the chassis or the LSD).
The idea here is to centre the diff using washers as spacers in between the diff carrier mounting points and the chassis mounting bushes. My way to do this was to use the laser measurer to get a measurement the same on both sides but with no washers installed. Once the diff was centred I then measured the gaps between the diff and the respective mounting points using callipers. I then worked out how many washers I needed on each side to fill the gaps.
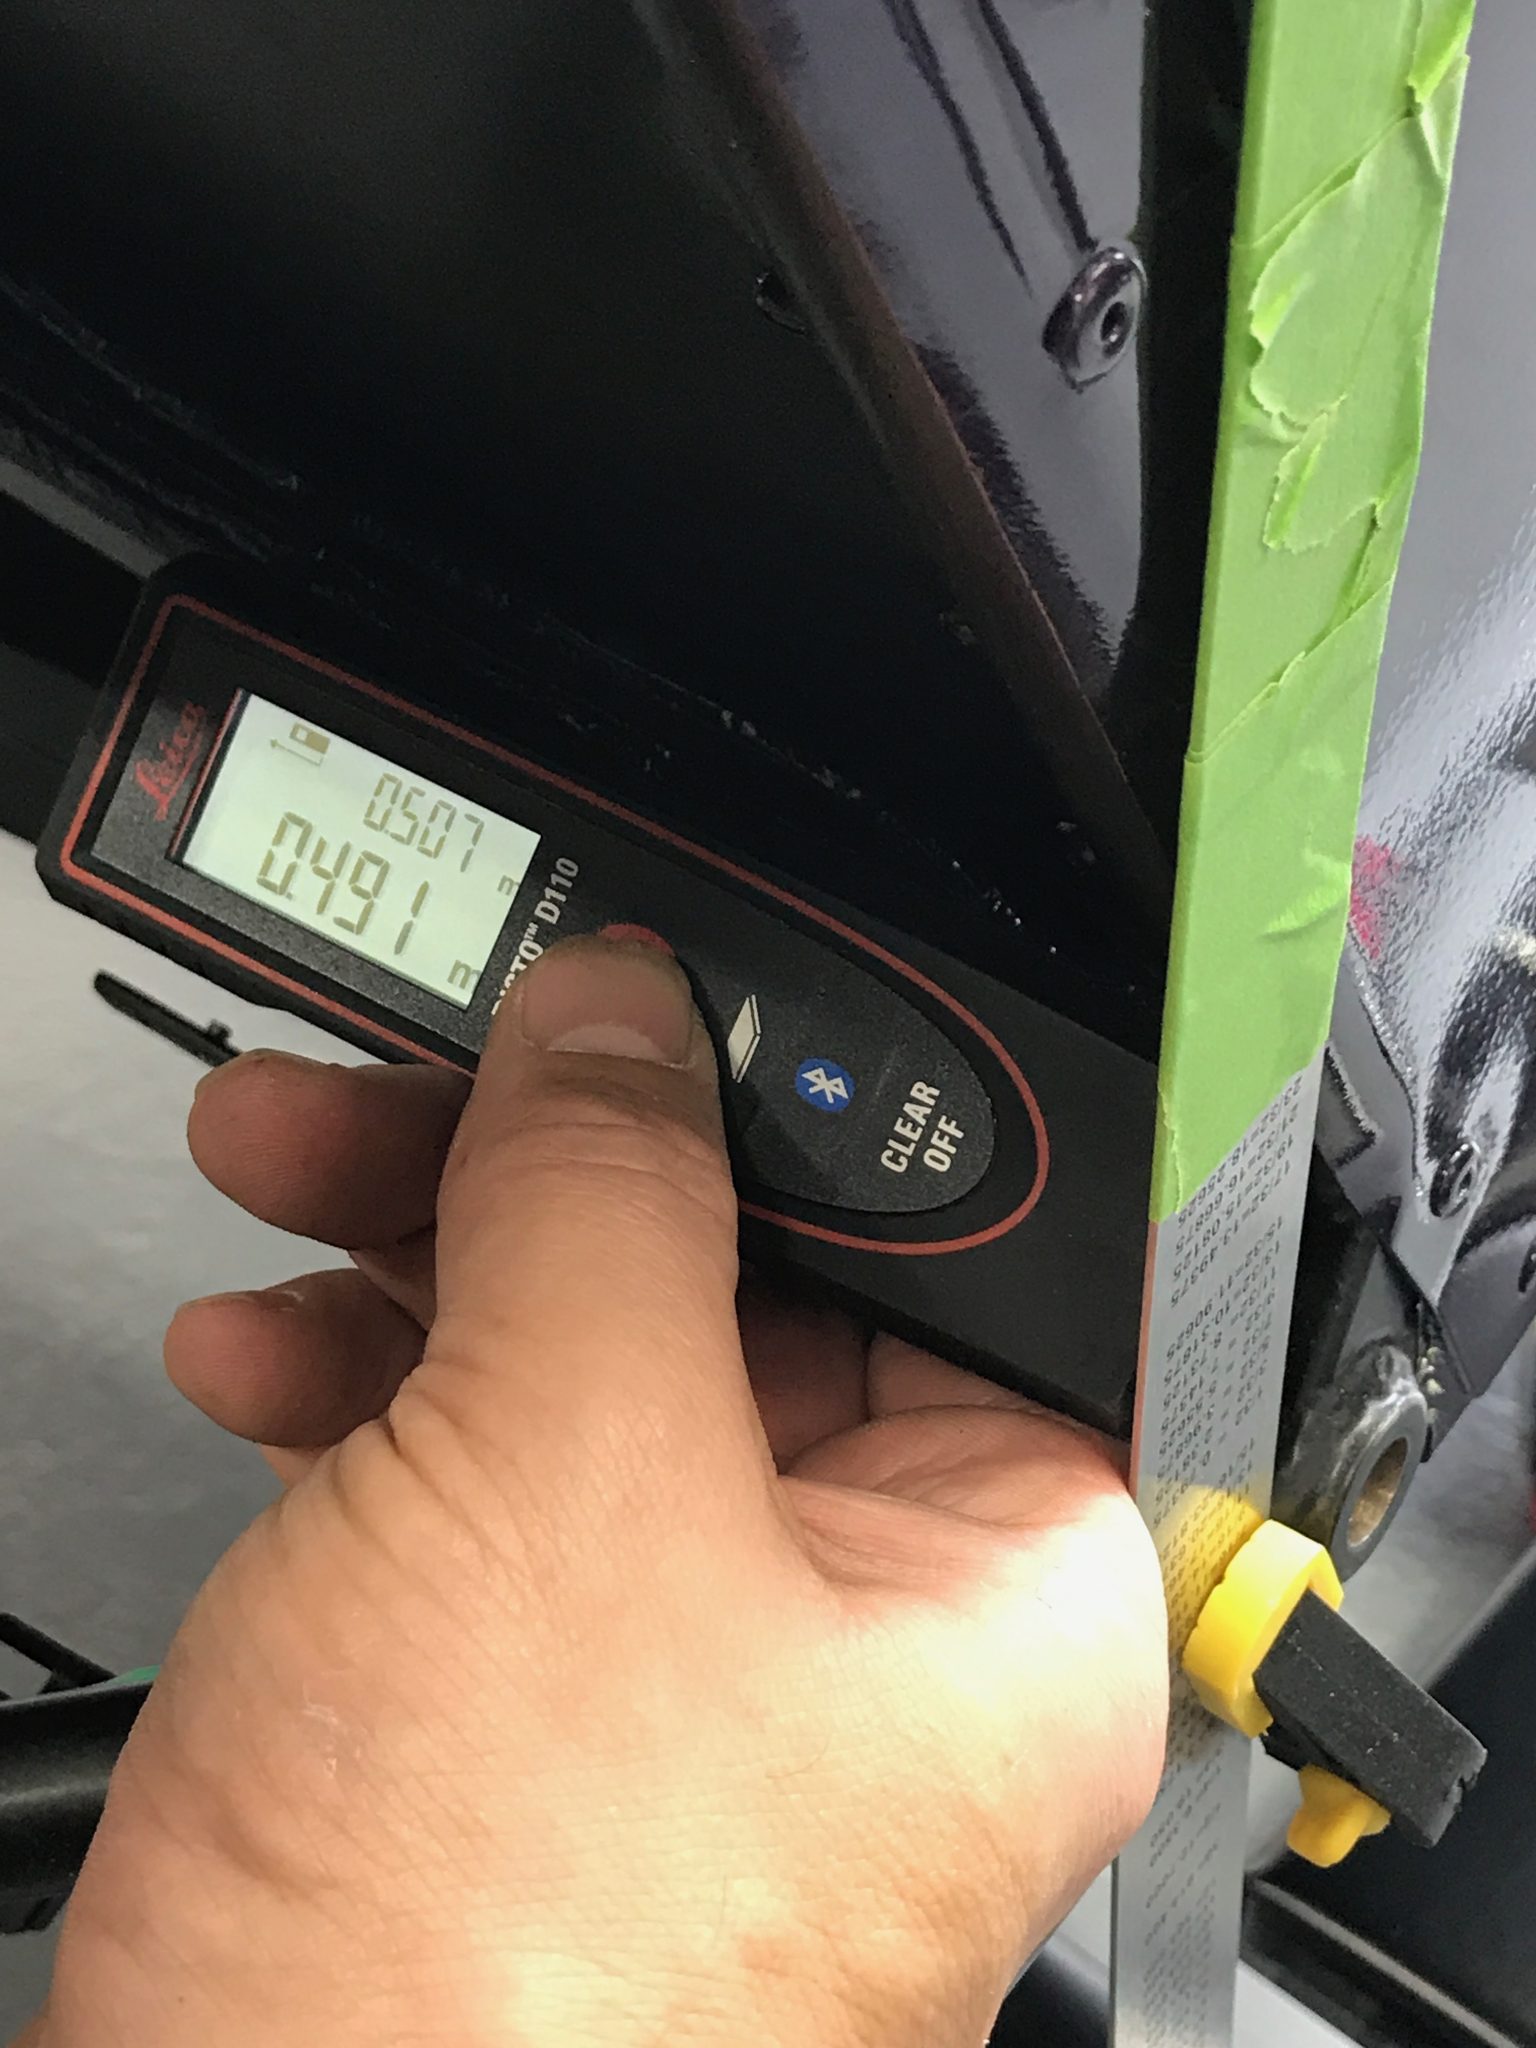
After nudging the diff left and right as it hung on the screwdriver I ended up at 491mm as my measurement on both sides. And just to make sure my high tech approach was not giving me a false reading, I asked Stanley…
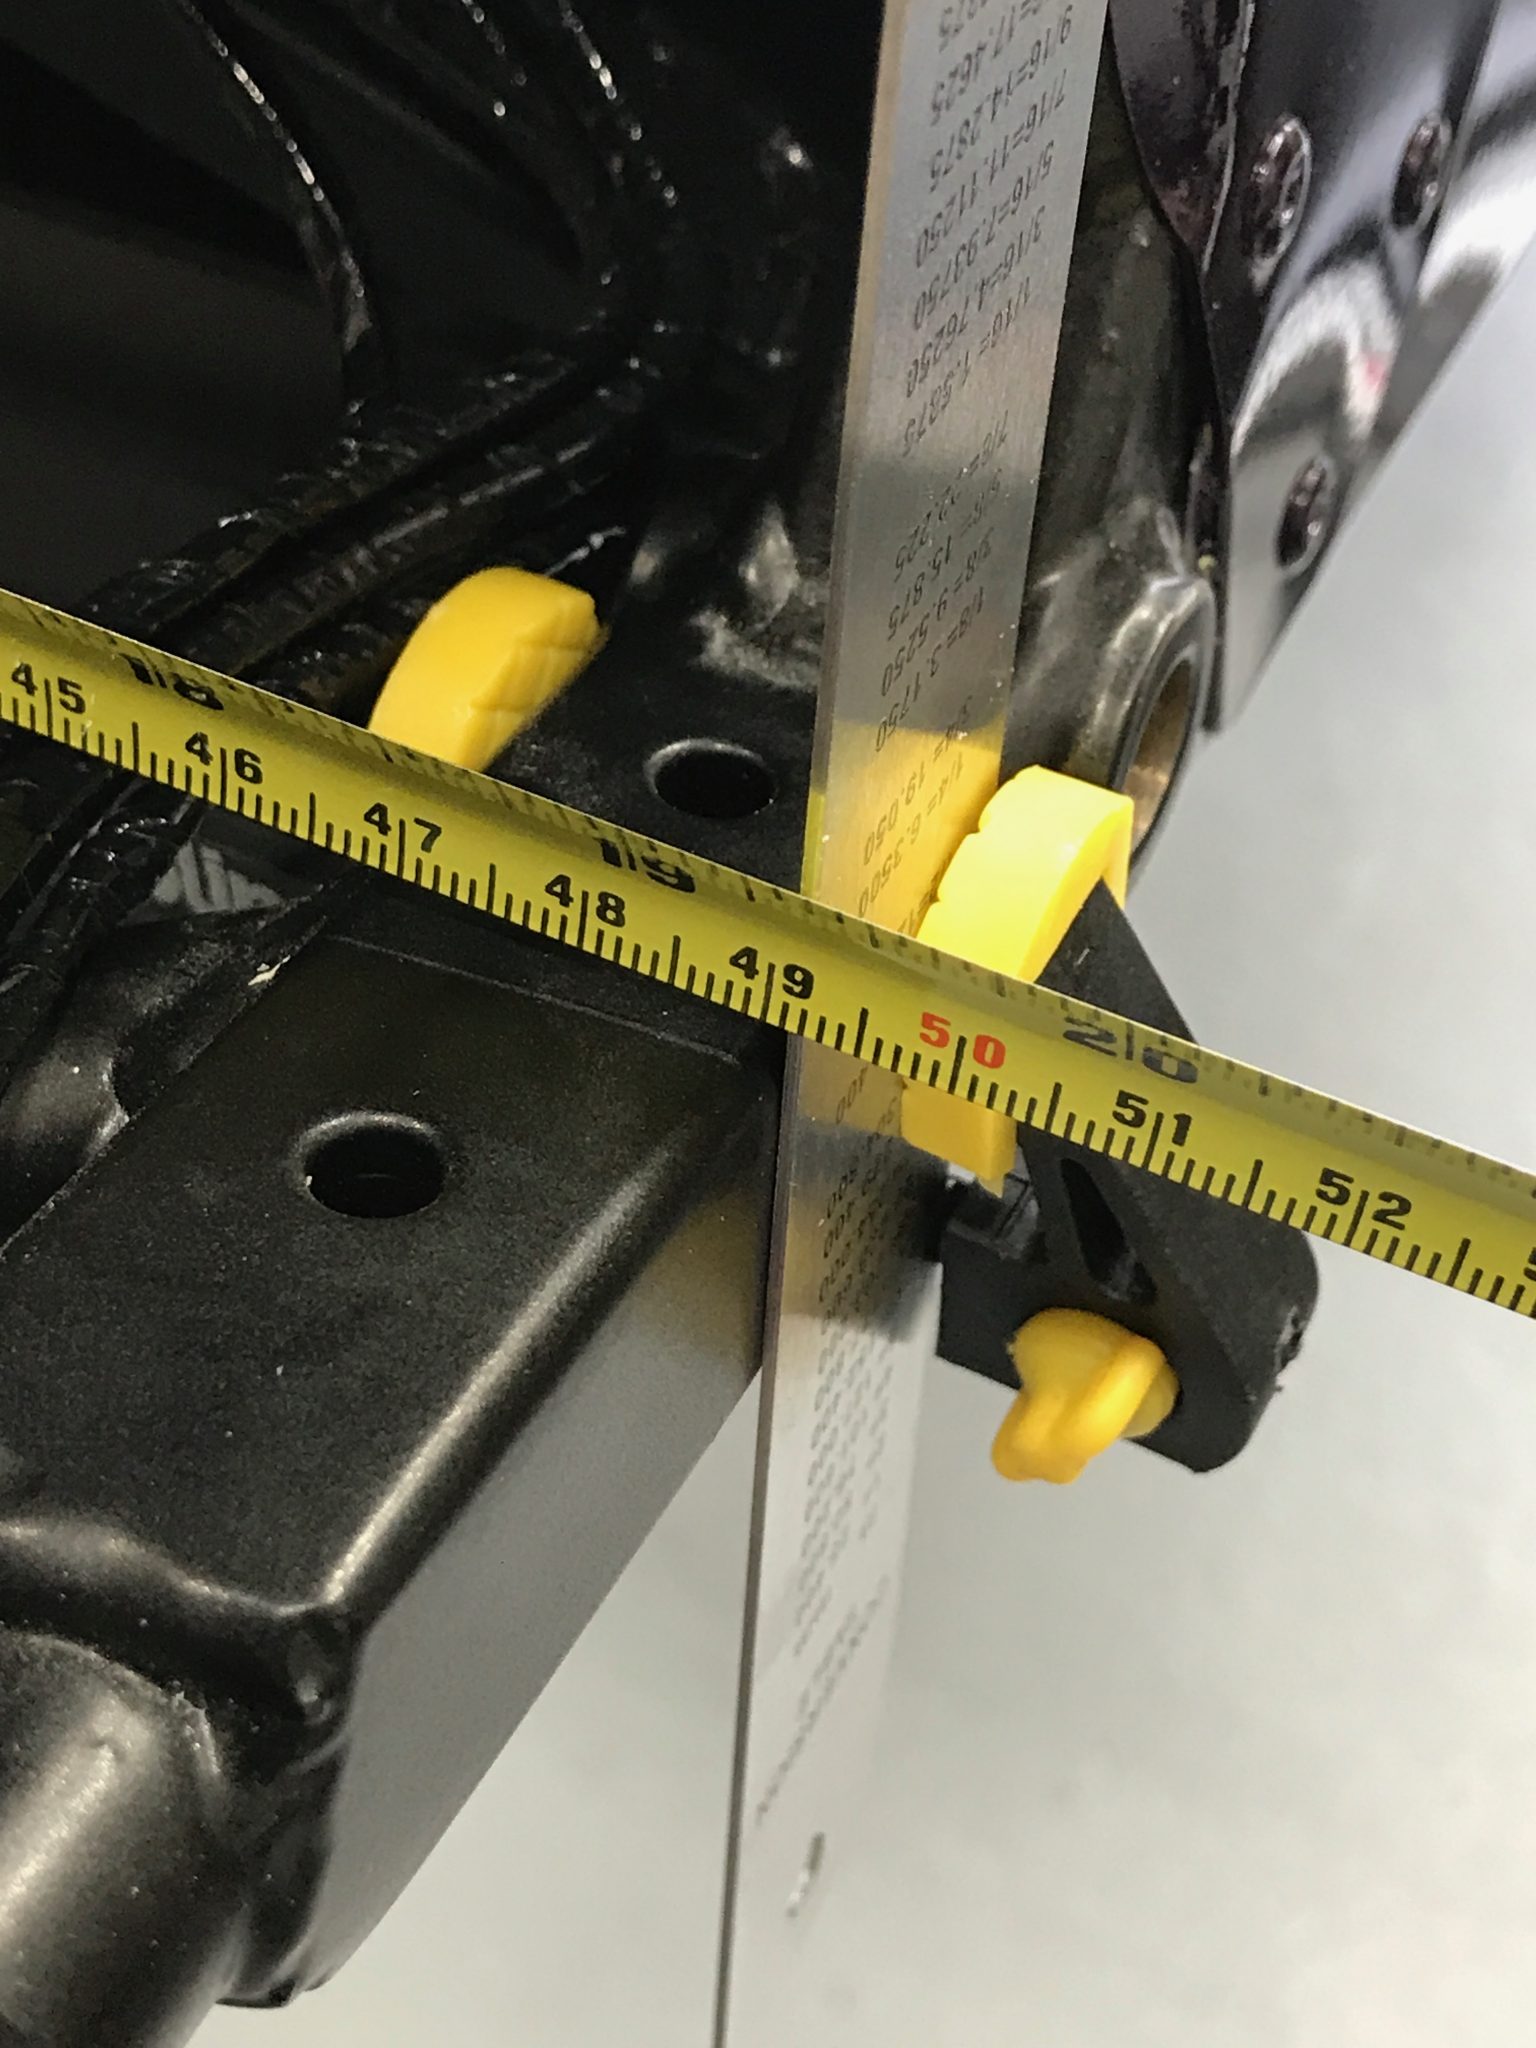
(For those of you that are not in the UK… Stanley is a popular make of tape-measure over here).
Now… remember we have a screwdriver in the top mounts and so we’re only worrying about the lower mounting points at the moment.
The next problem was that with the screwdriver only roughly locating the top mountings, these lower diff mounting points didn’t line up with the holes in the diff carrier. One side was ok but the other was a couple of mm out. So, I put the bolt into the mount that did line up and then I broke out the trolley jack again and set it under other carrier mount point and jacked it into position. That was the two lower mounts done.
I ended up with two washers on the LHS mount and three on the RHS.
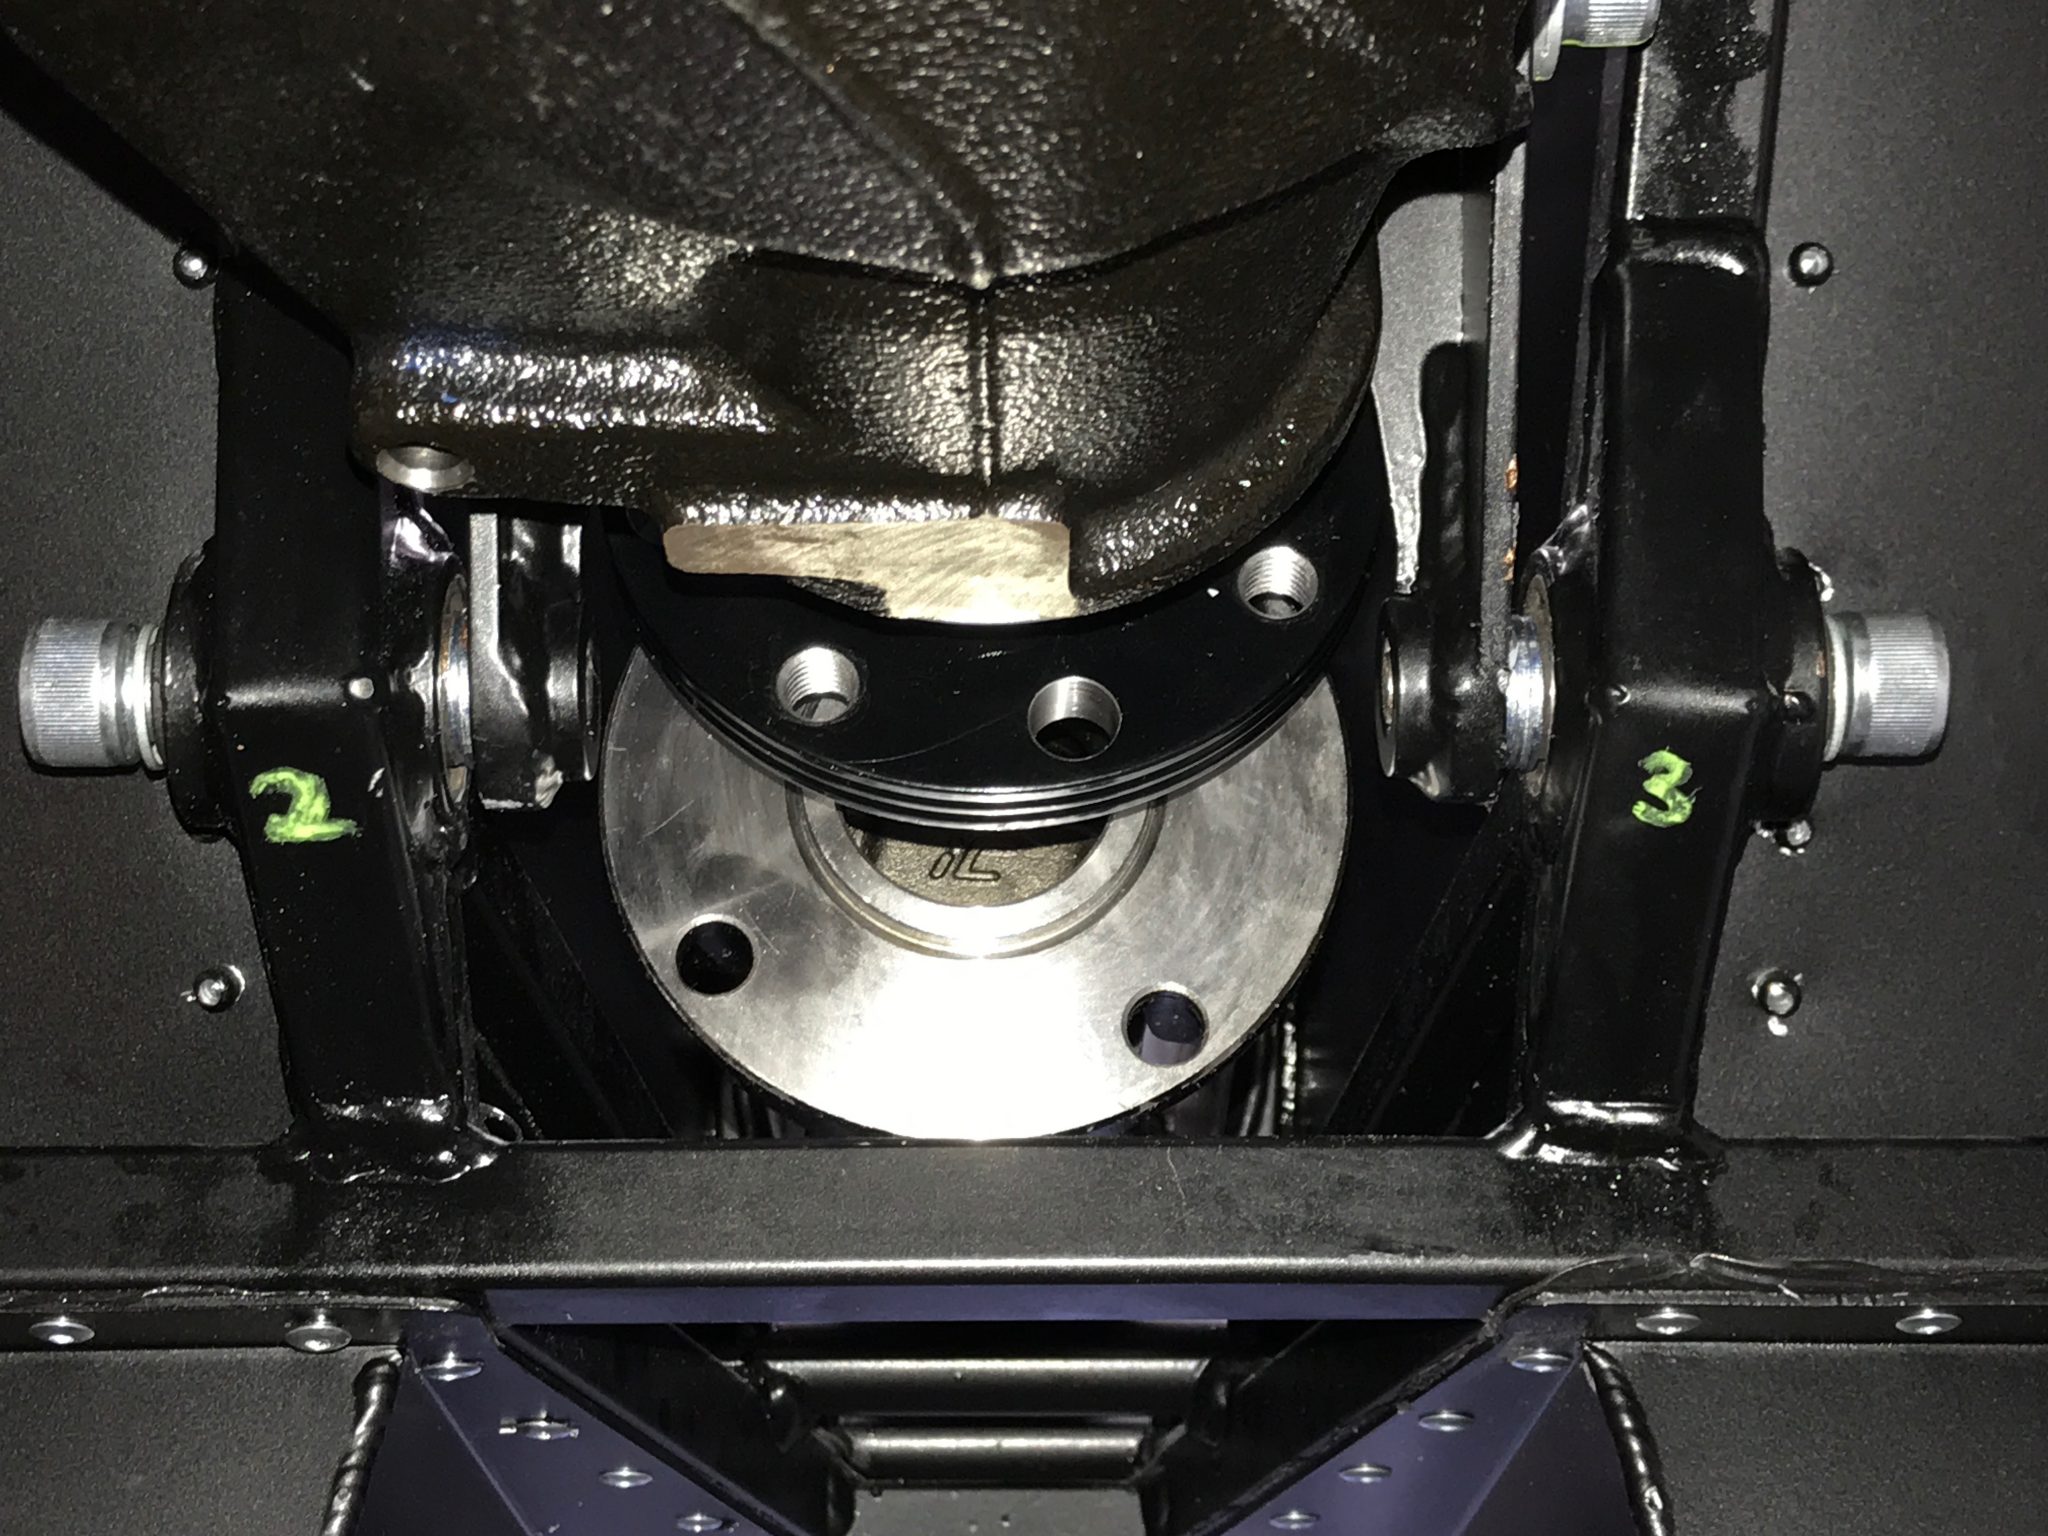
I then checked the diff was still centred…. yep, reading 490mm on both sides now… that’s good enough for me. Now for the top mounts and to measure the gaps…
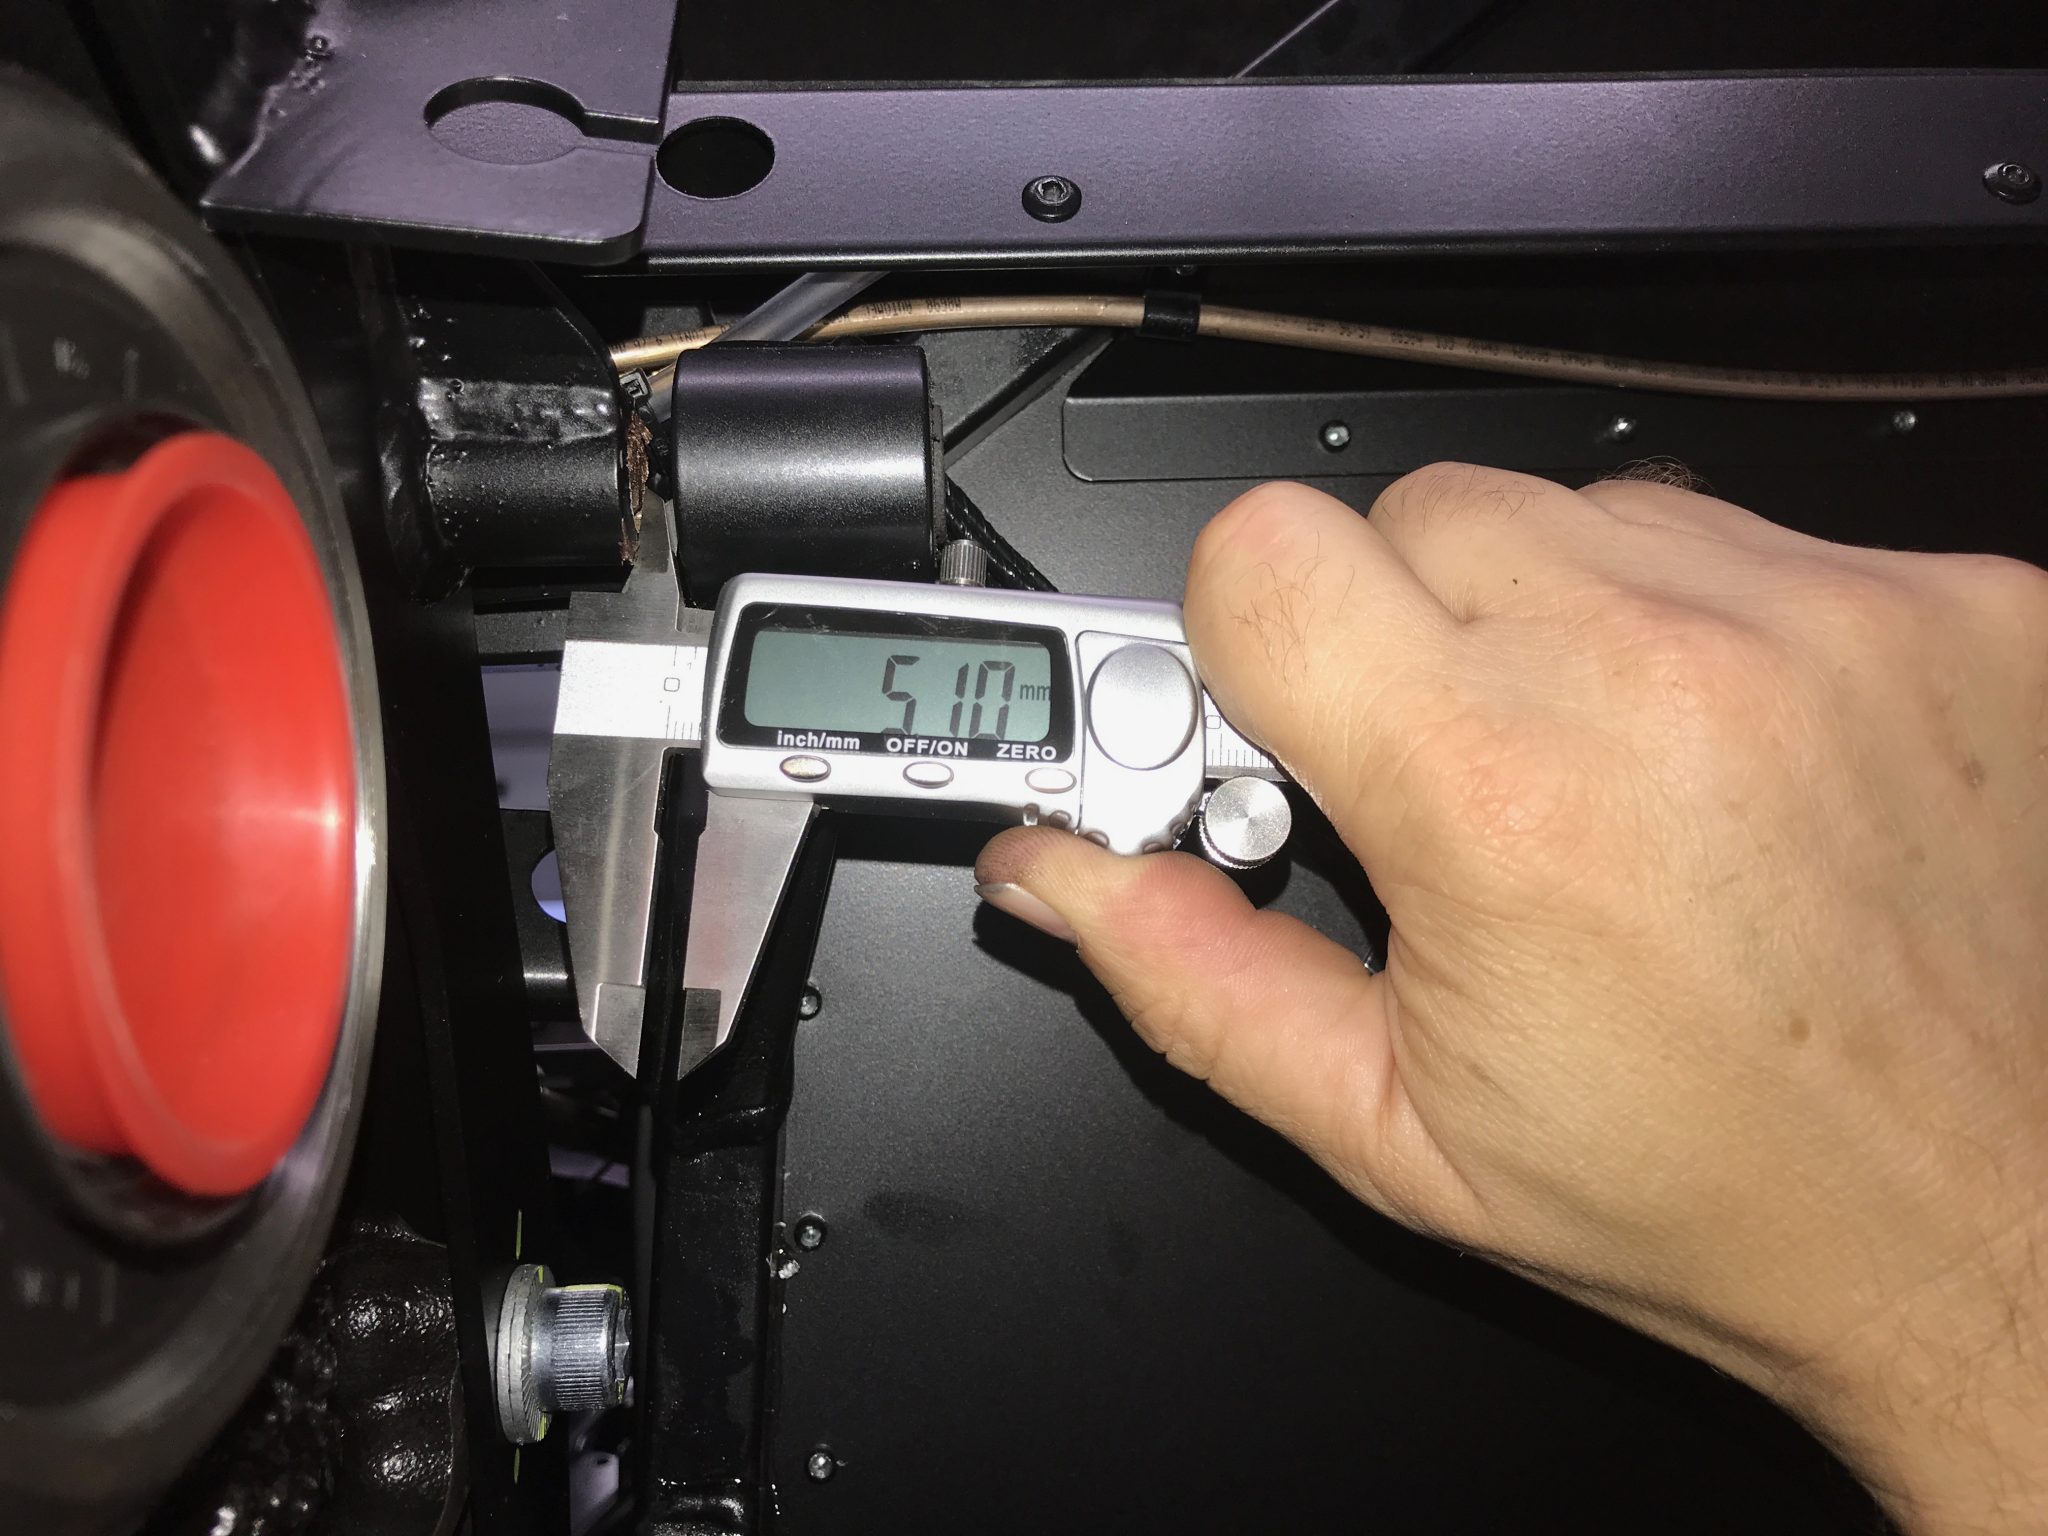
… and worked out we needed 1 washer on the LHS and 3 on the RHS.
It struck me at this point that I might need to worry about the diff being twisted. If I’d ended up with these washer calculations the other way around… i.e. if the 3 washers were needed on the LHS top then I might have got the diff in slightly twisted… but with 3 washers on both the top and bottom RHS I was satisfied that this was unlikely.
The top of the diff is held in with a single 11″ bolt that goes all the way through both sides of the diff and its mounting bushes. I ended up using this bolt to displace the screwdriver holding the diff in place and to bash in the bolt and push the screwdriver out. The holes in the diff carrier weren’t aligned with the top mounting bushes particularly well so as I hammered the bolt in, the trolley jack came out again to lift the diff a few mm to ease the alignment. Keeping the washers in place as the single bolt went in was a little fiddly but the copper-ease caked on everything tended to stick things where I put them.
A quick check to see if the diff is still centred and we’re good still at 490mm on both sides.
That was the end of a Sunday morning getting the differential fitted. It was off to watch Joe’s footie in the afternoon and so the next major session will be on the De Dion tube and the rear suspension.


Leave a Comment