It had been a busy week at work and I hadn’t had a chance to get on with the car other than 20 minutes to look at the poorly threaded harness mount yesterday.
Today is a Friday and a work day… and after sorting out all my morning emails I found a couple of hours to start looking at the front suspension before my afternoon and evening meetings started.
Are Upper Wishbones Handed?
The first task was to read the manual, consult a few blogs and figure out what I’d got to do first on the front suspension. It was around this time that I realised that the manual says that the upper wishbones are handed. That shouldn’t have been a problem except that I’d taken them out of their poly bags to photograph them and hadn’t kept track of what bag they came from – doh!
I poured over the parts but couldn’t discern ant difference at all. I tried measuring offsets, checking the angles that the bushed parts were welded at, and generally trying to find a difference between the two.
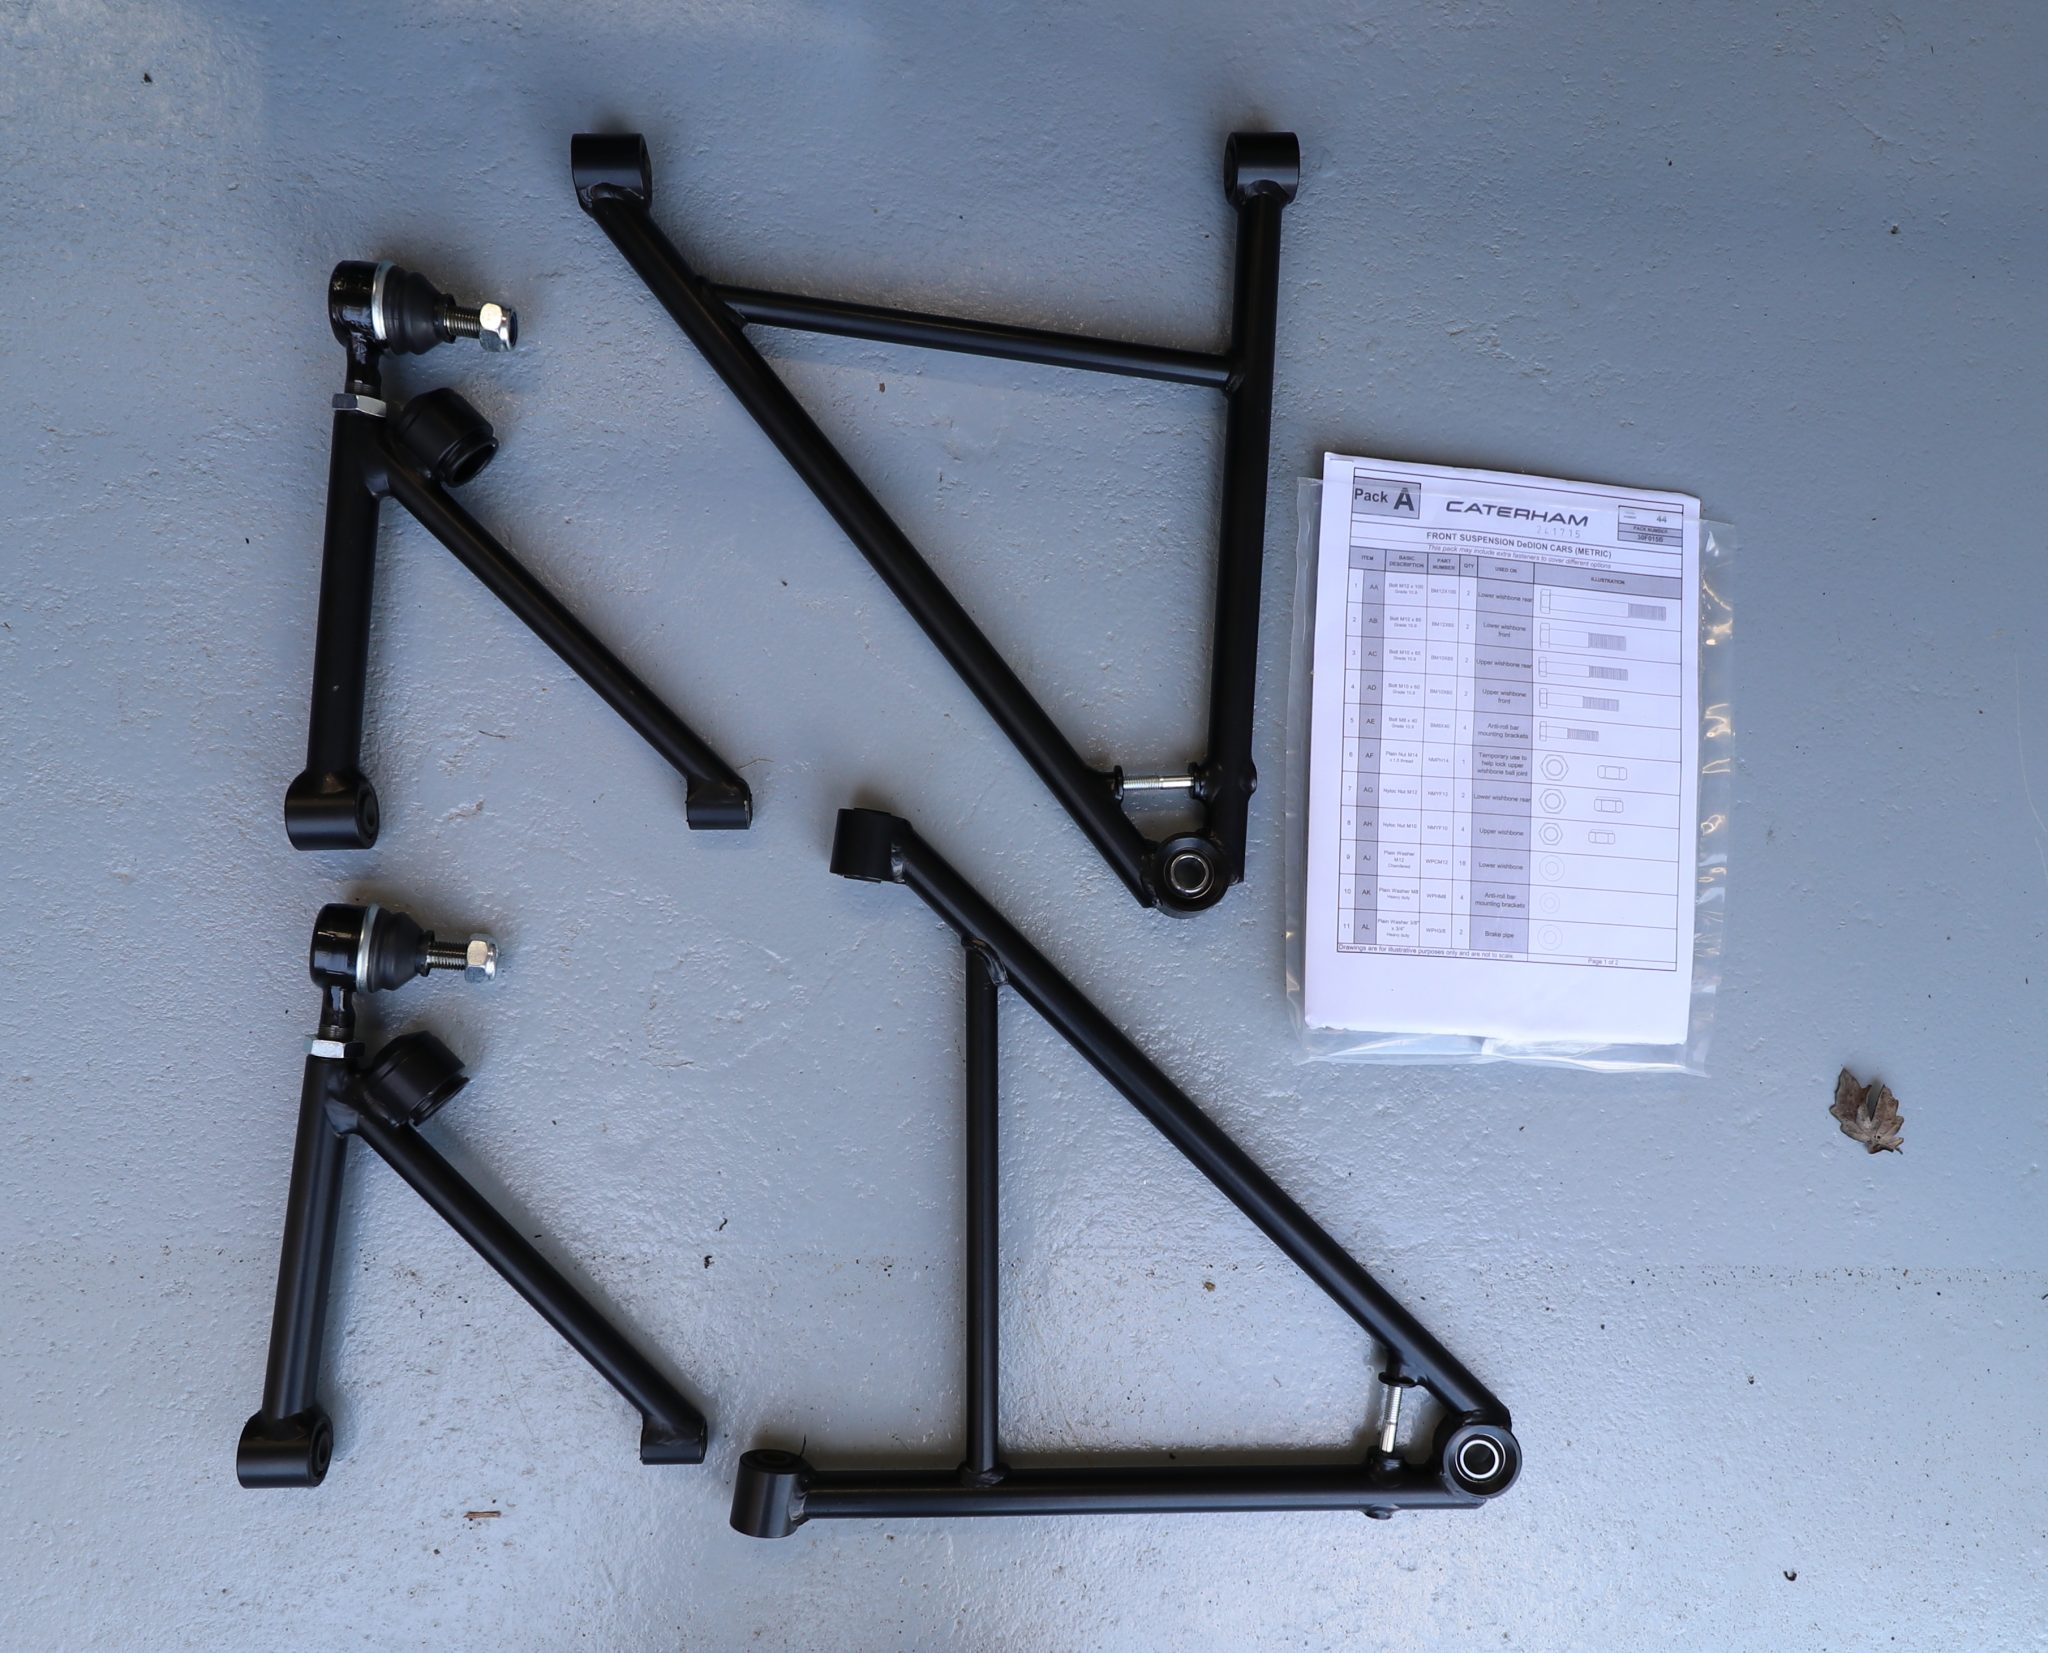
As a side note, it’s simple to determine which are the O/S and N/S lower wishbones because there’s a circlip retaining the ball joint that faces towards the floor – simples.
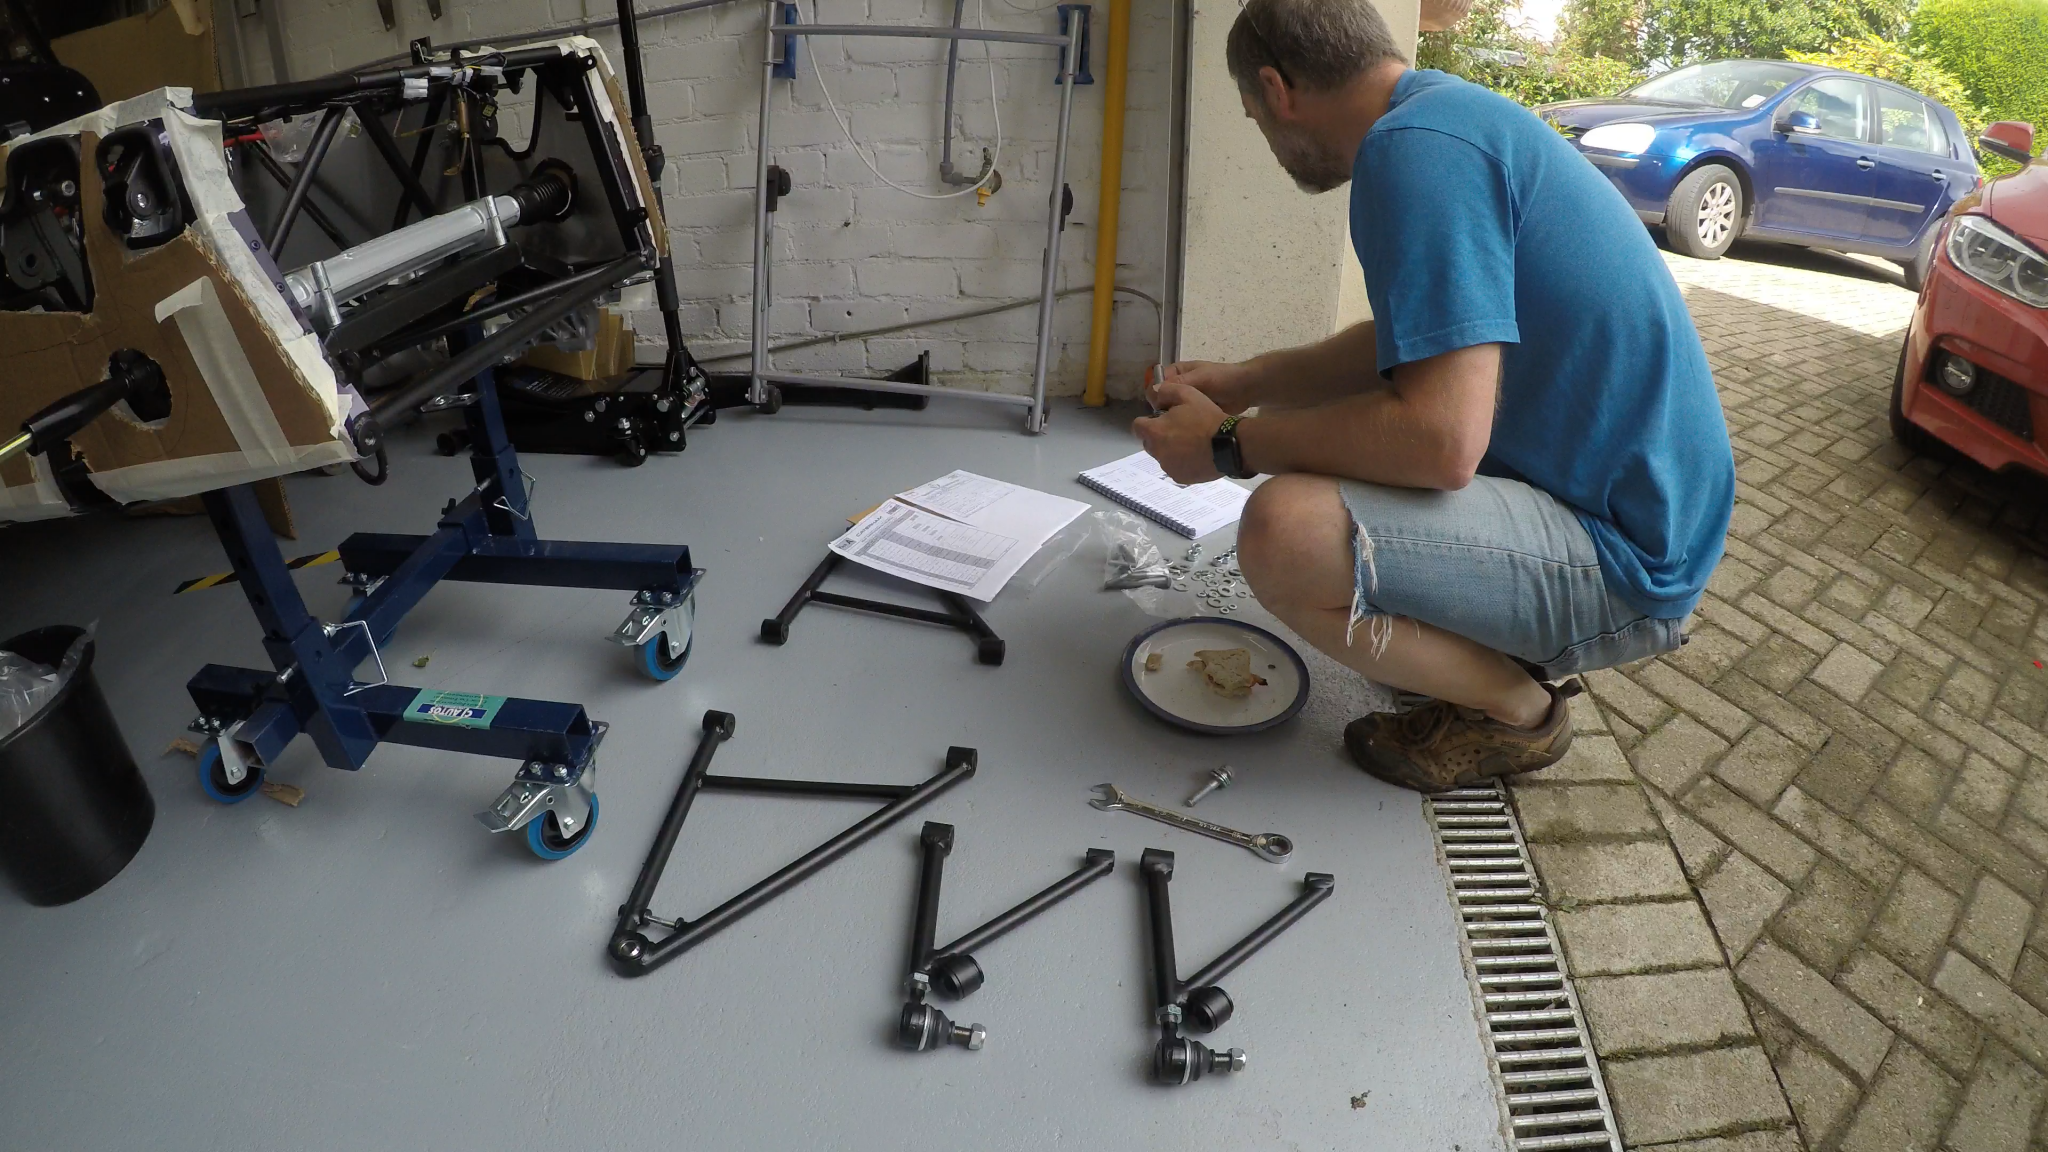
I decided this was a question to post to Blatchat on the Lotus7.club website, but in the meantime I got on with putting the O/S lower wishbone on.
Lower Wishbone Washer Configuration
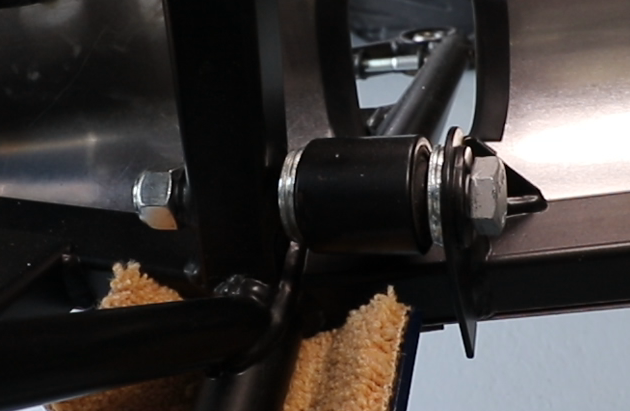
This build is an SV build (wide body) and there is supposed to be a different configuration of washers used to space the rear mounting point of the lower wishbones.
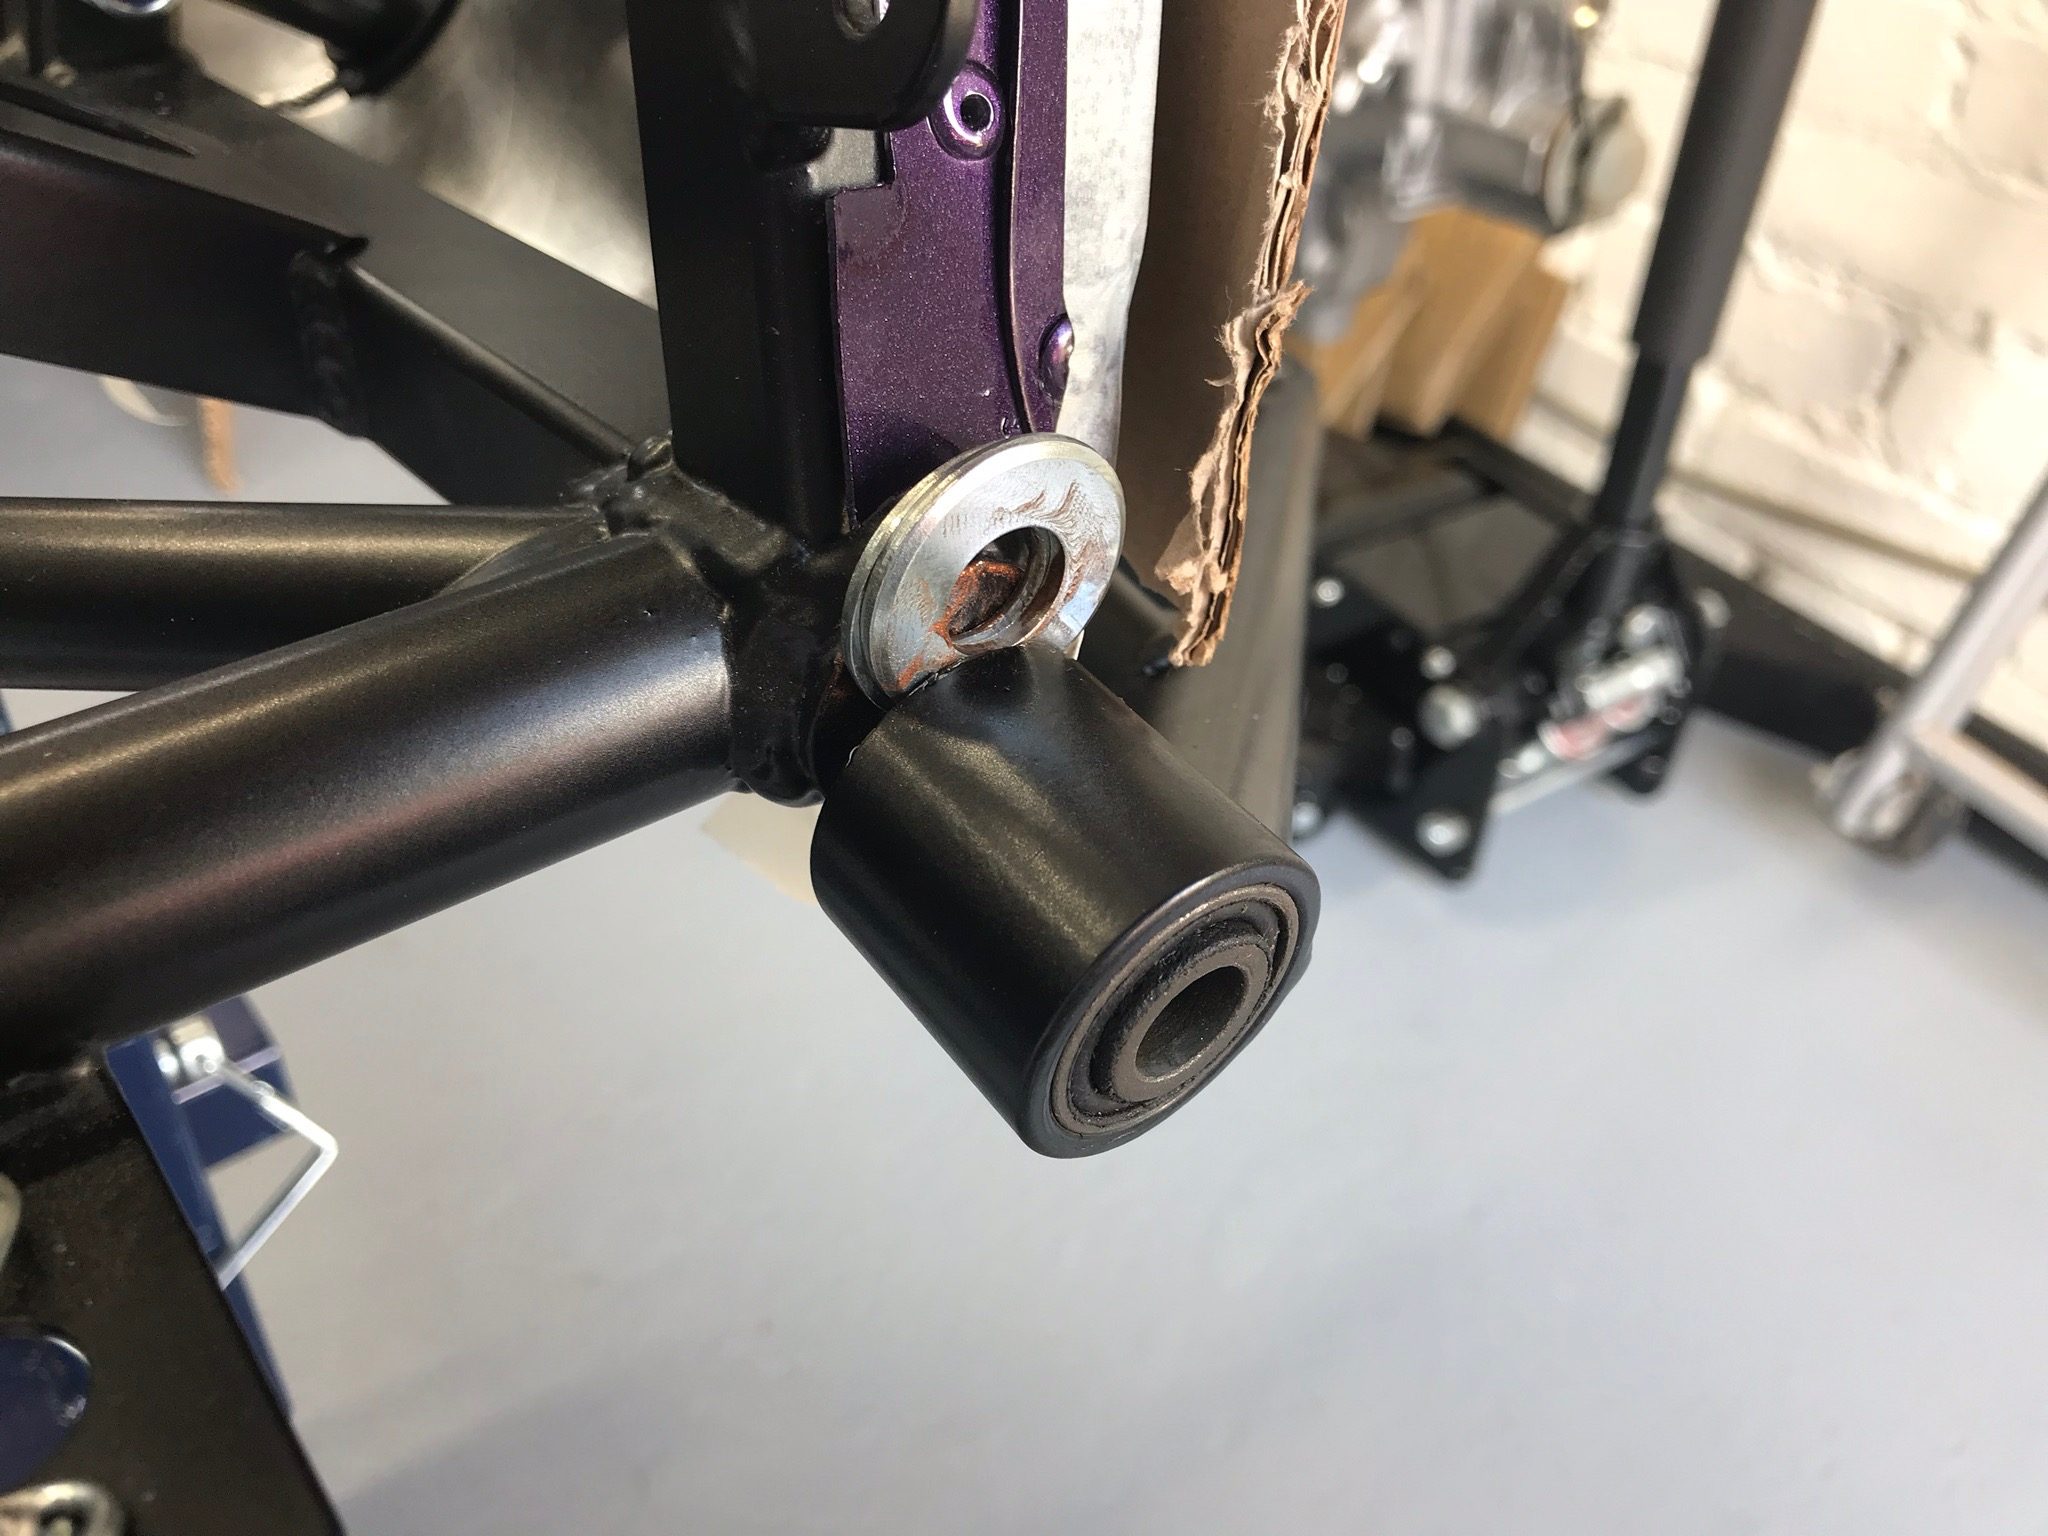
For the S3 (narrow body) the manual calls for two plain washers to be placed either side of the rear bush on the lower wishbone. However, it seems that all blogs recommend and use this for the SV (wide body – i.e. ours) chassis too. I decided this was also how we were going to go and so the configuration in the picture below was used.
Back to the Upper Wishbones
After only a few minutes of my question being up on Blatchat there were some useful responses to my question, the clincher being that one member had had two LHS upper wishbones delivered… and after consulting Derek Howlett he’d been told that they are actually not handed after all. Along with the fact that I couldn’t tell any difference, I decided to go ahead with putting them on.
Then came the next question. The manual calls for the upper wishbone rear bush to have a spacer inserted – 10mm ID, 1/2″ OD, 35mm long from the polythene bag marked “front suspension”. Well, firstly I don’t have a bag called front suspension, but there is a bag called “suspension” – that’s got to be the bag then.
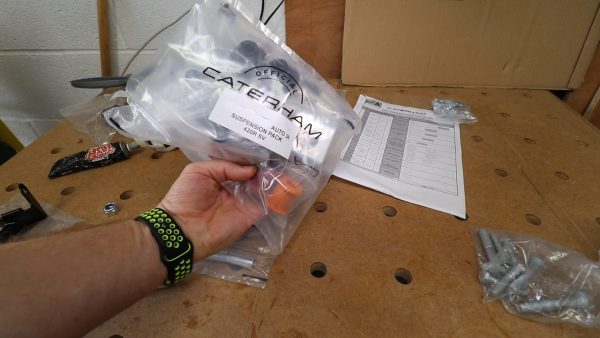
Once you open the bag there is another poly back with a selection of spacers, below…
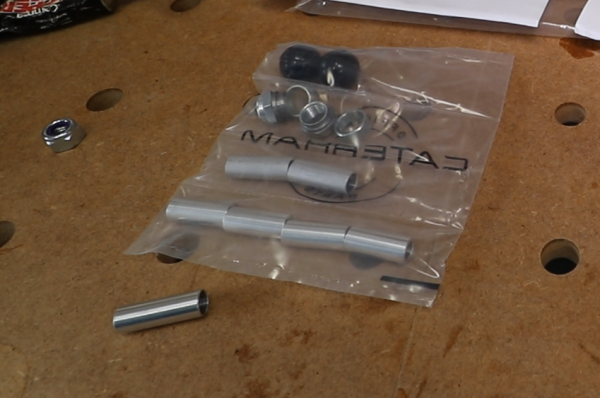
This inner poly bag contains a number of different components, from top to bottom:
- Front Anti Roll Bar ends – these screw onto the roll bar ends and then fit into the upper wishbones
- Upright spacers and upright special nut – the spacers go in the top of the upright and the special nuts screw up from the bottom.
- The next section of the bag actually has 4 spacers (2 are shown). This section contains 2 spacers for the rear ARB and two for the upper wishbones that I’m looking for at the moment.
- The bottom section has four identical spacers for the front dampers – the top and bottom of each damper gets a spacer inserted into the bush before going onto the car.
I was a bit rushed for time today and decided I’d send an email to Derek:
Hi Derek, Build question for you… Build manual section 5.3 upper wishbones, it talks about a spacer bush 10mm ID x 1/2” OD x 35mm. Can’t seem to find any and I don’t have a poly bag marked “front suspension”. I do have a poly bag marked “suspension pack” but can’t find any spacers in there. Suggestions?
They are sleeves that fit in the rear bush, you should have 4 for the front dampers 2 for the top of the rear dampers and 2 for the top wishbones
That explained it nicely. I’d got the right bag and could work out what fitted where. It was clear that only two of the spacers were going to fit in the upper wishbones, so in they went. The 1/2″ in the spacer description in the manual should read 12mm. Therefore the upper wishbone rear bush should have a spacer that is 10mm ID, 12mm OD and 35mm long.
If I’d got a better memory I would also have remembered that John and Carl from Elmwood.net had done a nice explanation of the conundrum here. I only found it again when looking back at their blog later. It also taught me to look harder for solutions that others have posted.
Now with the upper wishbone offered up to the car and the headlamp stalk in place it was obvious that I was going to have to do some work on the headlamps – that would have to wait until tomorrow.
Near Side Lower Wishbone
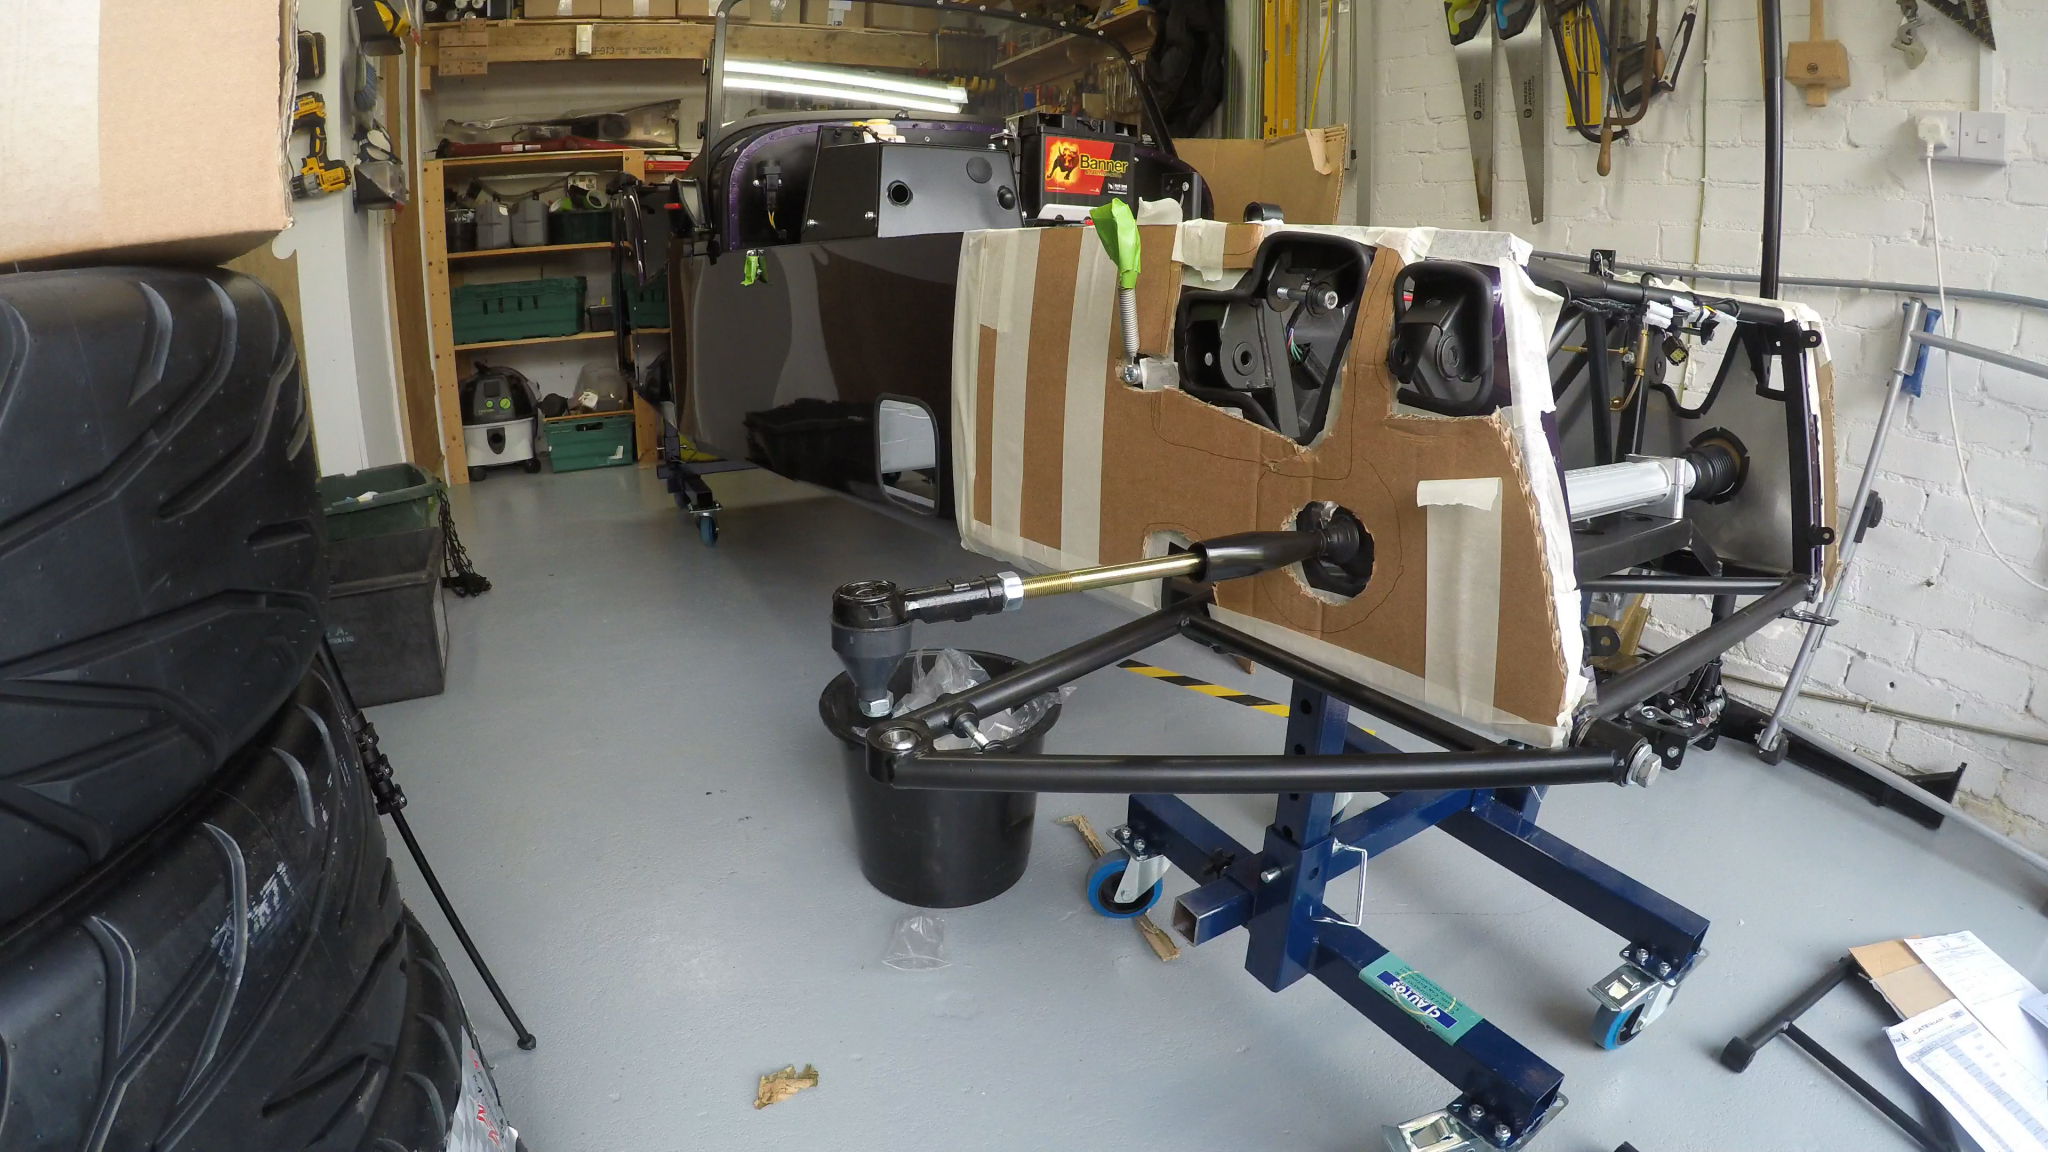
To finish up today I thought I’d get the N/S wishbones into the same state as the O/S. I got the rear mounting point in easily with the 2 plain washers either side of the wishbone rear bush. However, the manual calls for two plain washers to go in between the chassis and the front bush of the lower wishbone. On the O/S wishbone this was tight but very do-able. The N/S one was a different story. I tried for probably 20 minutes to get the two washers into what was a very tight gap, but it just didn’t seem to want two washers in there. I was considering what the effect would be on the suspension geometry to leave it with just one washer but meetings were pending and I decided to leave it for another day. This is what it looked like at the point I had to leave it overnight.
Looks like it will be more front suspension tomorrow and some work on the headlamps and front indicators.


Leave a Comment